A chicken roasting in the oven is one of life’s greatest joys. Filling the house with tantalizing aromas that have you drooling for hours, I stand in front of the stove saying “open, open, open” just waiting for it to be done. Chicken is today’s most popular main course and I could eat it at least three or four times a week without ever getting tired of it. Inexpensive and perpetually adaptable, there are a hundred ways to prepare it. Unfortunately it often winds up overcooked. But with a few tricks up your sleeve it can turn out perfectly every time.
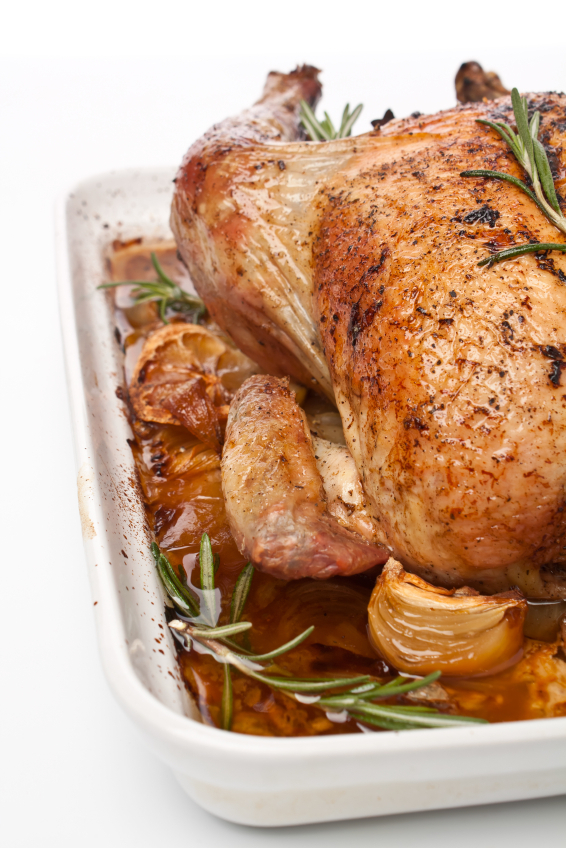
The beauty of golden brown crispy skin and moist, tender meat is the goal of every chef and home cook. I struggled for years trying to figure out what the secret was to the perfect roast chicken. I would work hard to get it just right and even though it looked perfect, most of the time it was dry and tough. Arrrggghhh!
One day I decided to decipher the secrets so I sat down and researched techniques in cookbooks, checked the Internet and called friends who are good cooks. The answers were as varied as the sources. There was no consistent method. It was time to make one for myself. One thing I did realize is that cooking the bird upside down ensures a tender and moist breast. Turning it right side up for the final roasting crisps the skin and gives you the impressive golden chicken that makes everyone think you are a master cook.
There are two things you can do that make a huge difference in the final dish, using seasoning and aromatics. One of the main differences between home cooks and restaurant chefs is the amount of seasoning they use. You don’t have to use a lot of different seasonings, but you must use enough salt and pepper to thoroughly flavor the meat. I know you’re going to tell me that you have to watch your sodium levels and I understand. But the primary source of the sodium we consume these days is from processed foods which are loaded with hidden salt. If you are cooking most of your meals with fresh foods, you can use a more liberal hand. So put away that caution, use kosher salt (it contains significantly less sodium) and season to your heart’s content. One caution – if you are using a kosher bird, it has already been salted, so season those very sparingly.
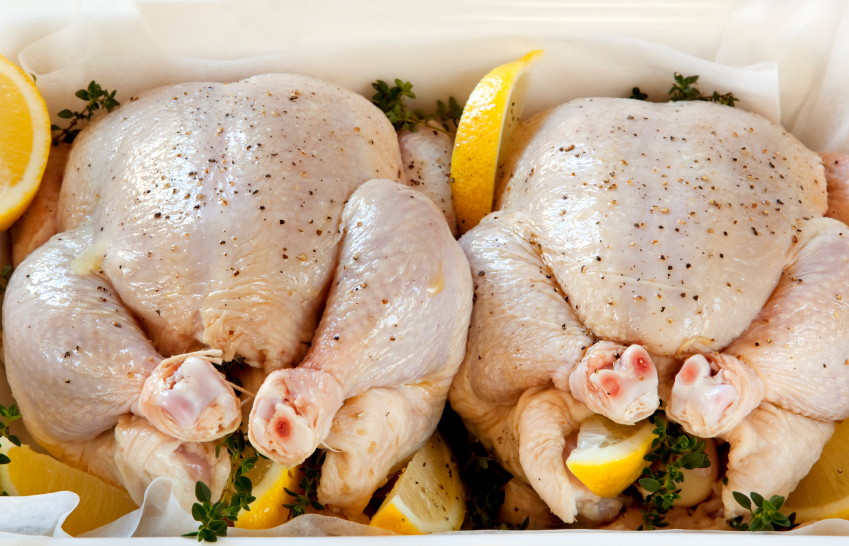
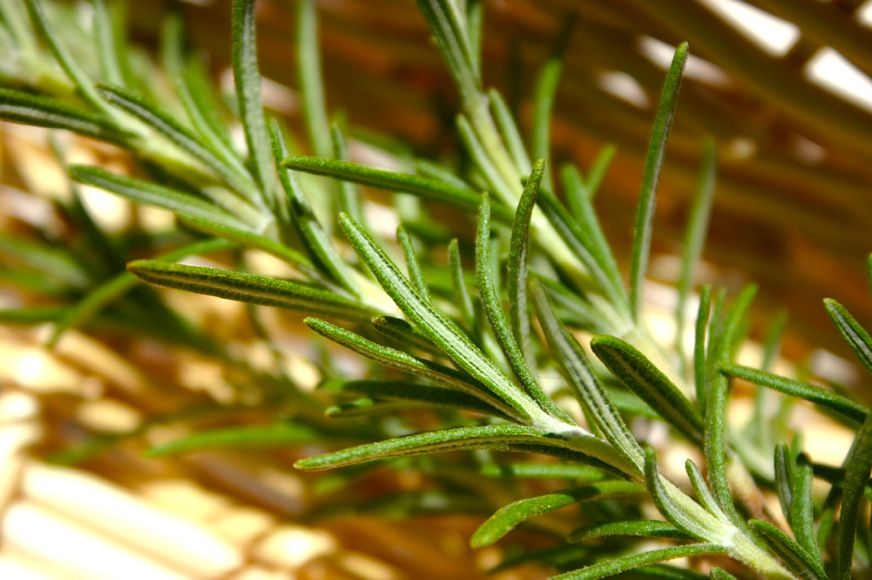
For chicken I think simple is better. I loosely stuff the chicken cavity with aromatics such as onions, garlic, lemons and fresh herbs. They flavor the meat from the inside out. Aromatics are ingredients that “perfume” a dish, adding tremendous flavor, and every cuisine has their favorite combinations. In France they call their chopped onions, celery, and carrots mirepoix. In the American South they use chopped onions, celery, and bell pepper which is known as the “Holy Trinity.” Italian soffrito typically has celery, onions, garlic, herbs, and green peppers. And in Spain the addition of saffron adds a beautiful floral quality.
Another popular method for guaranteeing moist chicken is brining. Soaking them first in a container of salted and sugared water is very common. It does work, but you never get really crisp skin. There is another technique that I prefer if I have the time. It is called dry brining. You rub the outside of the bird with a little salt, place in a plastic bag and refrigerate for a couple of days. The salt initially draws out moisture, but if you leave it alone, that now seasoned moisture is reabsorbed, drawing the seasoning deep into the meat. This is the secret to Zuni Cafe’s famous roasted chicken.
To truss or not to truss, that is a common question. Trussing is the act of tying the bird so that the wings and legs are tucked tightly against the body and the entire bird is held in a compact shape. I personally never bother with this step, but most chefs swear by it. The idea is that a trussed bird cooks more evenly and comes to the table much more attractively. My personal belief is that since the dark meat (legs and thighs) take longer to cook than the breast, allowing air to circulate around them more freely helps them cook more quickly, guaranteeing that the whole bird will be done at the same time. I do tuck the wing tips under the back and if the legs are really sticking out over the edge of my roasting pan, I tie them together loosely.
Trying to explain the proper technique for trussing is complicated at best, so if you want to learn, I think Alton Brown’s video (http://www.foodnetwork.com/videos/how-to-truss-a-turkey/27751.html) is the best around. A few practices and you will be able to do it just as fast as any professionally trained chef.
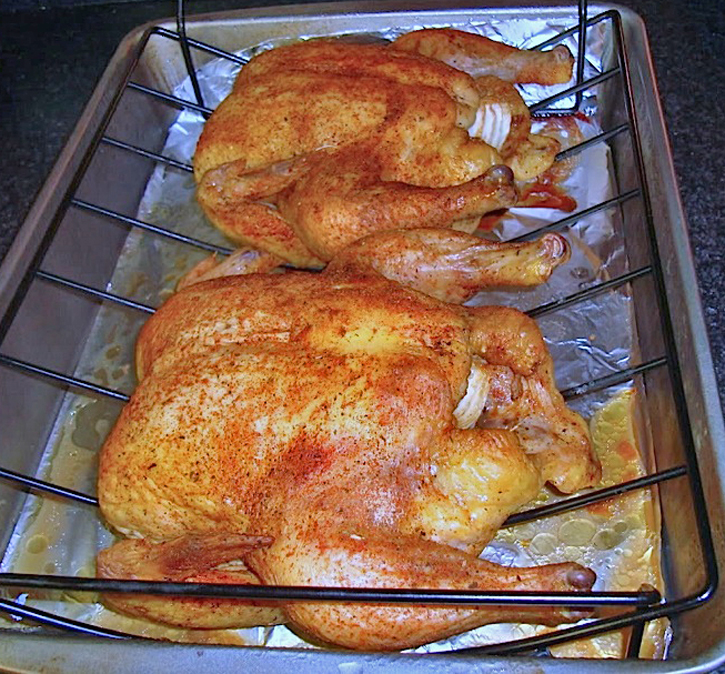
The timing for roasting varies depending on the size of chicken but the final temperature determines when it is done. You want to pull the chicken out of the oven when it reaches 160°F and then let it rest loosely tented with foil for at least 15 to 20 minutes before carving. This resting period allows the juices to be reabsorbed by the meat, guaranteeing that it is moist and you don’t leave all the good flavor on the cutting board. If you don’t already have one, go out and buy an instant-read thermometer. It is the secret to moist and tender chicken!
Buy a high quality organic bird, season it simply, pop it in the oven and be prepared for a wonderful, healthy dinner that everyone will love. Have fun!!
Jane’s Tips and Hints:
Once you have carved the chicken, flip it over. There are two little nuggets of the tenderest, most flavorful meat concealed underneath bird. One on either side of the backbone, look for an oval piece and slip your thumb underneath it, popping it out of its hiding place. These never make it to the table because I think they are gifts just for me!
Also, save the pan juices to store with any leftover chicken. It helps keep it moist when you reheat it.
Kitchen Skill: How to Carve a Chicken (or turkey)
Carving a whole chicken can be intimidating, but once it is cooked, it practically falls apart. Start by removing the legs and thighs. Cut the skin between the leg and breast and using your hand, pull the leg and thigh away from the body. You can bend it all the way back until the joint is exposed and then easily separate it with your knife. Set it aside and repeat with the other leg and thigh on the other side. Now do the same thing with the wings. There is bone and cartilage that separates the breast into two halves, so make a slice just to the right of the centerline. Again using your free hand, pull the breast meat back, using your knife to scrape the meat from the septum and ribs. Work carefully and the breast will come off in one piece.

- Chicken
- 1 (3 to 4 lb) whole chicken, cleaned, rinsed, and patted dry
- 1 medium onion and 2 large onions, peeled
- Salt and pepper
- 3 fresh lemons, rinsed
- 2 cloves garlic, peeled
- 3 to 4 sprigs of fresh rosemary
- 3 to 4 sprigs of fresh thyme
- Olive oil
- Onion Powder, optional
- 1/2 cup dry vermouth, dry white wine or water
- 1/4 cup chicken stock or water
- Garnishes
- Fresh rosemary and/or thyme sprigs
- Fresh lemon wedges
- Preheat the oven to 425ºF.
- Cut the ends off the large onions and slice horizontally into 1/2-inch thick slices. Place slices in an even layer on the bottom of a 9×13-inch baking pan, sprinkle with a little salt and pepper, and drizzle lightly with olive oil. Liberally salt and pepper the inside of the chicken.
- Cut the remaining medium onion and one of the lemons into quarters. Place them inside cavity of the chicken along with the garlic cloves and rosemary. Cut the 2 lemons into wedges and tuck them around the bird along with the thyme sprigs. Place the chicken on the layer of onions, breast side down. Rub with olive oil and sprinkle with salt, pepper, and a little onion powder. Pour vermouth and stock in pan and carefully transfer to the hot oven.
- Roast chicken for 20 minutes and reduce oven to 350ºF. Continue cooking for another 20 minutes. Remove the chicken from oven and very carefully turn it breast-side up. I like to use tongs to do this. Sprinkle the breast with a little more salt and pepper and return to oven. Add more stock or wine if the pan is dry. Cook for another 30 minutes or until thermometer inserted in the breast (but not touching any bone) registers 160ºF. If you don’t have a thermometer, wiggle the leg, it should feel loose in the socket. Pierce the thigh and look at the color of the juices, they should be clear, not pink. The total cooking time will be about 1 hour 15 minutes.
- When chicken is done, remove from oven and transfer to a cutting board. Let rest for at least 15 minutes, lightly tented with foil, to allow juices to be reabsorbed by the meat. Remove onions, lemons, garlic and herbs from cavity and discard. Transfer onions and lemons from roasting pan to the center of a warmed platter. Discard cooked thyme.
- Cut the chicken into quarters and place around onions. Garnish platter with remaining lemon, either sliced or cut into wedges, and extra rosemary and/or thyme sprigs. Serve immediately, passing the pan juices at the table if desired.
- Yield: 4 to 6 servings
Thank You!


Kathy - Panini Happy
You’ve completely put me in the mood for roast chicken – thanks for all of the great tips!
Jane Bonacci, The Heritage Cook
My pleasure Kathy! I am glad you enjoyed the article. Every time I see one of your panini photographs my mouth starts watering!!
Louise
Whew! I finally made it back here:) I spoke with my Amish friend Katie about the “secret” and although she isn’t much of a cook, to my utter surprise, she basically said the same as you. Flavor the brine, soak over night, grill at high heat and then move to a more gentle heat after the skin has crisped.
Thanks for offering to do the research, Jane. Now, I’m off to see if there are any new goodies for me to explore!
Jane Bonacci, The Heritage Cook
Hi Louise – thanks so much for coming back here and letting us know what you discovered. Grilling the chicken would give you a lot of flavor and definitely crisp the skin. Have fun exploring!!
Louise
GREAT tips, Jane! I always save the “oysters” for myself too. I’ve been doing it for so long, no one around here would even know they existed at all. Curious about the wet brining of the chicken. I learned from an Amish lady to prepare it this way when I first moved to PA. Not much of a chciken lover myself, I was quite impressed with not only the flavor but the crisp golden color as well. She told me to brine it with a bit of brown sugar and I did. It still wasn’t as good as hers (she made them on the grills for lots of fair goers) However, it sure was delectable!
Thanks for sharing, Jane. I sure am liking it here:)
Jane Bonacci, The Heritage Cook
I would love to hear the Amish lady’s secrets as well. If you do a wet brine, you will need a very high heat to thoroughly crisp the skin. You could start it at 425 degrees, cook for a bit and then drop it to 350 to finish more gently. If you want I can research this for you. Also, make sure there is salt as well as the brown sugar in the brine or it won’t be as flavorful!
You are welcome anytime Louise! Spread the word, the more the merrier in the Heritage Cook Family!