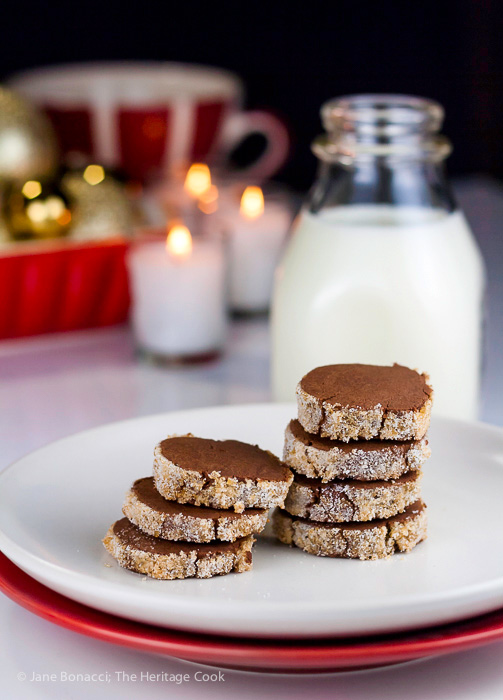
Santa is coming! With all the work he has to do and the millions of children he has to visit in just one night, he needs nourishment to give him energy. There is nothing better than homemade cookies and a cold glass of milk to reenergize our favorite elf!
Christmas season is always magical, but even more so when I was young. My mother would transform our home into a wonderland. My grandmother would send me letters from Santa complete with stickers and written in red ink. Elfie was perched in the tree watching to be sure we were behaving. As the baby of the family, my brothers helped build the excitement, never giving away the secret. It wasn’t until many years later that I realized how much fun it was for them to help my parents maintain the illusion.
Nothing was more exciting than waiting for Santa on Christmas Eve. We would turn off all the lights except those on the tree and sit in front of the fire listening to carols on the radio, singing along to those we knew. Bing Crosby, Nat King Cole, and Andy Williams provided the soundtrack for our holidays. We would set a plate with store bought cookies (Mom wasn’t a baker), a glass of milk, and a thank you note for Santa next to the fireplace. Right where he was sure to see them before heading to the next house.
The weeks of anticipation made falling asleep nearly impossible, but somehow exhaustion overtook enthusiasm. Before I knew it, it was morning (no doubt the crack of dawn) and Christmas was here! The chaos would begin … ripping of wrapping paper, squeals of delight as boxes were opened, laughter when jokes were played on one another, music playing, the fire popping, the aromas of hot cider and breakfast.
Over the years I have made hundreds of Santa cookies, always searching for something new and fun to share with the family. Sometimes they were ornately decorated, other times simple chocolate chips made an appearance, but they were always appreciated and quickly disappeared.
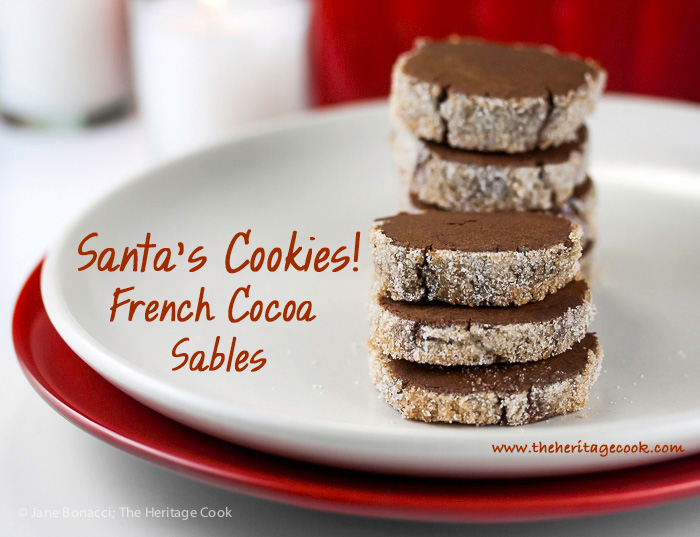
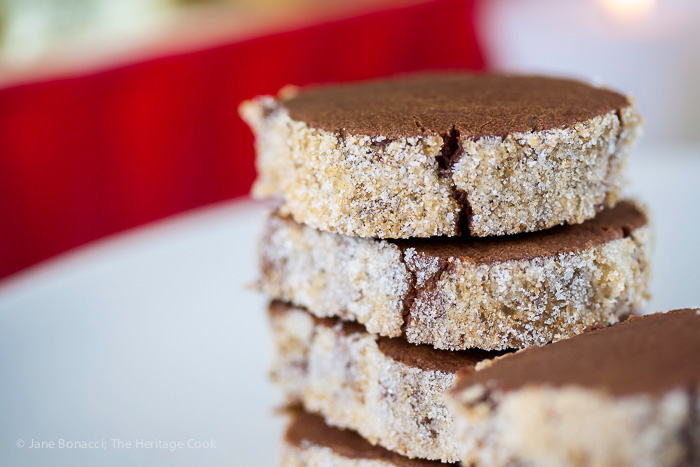
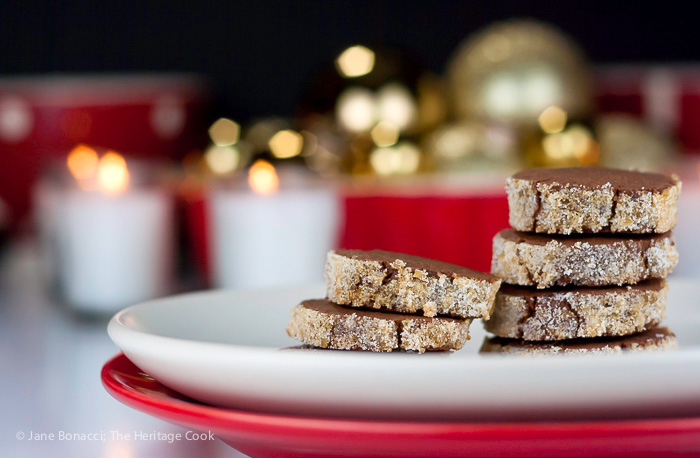
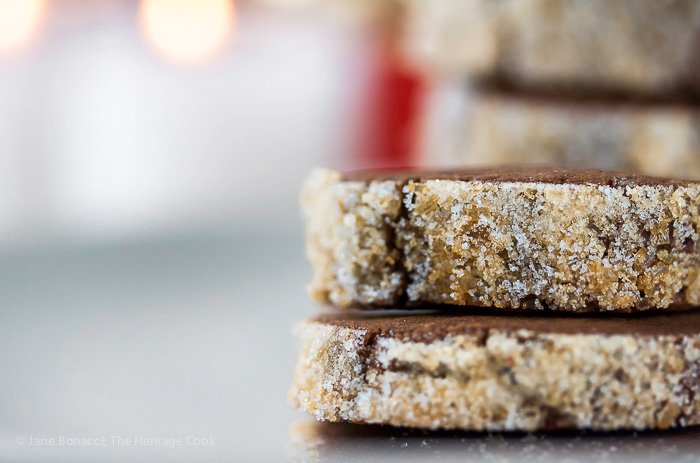
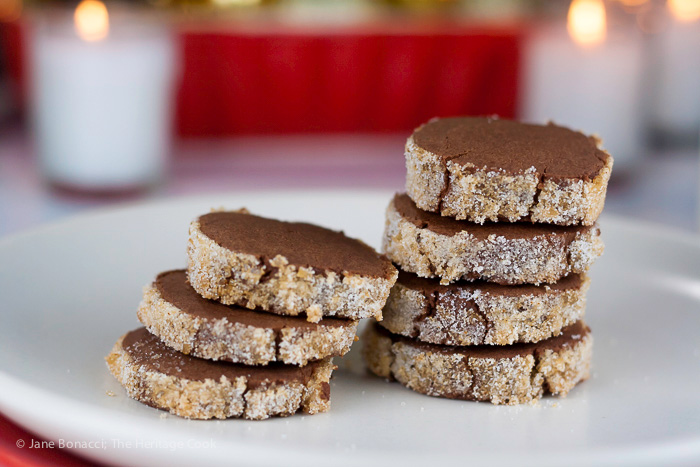
This year, in honor of our first trip to France, I thought a chocolate sable would be the perfect choice to bring to the family dinner. Sables are a cross between a butter cookie and shortbread. Lightly sweetened, insanely buttery, crispy and just a little sandy, they melt away as soon as they hit your tongue. Yep, perfect for this year’s Santa Cookie.
What are your favorite treats to leave for Santa? Do you make the same cookies every year or switch it up? Even if you don’t make these chocolate sables for Santa, I’ll bet these cookies will show up soon – they are too good to miss! 🙂
Happy Chocolate Monday and Merry Almost Christmas!
Jane’s Tips and Hints:
Because these are so delicious and freeze so well, I doubled the original recipe so I could have some extra stashed in the freezer for The Artist to bake when he needs a chocolate treat. 🙂
Gluten-Free Tips:
Gluten-free flours tend to separate more easily than regular all-purpose flour. Whisking often and thoroughly will help give you better baking results.

- Cookies
- 3-1/2 cups all-purpose flour or gluten-free blend
- 1 cup unsweetened cocoa powder
- 1/4 tsp kosher or sea salt
- 2-1/2 sticks (10 oz) unsalted butter, cut into tablespoons
- 1-3/4 cup confectioners' sugar
- 1/4 cup cold milk
- 2 tsp pure vanilla extract
- Sugar Crust
- 2 large egg whites
- 1 cup granulated cane sugar or 1/2 cup granulated sugar and 1/2 cup turbinado or other coarse raw sugar
- Make the Dough: In a large food processor, pulse the flour, cocoa and salt. Add the butter and process until sandy, about 3 minutes. Add the confectioners' sugar, milk and vanilla extract and process until you get a firm dough and it cleans the sides of the bowl.
- Divide the dough into four equal pieces. Transfer the dough to 4 sheets of plastic wrap and form into four logs, each about 1-1/2 inches thick. Make them as even as possible and nicely rounded. The shape of the log will determine the shape of the cookies. Wrap in plastic and refrigerate until very firm, at least 4 hours or overnight.
- Preheat the oven to 350°F and position racks in the upper and lower thirds. Line two baking sheets with sheets of parchment paper.
- Sugar Crust: Beat the egg whites in a small bowl. Sprinkle the granulated sugar on a sheet of waxed paper, parchment, or a small baking sheet. Holding the log of dough vertically above the bowl, brush the egg whites on all surfaces of the dough and roll the log in the sugar, pressing to help it adhere. Make sure all surfaces are thickly coated.
- Work with one log of dough at a time, keeping the remaining dough chilled in the refrigerator. Using a very sharp knife cut the log into 1/4-inch slices and transfer to a baking sheet, cut side down, leaving about 1/2-inch between disks (cookies won’t spread much). Bake the cookies (one sheet at a time for the best results) for about 20 minutes, until just firm to the touch, spinning pan halfway through for even baking. They will not be noticeably different, but they will puff up a little.
- Leave the cookies on the baking sheet and place the whole sheet on a wire rack to cool. Repeat with remaining dough.
- Make Ahead: Cookies can be made ahead and frozen. It is best to wrap the cookie dough before brushing with egg white and rolling in sugar. Wrap logs in plastic and then in parchment. On the parchment label the cookies including the oven temperature and baking time and any specific directions. In this case it would include the directions for brushing with egg whites and rolling in sugar. Wrap again in plastic to hold the parchment in place. You can now freeze them and anyone in the house will have all the information needed to make freshly baked cookies any time they like!
- Yield: about 4 dozen cookies
- The dough needs time to chill so plan to make the dough at least several hours or up to a day or two in advance.
- * If your gluten-free flour blend does not contain xanthan gum, add 1/2 tsp to the flour and whisk thoroughly. Then combine with the remaining dry ingredients and pulse several times before continuing with the recipe.
Create a New Tradition Today!
Let’s connect! If you love The Heritage Cook, you can follow me on Pinterest, Facebook, and Twitter. If you ever need any entertaining or cooking advice, need to alter a recipe for gluten-free, or want recipe suggestions, don’t hesitate to email me. Thanks for joining the Heritage Cook Family!
Be nice. Unauthorized use, distribution, and/or duplication of proprietary material from The Heritage Cook without prior approval is prohibited. This includes copying and reprinting content and photographs. If you have any questions or would like permission, I can be contacted via email. Feel free to quote me, just give credit where credit is due, link to the recipe, and please send people to my website, www.theheritagecook.com. Please see the Disclaimers page for additional details.
This site is not intended to provide medical advice. The suggestions here are not intended as dietary advice or as a substitute for consulting a dietician, physician, or other medical professional. It is the reader’s sole responsibility to determine which foods are appropriate and safe for their family to consume. Always consult your doctor. The author makes no claims regarding the presence of food allergens and disclaims all liability in connection with the use of this site.
Thank You!

