I grew up in the small town of Orinda, east of San Francisco and over the hills from Berkeley. A few miles further east is Walnut Creek, named for the walnut orchards that used to carpet the area. Every fall we would excitedly await the Walnut Festival, looking forward to seeing our friends and take our turn on the Ferris Wheel, fascinated by the carnival atmosphere and the tantalizing array of baked goods containing walnuts that were for sale.
When I was young, our family friends would recruit us to help them harvest their walnuts. Covered with a sticky black coating, we would scoop them up off the ground, remove the husks and send them into the house for storing. We had a lot of fun and especially enjoyed the fact that we were encouraged to get dirty (our hands were completely black by the end) and play in the yard.
Walnuts are the oldest tree food known dating back to 7000 B.C. Early history believes that English walnuts originated in ancient Persia. They were traded along the Silk Road, covering Asia and the Middle East, and sea merchants helped expand their popularity around the world.
Walnuts were first cultivated in California by the Franciscan Fathers in the late 1700s. By the 1870s, thanks to the warm Mediterranean-like climate, walnut production had begun near Santa Barbara in southern California. In the mid-1900s walnut groves were found along the entire length of the state. Today California’s Central Valley is the state’s prime walnut growing region, providing 99% of the commercial U.S. supply and 75% of world trade.
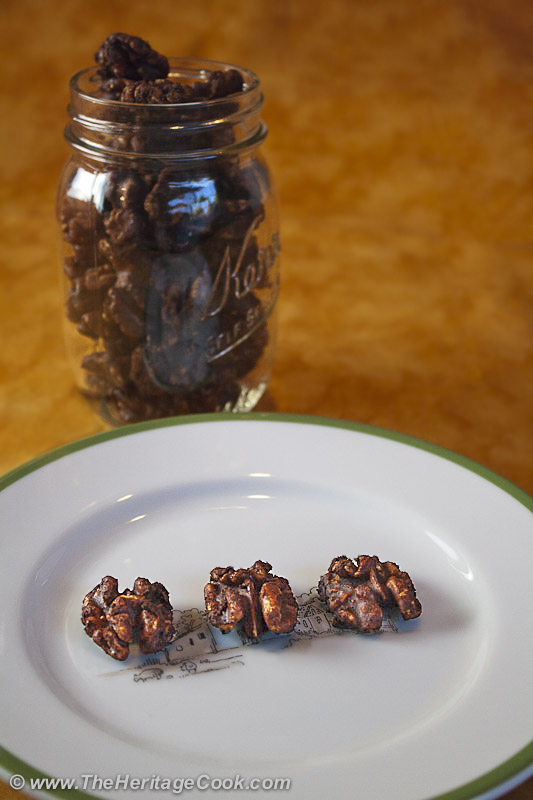
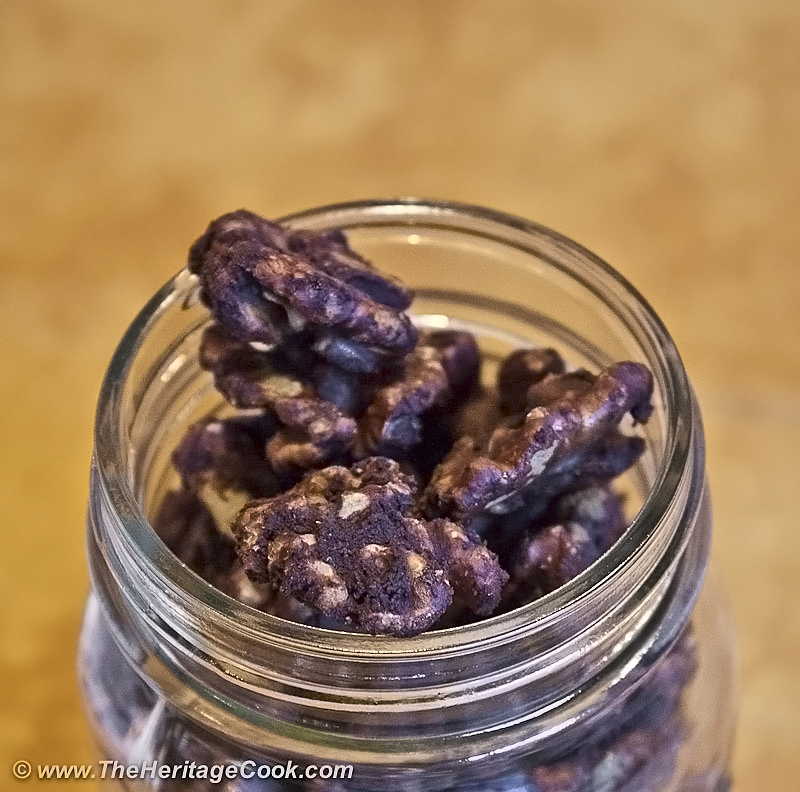
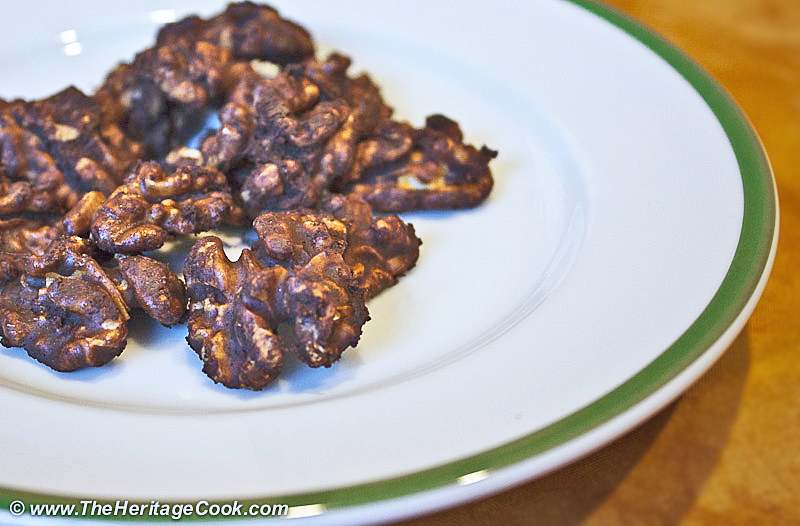
Today we have what I consider one of the best hostess gifts that I can take to a party. I love making crunchy seasoned nuts because they are so versatile. While most of us keep them around for snacking, they can also be used in desserts, salads, and main courses. Today’s version takes advantage of a standard method for adhering seasoning to any food item. I added cocoa, ginger, allspice and cayenne for a chocolatey, crunchy, spicy version that will have you coming back over and over for just one more bite.
These would be so good chopped finely and served over a hot fudge sundae. Use them to enhance the flavor of chocolate cookies or add them to a spinach and apple salad. Just one bite and my mind was spinning with ways to use these delectable snacks. They are not particularly sweet so they can be used in the same way you would use cocoa nibs.
More than just delicious, walnuts are also part of a healthy diet. They are the only nut that is a significant source of Omega-3s (most nuts have monounsaturated fats), antioxidants that help control free radicals in our bodies. Rich in polyunsaturated fatty acids, they may improve blood lipids and other cardiovascular disease risk factors. The Heart-Check symbol on packaging indicates an ingredient that meets the nutritional standards set by the American Heart Association.
There is research that supports the belief that walnuts may play a part in lowering blood pressure, maintaining bone health, ward off diabetes and helpful in weight management. They are a natural part of the Mediterranean Diet, may help with cognitive and motor function, and even has shown promise in helping the body fight off certain types of cancers. Walnuts are naturally gluten-free, but you want to check the packaging to make sure they were not processed in a facility with gluten-containing products.
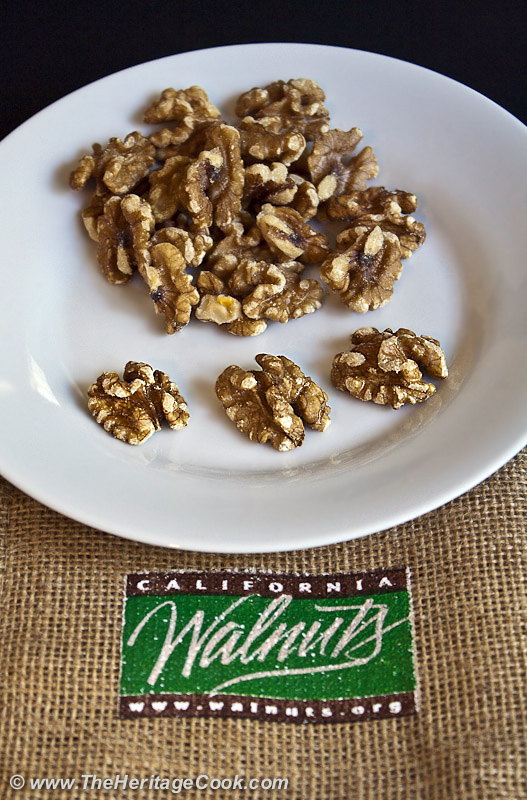
Thank you to the kind folks at California Walnuts for sending me some of their fabulous walnuts to “play” with! They were the best I have ever eaten and almost didn’t make it into any baked goods – I had a hard time not snacking on them (smile).
The next time you go to the market, make sure you pick up fresh walnuts. Put out a bowl when your kids get home from school, add them to your cheese platters along with some grapes and apple slices, and if the kids are still hungry after dinner, have them snack on walnuts instead of popcorn or sweets.
Happy Chocolate Monday everyone. Have a fabulous week!!
For more information on California Walnuts and more recipes, head to their website and follow them on Twitter (@CaWalnuts).
Gluten-Free Tips:
In addition to whole walnuts or pieces, you can use walnut meal as one of your gluten-free flours! At roughly 65% fat, walnut meal adds a richness that makes your baked goods all the more decadent. While the nuts are naturally gluten-free, make sure all of your spices are as well by checking with the producers.
Kitchen Skill: Removing the Bitterness from Walnuts
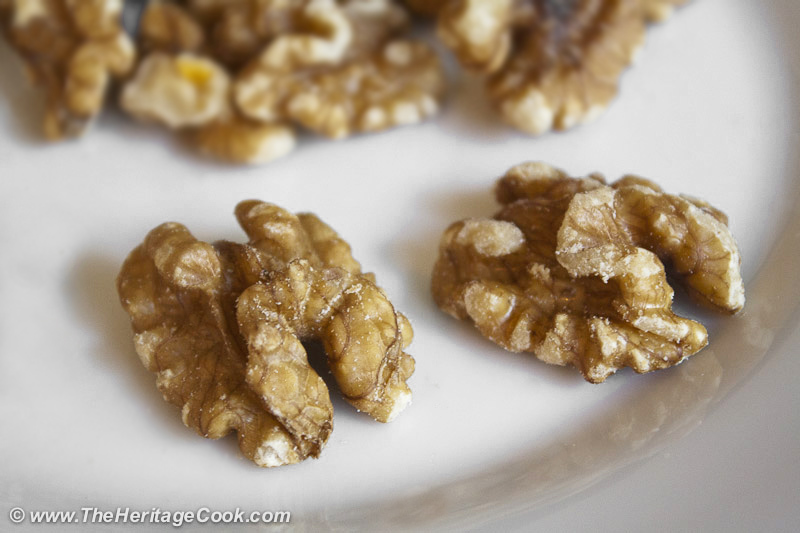
One challenge when you buy walnuts in the grocery store, especially in bulk bins, is that they can taste slightly “off” and bitter. Walnuts are one of the few nuts with oils on the outside of the nutmeat that can turn fairly quickly. Taste your walnuts before using and if they are slightly bitter try this trick: Place them in a colander, pour a saucepan of boiling water over them, toss them, and repeat with another saucepan of boiling water. Then lay them out on a baking sheet and pop them in a low oven for about 30 minutes. This will dry them out and lightly toast them, developing their flavor and eliminating the bitter oil!

- 2 egg whites
- 1/4 cup cocoa powder
- 1/2 tsp ginger
- 1/2 tsp ground allspice
- 1 tsp cayenne pepper (leave out if you don’t want the heat)
- 1 tsp vanilla paste
- 4 tbsp powdered sugar
- 2 tbsp vanilla agave syrup or honey
- 1 tsp salt
- 3 cups shelled California Walnuts
- Preheat oven to 300°F. Line a baking sheet with a Silpat or parchment paper. Alternately you can coat it with cooking spray. Set aside.
- In a large bowl, beat the egg white with a balloon whisk until frothy. Add the remaining ingredients, except the walnuts, and stir until smooth and sugar has dissolved. Add the walnuts and toss with a rubber spatula to evenly coat them.
- Using a slotted spoon, spread walnuts on prepared baking sheet in an even layer. Break up any clumps.
- Bake for 30 to 35 minutes. Stir the walnuts with a spatula once or twice to keep the nuts from sticking and to cook evenly.
- Allow them to cool on the baking sheet. Transfer to an airtight container and store in the refrigerator.
- To give as gifts, place them in cellophane bags or mason jars, tie with colorful ribbons and put a tag on explaining what they are and suggestions for use.
- Yield: 3 cups.
- if multiplying the recipe, bake nuts in batches on as many baking sheets as necessary to keep them in a single layer.
Unauthorized use, distribution, and/or duplication of proprietary material on The Heritage Cook without prior approval is prohibited. If you have any questions or would like permission, I can be contacted via email: theheritagecook (at) comcast (dot) net. Feel free to quote me, just give credit where credit is due, link to the recipe, and please send people to my website, www.theheritagecook.com.
The intention of the content on this site is for your inspiration and enjoyment. It is not a substitute for advice given by a licensed health-care professional. You are responsible for medically confirming any dietary restrictions and ingredient safety with product manufacturers before consuming or using any product. If you have dietary restrictions, always read the labels before including any ingredient in your cooking.
As an affiliate member, if you click on links in my posts and purchase a product, I may receive a small percentage of the sale. Any commissions received will be used to offset a portion of the costs of running The Heritage Cook. If I have received products for review or had travel expenses covered, I will disclose that in the content of each article where applicable.
Thank You!





Debbie Rogers
Yield is 2 cups yet you use 3 cups of walnuts? Do they shrink that much? Thanks!
Jane Bonacci, The Heritage Cook
Good catch Debbie! I increased the amount in the recipe but forgot to change the yield. Thanks for letting me know!