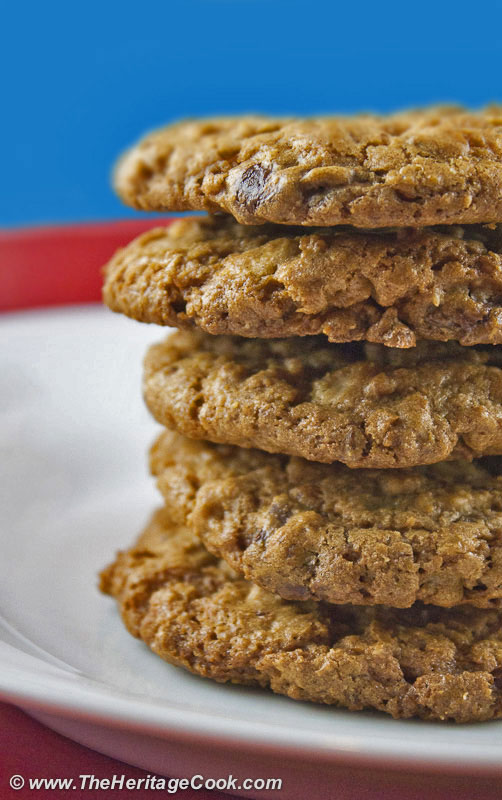
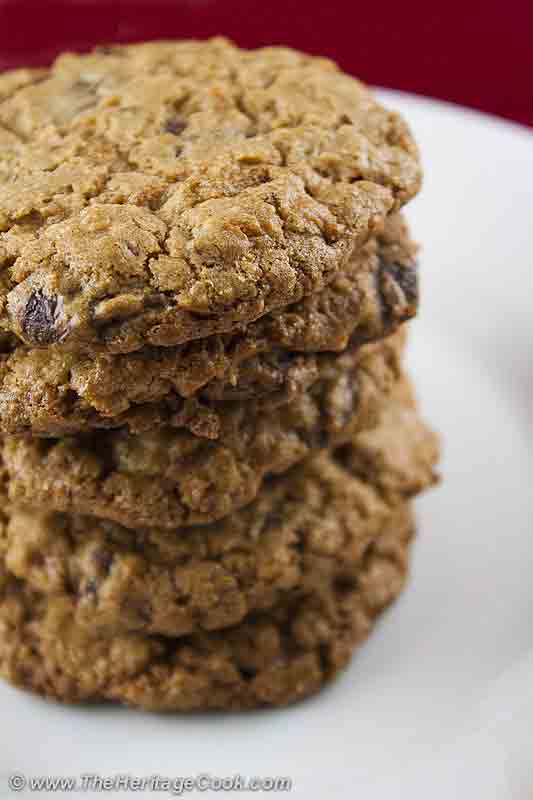
Happy Veteran’s Day! Today’s post and recipe are dedicated to everyone who spends their life protecting our freedoms and way of life. We appreciate their dedication and the sacrifices they make on our behalf. A heartfelt Thank You to all members of our Armed Services!
I come from a Navy family and have always been aware of the contributions of my ancestors to winning and maintaining the freedoms we enjoy in the United States. I am our family genealogist and found that we have had someone serving in nearly every war or conflict since the Revolutionary War. I currently have a niece and nephew stationed in Japan as part of the Marine JAG Corps. A special thanks to Izak and Jessica for their dedication to protecting our safety and rights!
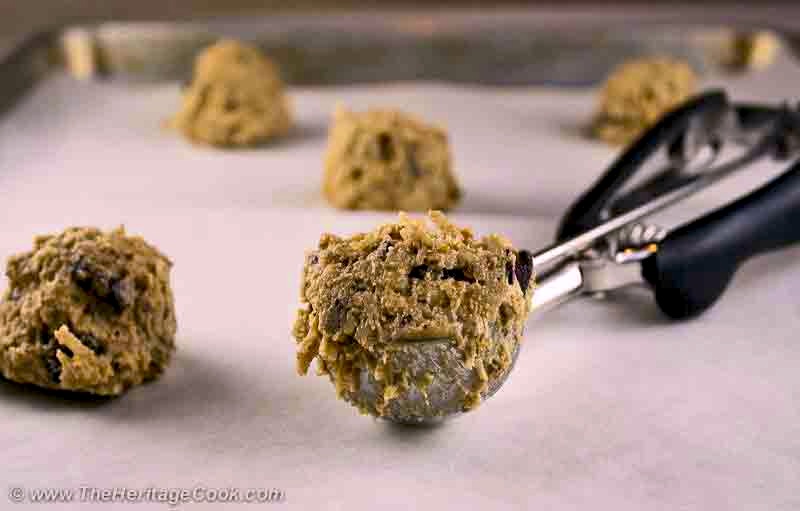
Use a spring-loaded scoop for fast and easy portioning of cookie dough!
Today’s recipe is my first try at mixing my own blend of gluten-free flours and I was very pleased with the results. Yee Haw, I’m getting the hang of this! It has taken me a few months to get comfortable enough with the different flours to begin to play with flavors and textures. This may be my new favorite cookie and might just become yours too!
It is a really nice blend of flavors without the grittiness that often accompanies gluten-free baked goods. There is a sense of oatmeal even though there isn’t any in here. Maybe it is the combination of flours and coconut making these closer to an ANZAC cookie than a traditional chocolate chip. But whatever the reason, I love the combination!
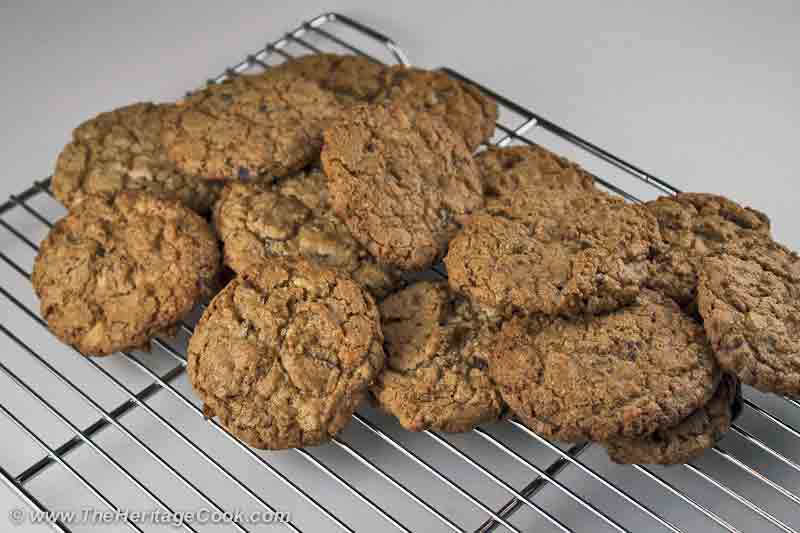
Wire racks allow air to circulate around cooling items so they are ready to eat even faster!
As a life long baker, it amazes me that it took so long for me to bite the bullet and get a kitchen scale for weighing ingredients. Now that I am gluten-free, it is even more important. Many GF recipes call for flours in weights instead of volume. The reason is that unlike all-purpose flour which is fairly standardized, the different flours needed to get as close to the gluten-properties found in wheat flour all vary in weights. So 1 cup of white rice flour is not the same as 1 cup of sorghum flour. I have included the approximate volume equivalents in my recipe, but I strongly encourage you to get a kitchen scale for accuracy.
A kitchen scale also makes creating your own version of an all-purpose blend really easy. Most offer the option of measuring in ounces or grams and come with what is called a zero feature. What this means is that you can place a bowl on the scale and hit the zero button, this negates the weight of the bowl allowing you to weigh just the ingredients without a lot of math! The other benefit of this is that once you measure in one flour, hit the zero button and add the next one without having to empty the bowl. See, now a kitchen scale is definitely on your wish list for the holidays, LOL!!
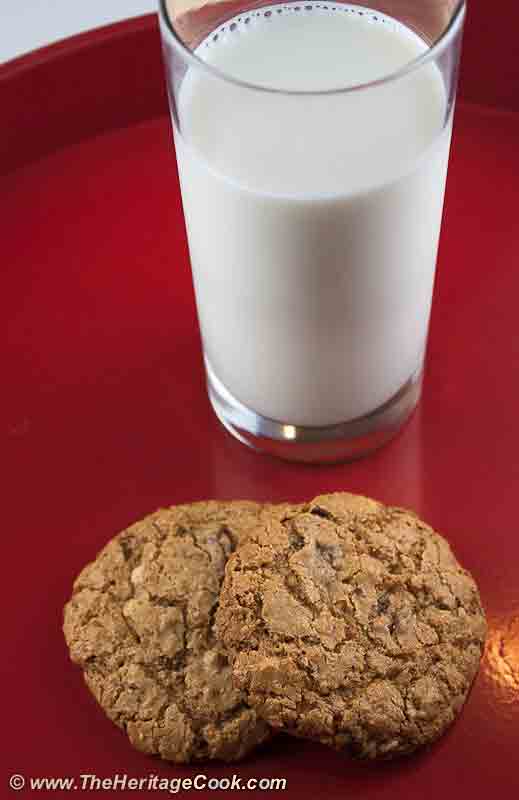
Doesn’t this look like exactly what Santa would love to find!
If you don’t want to buy a lot of different gluten-free flours, you can easily replace them with a gluten-free all-purpose blend. I would recommend you consider King Arthur Flour’s blend, the one from Gluten-Free Pantry, or Cup4Cup sold at Williams-Sonoma. I love the Bob’s Red Mill all-purpose blend, but it contains garbanzo bean flour which some people object to. It is definitely fantastic in savory baking, but I would stay with the more neutral flavored blends for your sweet or delicate baking projects.
If you do not need to watch gluten, you can make this with your favorite flour too. Just replace the almond flour, sorghum flour, brown rice flour, potato starch and xanthan gum with regular all-purpose, white whole-wheat, or unbleached all-purpose flours.
Please enjoy these cookies and say a special thank you to our armed services families. Have a wonderful Chocolate Monday and Veteran’s Day!!
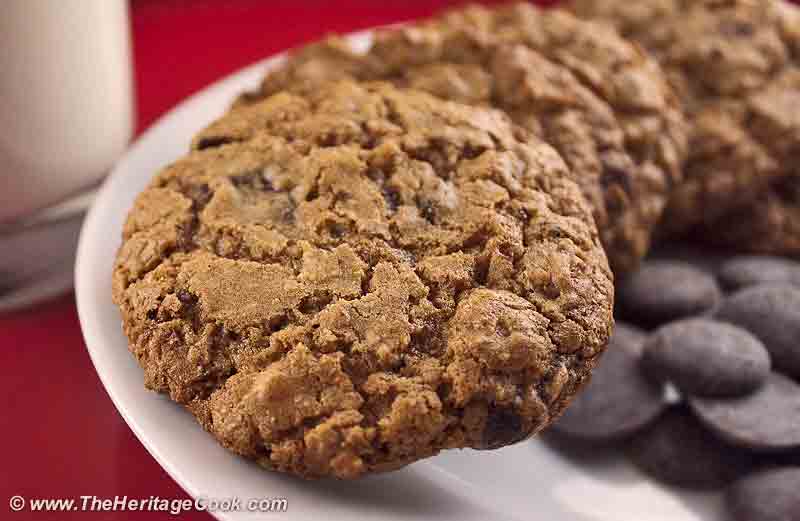
These chocolate disks are easy to chop into chunks that stay mostly solid when baked into cookies.
Gluten-Free Tips:
Nut flours should be stored in the freezer and due to their fat content, will become fairly solid in the cold. If you forget to take the almond flour out of the freezer early, microwave the package to soften it. Start with 15 seconds, stir to break up clumps and put back in for another 15 seconds. Break up any remaining clumps and measure out.
Kitchen Skill: Why Spinning Baked Goods Helps
I know, you hear it all the time, spin the trays of cookies halfway through the cooking. And yes, you know that the reason is because they will cook more evenly. But heck, you are busy and don’t want to bother… That used to be me. And then I started baking for competitions and paid more attention. Every single oven, no matter how high-end, has hot spots and cool spots. Spinning and switching trays of cookies, cake pans, pies and roasted foods (like Thanksgiving turkeys) truly does make a difference. You foods will come out more evenly cooked and browned, without dried out areas or uneven browning.
They only thing I recommend is using kitchen gloves or oven mitts that cover your entire hand and part of your forearms. That way, as you reach into the oven, you won’t accidentally brush against a hot surface and burn yourself. Look for ones that will protect you against high temperatures and those with a solid griping capability. That way you won’t be worried about having a heavy, hot roasting pan slip out of your hands!

- 6 oz (1 cup) flaked sweetened coconut or unsweetened coconut
- 4 oz (1 cup) almond flour
- 2 oz (2/3 cup) sorghum flour
- 2 oz (2/3 cup) superfine brown rice flour
- 1/2 oz (1 tbsp + 1-1/4 tsp) potato or tapioca starch
- 1/2 tsp xanthan gum
- NOTE: If you are not avoiding gluten, use 9 oz all-purpose flour in place of the almond flour, sorghum flour, brown rice flour, potato starch and xanthan gum.
- 1 tsp baking powder
- 1/2 tsp baking soda
- 1/4 tsp salt
- 2 tsp vanilla powder or vanilla extract
- 1-1/2 cups firmly packed brown sugar
- 1/2 cup butter, at cool room temperature
- 2 large eggs + 1 egg yolk, lightly beaten
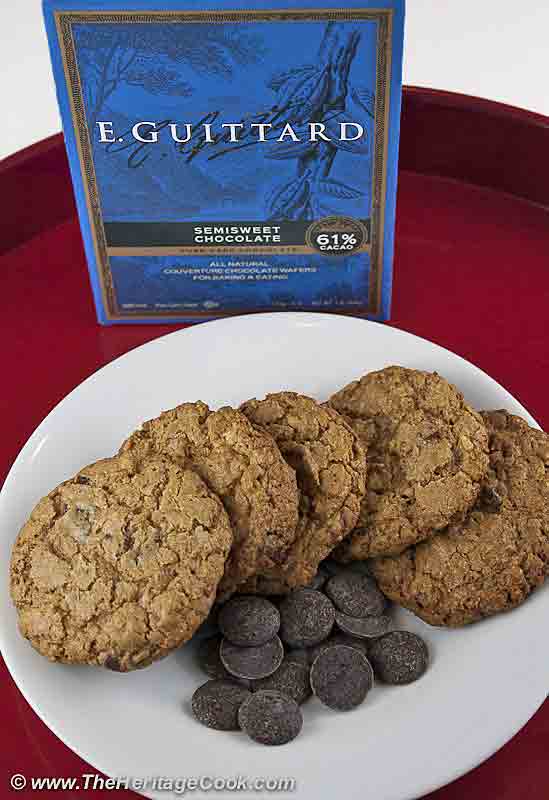
- 6 oz (1 cup) chopped dark chocolate (65% to 70% cacao) or milk chocolate
- 4 oz (1 cup) chopped white chocolate
- Preheat oven to 350°F. Line two baking sheets with parchment paper; set aside.
- Arrange coconut in a single layer in a small quarter baking sheet or ovenproof pan. Bake in the preheated oven for 7 to 9 minutes or until lightly toasted, stirring once. Set aside to cool.
- Combine flours, tapioca starch, xanthan gum, baking powder, baking soda, salt, and vanilla powder (if using vanilla extract, include with the wet ingredients) in a medium bowl. Whisk until thoroughly blended. Set aside.
- Place sugar and butter in the bowl of a stand mixer. Beat at medium speed until thoroughly incorporated and clumpy. Add the whole egg and extra yolk. Beat until creamy and smooth. Increase speed to medium and beat until light and fluffy. Add flour mixture, beating at low speed just until combined; scrape sides of bowl and beat another 30 seconds. Remove from the mixer and stir in toasted coconut and chocolate.
- Set bowl of dough aside to rest for 15 to 20 minutes. (This gives the gluten-free flours time to absorb some of the moisture.)
- Use a 2 tbsp spring-loaded scoop to portion the dough and drop dough 1 to 2 inches apart onto prepared baking sheets. Bake the cookies (one sheet at a time for best results**) in preheated oven for 7 to 8 minutes, spin the baking sheet so those in front are now at the back of the oven and continue baking another 8 to 10 minutes, or until edges begin to brown and center is fairly firm when touched lightly with your fingertip.
- Remove from the oven and leave on the baking sheet for 1 minute to let cookies firm slightly. Transfer to wire racks to cool completely. Repeat with remaining dough.
- Yield: about 3 dozen (2-inch) cookies
- ** If baking more than one sheet of cookies at a time, oven racks should be arranged in the top and lower third of the oven. In addition to spinning the sheets front to back halfway through baking, also switch racks. Place those that started on the bottom on the top rack and move those that began on the top to the bottom. Finish baking as directed.
The intention of the content on this site is for your inspiration and enjoyment. It is not a substitute for advice given by a licensed health-care professional. You are responsible for medically confirming any dietary restrictions and ingredient safety with product manufacturers before consuming or using any product. If you have dietary restrictions, always read the labels before including any ingredient in your cooking.
As an affiliate member, if you click on links in my posts and purchase a product, I may receive a small percentage of the sale. Any commissions received will be used to offset a portion of the costs of running The Heritage Cook. If I have received products for review or had travel expenses covered, I will disclose that in the content of each article where applicable.
Thank You!

