One of my favorite foods is fried chicken. While I grew up with fried cut-up chicken, today’s Buttermilk Fried Chicken Fingers make this favorite even easier to eat … no bones! Fried chicken is great hot or at room temperature and everyone loves it, making it the perfect food choice for family dinners, picnics, and casual get togethers!
My grandmother’s fried chicken was outstanding, crispy and so satisfying. She used a simple seasoned flour blend that I still love. No buttermilk for her. Others swear by a buttermilk soaking but that changes the texture of the meat too much for me.
I found a happy medium that really works — using buttermilk instead of the usual egg in the breading process for a touch of the tanginess but much easier and less prep time with no marinating required. (For a dairy-free option, use beaten eggs in place of the buttermilk.)
The almond meal in the breading adds a beautiful flavor and the crunchiness we crave. Just be sure to press it into the buttermilk-coated chicken pieces firmly so it sticks. And leave them alone while they are cooking initially to set the coating on the first side. Once it is golden brown, it is much easier to flip over with tongs.
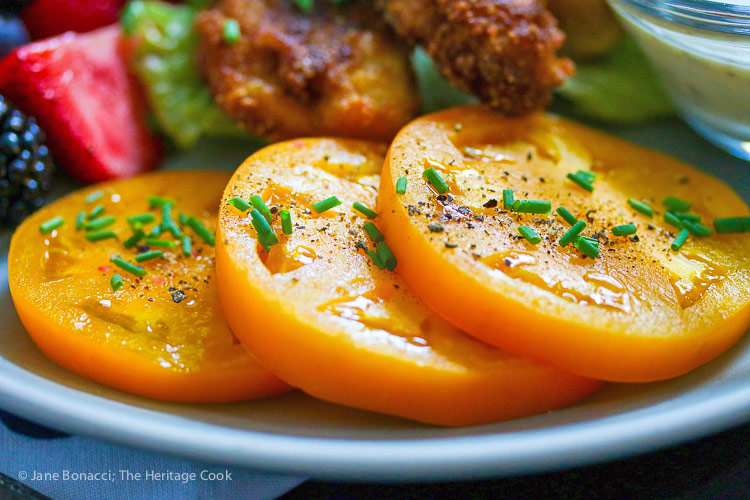
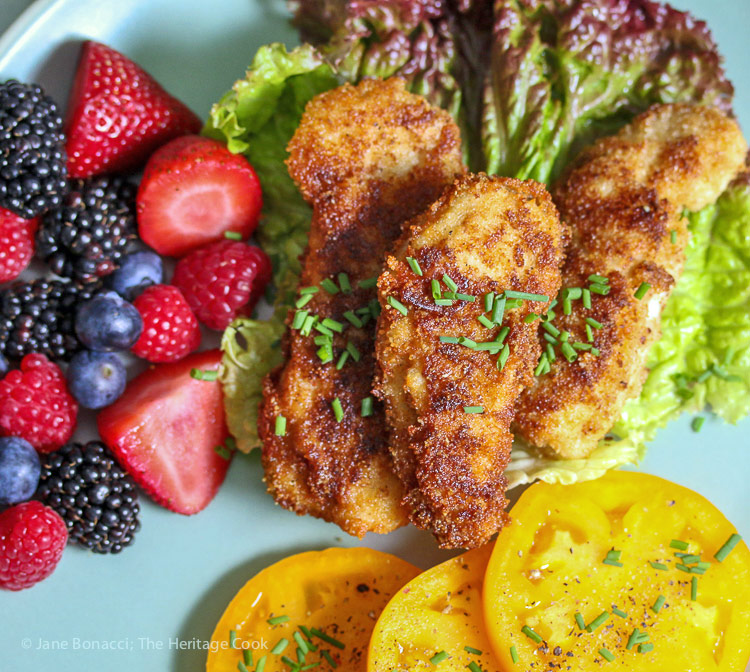
Beautiful Summer Heirloom Tomatoes
Using a wire rack set over a baking sheet to rest the cooked chicken helps keep the pieces nice and crunchy while you cook the rest. It also allows you to keep them warm in a low oven so you bring everything to the table piping hot.
If you have little ones in your house, they will love being able to eat these without bothering with utensils. You can serve them with dipping sauces if you like … Stubb’s brand BBQ sauce is gluten-free and here is a recipe for homemade Ranch dressing!
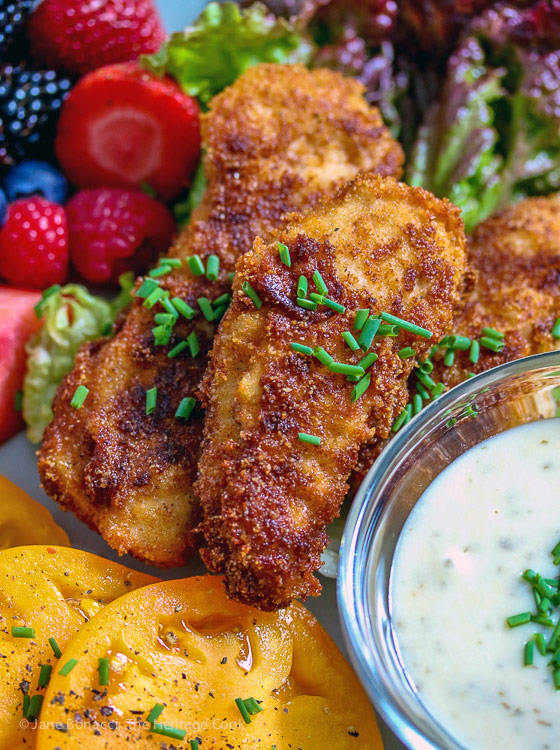
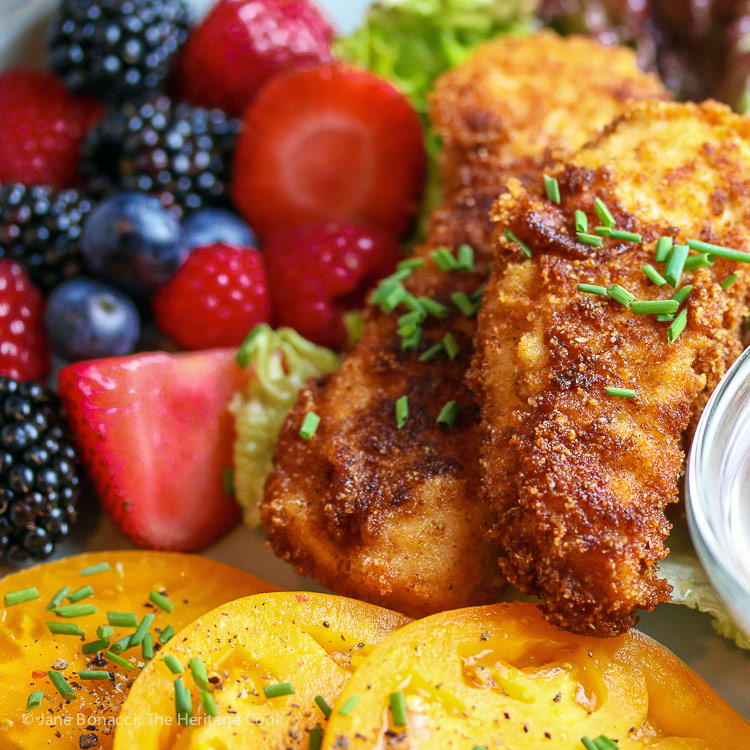
I loved these little bites of pure indulgence, crunchy, piping hot and sublime. I rarely eat fried foods these days and this was a wonderful memory brought back to life. Suddenly I was a youngster, going to an outdoor concert with my friends, opening the picnic basket and finding perfectly cooked fried chicken … but in an easier-to-eat boneless form. Heaven!
So, with Memorial Day in the rear view mirror, pack up the cooler, hop in the car and head to the beach or local park for a picnic. Be sure you have these Buttermilk Fried Chicken Fingers in the basket for the perfect main course. And don’t forget to pack a couple of fun dipping sauces!
Did you enjoy this recipe? Let me know in the comments, I love hearing from you!
Key Ingredients for Buttermilk Fried Chicken Fingers:
- GF flour, salt, pepper, garlic powder, onion powder, chili powder
- Buttermilk, almond meal, boneless skinless chicken
- Cayenne pepper, vegetable oil
Why do people use buttermilk to marinate chicken?
In the past people would eat older, tougher chickens and used buttermilk to tenderize the meat. We now eat much younger chicken which are naturally more tender. Many people prefer the taste of the buttermilk, but I am not partial to the texture it gives today’s chicken. But if you like it, by all means marinate your chicken for several hours before continuing with the recipe.
PRO Tip:
When you are doing breading, it is best to use one hand for the wet ingredients and the other for the dry. Your hands will get less gunky (that’s a technical term LOL). And don’t plan on answering the phone until you are done!
How to make Buttermilk Fried Chicken Fingers:
- Set up a breading station next to the stove, one container with seasoned flour, one with buttermilk, and the third with seasoned almond meal
- Coat the chicken pieces lightly with flour, dip into the buttermilk, and then into the almond meal; set pieces on a baking sheet to rest
- Heat the oil in a large, deep skillet and preheat the oven
- When the oil is shimmering, carefully add a few of the chicken pieces to the hot oil and cook, without touching, until golden brown, then flip and cook the second side
- Transfer cooked chicken pieces to a wire rack set into a baking sheet and keep warm in the low oven; repeat with remaining chicken pieces
- Serve the hot, crispy chicken with your choices of dipping sauces if desired
Recommended Tools (affiliate links; no extra cost to you):
- Chef’s knife
- Cutting board
- Au gratin dishes or pie plates
- Baking sheets
- Parchment paper or Silpat
- Wire cooling rack
- Deep skillet
- Tongs
Gluten-Free Tips:
Using the gluten-free flour blend and almond meal as the breading adds great flavor and texture, giving you crispy bites you will love.
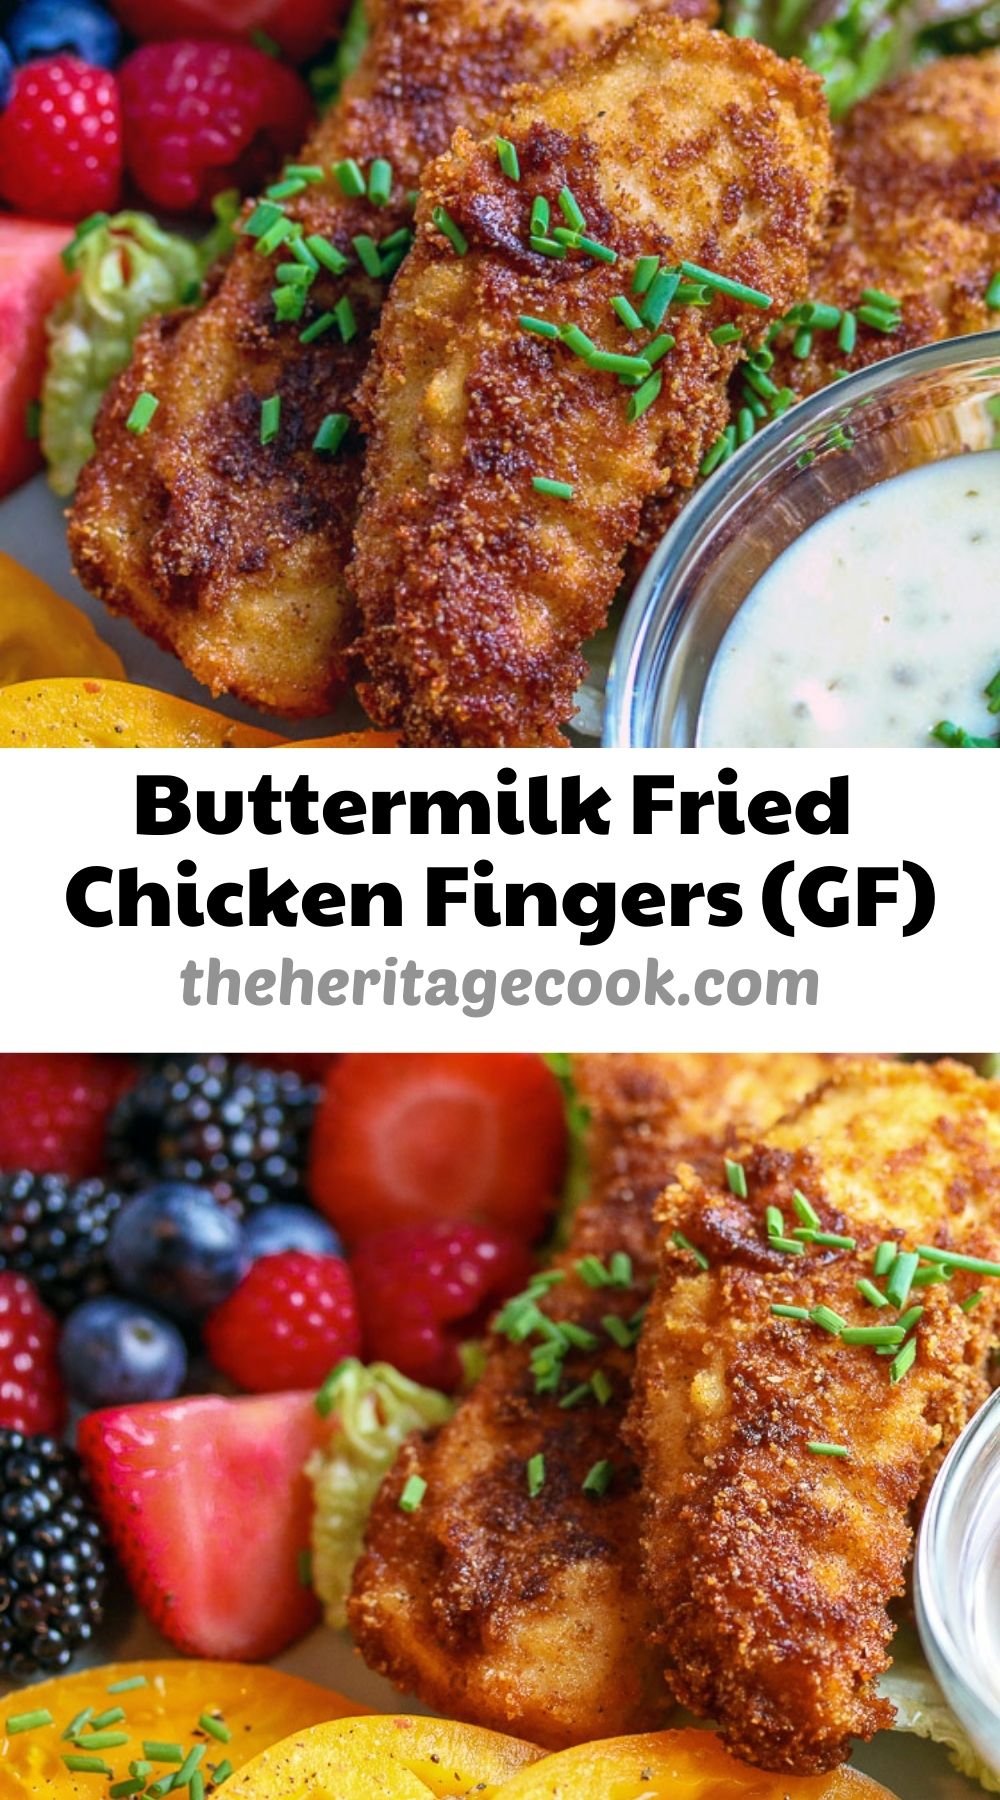
Buttermilk Fried Chicken Fingers (Gluten-Free)
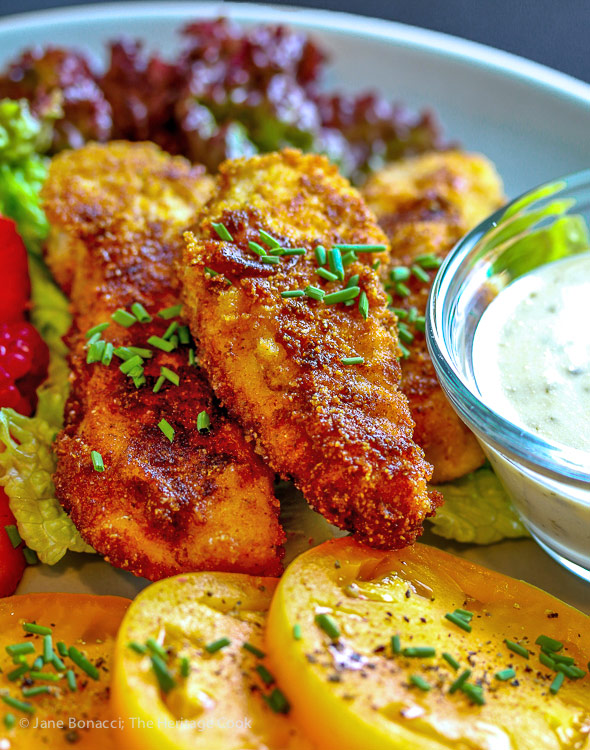
Buttermilk Fried Chicken Fingers are the perfect weeknight meal, lunch for your little ones, or picnic fare for one last outdoor feast. Crunchy and so satisfying, they are gluten-free thanks to a breading made with almond meal!
Ingredients
Breading
- 1-1/2 cups gluten-free flour blend or all-purpose flour
- 1 tsp kosher or fine sea salt
- 1 tsp freshly ground black pepper
- 1 tsp garlic powder
- 1 tsp onion powder
- 1 tsp chili powder
- 1-1/2 cups buttermilk
- 2 cups almond meal
- 1/2 tsp salt
- 1/2 tsp freshly ground black pepper
- 1/2 tsp onion powder
Chicken
- About 2 lb boneless, skinless chicken breasts or tenderloins, cut into strips
- 2 tsp salt
- 1 tsp cayenne pepper
- 1 tsp garlic powder
For Frying
- 3 to 4 cups vegetable oil
Instructions
- Set up a Breading Station: Set 3 shallow containers (such as an au gratin dish, a quiche pan, or pie plate) next to one another on the counter on the right side of the stove. In the far right container combine the flour with the salt, pepper, garlic powder, onion powder, and chili powder; stir to combine. In the center container pour in the buttermilk. In the third container mix the almond meal with the seasonings, stirring to combine evenly.
- Prep the Chicken: Line a baking sheet with foil, parchment, or a Silpat. Set it next to the breading station containers. In a second baking sheet, set a wire cooling rack and set aside. In a small bowl, mix together the salt, cayenne, and garlic. Sprinkle this mixture over both sides of the chicken pieces.
- Coat the chicken strips lightly with the flour blend, shaking off the excess. Dredge them in the buttermilk and then coat thoroughly with the seasoned almond meal, pressing to be sure it adheres. Set each piece slightly apart on the foil-lined baking sheet. Continue until you have coated all the chicken. Leave the chicken to rest while you heat the oil.
- Preheat the oven to 200°F.
- Cook the Chicken: Pour the oil into a large, heavy, straight-sided skillet, with sides about 3-inches high, to a depth of about 1-inch. Heat over high heat until the oil is shimmering and a little of the flour dropped into it sizzles when it hits the hot oil.
- Use tongs to carefully transfer a few of the chicken pieces to the hot oil, leaving plenty of room between the pieces. Cook about 2 minutes until the bottom half of the pieces are golden brown, then use the tongs to flip each one over to cook the second side. When both sides are equally golden brown, transfer to the rack set over the second baking sheet.
- Reduce the heat to medium and continue cooking the chicken, a few pieces at a time until they are all cooked and golden brown. Keep the cooked pieces warm in the oven on a rack set into a baking sheet as you finish frying the rest. Serve hot.
- Recipe Source: The Heritage Cook
If you enjoyed this recipe, be sure to follow me on social media so you never miss a post:
Create a New Tradition Today!
Welcome! The suggestions here are not intended as dietary advice or as a substitute for consulting a dietician, physician, or other medical professional. Please see the Disclaimers/Privacy Policy page for additional details. Unauthorized use, distribution, and/or duplication of proprietary material from The Heritage Cook without prior approval is prohibited. If you have any questions or would like permission, please contact me. We participate in the Amazon Services LLC Associates Program, an affiliate advertising program designed to provide a means for sites to earn advertising fees by advertising and linking to amazon.com. This page may contain affiliate links. This post was first shared in Aug 2017. The article was updated in 2021.



Brielle @ Breezy Bakes
Haha! I’ve never thought of a two handed technique for breading. Why have I never done that??? Makes total sense.
These chicken fingers look so fabulous. My girls would just love these since we don’t do chicken nuggets. Thanks for sharing!
Jane Bonacci
Isn’t it funny how we don’t realize there is a simpler way to do something and when we discover it, it’s one of those “I should have figured that out” moments, LOL. I’m glad your girls will enjoy these. You can also cut them into smaller cubes for a homemade version of chicken nuggets. Thanks Brielle!