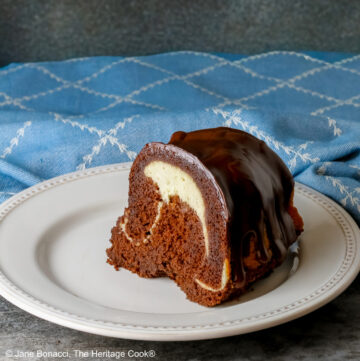
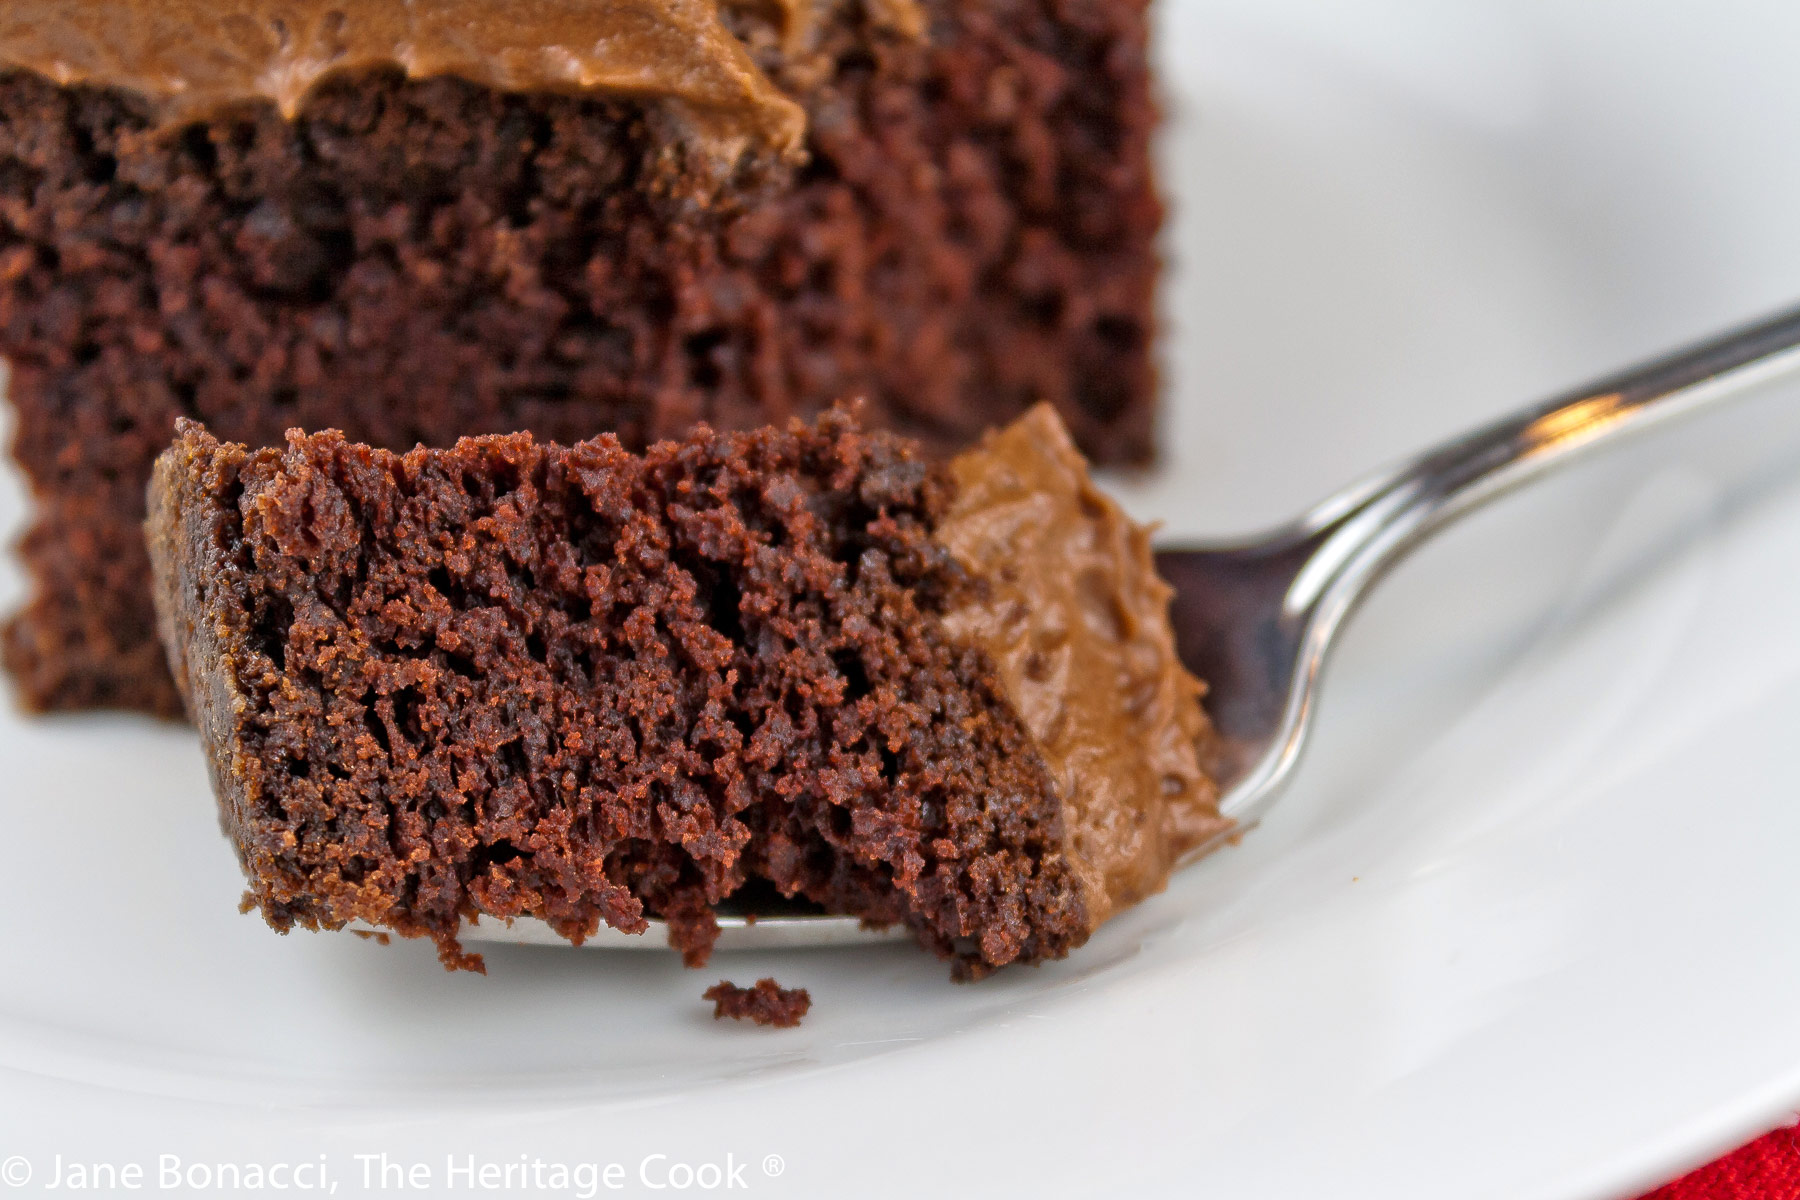
Deeply chocolatey, with a tender crumb and rich chocolate filling, this Chocolate Blackout Cake is a dessert that anyone would be thrilled to receive or be served after dinner with a cup of coffee or glass of milk.
I couldn’t let today pass without honoring our favorite dessert, chocolate cake … especially when I could share it with all of you on Chocolate Monday! The cookies I was planning on making just had to wait until later because this is one heck of a great cake and I am thrilled to share it with you!
Gale Gand is one of my favorite chefs and cookbook authors and the original recipe I started with is one of her most requested. I followed the cake recipe with the exception of substituting my adjusted gluten-free flour blend for cake flour** for the regular wheat flour called for. I did change the technique slightly from Gale’s original directions, because it worked better this way with my stand mixer.
One of the directions in the recipe tells us to sift the flours together. A quick and easy way to do this is to use a wire basket. I set it in a bowl, add the flours and other dry ingredients, and then shake them into the bowl. Whisking will also work or putting everything in a covered container and shaking it hard. The idea is to blend everything evenly and break up any clumps.
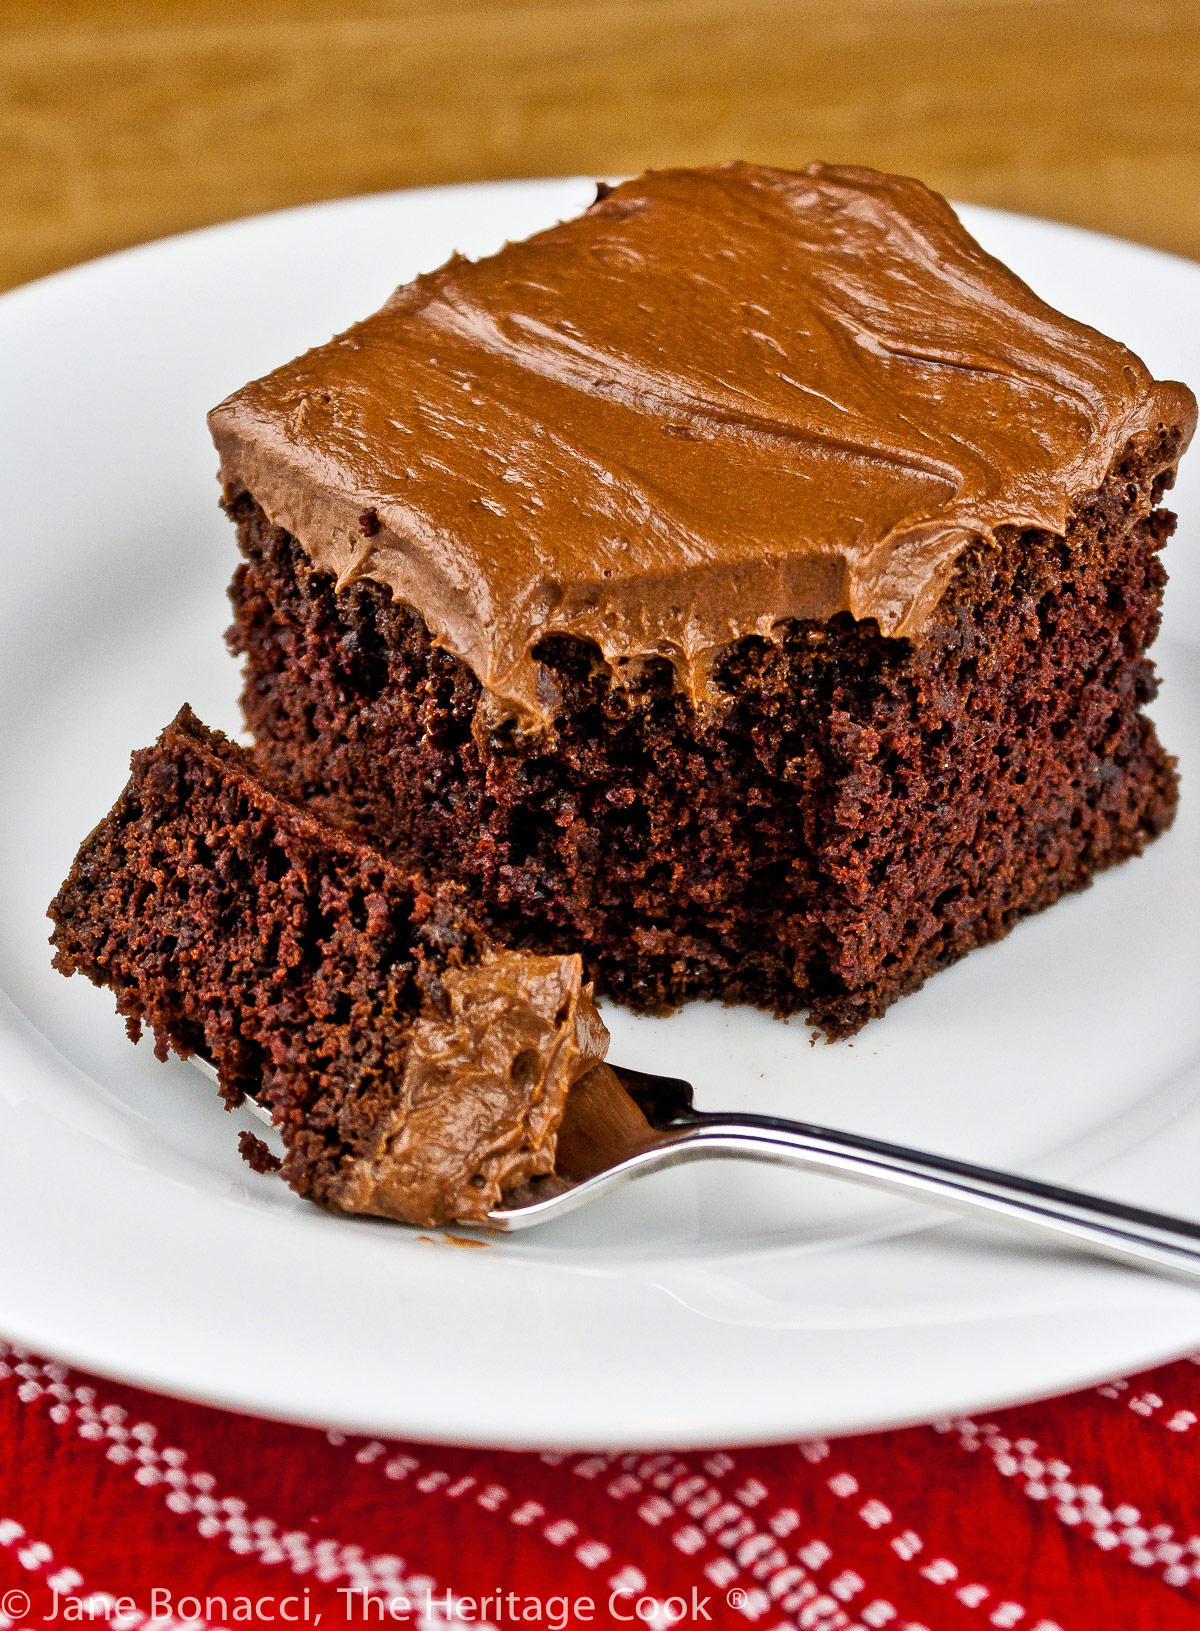
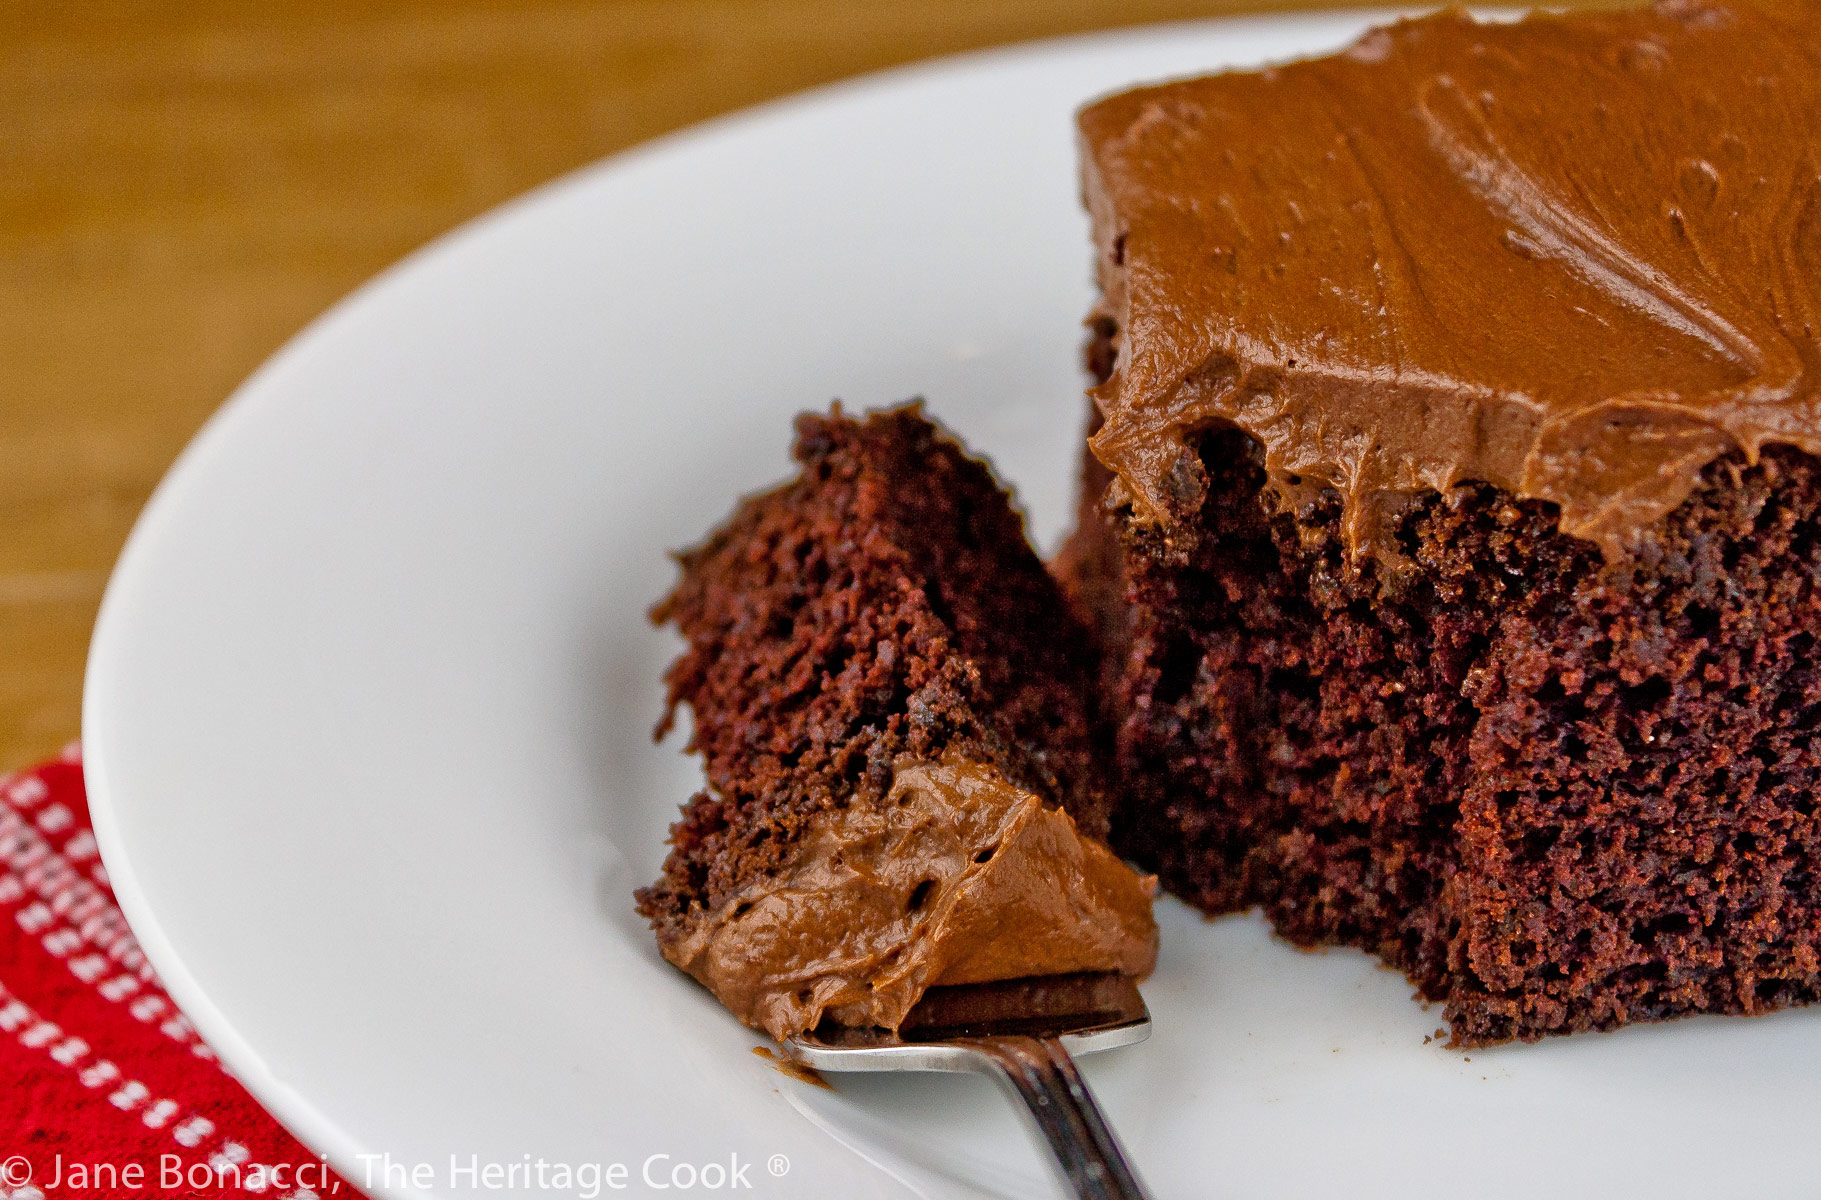
The only thing that really surprised me was the texture of the batter. It was very thick and required a lot of work to get it into all the corners of the baking pan. I didn’t get the top as smooth as I would have liked, so topping it with the frosting covered up the unevenness and made it look beautiful.
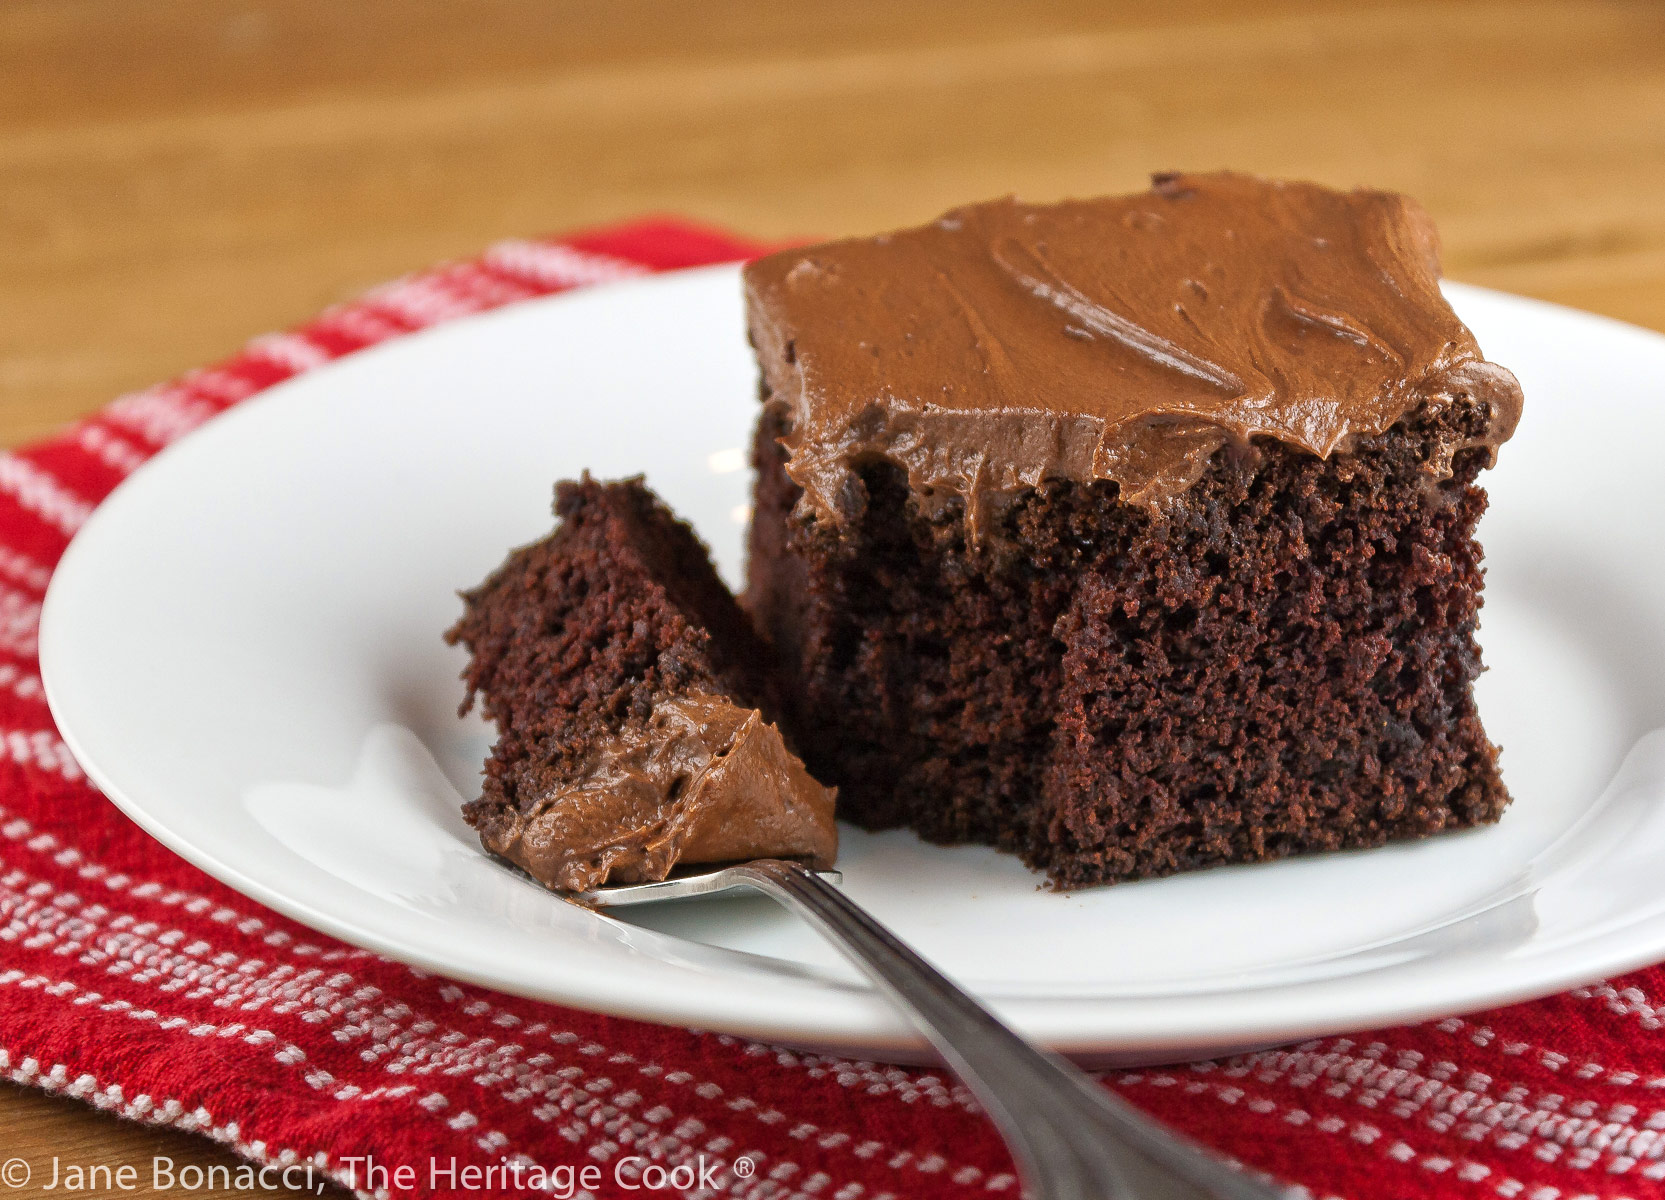
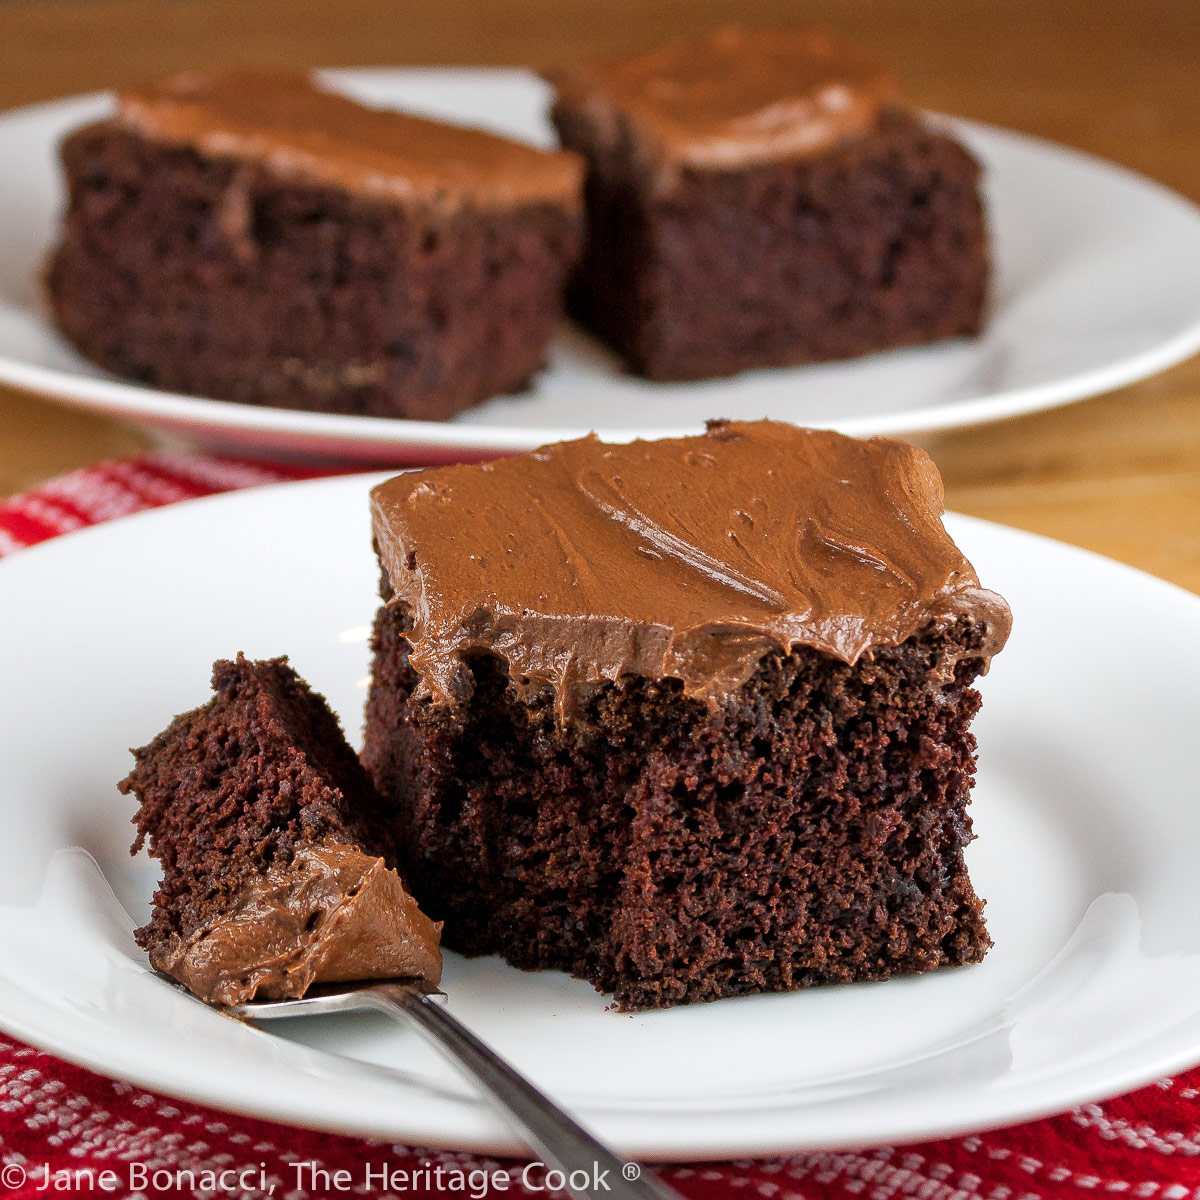
I chose to make this into a sheet cake because I was going to be taking the cake with me to family dinner at my father-in-law’s house. It is much more dramatic as a layer cake and spectacularly gorgeous. I’ve given you directions for both formats.
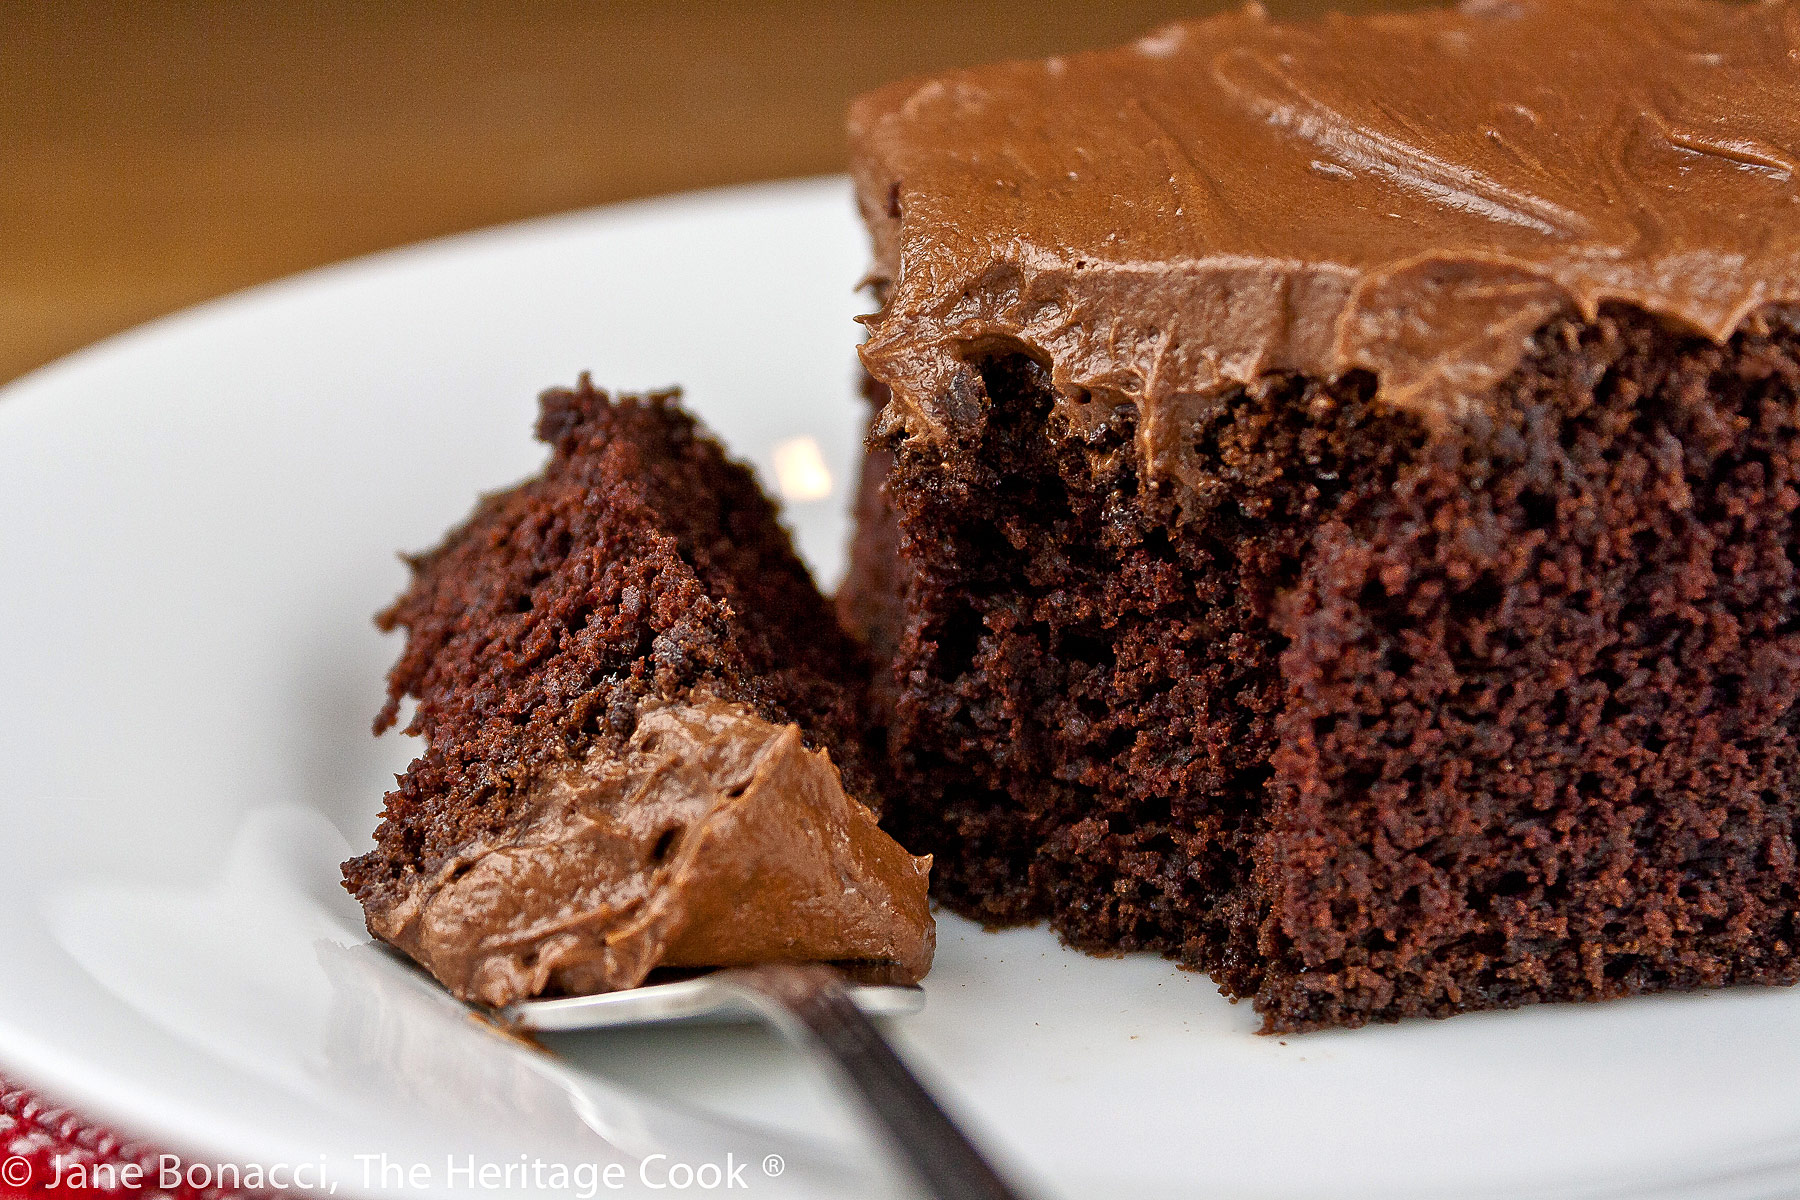
Because it was the first time I made this recipe and I was converting it to gluten-free (always a little risky), The Artist and I did a bit of quality control and took a bite before I frosted it. It was pretty darn good. And then I added the frosting and cut a piece for photographing. After my shoot was done we both had a bite and declared it was even better with the frosting.
About 20 minutes later, here comes The Artist again, sneaking into the kitchen to grab another slice. Before heading back upstairs to bed, he turned to me, and with a laugh, cursed Chocolate Mondays because one bite wasn’t enough … he had to have to have another piece before he could get to sleep, LOL!
If you are craving chocolate put this Chocolate Blackout Cake on your must make list. Gale’s idea to crumble up one of the layers and using the crumbs to press onto the frosting is brilliant. The cake is easy to make, looks wonderful, and the crumbs cover up any beginner mistakes.
Happy Chocolate Monday! Have a wonderful week!!
Did you enjoy this recipe? Let me know in the comments and leave a star rating, I love hearing from you!
Ingredients needed for Chocolate Blackout Cake:
- Cake flour, butter, shortening, sugar, eggs, vanilla, natural cocoa powder
- Baking powder, baking soda, salt, milk, cornstarch
PRO Tip:
Natural cocoa powder is one of two types of unsweetened cocoa powder. It adds intense chocolate flavor to the cake. Do NOT use Dutch-process or other alkalized cocoa; when combined with baking soda, it can make a cake taste soapy.
PRO Tip:
I chose to make my Chocolate Blackout Cake into a sheet cake in a 9×13-inch baking pan because I was transporting it to someone’s house. This means that even though I added a thick layer of frosting on top, I still had some leftover. You can use it to top cookies, another cake, or to sandwich two cookies together.
How to make Chocolate Blackout Cake:
- Beat the butter and shortening until creamy then add the sugar and beat until fluffy. Add the eggs beating well after each one and beat in the vanilla; switch to the whisk attachment and thoroughly scrape the bowl.
- In a small bowl whisk together the cocoa powder, baking powder, baking soda, and salt. Slowly add the cocoa mixture to the whipped butter/sugar/egg, starting on low speed and increasing to high once fully incorporated. Add 1/3 of the flour and beat in, add half the milk, beating until smooth. Add another 1/3 of the flour, the remaining milk, and remaining flour, beating between each addition. Increase speed to high for about 15 seconds. Scrape the bowl and beater to be sure there are no lingering dry ingredients that aren’t incorporated.
- Divide batter equally between two buttered 9-inch round pans with parchment in the bottom, smoothing tops with an offset spatula. Bake in preheated 375°F (191°C) oven for about 30 minutes until a toothpick comes out with a few moist crumbs and the cakes pull away from the sides of the pans. Remove from the oven and let rest in the pans for 15 minutes, then invert onto a wire rack to cool completely. If you used a 9×13-inch pan, leave the cake in the pan and cool completely then frost in the pan.
- To make the frosting/filling, in a large saucepan combine water with the sugar, corn syrup, and cocoa powder and bring to a boil whisking constantly. In a bowl, whisk the cornstarch with 1/2 cup water until smooth then whisk this into the boiling chocolate mixture. Cook over medium-high heat whisking constantly until very thick.
- Remove from the heat and whisk in the butter, vanilla, and salt. Transfer to a bowl, cover with plastic wrap pressed to the surface. Let cool then refrigerate until firm, about 45 minutes.
- To make a layer cake, when cakes are completely cool, use a sharp knife and slice each layer in half to create 4 cake layers. Take one of the rounded layers and pulse it in a food processor until completely crumbly. Set aside to use for decorating the cake later.
- Place one of the layers on a cake plate and top with 1-1/2 cups of the filling/frosting, spreading it to cover the cake. Top with a second layer and spread another 1-1/2 cups of the filling/frosting on top; cover with the remaining rounded layer (rounded side up) and spread remaining frosting over the top and sides of the cake. Pat the cake crumbs over the sides and top of the cake. Refrigerate cake at least 1 hour before serving.
- To make a sheet cake, spread a thick layer of the frosting over the top of the cooled cake. Refrigerate 1 hour before cutting into squares and serving. Use leftover frosting to top cookies, another cake or brownies, or to sandwich two cookies together.
PRO Tip:
If you are making a layer cake, once baked and cooled, slice each layer in half horizontally to create 4 layers. Pulse one of the top (rounded) layers in a food processor lightly to turn into cake crumbs. They will be used to decorate the outside of the 3-tier cake.
Recommended Tools (affiliate links; no extra cost to you):
- Kitchen scale
- Mixing bowls
- 9-inch round cake pans or 9×13-inch baking pan
- Parchment rounds or sheets
- Stand mixer with paddle and whisk attachments
- Spatulas
- Wire cooling rack
- Slicing knife (granton edge)
- Large saucepan
- Food processor
Gluten-Free Tips:
You can adjust any baking recipe to gluten-free by using 120 grams per cup of my favorite gluten-free flour blend. If you are using another brand of gluten-free flour, whisk the mix, spoon it lightly into a measuring cup until mounded, level off the top with the back of a knife, and weigh the flour left in the cup. Use that weight as your standard per cup of that specific flour. Do this for each flour blend you use. Commercial blends such as Pamela’s All-Purpose Artisan Blend, Bob’s Red Mill 1-to-1, or King Arthur Measure for Measure are all good choices.
All recommended ingredients are gluten-free as of the writing of this article. Always check to be sure the products haven’t changed and are still safe to consume.
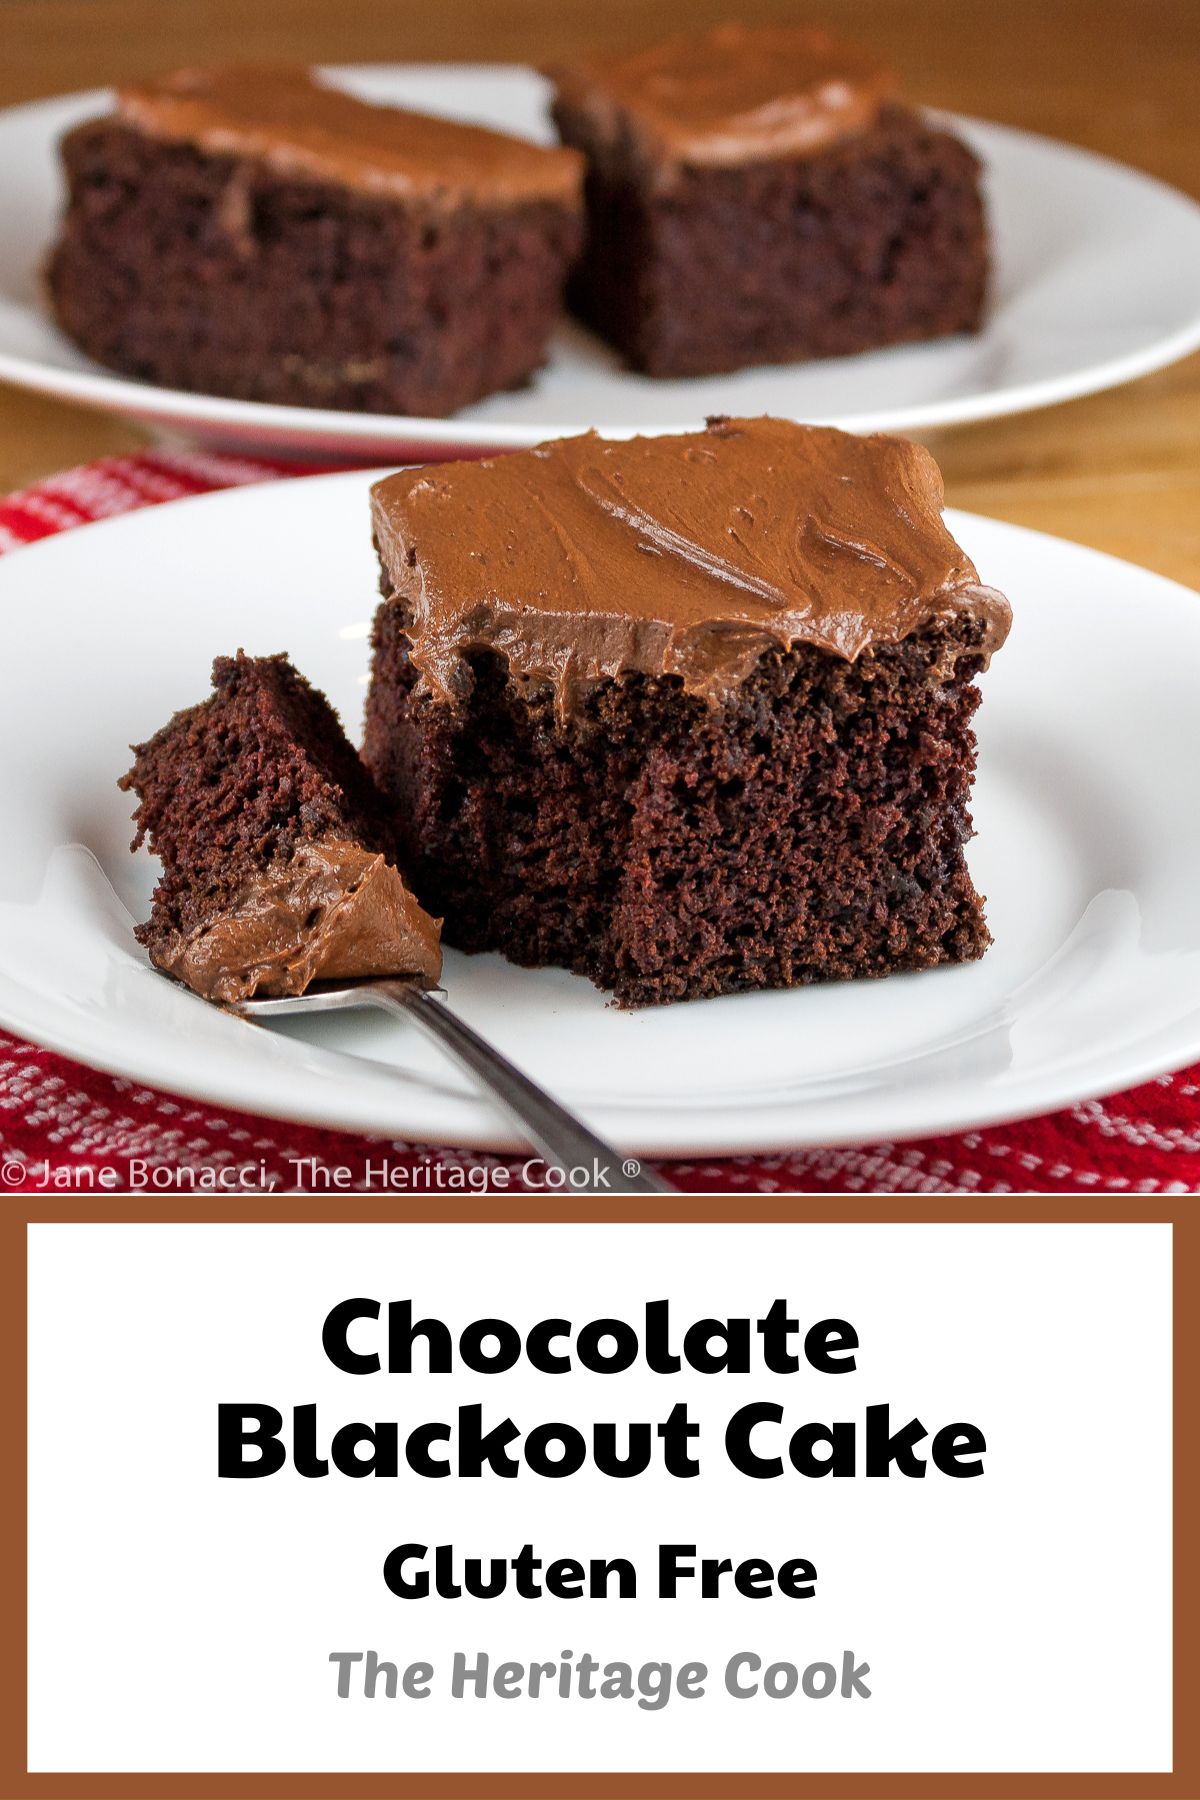
Chocolate Blackout Cake with Chocolate Frosting (GF)

Deeply chocolatey, with a tender crumb and rich chocolate filling, this Chocolate Blackout Cake is a dessert that anyone would be thrilled to receive or be served after dinner with a cup of coffee, tea, or a glass of milk.
Ingredients
Cake
- 2-1/4 cups (270g) cake flour*, plus more for dusting (see below to make your own)
- 1 stick (113g) unsalted butter, softened, plus more for the pan(s)
- 1/4 cup (46g) solid vegetable shortening
- 2 cups (396g) granulated sugar
- 3 (150g) large eggs
- 2 tsp pure vanilla extract
- 3/4 cup (63g) unsweetened NATURAL cocoa powder (see NOTE)
- 1 tsp baking powder (Rumford brand is gluten-free)
- 1 tsp baking soda
- 1/2 tsp salt
- 1 cup (227g) milk
Filling / Frosting
- 3 cups (681g) water, divided
- 2-1/2 cups (495g) granulated sugar
- 1 tbsp corn syrup
- 1-1/2 cups (126g) unsweetened NATURAL cocoa powder (see NOTE)
- 2/3 cup (75g) cornstarch
- 6 tbsp (85g) unsalted butter, cut into small cubes
- 1/2 tsp pure vanilla extract
- Pinch salt
Instructions
- Preheat the oven to 375°F (191°C). Butter 2 (9-inch; 23cm) round cake pans or a 9x13-inch (23x33cm) rectangular cake pan. Coat the pan(s) lightly with more flour (gluten-free if using). Line the bottom(s) of the pan(s) with parchment circles or sheet.
- Prepare the Cake: In the bowl of a stand mixer fitted with the paddle attachment, beat the butter with the vegetable shortening until creamy. Add the sugar and beat at medium speed until fluffy, about 3 minutes. (If your house is cool, it will take all of those 3 minutes.) Add the eggs, one at a time, beating well between each addition. Add the vanilla. Remove the paddle attachment, scrape the sides and bottom of the bowl, and put on the whisk attachment.
- In a small bowl, combine the cocoa powder, baking powder, baking soda, and salt; whisk to blend. Add this mixture slowly to the whipped butter/sugar/egg mixture, starting on low and increasing the speed to high once incorporated. Stop the mixer and scrape down the sides and bottom. Add 1/3 of the flour and mix until incorporated. Add half the milk and beat until smooth. Repeat with another 1/3 of the flour, remaining milk, and remaining flour, beating between each addition. Once the final flour has been incorporated, increase speed to high for about 15 seconds. Stop the mixer, remove whisk attachment, and using a rubber spatula, scrape the bowl and beater, making sure everything is combined and no pockets of dry ingredients remain.
- Divide the batter evenly between the two round cake pans (or all the batter into the single rectangular 9x13” pan), smoothing the tops with an offset spatula. Bake in the preheated oven for about 30 minutes or until a toothpick inserted in the center comes out with a few moist crumbs attached and they begin to pull away from the sides of the pan. Remove from the oven leave in their pans for 15 minutes. Then invert them onto a wire rack to cool completely. If you made your cake in a rectangular 9x13-inch pan, cool and frost the cake in the same pan, making this extremely easy to transport to parties or events.
- Make the Filling/Frosting for a Layer Cake: In a large saucepan, combine 2-1/2 cups (568g) of the water with the sugar, corn syrup, and cocoa powder and bring to a boil, whisking constantly.
- In a bowl, whisk the cornstarch with the remaining 1/2 cup (114g) water until smooth. Whisk this into the boiling chocolate mixture. Cook over medium-high heat, whisking constantly until very thick, about 3 minutes.
- Remove from the heat and whisk in the butter, vanilla, and salt. Transfer to a bowl, cover with a sheet of plastic wrap, pressing it onto the surface of the filling (helps to keep a skin from forming). Let cool, then refrigerate until firm, about 45 minutes.
- To Make a Layer Cake: When the round cake layers are completely cooled, use a serrated knife to slice each round cake layer in half horizontally. Take the least attractive top half layer and place in a food processor. Pulse until completely crumbled. These crumbs will be used to decorate the outside of the
cake. - Set one of the cake bottom halves on a cake plate and spread with 1-1/2 cups of the filling/frosting. Top with the second bottom layer and spread another 1-1/2 cups of filling over that layer. Cover with the cake top, rounded side up, and spread remaining filling/frosting all over the top and sides of the cake. Pat the cake crumbs over the sides and top of the cake. Refrigerate for at least 1 hour before serving.
- To Make a Sheet Cake: Spread a thick layer of the filling/frosting over the top of the cooled cake. Refrigerate for 1 hour before cutting and serving. Use the remaining frosting to top cookies, another cake, or to sandwich two cookies together.
- Make Ahead: Once cooled and assembled, this chocolate cake can be refrigerated overnight.
- NOTE: Natural cocoa powder is one of two types of unsweetened cocoa powder. It adds intense chocolate flavor to the cake. Do NOT use Dutch-process or other alkalized cocoa; when combined with baking soda, it can make a cake taste soapy.
Recipe found at www.theheritagecook.com
Notes
* To make cake flour, measure a cup of all-purpose flour or gluten-free all-purpose flour blend. Remove 2 tablespoons of the flour and replace it with 2 tablespoons of cornstarch. Do this for each cup required in your recipe.
** You can adjust any recipe to gluten-free by using 120 grams per cup of my favorite gluten-free flour blend. If you are using another recipe or brand of gluten-free flour, whisk the mix, spoon it lightly into a measuring cup without a spout until mounded, level off the top with the back of a knife, and weigh the flour left in the cup. Use that weight as your standard per cup of that specific flour. Do this for each flour blend you use. Commercial blends such as Pamela's, Bob's Red Mill 1-to-1, or King Arthur Measure for Measure are all good choices.
All recommended ingredients are gluten-free as of the writing of this article. Always check to be sure the products haven’t changed and are still safe to consume.
Adapted from a recipe by Chef and cookbook author Gale Gand.
Nutrition Information:
Yield:
10Serving Size:
1Amount Per Serving: Calories: 279Total Fat: 9gSaturated Fat: 5gTrans Fat: 0gUnsaturated Fat: 3gCholesterol: 40mgSodium: 376mgCarbohydrates: 41gFiber: 2gSugar: 2gProtein: 6g
The nutritional information for recipes on this site is calculated by online tools and is merely an estimate.
If you enjoyed this recipe for Chocolate Blackout Cake, be sure to follow me on social media so you never miss a post:
Create a New Tradition Today!
Welcome! The suggestions here are not intended as dietary advice or as a substitute for consulting a dietician, physician, or other medical professional. Please see the Disclaimers/Privacy Policy page for additional details. Unauthorized use, distribution, and/or duplication of proprietary material from The Heritage Cook without prior approval is prohibited. If you have any questions or would like permission, please contact me. We participate in the Amazon Services LLC Associates Program, an affiliate advertising program designed to provide a means for sites to earn advertising fees by advertising and linking to amazon.com. As an Amazon Associate, I earn a small amount from qualifying purchases without any additional cost to you. This page may contain affiliate links. This post was first shared in Jan 2013. The article was updated in 2023.