The Artist is a total cookie hound. They are by far his favorite dessert, snack and if he could get away with it, breakfast, lunch, and dinner! While Italian classics are his passion, nearly any cookie will do in a pinch, especially if chocolate is involved. When he heard what I making today, he gave up lunch just so he had enough room to enjoy these dessert bars.
One of my favorite cookies is shortbread. Every year during the holidays I serve mine with a citrus glaze and could honestly eat every last one of them. I have to hurry and bundle them up before they disappear. Today’s version has a chocolate-caramel topping that is just as addictive.
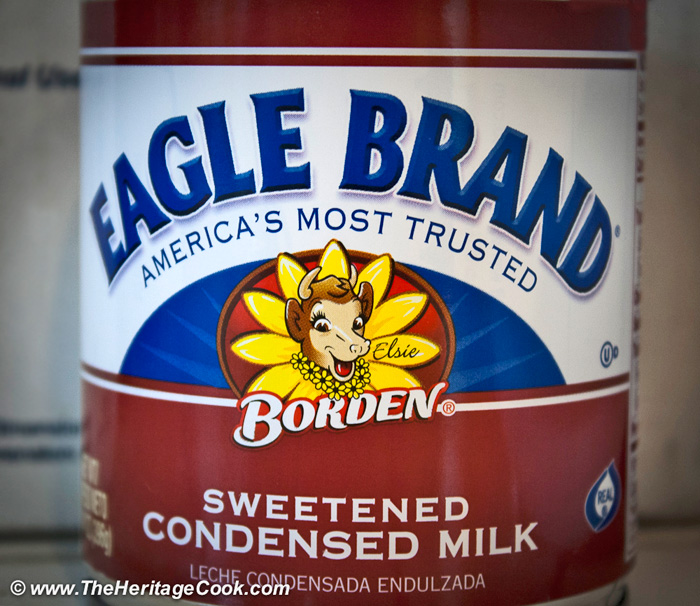
This is what makes Dulce de Leche!
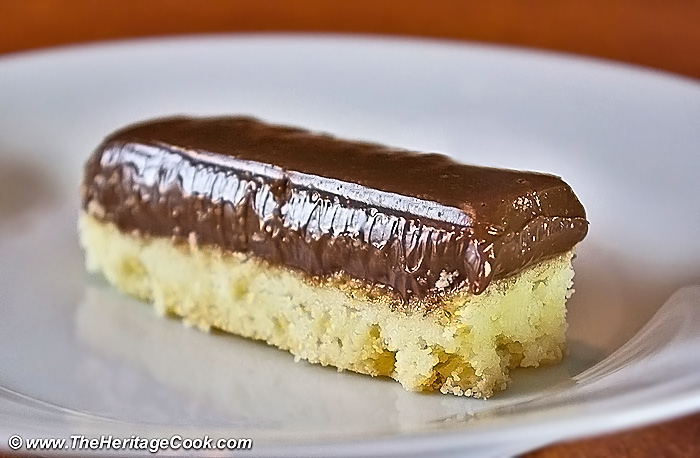
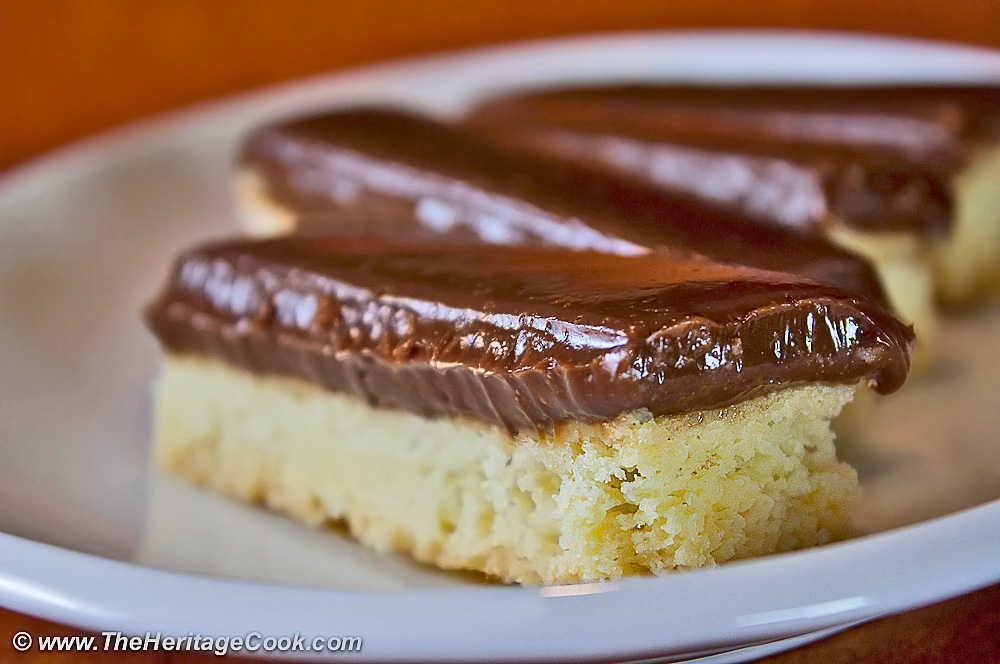
With the topping a cross between a pudding and frosting, these bars are wonderfully messy to eat and your littlest ones will definitely have their faces covered with chocolate after eating them. It would make the cutest photographs!
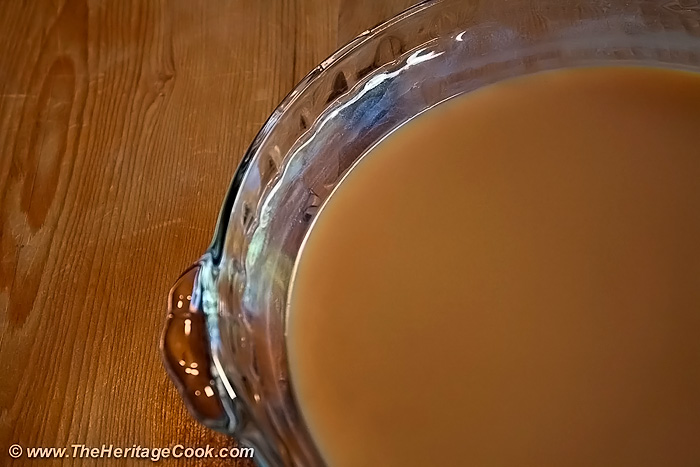
This is the color you are looking for – the same as my wood table!
One of the tricks to getting these bars out of their baking pan is to create a parchment “sling.” I have sheets of parchment paper so I folded mine to fit my pan and tucked it into the pan. It worked perfectly without any cutting involved. You bake the shortbread in the pan then spread the chocolate topping over the cooled cookie crust. Put the whole thing in the refrigerator and use the parchment paper “handles” to lift the bars out of the pan when you are ready to cut them.
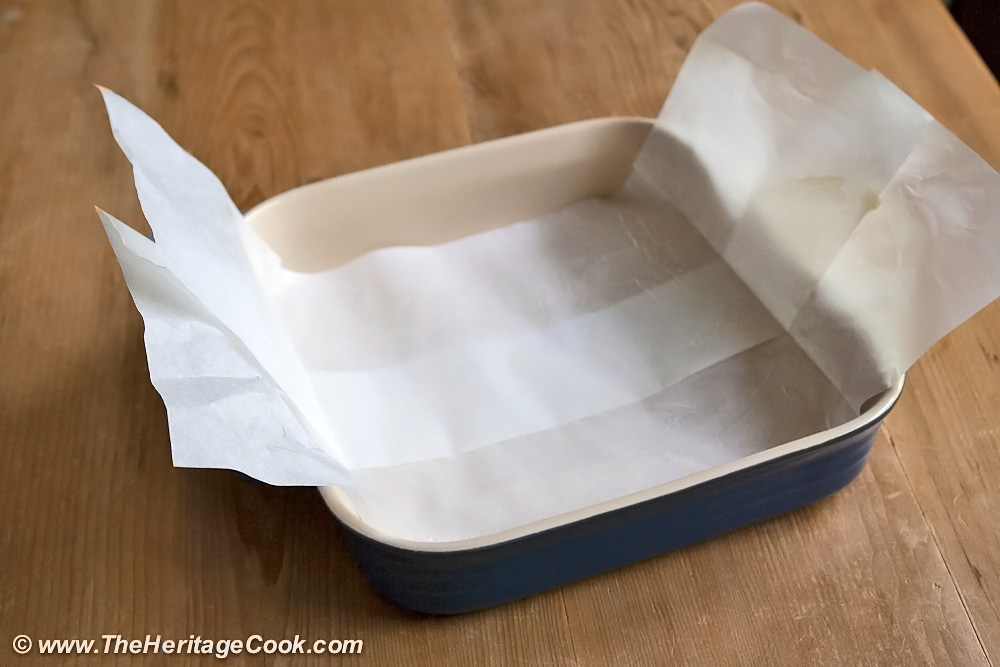
This is the parchment “sling” to help you lift the bars out of the pan
If you don’t use the right knife these may shatter on you. They are very delicate and rather crumbly. You want a long, very sharp knife, preferably with a granton edge. This knife is sometimes called a ham carving knife or slicer. The granton edge is the one that looks like it has dimples on the side. It creates an extremely sharp edge that will cut cleanly through nearly anything. I use mine all the time for carving meats and any large cuts (as long as they are boneless) and it has paid for itself many times over the years.
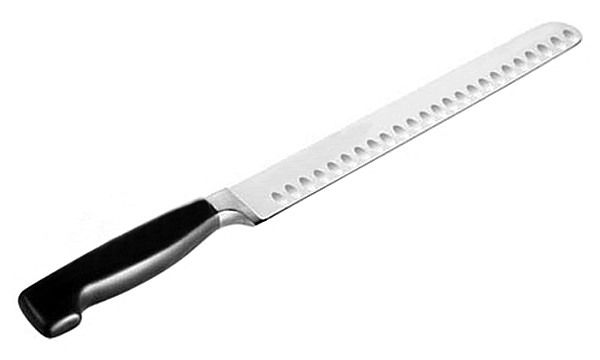
This is a Granton Slicer Knife; Photo courtesy of Amazon.com
If you wanted two different flavors, you could double the recipe and bake the shortbread in two different square baking pans. Then when you caramelize the sweetened condensed milk, transfer half to another bowl and proceed with the recipe as directed. Use the reserved half to cover one of the shortbread crusts, creating a caramel version. And of course, you can use this recipe as the base for lemon bars. Now that I think of it, you could even pour the topping into a pan and refrigerate, then serve it as pudding. That would be fantastic!
When I found out I was gluten-intolerant I was worried that I would never be able to make my favorite shortbread again, but I substituted white rice flour for the regular all-purpose in this recipe and you can’t tell the difference. I am thrilled!
Make these cookies for a special occasion, the holidays, or just because it is Chocolate Monday! Have a wonderful week!!
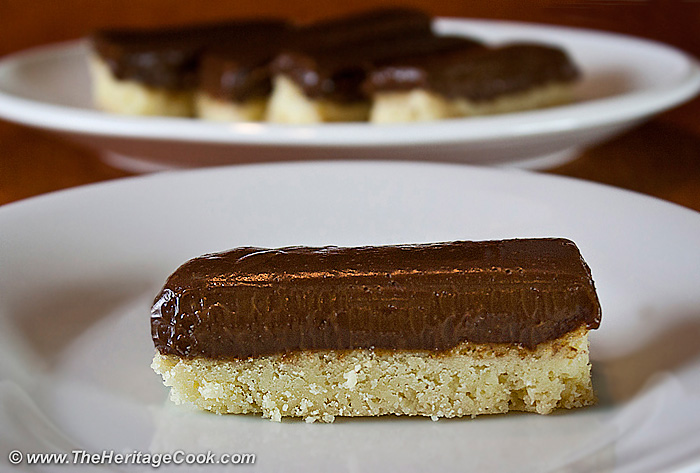
These bars are a treat any time of the year!
Jane’s Tips and Hints:
Remember if you are baking for someone who has celiac disease (you’ll have to ask about their level of sensitivity), you cannot use anything that has touched regular flour when you are baking. For some people, cross-contamination is enough to send them to the hospital. Wooden cutting boards, rolling pins, cooking spoons etc. can all retain gluten even after scrubbing. It is safer to buy new equipment if you will be baking for them often, or ask them to bring a dessert that everyone can enjoy together.
Gluten-Free Tips:
Use your favorite gluten-free flour blend (here is the link to my favorite) or buy a commercial brand. Using an extra-finely ground rice flour makes all the difference in gluten-free baking. There is no gritty, sandy texture. My favorite brand is Authentic Foods Superfine Rice Flour. It comes in white, brown and also an all-purpose GF blend.
Kitchen Skill: Making Dulce de Leche
Turning the sweetened condensed milk into caramel is the Mexican treat commonly referred to as dulce de leche or sweet milk. All it takes is time and patience. Follow the directions in the recipe and yours will turn out exactly like mine did!

- Shortbread Crust
- 3/4 cup cornstarch
- 1 cup all-purpose flour, rice flour, or gluten-free flour blend
- 1/2 tsp salt
- 1 cup unsalted butter, at room temperature
- 5-1/2 tbsp powdered sugar
- Chocolate Caramel Layer
- 1 (14 oz) can sweetened condensed milk (NOT evaporated milk)
- 1 cup heavy cream
- 4 large egg yolks
- 5 oz bittersweet chocolate (at least 65%), finely chopped, or high quality chocolate chips such as Guittard
- Make the Shortbread Crust: Set an oven rack in the center of the oven and preheat it to 375°F.
- Butter a 9-inch square baking pan (about 1 to 1-1/2 inches deep). Cut a piece of parchment paper wide enough to cover the bottom and long enough to come up both sides and hang over the edges. (see photo) This will help you get the bars out of the baking pan. Butter the parchment paper; set aside.
- In a bowl, combine the cornstarch, flour and salt. Whisk until blended.
- In the bowl of your standing mixer, cream the butter until smooth. Add the sugar and blend until sugar is completely incorporated. Add the flour mixture and mix until smooth.
- Spread the soft dough in the prepared pan, using an off-set spatula to make sure it is even and the top is smooth, pressing into the corners. Prick the entire surface with a fork. Transfer to the hot oven and bake until golden, about 20 to 25 minutes. The edges will be darker than the center. Remove from the oven and place on a wire rack to cool.
- Once the shortbread is cool, drape the top with a piece of parchment (or fold the “handles” over the top if they are long enough to cover the whole surface). Leave at room temperature while you make the Chocolate Caramel.
- Make the Chocolate Caramel: Set a rack in the center of the oven and preheat to 400°F.
- Pour the sweetened condensed milk into a shallow ovenproof dish. A glass pie plate is perfect because you can see when the milk changes color more easily. Cover dish tightly with foil and place in a large baking dish or roasting pan. Place the roasting pan on the oven rack and fill the outer pan with hot water until it reaches 3/4 of the way up the side of the covered dish creating a water bath. VERY slowly push the rack back in the oven, being careful not to splash the hot water on yourself.
- Bake for 1 to 1-1/2 hours or until golden brown. If the water is boiling too hard, reduce heat to 375°F. Check regularly to make sure the water level is high enough, refilling with hot water as needed to keep the milk submerged. It is the same technique as when you are making a custard - you don’t want the milk to burn or cook unevenly.
- After an hour, use tongs to lift back part the foil covering, being VERY careful not to burn yourself with the steam to check the color. You are looking for a medium tan/caramel color, like the color of my dining room table (see photo). Continue baking if needed. If you used a glass pie plate, you can lift it carefully out of the water, set the bottom on a kitchen towel to absorb excess water and then lift it up to look at the milk through the bottom to judge the color.
- Slip a stiff heatproof or wooden spatula under one side of the pie plate, raising it slightly out of the water. Using potholders, remove pie plate from the water bath and set on a heatproof trivet on the counter. Remove the foil. Whisk caramel until smooth. Turn off the oven and leave the pan with the hot water in the oven until it is cool enough to easily discard without burning yourself.
- Place the heavy cream and the caramelized milk in a saucepan and bring to a simmer over medium heat, whisking until smooth. Pour half of this mixture into a heatproof measuring cup (I like Pyrex).
- In the bowl of your stand mixer or a heatproof bowl, whisk the egg yolks until smooth. Very slowly add half the hot cream mixture, whisking constantly. This tempers the eggs, gently warming them slowly so they don’t scramble. Transfer the egg/cream mixture back into the saucepan and cook over medium heat, stirring constantly, until it registers 170°F on an instant-read thermometer (just below a simmer), about 5 minutes.
- Remove from the heat and add the chocolate. Whisk until all the chocolate is melted and the mixture is smooth.
- Assemble the Bars: Pour the chocolate/cream mixture over the top of the shortbread crust, jiggling it until it covers the entire surface, corner to corner. Refrigerate, uncovered, until set and fully chilled, about 2 to 4 hours.
- To Cut into Bars: Run a knife around the edges to loosen and then using the parchment paper “handles,” lift the bars out of the pan and move to a cutting board. Use a long knife to cut a thin slice off each side, wiping the knife clean under running hot water between each cut. This creates a smooth and clean edge for all of your pieces. If you start to cut them and they fall apart or the top layer is too soft, just put them back in the refrigerator to firm up more.
- Cut the square in half, drawing the knife through without lifting it up. Rinse and wipe again, then cut the opposite direction so you have even quarters. Cut each quarter into thirds to create 12 bars. Using the parchment as a sling again, lift the bars back into the baking dish for storage. Chill until ready to serve.
- Store in an airtight container in the refrigerator. Best eaten the day they are made.
- NOTE: If you have two ovens you can make the caramelized milk and bake the shortbread at the same time.
- Preheat the oven to 350°F. Lightly butter a 9 by 13-inch baking dish or Dutch oven. You can also make this in two smaller baking dishes, making it easy to freeze one for future dinners.
- Prepare Seasoned Meat: In a large skillet, heat the oil over medium-high heat. Add the ground meat and cook until browned, 5 to 7 minutes. Break up any large chunks with a spoon, flat spatula, or potato masher. Use a spoon to remove grease from the pan, and discard. Stir in the white onions, Chile Pepper, and Taco Seasoning; cook until onions are tender, about 5 minutes. Stir in the water, lime juice, and corn. Cook 2 minutes. Stir in the black beans, cook for another minute and then remove from the heat.
- Assemble and Bake the Casserole: Spread 1 cup of the salsa in the bottom of the baking dish. Lay 6 tortillas over the salsa, and spoon half of the meat mixture on top. Cover with 1/2 cup of the salsa and half the shredded cheese. Top with 6 more tortillas, the remaining meat and another 1/2 cup of salsa. Combine the remaining shredded cheese with half of the green onions and scatter over the top. Bake until heated through and the cheese is melted and bubbling, about 25 to 30 minutes.
- To Serve: Cut into squares and sprinkle with the remaining scallions. Garnish each dish with lime wedges and tortilla chips, and serve hot. Pass remaining salsa at the table.
- Make Ahead: This casserole, like so many, improves in flavor when made ahead. Cool to room temperature, cover and refrigerate. Reheat in the oven or microwave.
- Yield: 12 bars
- Lower Calorie Options: Use ground white turkey meat, eliminate the sour cream, cut back to 8 tortillas (use 4 for each layer), and reduce the amount of cheese. Serve smaller portions of the casserole and add a large tossed green salad and cut up fruit alongside. Bake in two smaller dishes and freeze one for a future meal. That way you won’t be as tempted to eat all the leftovers!
Create a New Tradition Today!
Unauthorized use, distribution, and/or duplication of proprietary material from The Heritage Cook without prior approval is prohibited. This includes copying and reprinting content and photographs. If you have any questions or would like permission, I can be contacted via email at theheritagecook (at) comcast (dot) net. Feel free to quote me, just give credit where credit is due, link to the recipe, and please send people to my website, www.theheritagecook.com. Please see the Disclaimers page for additional details.
Thank You!




Wild Child
Mmm…the Artist has excellent taste! These look delicious. I really enjoy your tips and hints. I’m checking my knife drawer to see if I have one of those knives. I have an entire drawer full of knives I’ve accumulated, and don’t know the proper usage of over half.
Jane Bonacci
If you want help discovering the best usage for your knives, I would be happy to help! I hope you make these soon and enjoy them too!
Betsy @ Desserts Required
This is fabulous. I love the option and step by step instructions!
Jane Bonacci
Thank you Betsy! I hope you make them and enjoy the combination of flavors as much as we do!