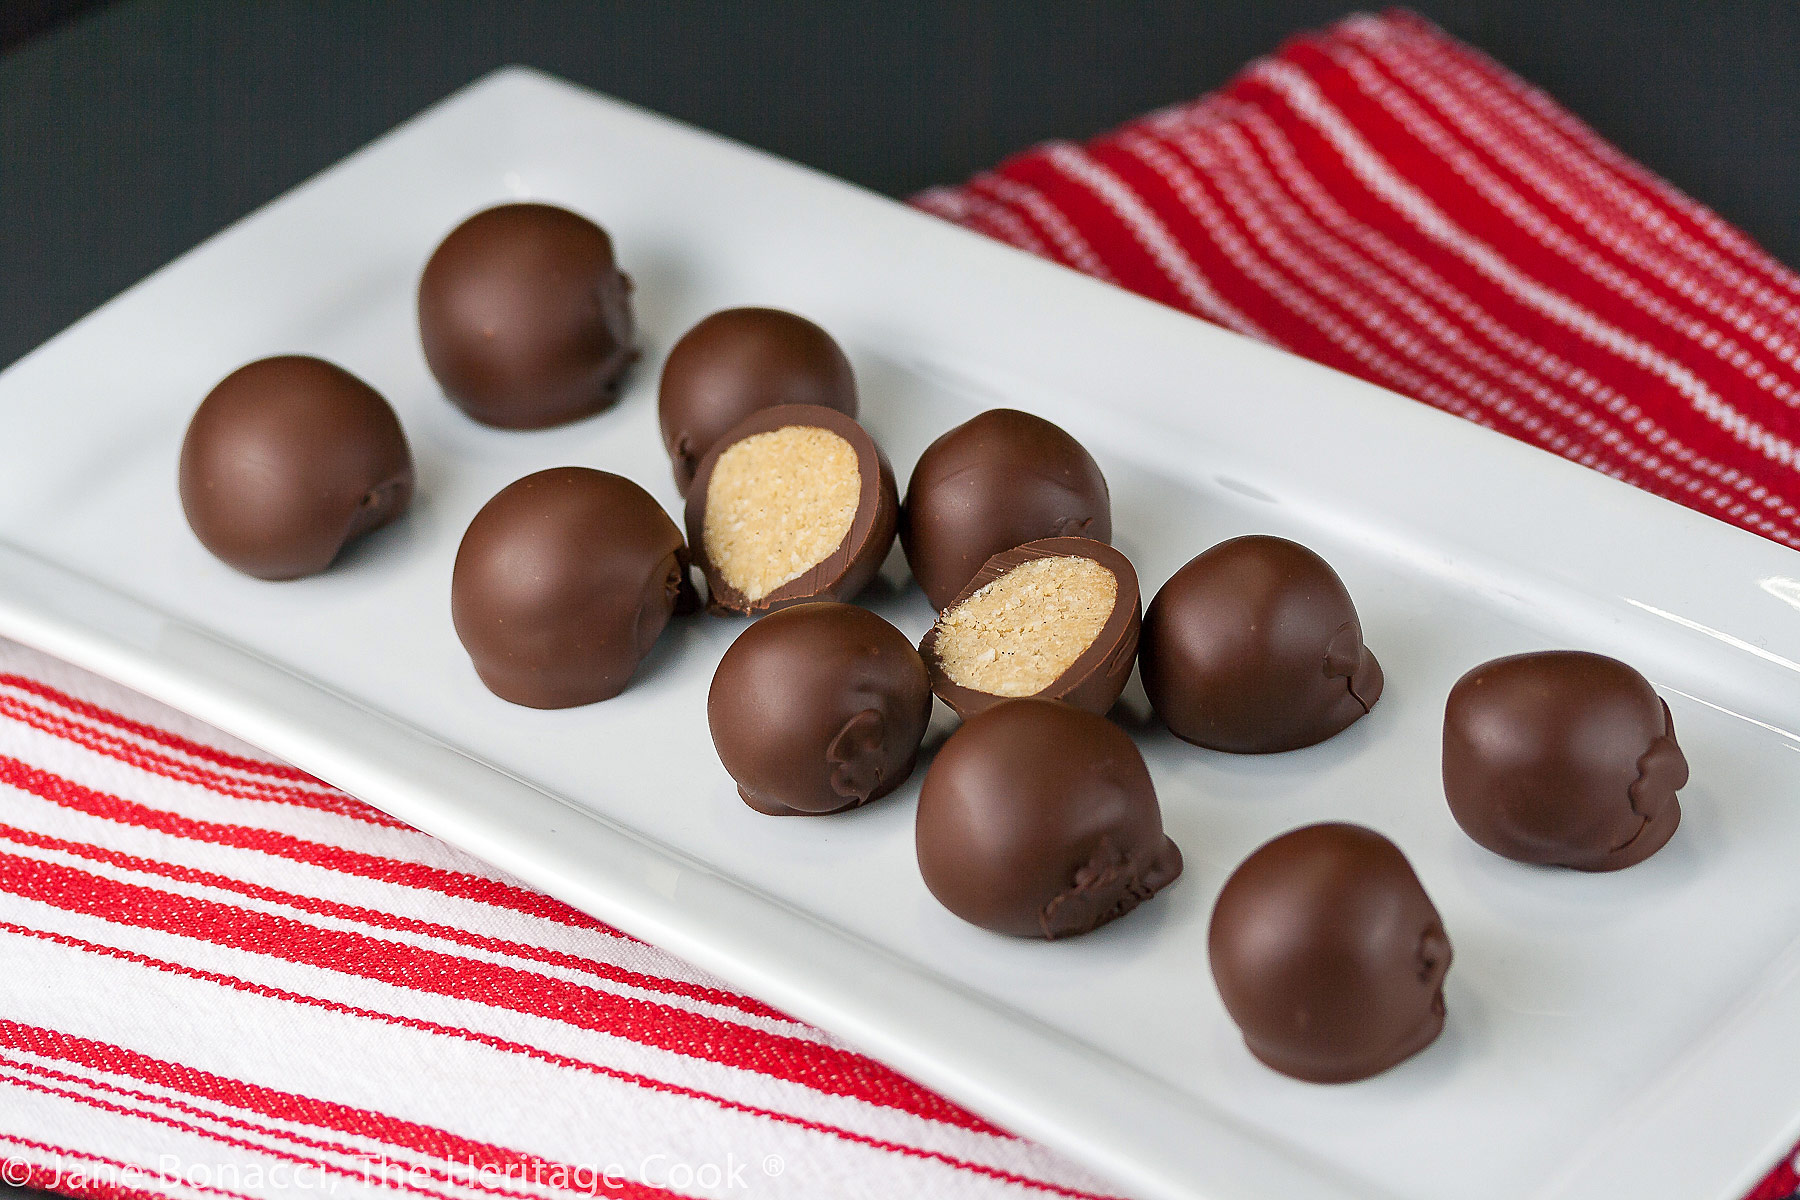
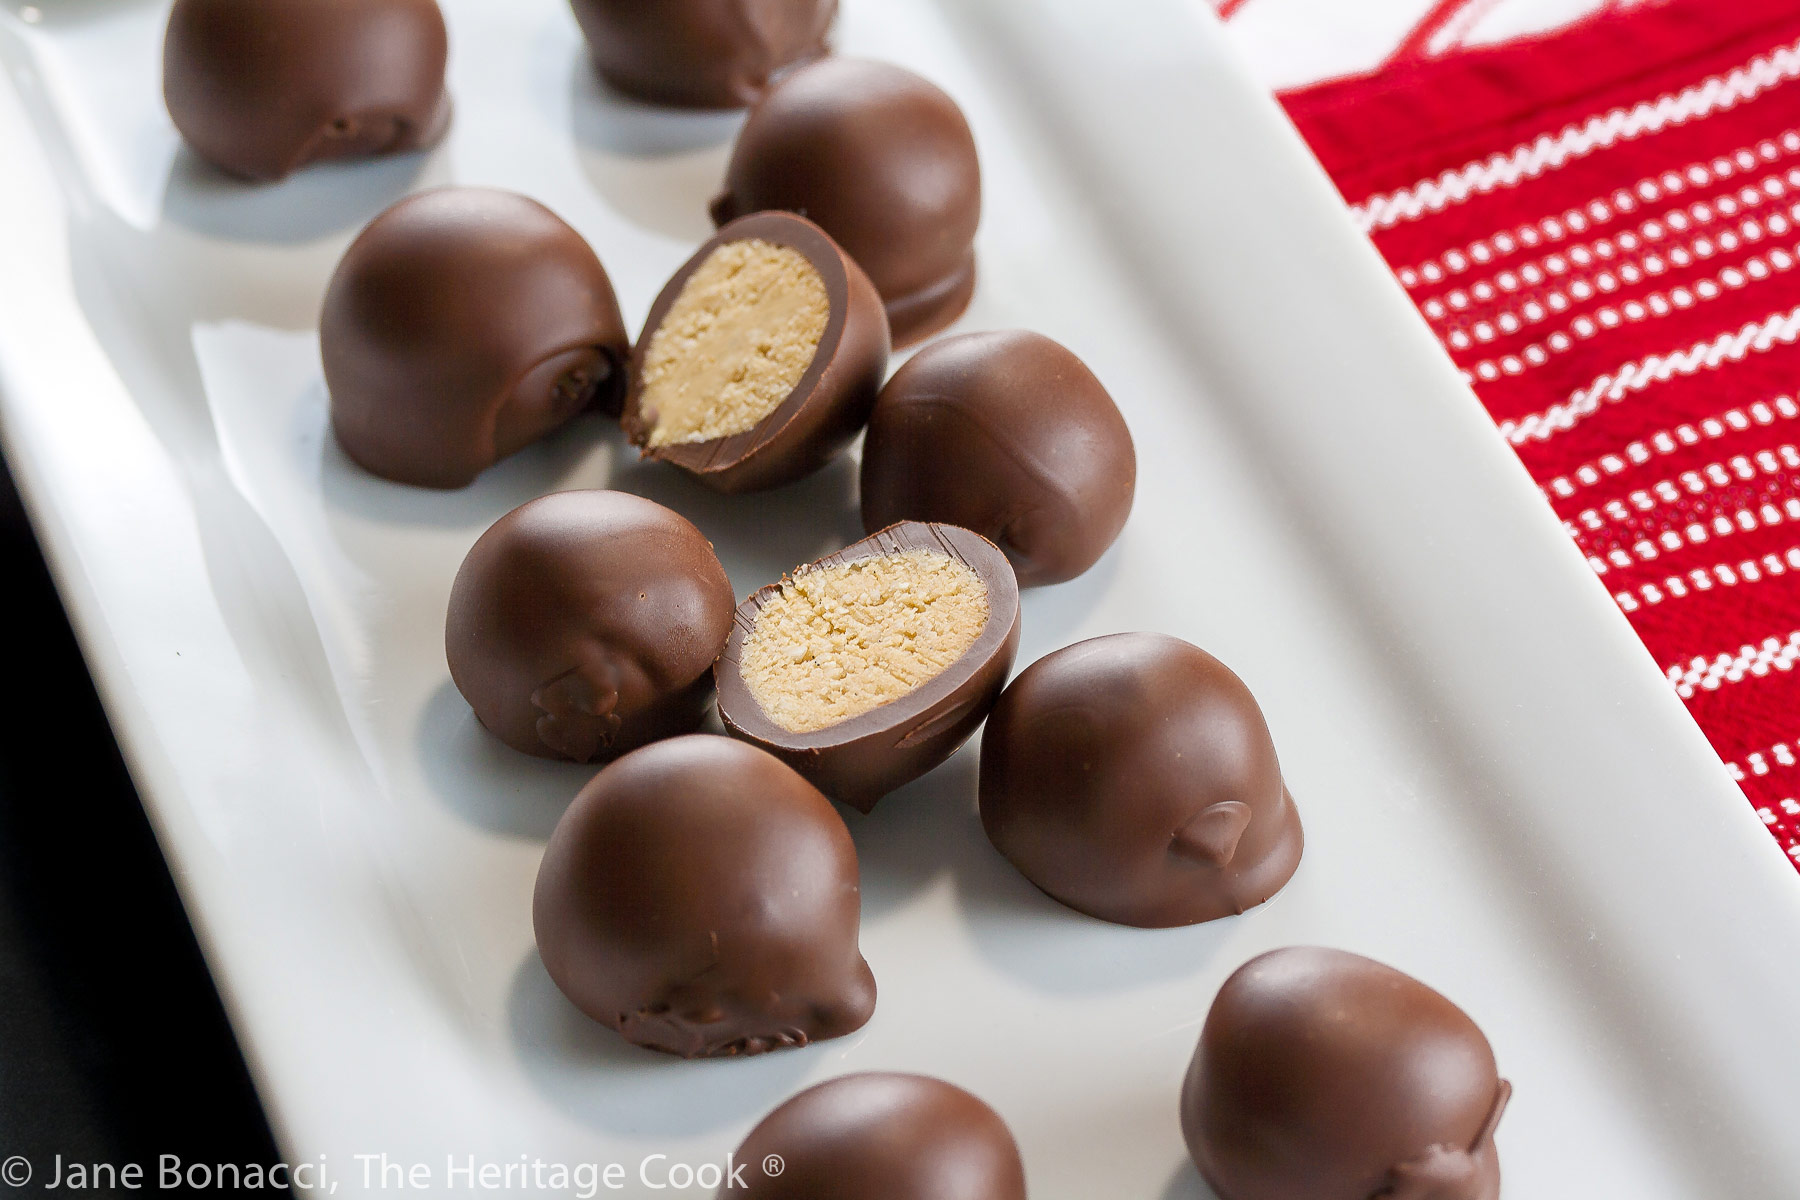
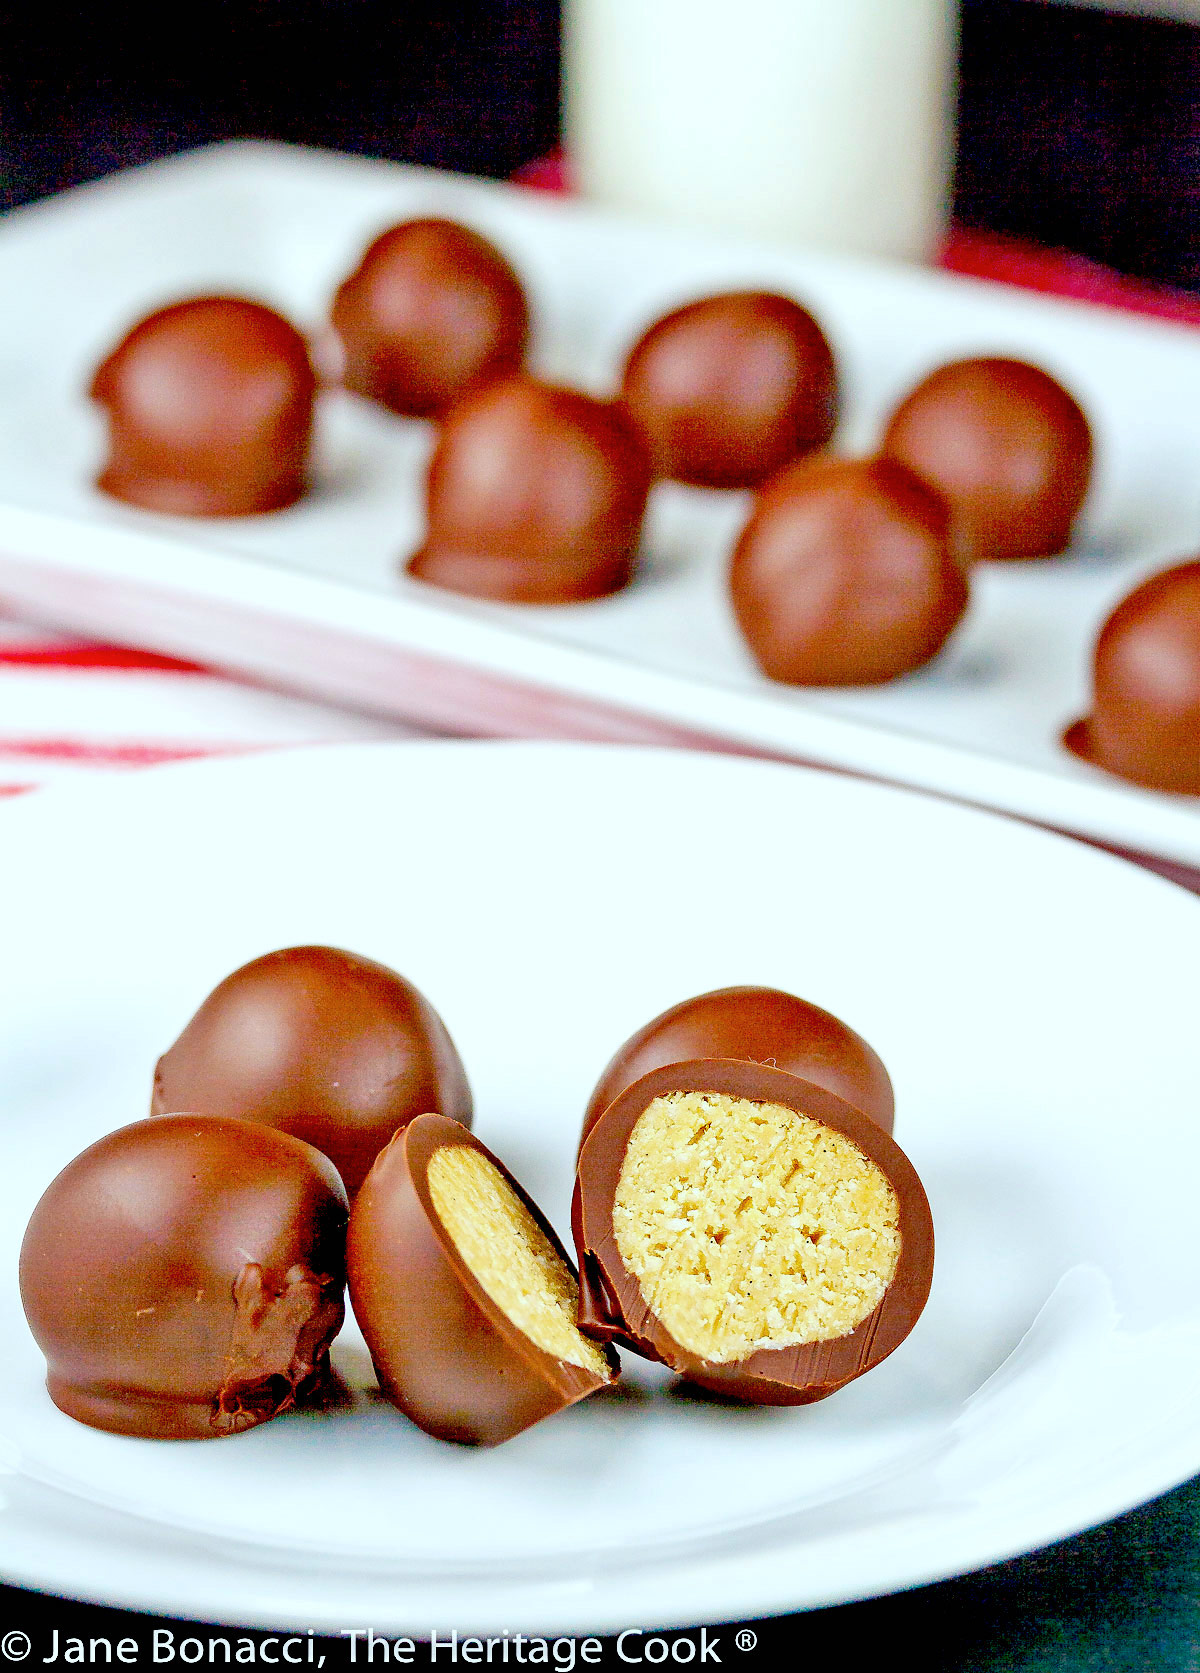
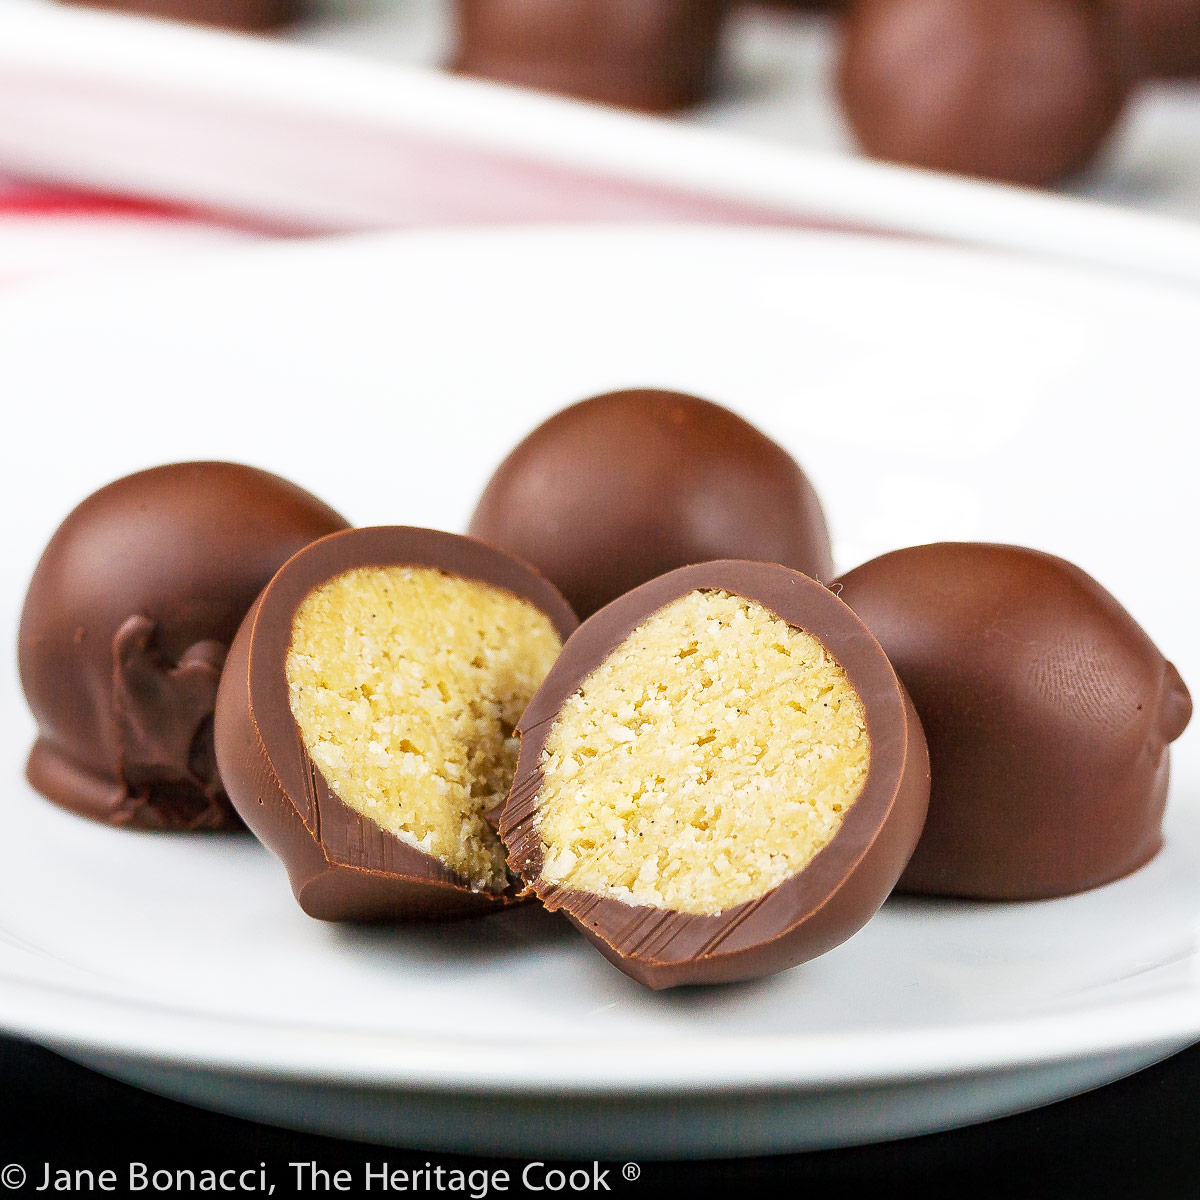
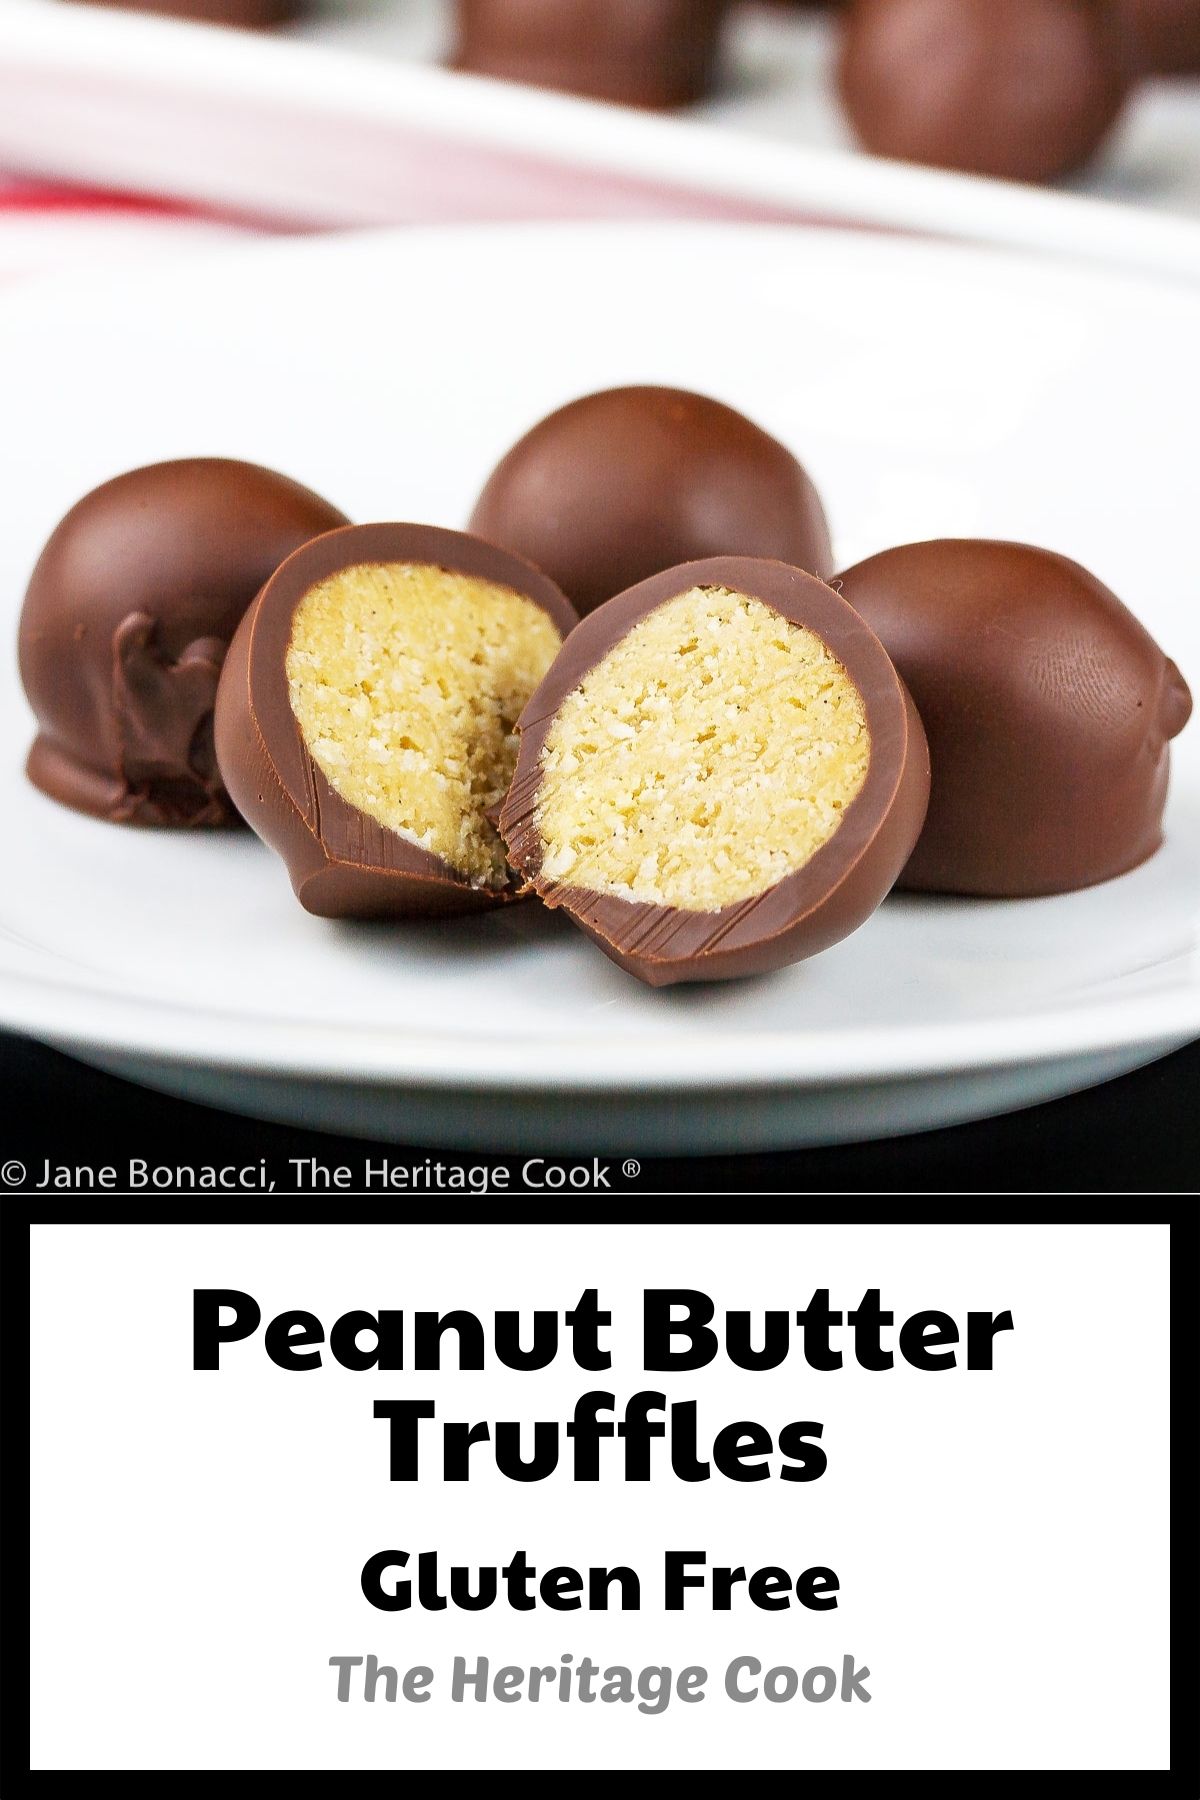
Today’s chocolate peanut butter truffles have the flavors of peanut butter cups just in a round ball shape. You make the delicious sweet filling, roll it into balls, and dip each one in melted chocolate. A little time in the refrigerator helps firm them up before you dive in and inhale them!
Fall is my favorite season of the year. I love the warm days and cool nights, the trees lighting up the skies with crimson and gold leaves, whirling in the wind and gently settling on the ground. There is nothing better than curling into a soft chair by a crackling fire with a glass of wine or hot cocoa close at hand, snuggling my cheek into a warm sweater and watching football or reading a book. I feel a nap coming on, LOL!
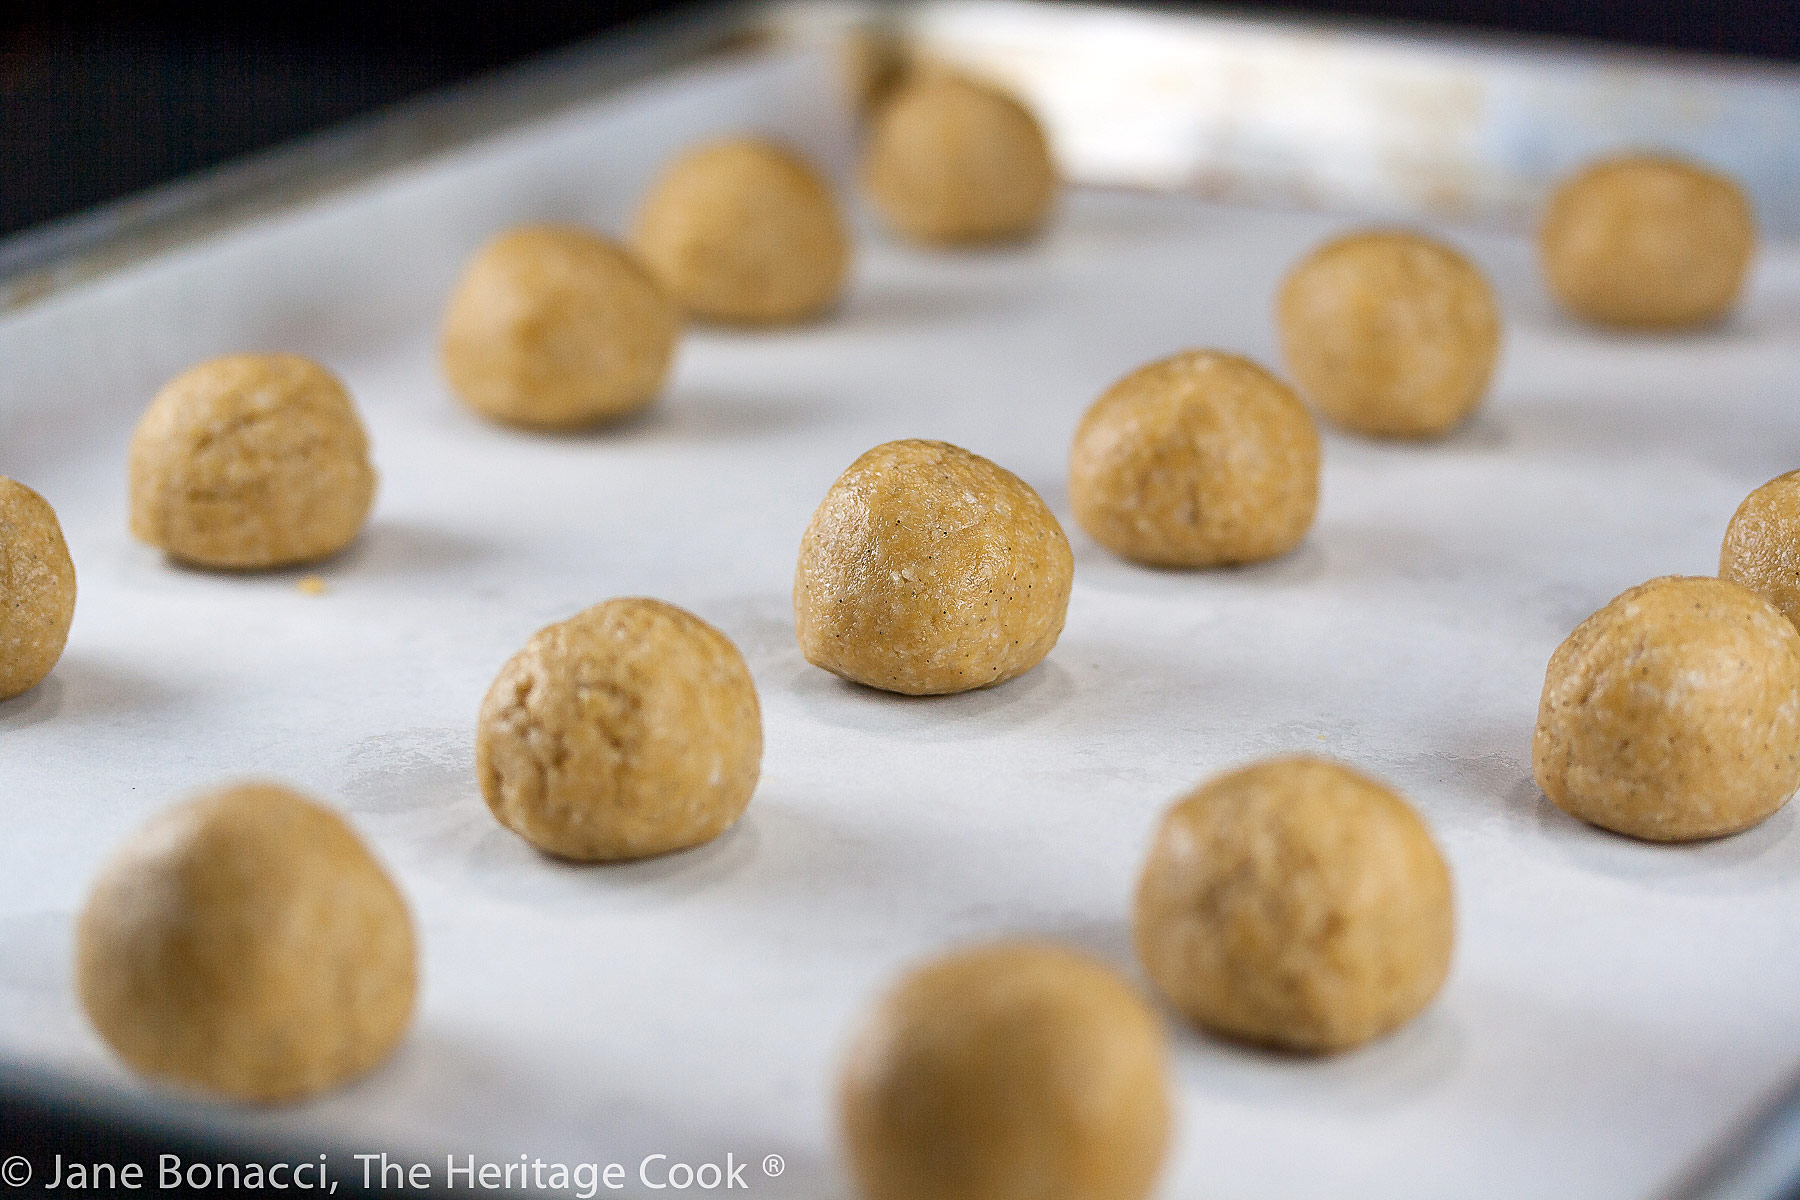
Peanut butter filling, rolled and ready for dipping in chocolate.
My mind is filled with pumpkins, ghouls, and goblins. Every store is packed with miniature candy bars, bags of treats, and Halloween decorations. Instead of going with the marketing blitz, I am going to make my own candies this year. I already conquered Snicker’s Bars and today I am sharing how to make chocolate peanut butter truffles.
Instead of trying to wrestle the truffle filling into chocolate cups, I decided to go with traditional round balls and dipping in chocolate. For me it is much easier even though am not a chocolatier. You just melt the chocolate, roll the truffles in it and then set them onto a parchment sheet. Easy peasy!
I used half creamy peanut butter and half chunky because that was what I had in the pantry. I liked the combination – a little of a nutty chew and a lot of creaminess. The semisweet chocolate is a nice contrast to the sweet peanut butter filling and I love the color combination for Halloween or Thanksgiving!

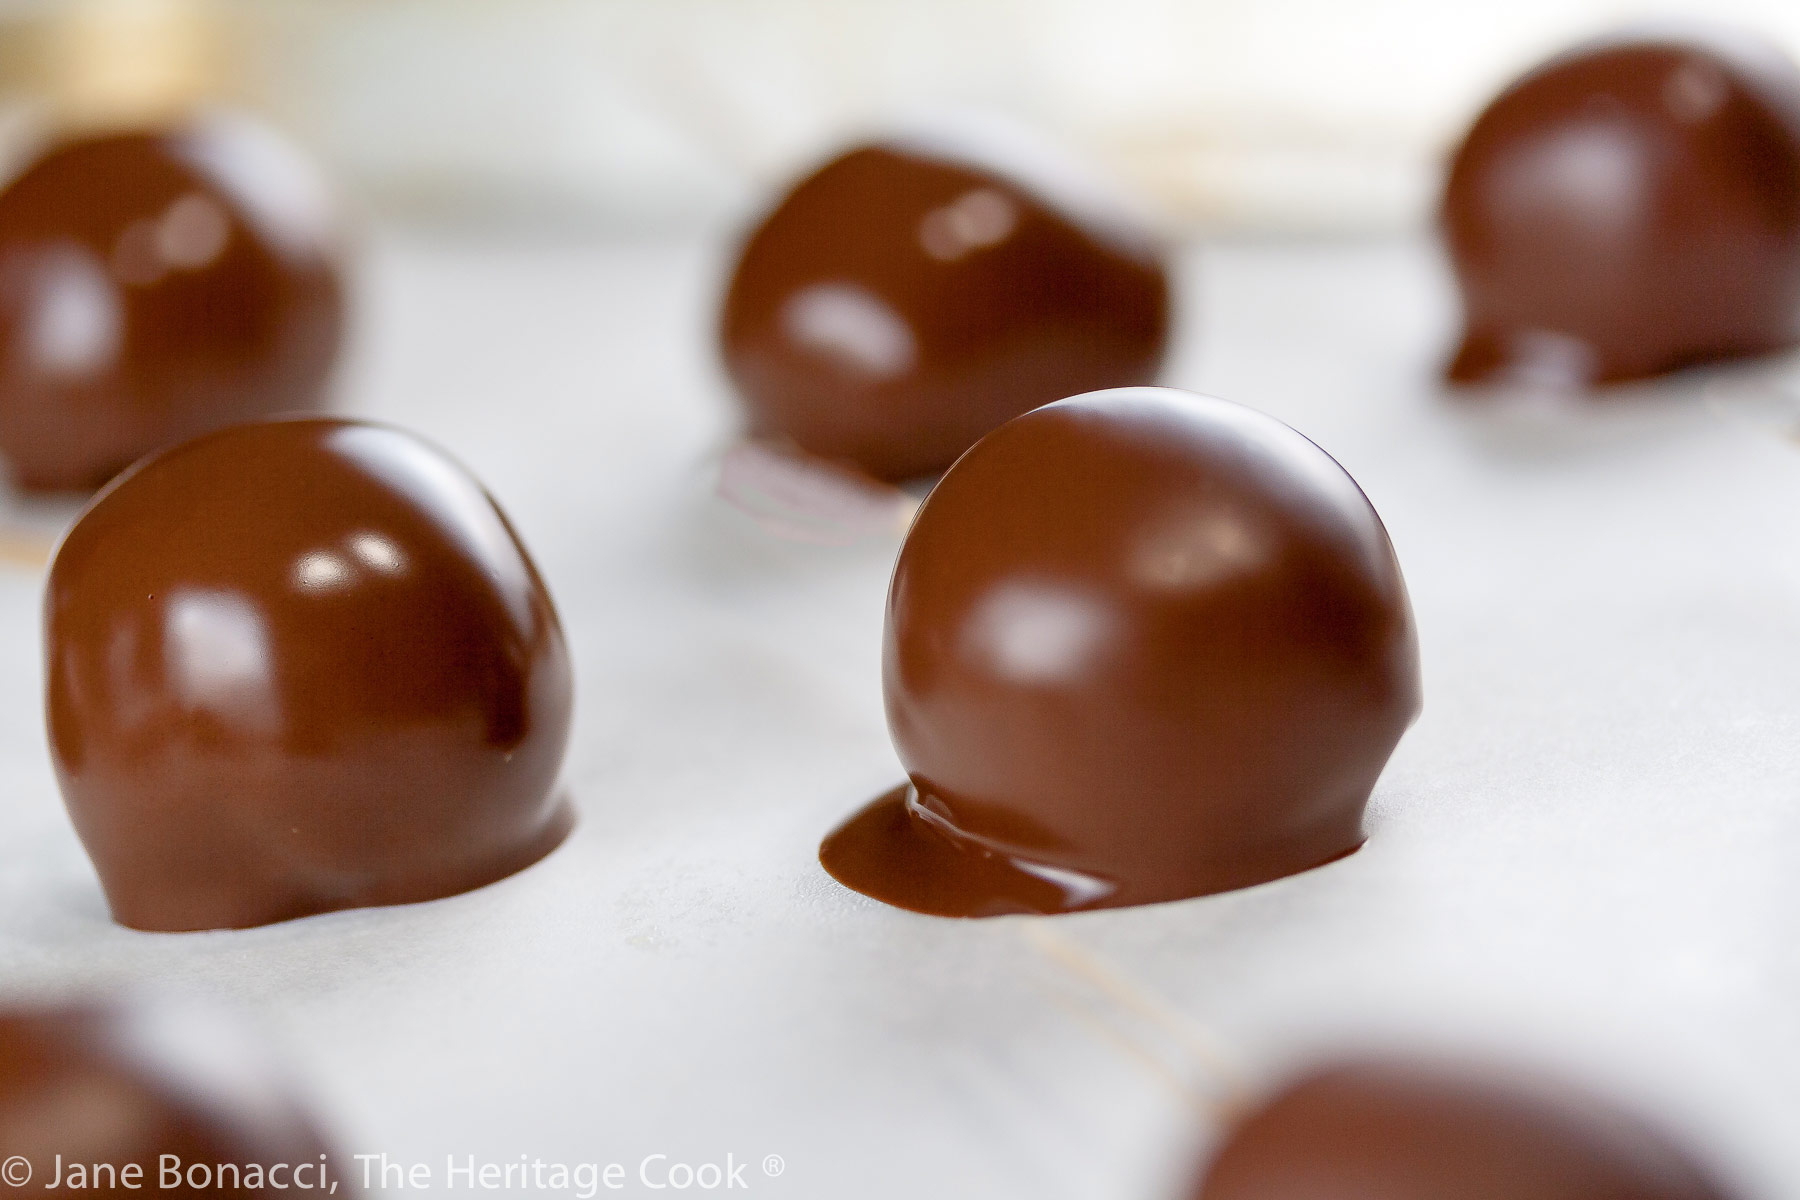
Two of my chocolate dipping tools.
Because I have made many chocolate desserts over the years, I own a set of chocolate dipping tools. The pronged fork worked perfectly for these larger truffles, but you can use a regular dinner fork just as easily. Just be sure to drag the tongs against the edge of the pan to remove excess chocolate before transferring to the parchment paper. If you are making smaller truffles, the round dipping tool would work very well too.
This recipe can easily be doubled or tripled if you will be making these for gift bags during the holidays. You can also make smaller truffles (divide each piece in half), which will automatically double your yield. These are large two-bite treats, quite indulgent. If you made them smaller they would easily fit into candy boxes and would make perfect snacks.
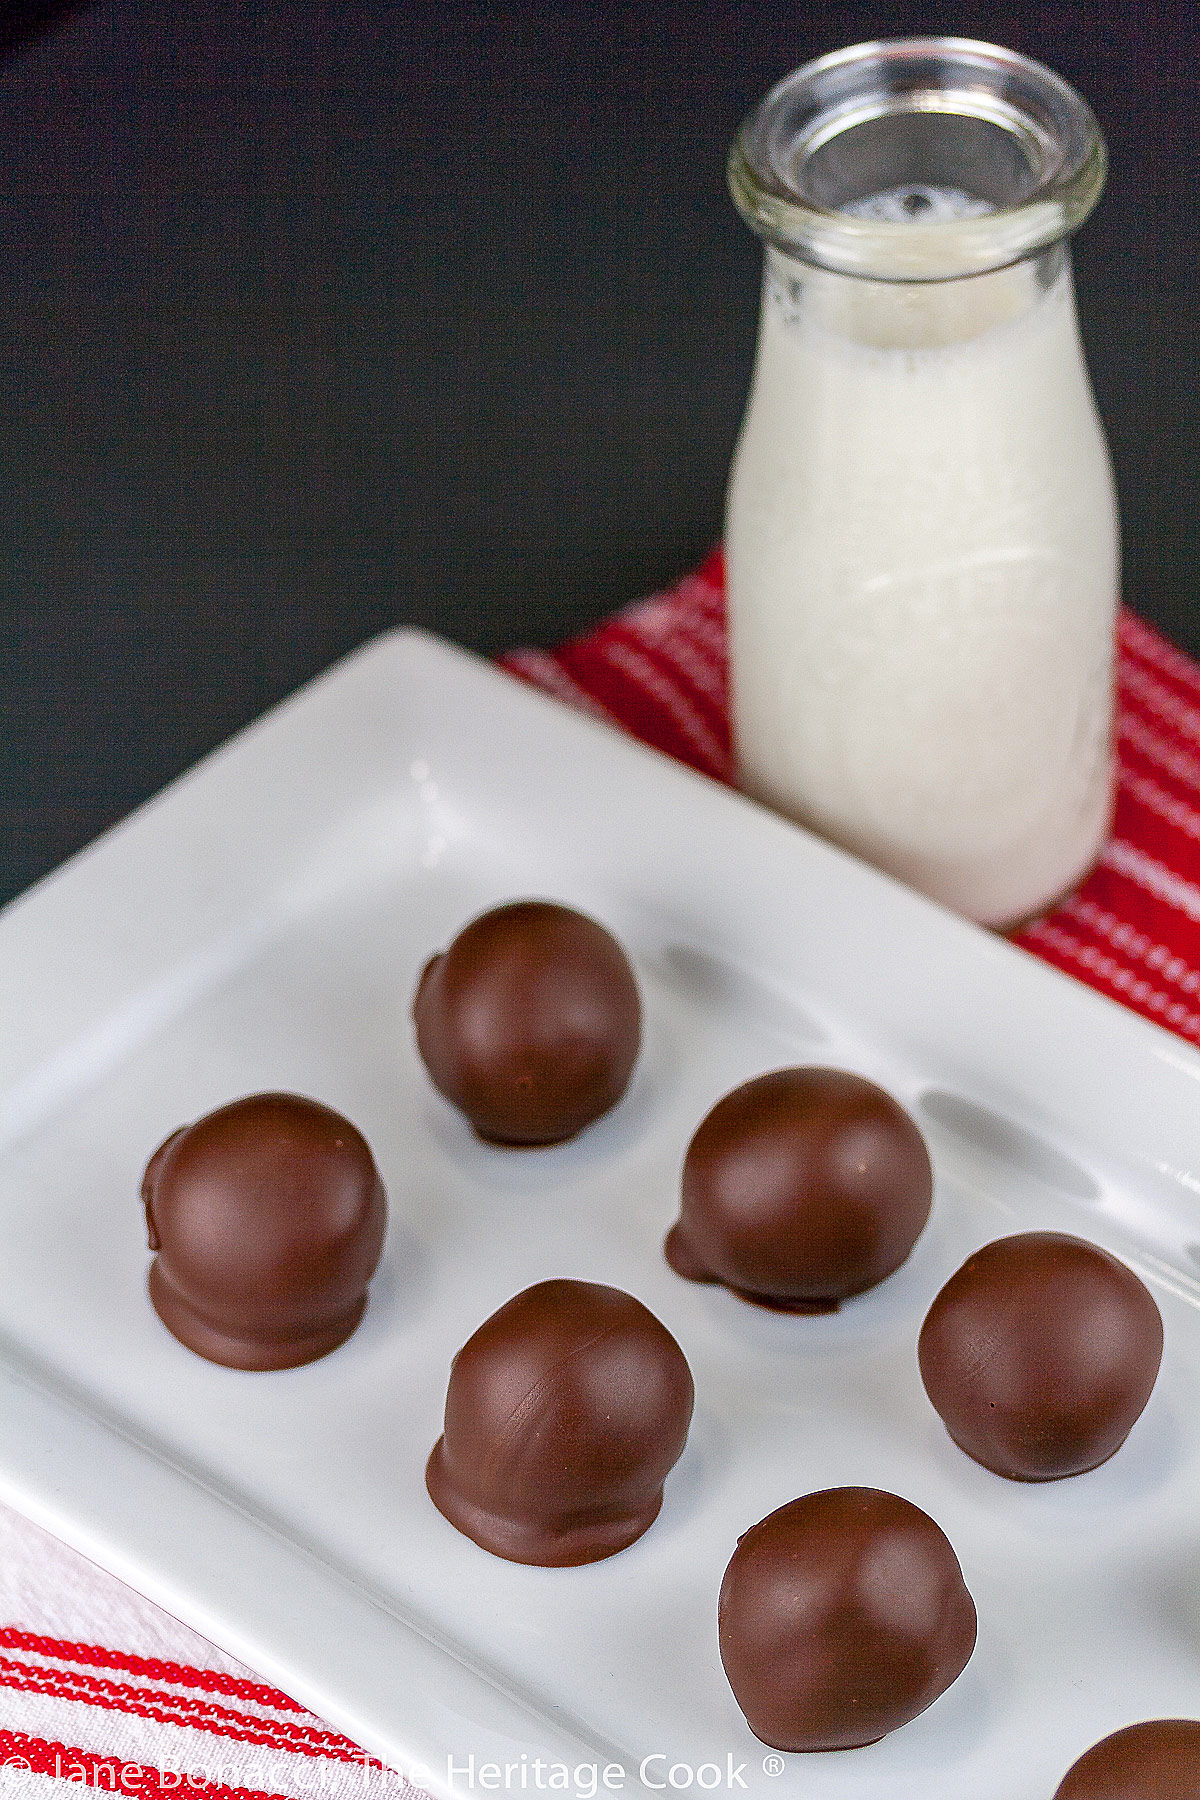
I love how easy these are to make. Simply throw a few ingredients into your stand mixer and beat them together. Portion them and chill. Then coat in melted chocolate and chill again. The hardest part is waiting for them to firm up between steps and not eating them all before you give them away, LOL!
These would be fantastic to make with children who would love getting their hands in the mixture and rolling them into small balls. I would supervise the chocolate dipping step, but otherwise anyone can handle them easily.
While these truffles, with their tan and black coloring, are custom made for Halloween, they are perfect any time of the year. In the summer months, you may want to serve them partially frozen for a cooling sweet dessert.
I hope you enjoy making your own chocolate peanut butter truffles, which will thrill your children, family members, and friends with the best candy they’ve ever eaten!
Did you enjoy this recipe? Let me know in the comments and leave a star rating, I love hearing from you!
Ingredients needed for Chocolate Peanut Butter Truffles:
- Peanut butter (gluten-free)
- Confectioners’ sugar
- Vanilla extract or paste
- Semisweet chocolate, chopped
PRO Tip:
When you are rolling these into balls in the palms of your hands, work quickly so they don’t start melting. If you have extra hot hands, you can hold them under cold running water and pat dry before you roll the filling. Using a cookie scoop will limit the amount of time needed to roll them and give you all the same size truffles.
How to make Chocolate Peanut Butter Truffles:
- Line a baking sheet with parchment or a Silpat mat.
- Combine the peanut butter, confectioners’ sugar, and vanilla, beating until completely blended.
- Portion into pieces a bit smaller than the size of a walnut. Place on the prepared baking sheet. Then roll them into smooth balls with your hands. Place back on the baking sheet and refrigerate for an hour or until very firm.
- Place the chopped chocolate in a heatproof bowl and set over a saucepan with 2-inches of simmering water. Heat, stirring occasionally, until starting to melt. Stir more often, keeping the chocolate moving around so it doesn’t scorch. When completely melted, stir until smooth and silky.
- Drop a truffle in the chocolate, rolling it around until it is fully coated. Use a fork or a chocolate dipping tool to scoop it out, tapping on the edge of the bowl and then scraping excess chocolate off the bottom. Place back on the lined baking sheet. Continue with remaining truffles.
- Refrigerate to set the chocolate – they should be ready in about 30 minutes. Store in an airtight container in the refrigerator and serve cool.
PRO Tip:
This recipe can easily be doubled or tripled if you will be making these for gift bags during the holidays. These are large two-bite treats, quite indulgent. You can also make smaller truffles (divide each piece in half), which will automatically double your yield. If you made them smaller they would easily fit into candy boxes and would make perfect snacks.
Recommended Tools (affiliate links; no extra cost to you):
- Baking sheet
- Parchment paper or Silpat
- Kitchen scale
- Dry measuring cups
- Chef’s knife
- Stand mixer or hand mixer
- Mixing bowls
- Cookie scoop
Gluten-Free Tips:
Peanut butter is naturally gluten-free, but if you have severe reactions, it is always safest to contact the manufacturer directly and ask them about the ingredients and chance of cross-contamination.
All recommended ingredients are gluten-free as of the writing of this article. Always check to be sure the products haven’t changed and are still safe to consume.
Chocolate Peanut Butter Truffles (Gluten Free)

If you love peanut butter cups, this is a homemade version without all the preservatives and additives. If you have a child that is allergic to peanuts, you can use almond butter instead.
Ingredients
- Vegetable oil spray
- 2 cups (540g) peanut butter (most of an 18 oz jar), chunky or creamy
- 1 cup (113g) confectioners’ sugar
- 2 tsp pure vanilla extract or paste
- 12 oz (340g) semisweet chocolate, finely chopped
Instructions
- Line a baking sheet with parchment paper or a Silpat. Set aside.
- Spray your 1-cup (237 ml) measuring cup with vegetable oil to make it easier to remove the peanut butter. If you are weighing your ingredients, you can skip this step.
- In the bowl of your standing mixer fitted with the paddle attachment, combine the peanut butter, confectioners’ sugar, and vanilla. Beat on low until completely blended. If you are using a kitchen scale, don’t forget to zero out the weight between each ingredient.
- Portion the mixture into pieces about the size of a walnut (or smaller if desired) using a small cookie scoop, and place onto the prepared baking sheet. Use your hands to roll each piece into a round ball. Work quickly so they don’t start melting. If you have extra hot hands, you can hold them under cold running water and pat dry before you roll the filling. Place in the refrigerator for 1 hour or until chilled and very firm.
- Place the chocolate in a heatproof bowl and set the bowl over a saucepan with 2 inches of simmering water. As soon as the chocolate starts to melt, stir with a flexible spatula to be sure it doesn’t scorch. Keep the chocolate moving with regular stirring. When all the chocolate pieces are melted, stir well until smooth and silky. Move the bowl to a towel-covered work surface. Keep the pan with the water over low heat.
- Place one peanut butter truffle in the melted chocolate, rolling it around to completely coat, tap on the edge of the bowl and scrape off the excess on the edge of the bowl and transfer back to the covered baking sheet. You can use chocolate dipping tools or a regular fork to do this. Continue until all the truffles are coated. If the chocolate gets too thick, return it to the heat to keep it thin and easier to work with.
- Place the baking sheet in the refrigerator to set the chocolate. They should be ready in about 30 minutes.
- To keep the chocolate coating from melting, store these treats in an airtight container in the refrigerator and serve them cool.
Recipe found at www.theheritagecook.com
Notes
All recommended ingredients are gluten-free as of the writing of this article. Always check to be sure the products haven’t
changed and are still safe to consume.
Nutrition Information:
Yield:
25Serving Size:
1Amount Per Serving: Calories: 33Total Fat: 2gSaturated Fat: 1gTrans Fat: 0gUnsaturated Fat: 1gCholesterol: 3mgSodium: 10mgCarbohydrates: 2gFiber: 0gSugar: 2gProtein: 0g
The nutritional information for recipes on this site is calculated by online tools and is merely an estimate.
If you enjoyed this recipe, be sure to follow me on social media so you never miss a post:
Create a New Tradition Today!
Welcome! The suggestions here are not intended as dietary advice or as a substitute for consulting a dietician, physician, or other medical professional. Please see the Disclaimers/Privacy Policy page for additional details. Unauthorized use, distribution, and/or duplication of proprietary material from The Heritage Cook without prior approval is prohibited. If you have any questions or would like permission, please contact me. To learn more about me, click here. We participate in the Amazon Services LLC Associates Program, an affiliate advertising program designed to provide a means for sites to earn advertising fees by advertising and linking to amazon.com. As an Amazon Associate, I earn a small amount from qualifying purchases without any additional cost to you. This page may contain affiliate links. This post was first shared in Oct 2013. The article was updated in 2023.


Katrina
These look so heavenly. Going to have to make some and just use honey instead of sugar. I could just stare at the pictures all day. 😉
Jane Bonacci, The Heritage Cook
You are so sweet Katrina! If you are going to replace the sugar with honey, use less or the filling will be too runny. Honey is usually sweeter than sugar so the balance should be fine. If they are really soft, freeze them instead of just refrigerating before dipping in hot chocolate!
Glamorous Glutton
These look great, the Glam Teens would love these. Reeses aren’t that easy to get here, so being able to make them at home would be perfect. GG
Jane Bonacci, The Heritage Cook
These are truly a snap to make. The only thing that takes some patience is letting them chill between steps. Have fun making these with your Glam Teens!!!
Robin O
This is exactly what I’ve been hungry for Jane! Don’t know if there will be any left to share!!!!!!!
Jane Bonacci, The Heritage Cook
Hey Robin, I still have some left. C’mon over and get some!!! 😉