I grew up in a small town in the suburbs of San Francisco. It was the kind of town they write movies about, sort of a California version of Bedford Falls. We played outside all day long and only came home when it was too dark to see. We walked or rode our bikes anywhere without worry. No place was off limits. But the highlight of the week was going to the movies on Saturday.
It was always a double header (two movies for one price) with cartoons before the movies started. As we sat in the dark waiting for the cartoons and movies to start, anticipation growing with every second, I started my lifelong love affair with movies. The screen would light up, my heart would skip a beat, the immense sheer curtains would slowly pull back and the magic would begin!

The Orinda Theater Marquee, designed in the style of the movie houses of the 1920s and 30s
Bags of hot popcorn, Milk Duds and Junior Mints or Peppermint Patties were always my treats of choice and they made the movies even better. I still love them and often make chocolate covered caramels and popcorn treats, but there is something truly special about the richness of dark chocolate holding its own against the cool refreshing flavor of the peppermint. The snap as you bite, followed by the shocking smooth minty filling. You can eat all you want and still have fresh breath, LOL.
I have made chocolate covered peppermints before, but it has been a long time. As soon as The Artist learned what I was making, he quickly volunteered to go to the grocery store to get me the ingredients I needed. As a matter of fact, he was so excited that he offered several times – he wanted to be sure I was able to make these, one of his favorite desserts!
I didn’t have any vegetable shortening on hand but I did have coconut milk in my pantry. If you don’t shake the can, there is a thick layer on top that is solid at room temperature. In a pinch it can be substituted for butter or shortening and is an option for people who are dairy-intolerant. Coconut oil would have been a much better choice and that’s what I list as an option in the recipe below. Counterintuitive, coconut oil is solid at room temperature, very lightly scented with coconut and mostly neutral in flavor.
You can use the “cream” from the top of coconut milk, but beware that it will produce a very sticky dough that is difficult to deal with. I would strongly recommend you use a Silpat for the bottom and parchment for the top when rolling it out. And use copious amounts of powdered sugar, like you would with homemade marshmallows, so you can get the pieces cut out smoothly.
Also, because I didn’t use the shortening or coconut oil and had an exceptionally sticky dough to deal with, I kept them in the freezer much longer than the recipe called to help them firm enough to dip in the chocolate coating. If you make them as directed in the recipe, this will not take as long.
Instead of putting the parchment (or in my case a Silpat) in the baking sheet like you normally would, use the underside of the baking sheet. Flip the sheet upside down and set the parchment on the bottom of the pan. This makes it easier to slide the sheets on and off. Sometimes using a tool in a slightly different way can be even more effective and give you a secondary function. I love that!
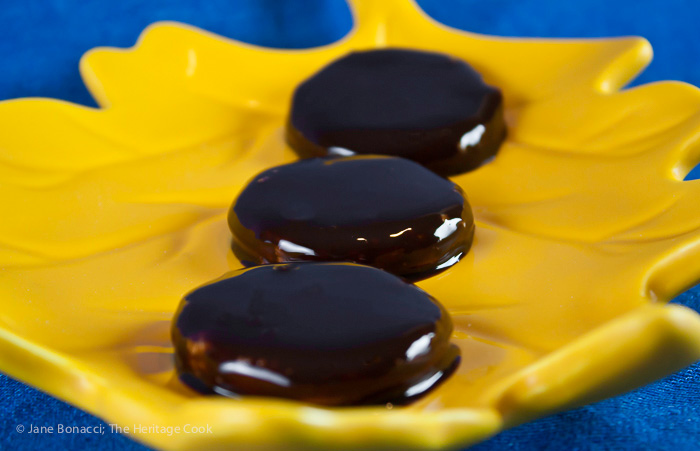
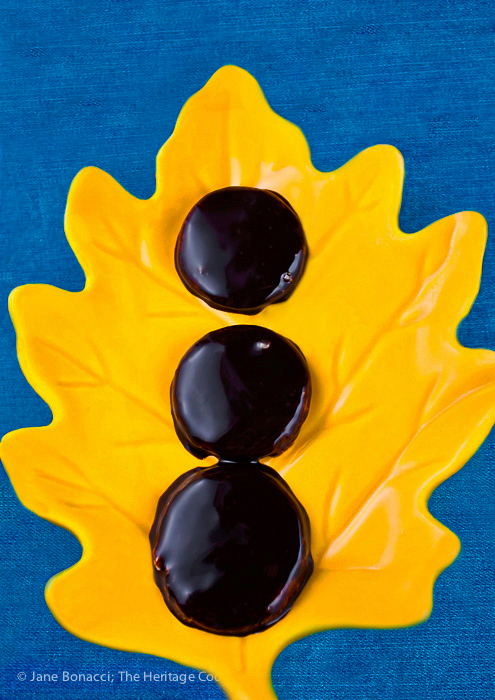
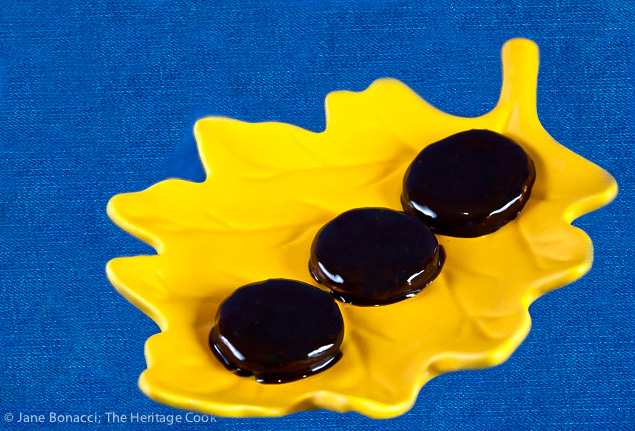
Tempering the chocolate (melting, cooling, and reheating) may seem like a pain in the behind, but it will give you a glossy coating with a wonderful snap when you bite into the candy just like a professionally made piece of chocolate. Use a candy thermometer or a Thermapen to monitor the temperature. I keep a kitchen towel on the counter next to the stove and move the bowl of chocolate on and off the heat as needed to keep it warm and soft enough to easily coat the candies.
When it is time to dip the patties, there are two tools that will make the job much easier. The first is a chocolate dipping fork. It isn’t necessary, but it was designed specifically for dipping candies and works beautifully. There are several different shapes of dipping tools that will come in very handy if you are thinking of making truffles or other dipped candies for the holiday season. The second tool is a small offset spatula. Sometimes called a frosting spatula, this little workhorse is one I use all the time for a wide variety of tasks.
If you are hosting a holiday party, want something different for your dessert buffet, or just really love the combination of peppermint and chocolate like The Artist and I do, you need to add these babies to your repertoire.
Take a bite, close your eyes and you will be sitting in the darkened theater waiting for the magic to begin!
Jane’s Tips and Hints:
If you are making these for holiday gifts or parties, you can double the recipe. Once they are coated and the chocolate has hardened, you can store them in an airtight tin, with layers separated by sheets of waxed paper. Keep them refrigerated and bring out about 30 minutes before serving.
Gluten-Free Tips:
These candies are naturally gluten-free. Make sure the chocolate you use is not made in a facility that also manufactures gluten-containing products.

- Peppermint Filling
- 2-1/4 cups + 1/4 cup confectioner’s sugar for kneading and rolling
- 1-1/2 tbsp light corn syrup
- 1-1/2 tbsp water
- 1/2 tsp pure peppermint extract
- 1 tbsp vegetable shortening or coconut oil
- Pinch kosher salt
- Chocolate Coating
- 10 oz semisweet or bittersweet chocolate, coarsely chopped
- About 2 tsp coconut oil, or as needed
- Make Peppermint Candy Filling: Beat 2-1/4 cups of the confectioner’s sugar with corn syrup, water, peppermint extract, shortening, and a pinch of salt using an electric mixer (with paddle attachment if using a stand mixer) at medium speed until just combined.
- Transfer to a working surface dusted with remaining 1/4 cup of confectioner’s sugar and knead until smooth. Use more confectioner’s sugar if needed to keep it from sticking.
- Place dough on a sheet of parchment paper and top with a second sheet (this protects your rolling pin from absorbing the peppermint extract). Roll out between sheets of parchment paper on a large baking sheet into a 7 to 8-inch round (about 1/4 inch thick). Slide the parchment paper onto the bottom of a baking sheet and freeze until firm, about 15 minutes.
- Remove top sheet of paper and sprinkle round with confectioner’s sugar. Replace top sheet of parchment, then flip round over and repeat sprinkling with more sugar on other side.
- Cut out as many rounds as possible with cutter, transferring to a parchment-lined baking sheet. Freeze until firm, at least 10 minutes. Meanwhile, gather scraps, re-roll between sheets of parchment, and freeze, then cut out more rounds, freezing them.
- Make Chocolate Coating: Melt 3/4 of the chocolate with the coconut oil in a metal bowl set over a saucepan of barely simmering water, stirring occasionally. When the chocolate is completely melted, remove the bowl from pan and add remaining chocolate, stirring until smooth. Cool until thermometer inserted at least 1/2 inch into chocolate registers 80°F.
- Bring water in pan to a boil and remove from heat. Set bowl with cooled chocolate over pan and reheat, stirring, until thermometer registers 88 to 91°F. Remove bowl from pan. (This is tempering the chocolate, giving it a beautiful shine and nice snap when you bite into it.)
- Balance 1 peppermint round on a fork and dip the bottom in the chocolate. Lift it up, and using a spoon, poor chocolate over the top, letting it flow over the edges to completely cover the patty. Let excess drip off and scrape back of fork against rim of bowl if necessary, then return patty to sheet.
- Coat remaining rounds, rewarming chocolate to 88 to 91°F as needed. Let patties stand until chocolate is set, about 1 hour.
- Yield: 3 to 4 dozen pieces
Create a New Tradition Today!
Let’s connect! If you love The Heritage Cook, you can follow me on Pinterest, Facebook, and Twitter. If you ever need any entertaining or cooking advice, need to alter a recipe for gluten-free, or want recipe suggestions, don’t hesitate to email me. Thanks for joining the Heritage Cook Family!
Be Nice. Unauthorized use, distribution, and/or duplication of proprietary material from The Heritage Cook without prior approval is prohibited. This includes copying and reprinting content and photographs. If you have any questions or would like permission, I can be contacted via email. Feel free to quote me, just give credit where credit is due, link to the recipe, and please send people to my website, www.theheritagecook.com. Please see the Disclaimers page for additional details.
This site is not intended to provide medical advice. The suggestions here are not intended as dietary advice or as a substitute for consulting a dietician, physician, or other medical professional. It is the reader’s sole responsibility to determine which foods are appropriate and safe for their family to consume. Always consult your doctor. The author makes no claims regarding the presence of food allergens and disclaims all liability in connection with the use of this site.
Thank You!



Carrie @ poet in the pantry
They’re so shiny! LOVE this! I’ve been meaning to try making peppermint patties myself, but haven’t gotten around to it. Thanks for the reminder!
Jane Bonacci
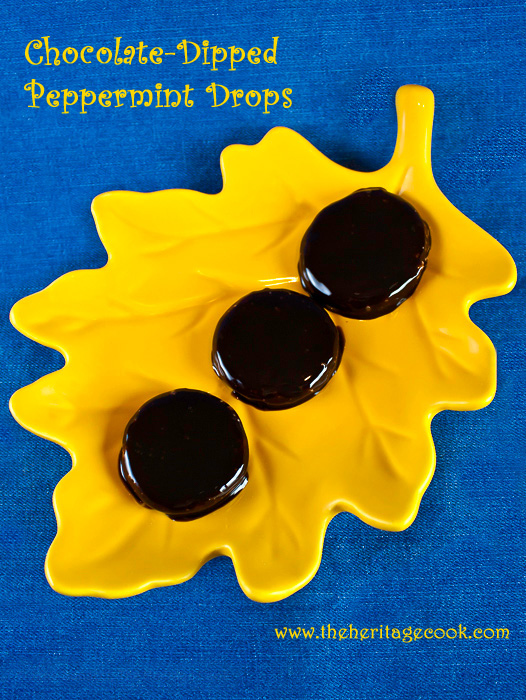
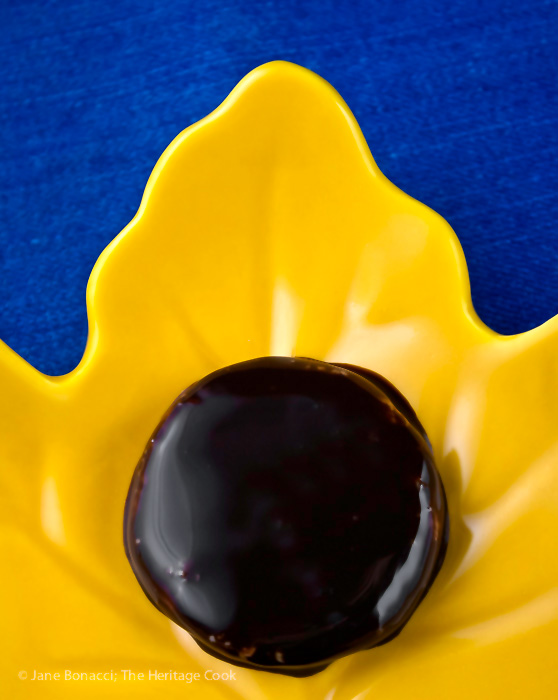
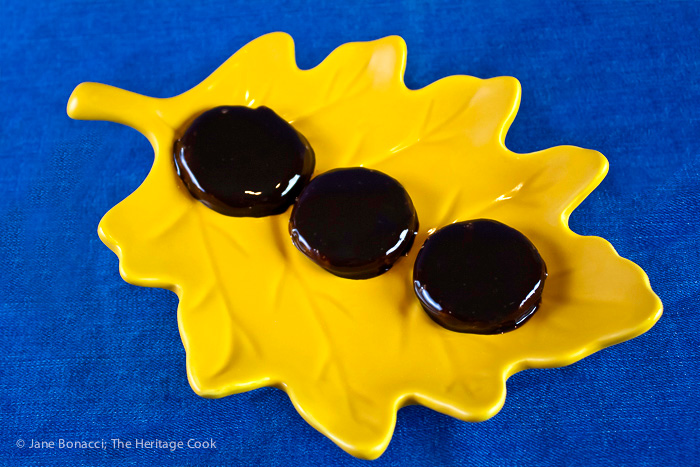
I cheated a little for the photos – I didn’t wait for them to be fully dried before plating and shooting them. They dry a little more matte but are just as tasty! Have fun making them with your darling kids Carrie!! <3