
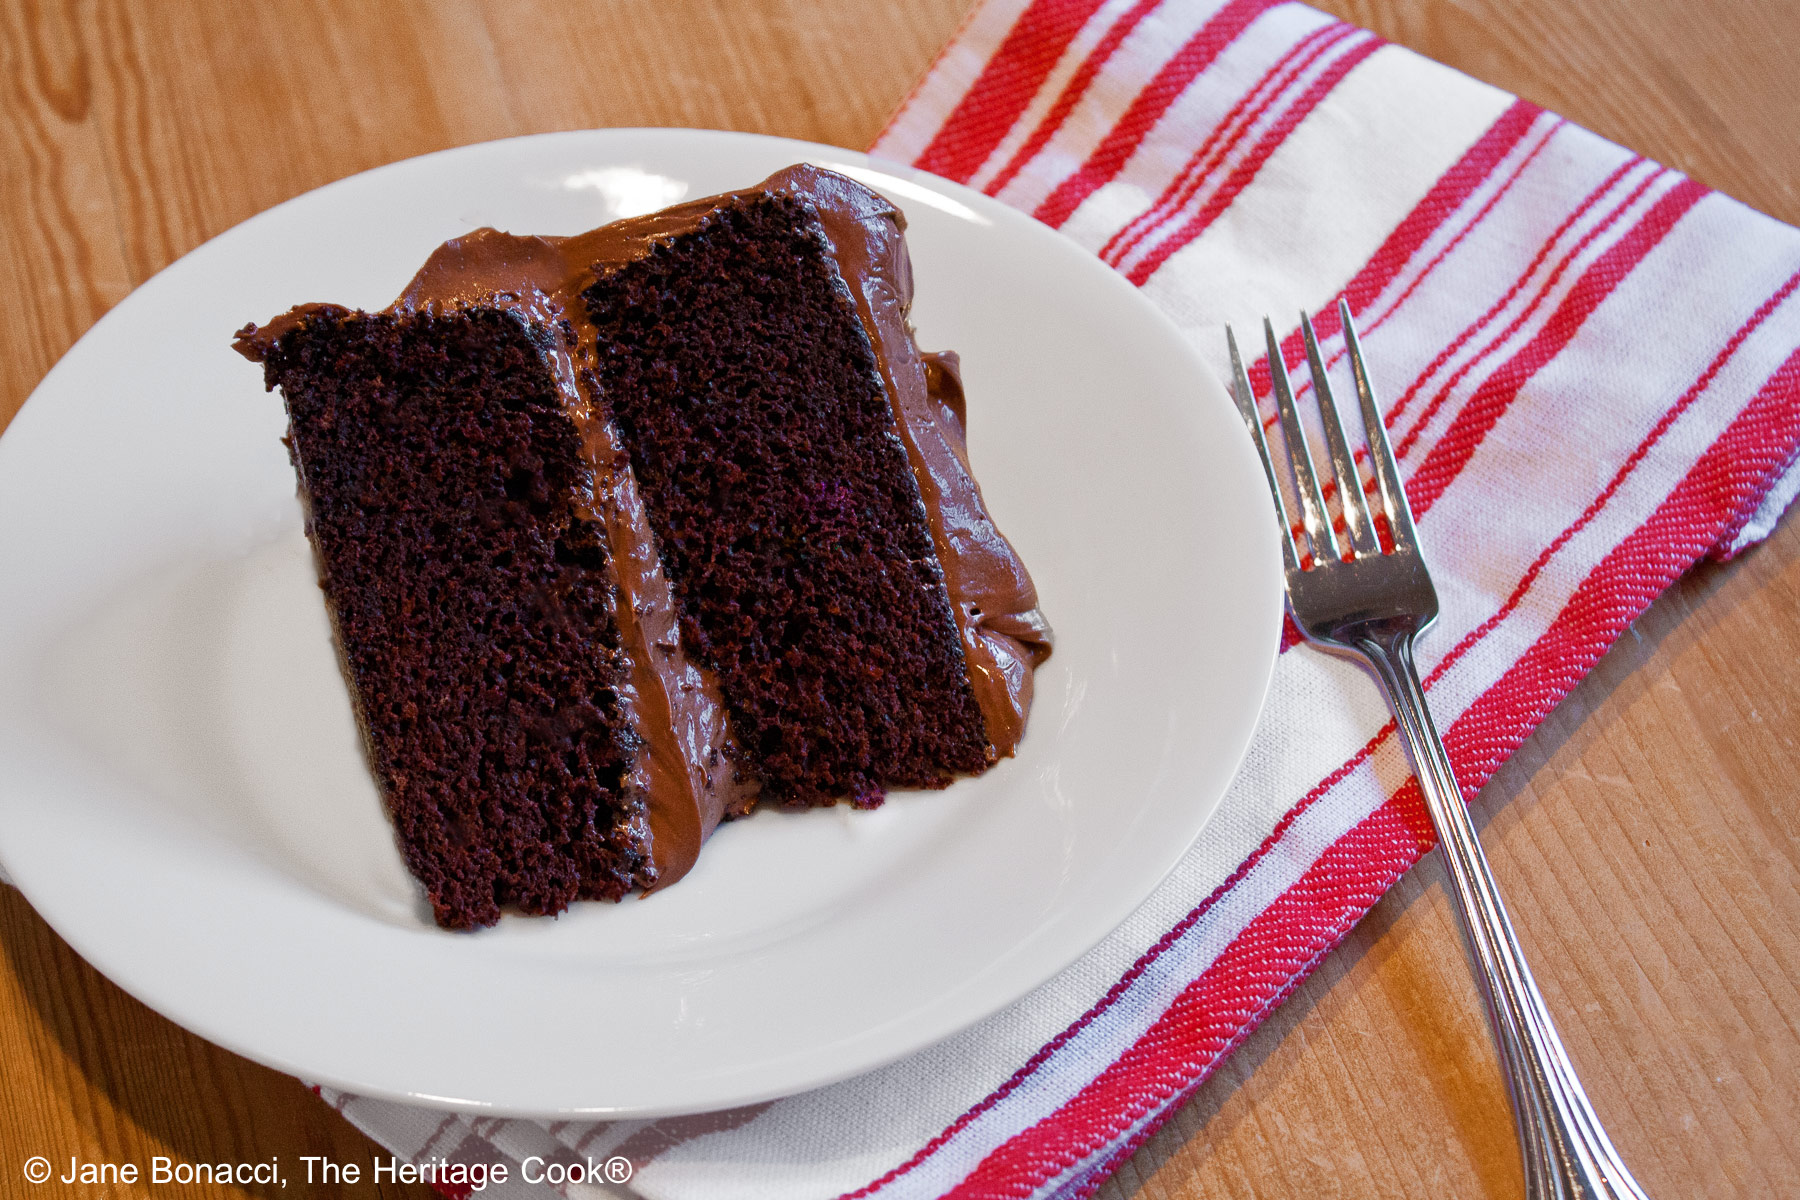
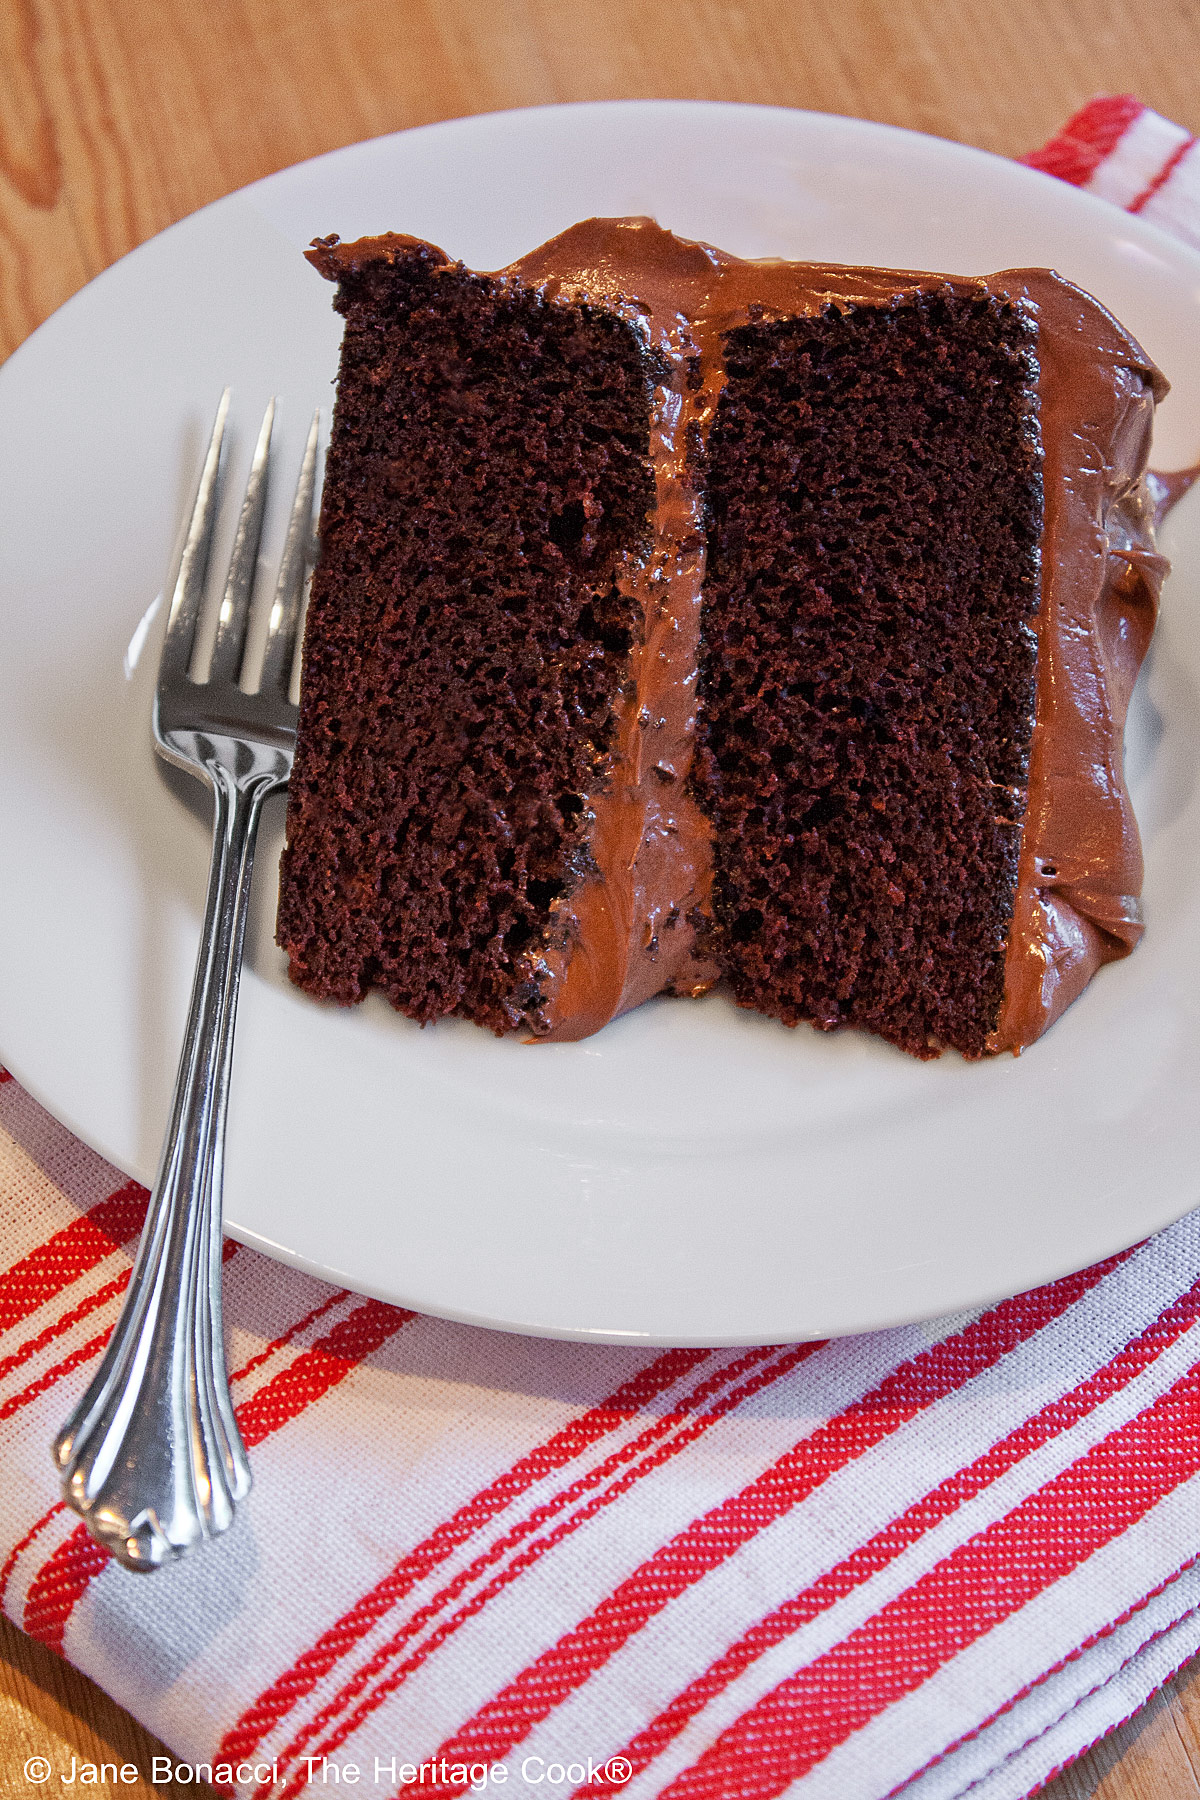
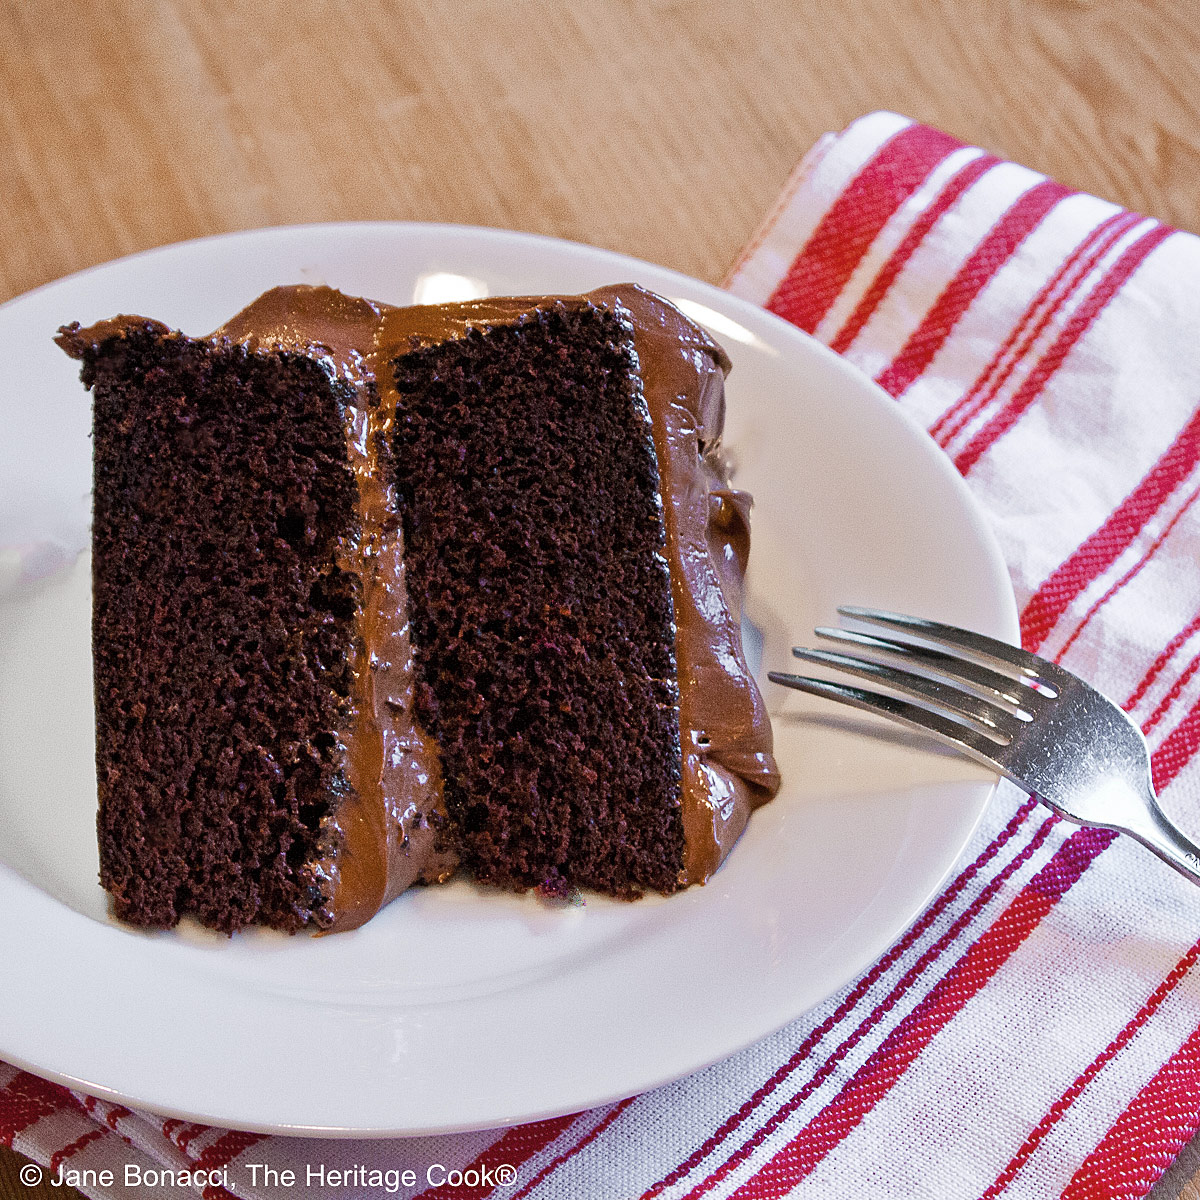
When you get a craving for chocolate cake or have a special occasion coming up, pull out this Dark Chocolate Layer Cake with Chocolate Frosting recipe and get ready for applause when you present it to your family and friends! Rich and luscious, this is the cake that the chocoholics in your life will dream of.
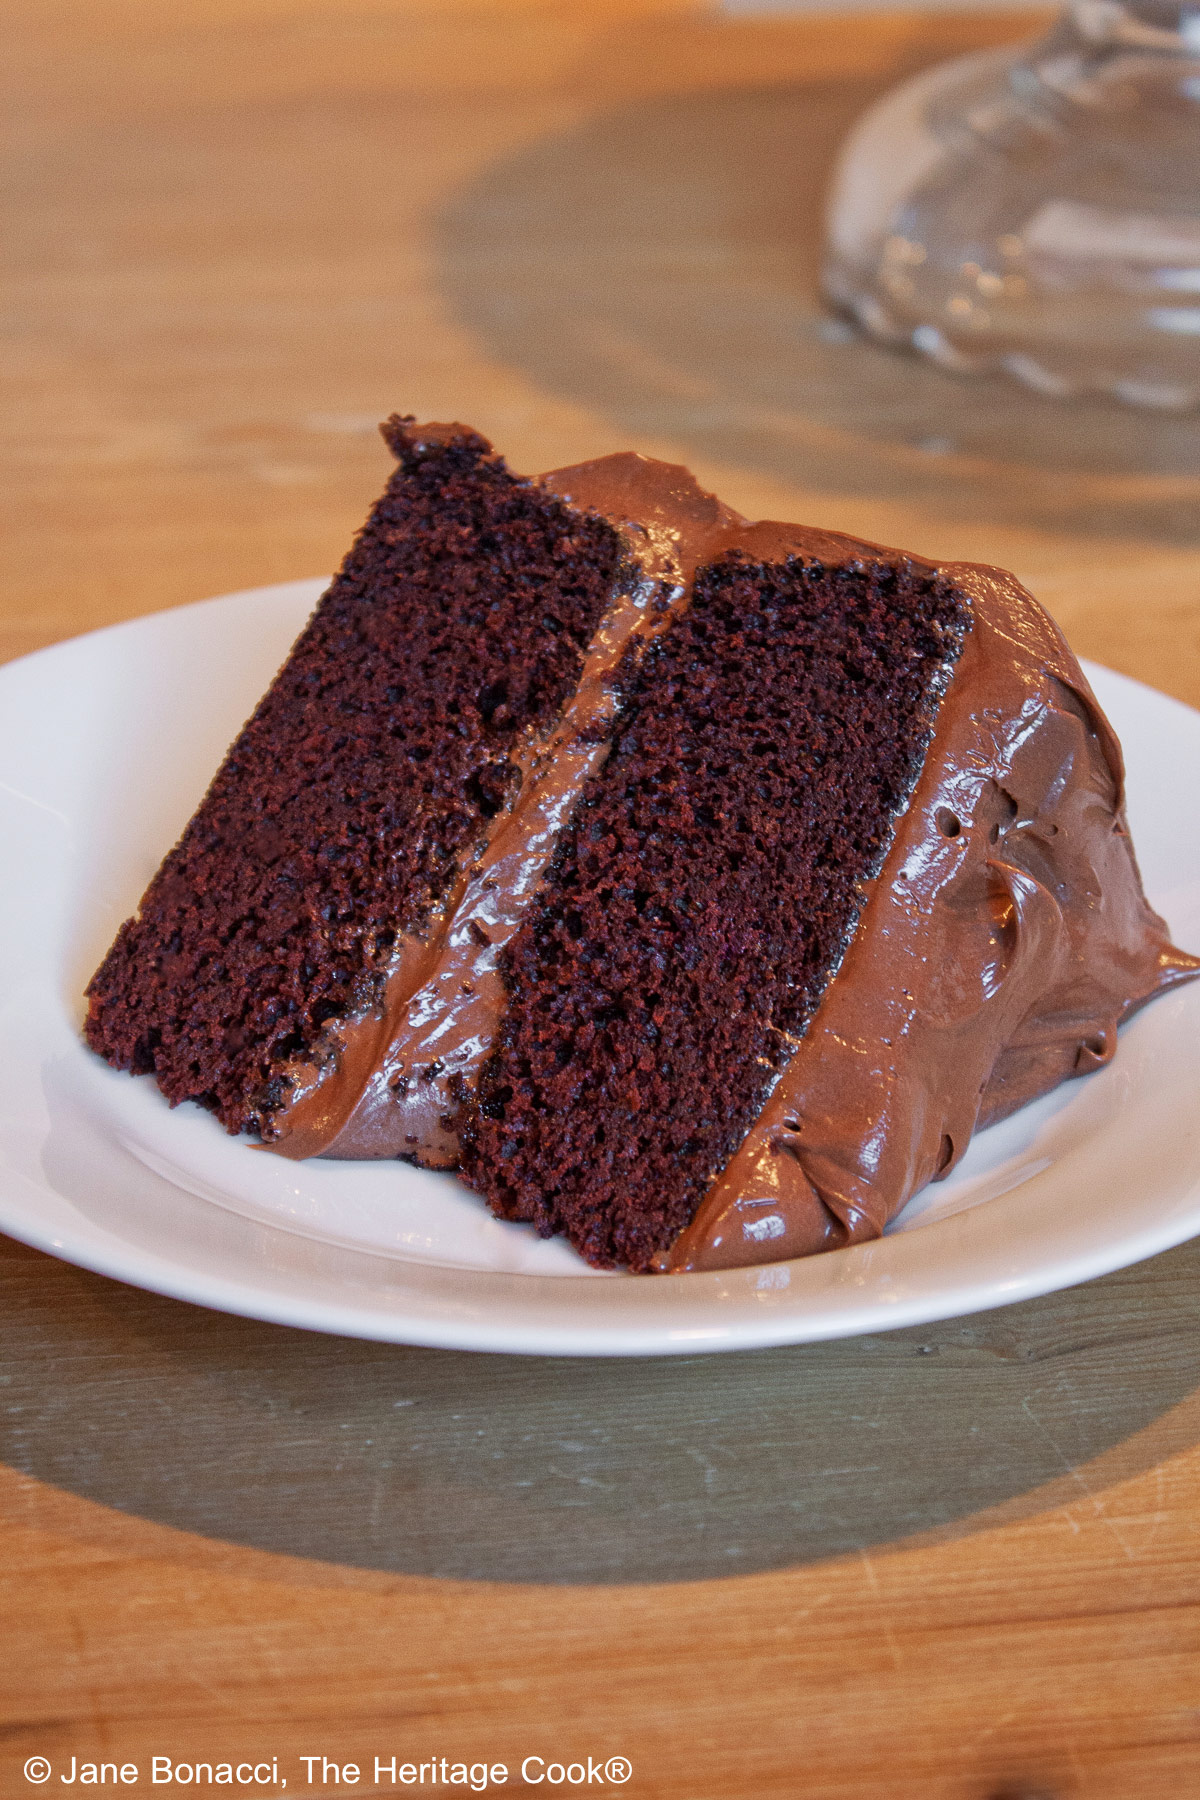
Chocolate layer cake is always spectacular and guaranteed to elicit oohs and ahhs. While I generally prefer sheet cakes because they are easier to make and transport, sometimes a layer cake is the perfect way to celebrate the special moments in our lives. It can be intimidating to make a layer cake but it really is pretty easy. A little practice and you’ll be a pro in no time!
I promise this is a chocolate layer cake that your family and friends will be talking about for ages, begging you to make it for them again!
To help you improve your baking efforts, here are some thoughts and information about my favorite baking ingredients.
My Favorite Baking Ingredients
- FLOUR – I use my favorite gluten-free blend in my home these days and always make it with Authentic Foods gluten-free flours. Authentic Foods’ superfine ground flours guarantee no grittiness in your baked goods. If you are converting a recipe, use 120 grams of this flour for each cup of flour called for. I keep a bucket of my flour blend on the counter ready for whenever the baking mood strikes.
If you are not gluten-free, I recommend King Arthur Flours. They are employee-owned and offer both conventional and organic flours. They use quality grains and their products are always consistent.
This consistency is due to precise flour specifications (the narrowest in the milling industry), superior milling, protein content, and no unnecessary chemicals. This results in top-quality flours that guarantee you get the results you are looking for. Their online baker’s catalogue is where I go to purchase unusual or hard-to-find ingredients and equipment.
- SUGAR – I only use cane sugar, never beet sugar. There are many reasons, but consistency is most important for me. Sugar beets are a root and grown beneath the ground while sugarcane, a grass, grows above ground. Beet sugar’s trace minerals and proteins from the dirt they grow in can cause havoc in baked goods.
You can buy any bags that are labeled, “pure cane sugar.” If the package doesn’t state a source, it is most likely beet or a combination of beet and cane sugar. Supermarket brands often vary from week-to-week and occasionally even bag-to-bag which can cause inconsistent results in your baking.
The San Francisco Chronicle has an article based on experiments done by master baker, Carolyn Weil that fully explains the differences and reasons for using cane sugar over beet.
- SALTS – Salt is one of the foundation seasonings and varies widely. Table salt is very finely ground, typically contains iodine, and melts easily. Kosher salt has a cleaner taste, the flakes don’t melt as quickly as crystals do, and because the surface area is greater, it is more efficient at drawing liquids out of meats and other foods. (Think of salting eggplant or cabbage to release their liquid.) But the most important point in my opinion is that kosher salt contains less sodium than regular table salt. A teaspoon of regular table salt is the same as about 1-1/2 teaspoons kosher salt.
There are two varieties of kosher salt commonly sold in the United States. Diamond Crystal has less sodium than Morton’s and is my preferred salt for cooking. When you see chef’s heavily salting their foods, it is nearly always kosher salt they are using.
Sea salts, as the name implies, are formed by the evaporation of seawater. Their flavors vary widely because they have the mineral composition of whatever body of water they are taken from. Sea salts, often considered a finishing salt, are perfect for sprinkling over the top of foods like salads when you want the crunch and flavor to be prominent.
- EGGS – The standard size of eggs for recipes in the USA is “large”. Most commercially printed cookbooks use this standard. It was surprising to me to learn that an extra-large egg can add as much as another half an egg to a recipe. The only well-known person I know that consistently uses extra-large eggs is Ina Garten. If you are making one of her recipes, be sure you have the right size of eggs!
PRO Tip:
If you are reducing a recipe and need only half an egg, break one into a bowl, whisk until combined and then use half of that mixture in your recipe.
- BUTTER – While some folks choose to use margarine, I try to avoid using products that contain a lot of chemicals, preferring natural and organic options. In baking, substituting margarine for butter can create problems primarily due to the increased percentage of water. Even small variants in ratios can cause issues.
Using the same ingredients and brands all the time will help you fine-tune your recipes. You will quickly get used to the results you get and can make small adjustments as needed. I buy butter in bulk and store it in the freezer. That way I always have fresh butter on hand.
When I want an indulgence for myself and The Artist, I buy Kerrygold butter from Ireland. It is incredibly smooth and full flavored. There is nothing better for your special baking projects that prominently feature butter (such as sugar cookies or pound cake) or slathered on toast in the morning!
I hope you love today’s Dark Chocolate Layer Cake with Chocolate Frosting recipe. You will be thanking me for a killer cake recipe!!
Happy Chocolate Monday!
If you try this recipe, let me know! Please leave a star rating in the recipe card, comment below, and don’t forget to snap a pic and tag it @theheritagecook on Instagram! Seeing your creations makes my day and I love hearing from you!
Ingredients needed for Dark Chocolate Layer Cake & Chocolate Frosting:
- Cake: flour, baking powder, baking soda, salt, sugar, water
- Unsweetened chocolate, butter, vanilla, eggs
- Frosting: heavy cream, sugar, unsweetened chocolate, butter, vanilla
PRO Tip:
You can bake the dark chocolate layer cake on one day and cool them completely. Wrap tightly in plastic and refrigerate. Then make the frosting the second day, frost and assemble the cake. This helps balance the work load. You can also freeze the layers ahead, just leave them in the refrigerator overnight to thaw.
How to make Dark Chocolate Layer Cake & Chocolate Frosting:
- Make the Cake: whisk the flour, baking powder, baking soda, and salt together; set aside.
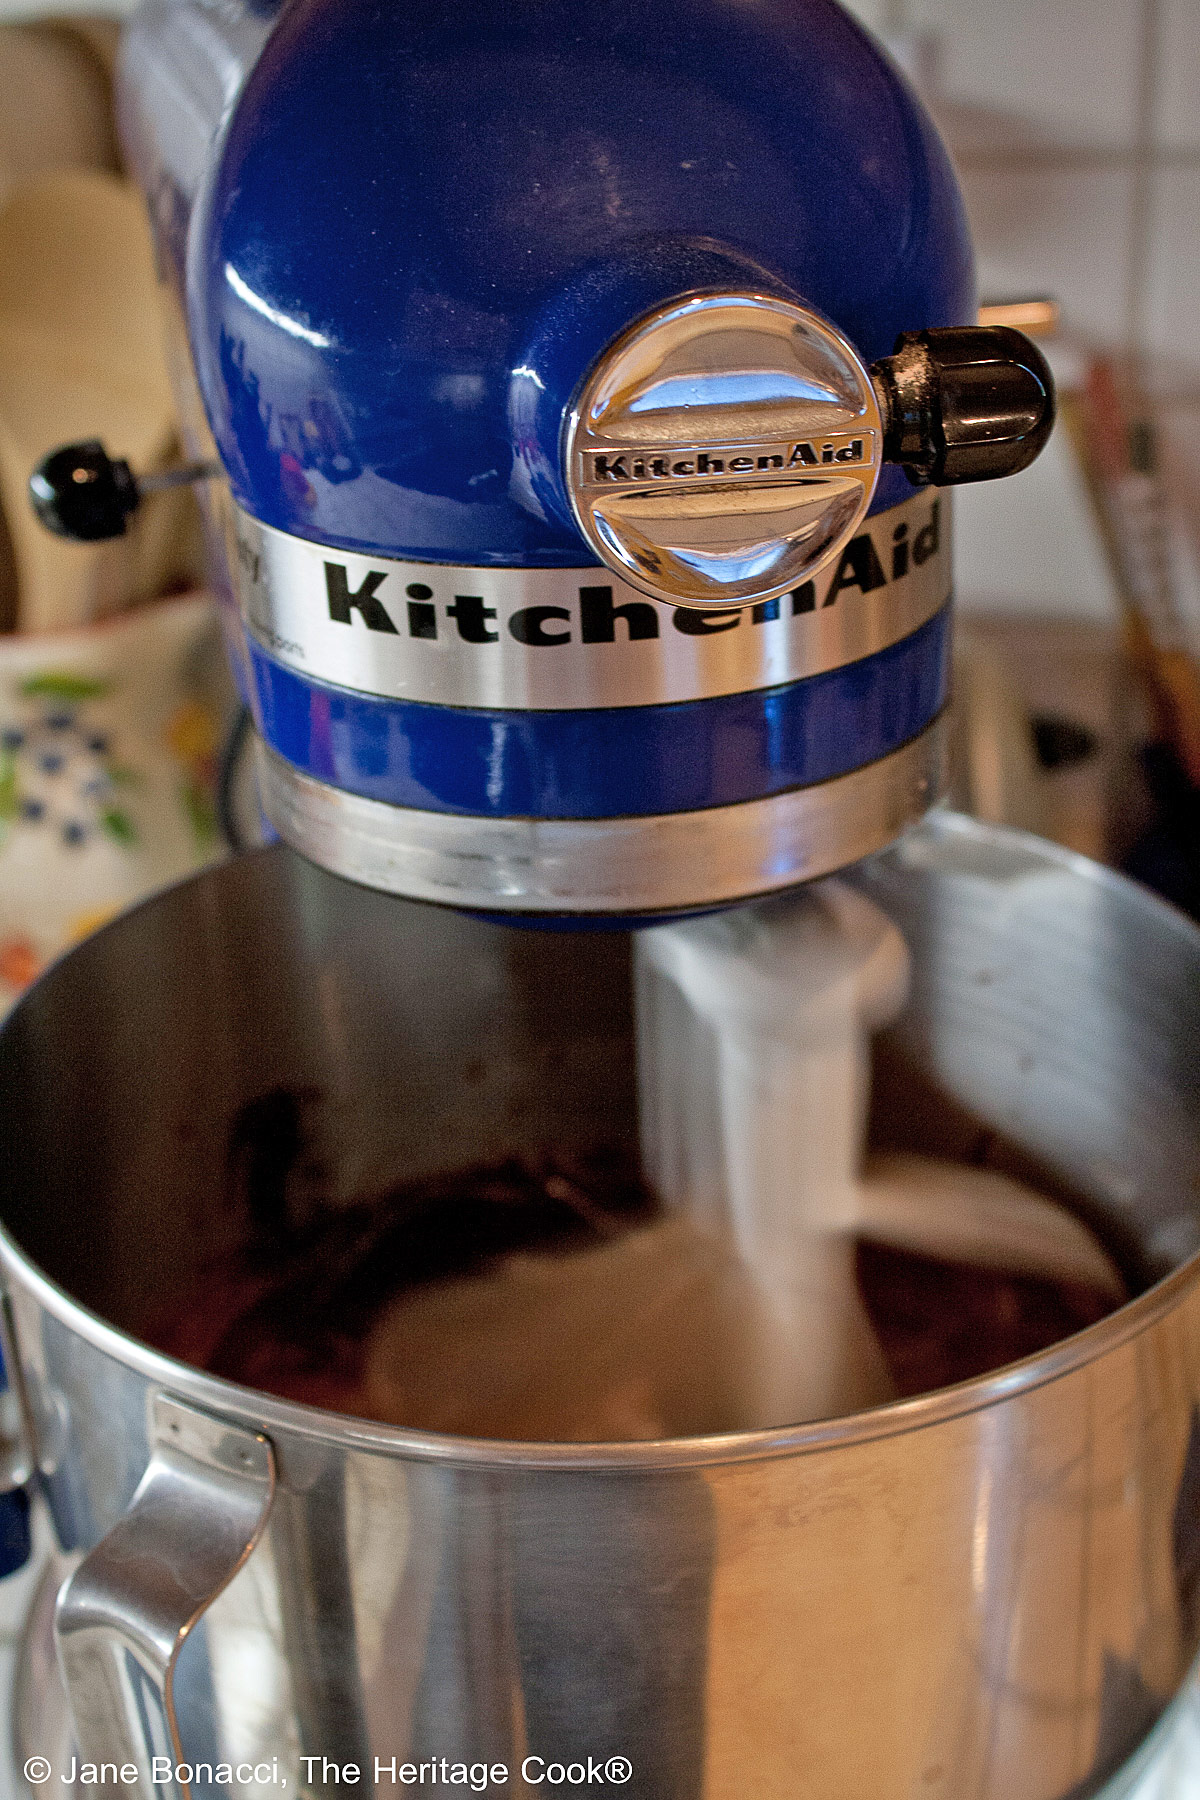
- Dissolve the sugar in the water and bring to a boil stirring constantly. When fully dissolved pour into the bowl of your stand mixer. Add the chocolate and butter and let sit, stirring occasionally until melted and slightly cooled. Put on the mixer and beat on low speed 1 minute to cool the mixture and then stir in the vanilla.
- When cool enough to hold the bowl in your hands, slowly pour the eggs into the chocolate mixture, beating constantly until combined. Add the dry ingredients and mix until incorporated and smooth.
- Divide batter equally between two buttered and floured (use GF flour if needed) round 8-inch baking pans. Bake at 350°F (177°C) for about 25 minutes until they start to pull away from the sides of the pan and a toothpick comes out clean. Cool cakes in the pans for 20 minutes then invert onto a wire rack to finish cooling.
- Prepare the Frosting: Bring the cream and sugar to a boil over med-high heat in a saucepan. Reduce heat to low and simmer, stirring occasionally until the liquid reduces slightly, about 6 minutes. Pour into a medium heatproof bowl and add the chopped chocolate, butter, vanilla, and salt. Let stand, stirring occasionally, until the chocolate and butter are melted.
- Place the bowl in a larger bowl with water and ice, nestling it down into the cold water. Chill, stirring occasionally with a spatula, 10 to 15 minutes. Remove from the water, wipe dry and transfer to the bowl of your mixer. Beat on med-high speed until thick and glossy. Set in the refrigerator about 15 minutes to firm up slightly before frosting the cake.
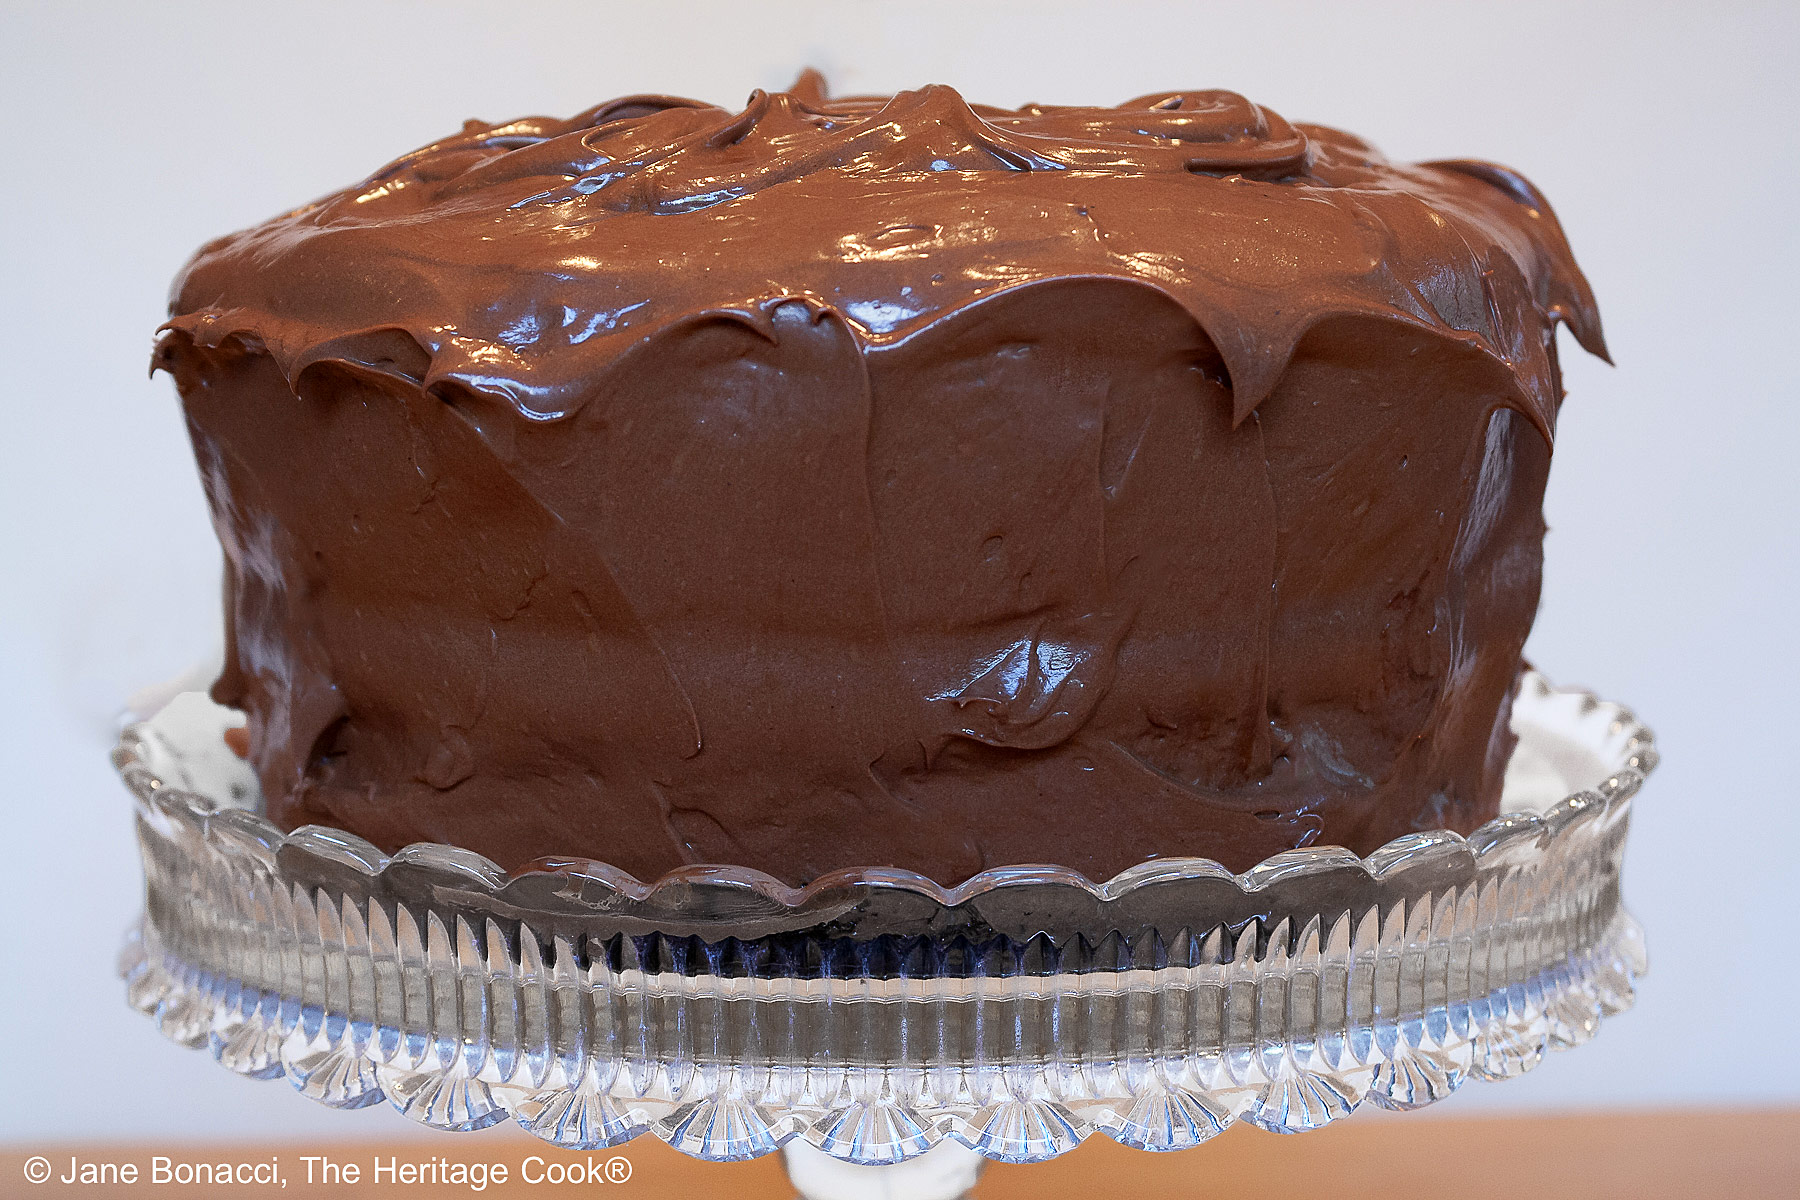
- To Frost the Cake: Set one cake layer top side up on a serving plate. Spread 1/3 of the frosting evenly over the layer on the plate. Set the second layer top side up on the frosted layer and frost the top and sides with the remaining frosting. Store, covered, in the refrigerator.
PRO Tip:
To help keep your serving plate clean while frosting the dark chocolate layer cake, use strips of parchment paper or waxed paper to cover the base surface and drape over the edges. Then place your cake layers on top and frost them. Any drops or smears wind up on the parchment and you can carefully slip the pieces of paper out before serving. Using an offset spatula will guarantee you don’t accidentally drag your hand through the frosting!
Recommended Tools (affiliate links; no extra cost to you):
- Kitchen scale
- Chef’s knife
- 8-inch round cake pans
- Parchment paper to line the pans
- Medium saucepan
- Stand mixer or hand mixer
- Large mixing bowl
Gluten-Free Tips:
*You can adjust any baking recipe to gluten-free by using 120 grams per cup of my favorite gluten-free flour blend. I keep it in a bucket on my counter so it is always ready whenever the baking mood strikes!
If you are using another brand of gluten-free flour, whisk the mix, spoon it lightly into a measuring cup until mounded, level off the top with the back of a knife, and weigh the flour left in the cup. Use that weight as your standard per cup of that specific flour. Do this for each flour blend you use. Commercial blends such as Pamela’s All-Purpose Artisan Blend, Bob’s Red Mill 1-to-1, or King Arthur Measure for Measure are all good choices.
You will get the best results by using a digital kitchen scale and weighing your ingredients, especially when you are baking.
All recommended ingredients are gluten-free as of the writing of this article. Always check to be sure the products haven’t changed and are still safe to consume.
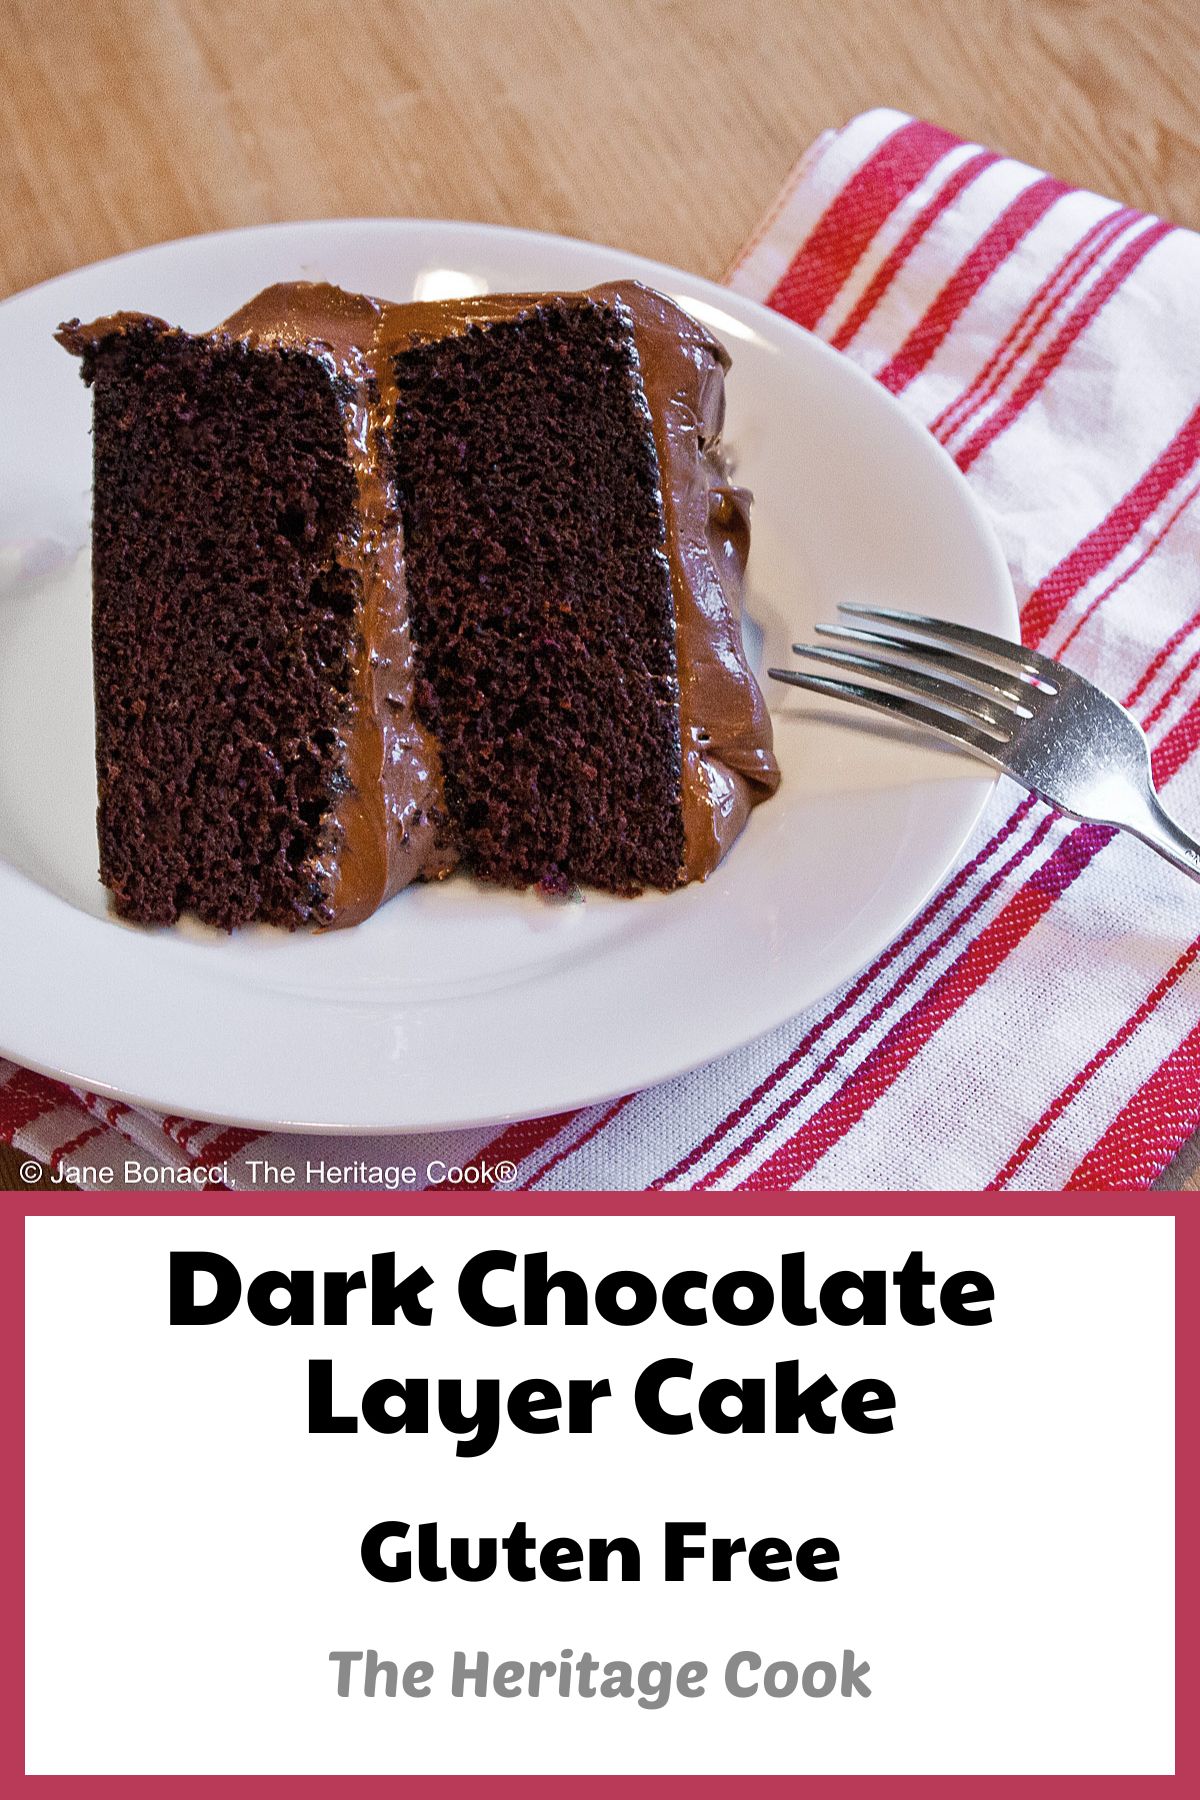
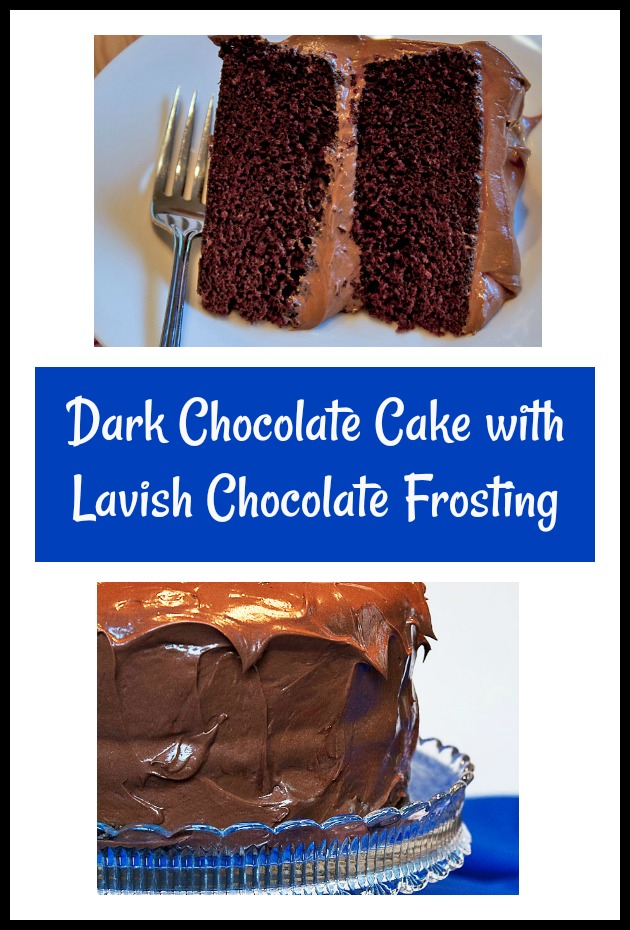
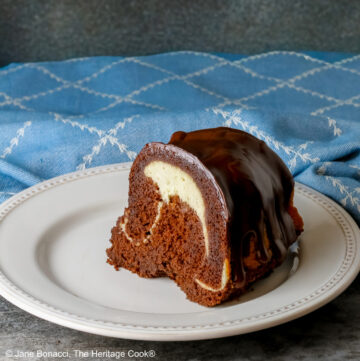
Dark Chocolate Layer Cake with Chocolate Frosting

Rich and luscious, this is the cake that the chocoholics in your life will dream of.
Ingredients
Cake
- 2 cups (240g*) of my gluten-free all-purpose flour blend* or all-purpose flour
- 2 tsp baking powder
- 2 tsp baking soda
- 1 tsp salt
- 2 cups (400g) granulated sugar
- 2 cups (454g) water
- 4 oz (113g) unsweetened chocolate, chopped
- 6 tbsp (85g) unsalted butter, cubed
- 1 tsp pure vanilla extract
- 2 large eggs (100g), lightly beaten
Chocolate Frosting
- 1-1/3 cups (303g) heavy cream
- 1-1/2 cups (297g) sugar
- 6 oz (170g) unsweetened chocolate, chopped
- 1 stick plus 2 tbsp (141g) unsalted butter, cubed
- 1-1/2 tsp vanilla extract
- Pinch of kosher salt
Instructions
- Make the Cake: Preheat the oven to 350°F (177°C). Butter and flour two 8-inch round cake pans (use gluten-free flour if needed). Line the bottoms with parchment paper. Lightly butter the parchment; set aside.
- Whisk together the flour*, baking powder, baking soda and salt into a medium bowl; set aside.
- In a medium saucepan, combine the sugar with the water. Bring to a boil over high heat stirring constantly until the sugar dissolves; then pour into the large bowl of your stand mixer. Add the chocolate and butter and let sit, stirring occasionally, until melted and slightly cooled. Start the mixer on low and beat for about 1 minute to help cool mixture. Stir in the vanilla.
- When the bowl is almost cool enough to hold in your hands, slowly pour the eggs into the chocolate mixture, beating constantly at medium speed until combined. Stop the motor and add the dry ingredients all at once. As soon as they are incorporated, beat at medium speed until smooth.
- Bake the Cake: Divide the batter evenly between the prepared pans and bake for about 25 minutes, or until the top springs back when pressed lightly and a cake tester comes out clean. The cakes will also start to pull away from the sides of the pans.
- Cool the cakes in their pans for about 20 minutes, then invert onto a rack to cool completely. Once cool you can use them right away or wrap them in plastic and store in the refrigerator for 1 to 2 days.
- Make the Frosting: In a medium saucepan, bring the cream and sugar to a boil over moderately high heat. Reduce the heat to low and simmer, stirring occasionally, until the liquid reduces slightly, about 6 minutes. Pour the mixture into a medium bowl and add the chocolate, butter, vanilla and salt. Let stand, stirring occasionally, until the chocolate and butter are melted.
- If Using a Hand Mixer: Set the bowl with the melted chocolate into a larger bowl of ice water. Using a hand mixer, beat the frosting on medium speed, scraping the sides occasionally with a rubber spatula until thick and glossy, about 5 minutes. Set in the refrigerator for 15 minutes to firm up slightly before frosting the cake.
- If Using a Stand Mixer: Put the melted chocolate mixture straight into the mixer’s bowl. Place this bowl into a larger bowl filled with water and ice. Nestle it down into the cold water. Let the mixture chill, stirring occasionally with a spatula, for about 10 to 15 minutes.
- Remove the bowl from the water, dry the bottom, and transfer to the mixer. Beat on medium-high speed until thick and glossy. Set in the refrigerator for 15 minutes to firm up slightly before frosting the cake.
- Frost the Cake: Set one cake layer, top-side up, on a serving platter or cardboard circle. Using a metal offset spatula, spread 1/3 of the frosting evenly over the top of the cake layer. Set the second cake layer (also top-side up) on the frosted layer and frost the top and sides with the remaining frosting.
- Store the cake, covered, in the refrigerator.
Recipe found at www.theheritagecook.com
Notes
*You can adjust any recipe to gluten-free by using 120 grams per cup of my favorite gluten-free flour blend. If you are using another brand of gluten-free flour, whisk the mix, spoon it lightly into a measuring cup without a spout until mounded, level off the top with the back of a knife, and weigh the flour left in the cup. Use that weight as your standard per cup of that specific flour. Do this for each flour blend you use. Commercial blends such as Pamela's, Bob's Red Mill 1-to-1, or King Arthur Measure for Measure are all good choices.
You will get the best results by using a digital kitchen scale and weighing your ingredients, especially when you are baking.
All recommended ingredients are gluten-free as of the writing of this article. Always check to be sure the products haven’t changed and are still safe to consume.
Modified recipe, original from Food and Wine magazine.
Nutrition Information:
Yield:
10Serving Size:
1Amount Per Serving: Calories: 262Total Fat: 16gSaturated Fat: 10gTrans Fat: 0gUnsaturated Fat: 5gCholesterol: 73mgSodium: 685mgCarbohydrates: 25gFiber: 1gSugar: 5gProtein: 5g
The nutritional information for recipes on this site is calculated by online tools and is merely an estimate. If you need nutritional calculations for medical reasons, please use a source that you trust.
If you enjoyed this recipe, be sure to follow me on social media so you never miss a post:
Create a New Tradition Today!
Welcome! The suggestions here are not intended as dietary advice or as a substitute for consulting a dietician, physician, or other medical professional. Please see the Disclaimers/Privacy Policy page for additional details. Unauthorized use, distribution, and/or duplication of proprietary material from The Heritage Cook without prior approval is prohibited. If you have any questions or would like permission, please contact me. We participate in the Amazon Services LLC Associates Program, an affiliate advertising program designed to provide a means for sites to earn advertising fees by advertising and linking to amazon.com. As an Amazon Associate, I earn a small amount from qualifying purchases without any additional cost to you. This page may contain affiliate links. The author makes no claims regarding the presence of food allergens and disclaims all liability in connection with the use of this site.


Laurence
Now that you have posted it, I am already craving for a good chocolate cake; I have a sweet tooth.
On the other hand, thanks for sharing the recipe!
Jackie @Syrup and Biscuits
Along with a wonderful recipe, this post was filled with great tips,hints and information. Your pictures are stunning!
Jane Bonacci, The Heritage Cook
Thank you so much Jackie. That means the world to me!!