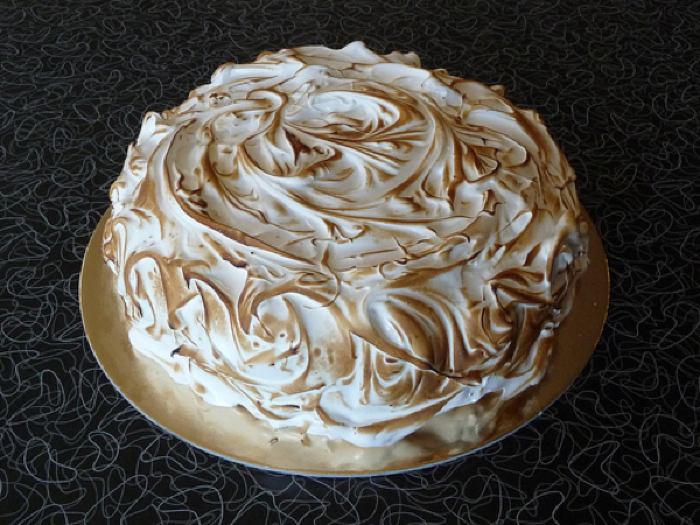
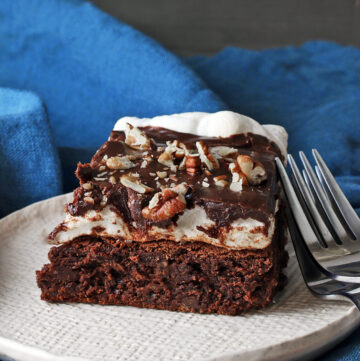
When I realized that Valentine’s Day fell on Chocolate Monday, I knew I had to come up with something extra special. I had several recipes in mind, and then I saw a remarkable cake being prepared on Martha Stewart’s show. I instantly knew that this was the cake for you! A luscious chocolate cake filled with malted chocolate ganache would be amazing by itself, but when you add a marshmallow frosting it goes into the stratosphere. Use a torch to lightly brown the entire cake and it is like S’mores on steroids!
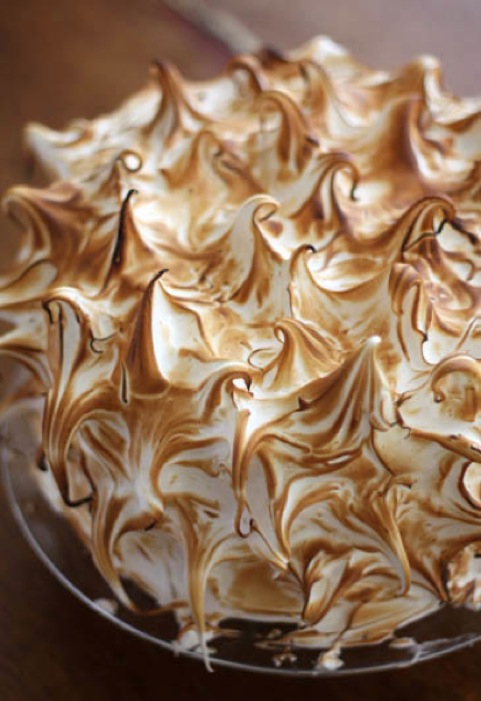
If you have ever made a Lemon Meringue pie, the frosting for this cake will be familiar to you. Rather than the frosting used on the show, I’m giving you one that has been around for decades and is really easy to make. A traditional 7-Minute Icing, named because it typically takes 7 minutes to beat it, is whipped egg whites beaten with a boiling sugar syrup. My mother used to make this for me when I was a child and it was always my favorite frosting.
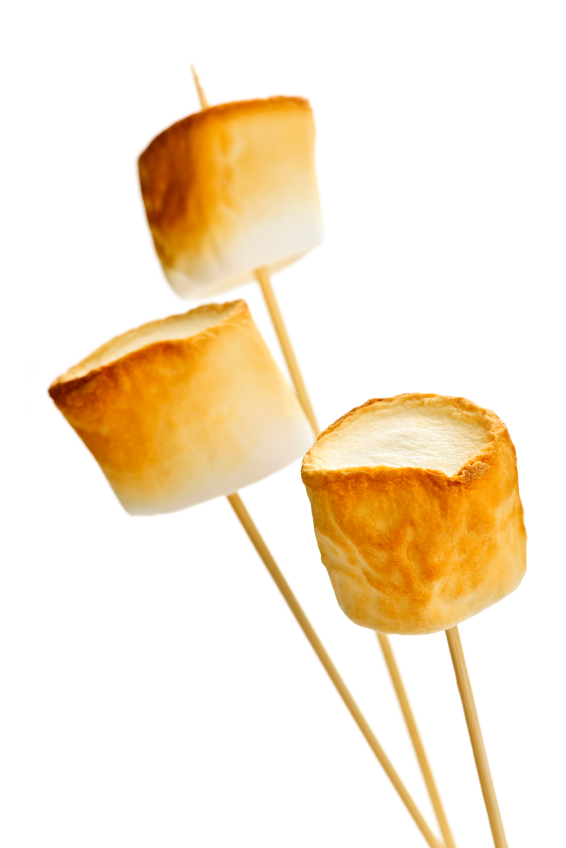
If you don’t have a kitchen torch, don’t worry about it. The cake will be just as delicious without the toasting. Sold at gourmet kitchen supply stores like Sur la Table and Williams Sonoma, torches are fun to have, but don’t feel like you have to go out and buy one to make this cake. If you decide to buy one, a kitchen torch can be used for meringues like this one and to make the hard topping on creme brulee.
And likewise, if you don’t have malted milk powder on hand, you can leave it out too. I love the complexity the malt flavor brings to the chocolate, but your chocolate loving friends will never know the difference if you leave it out. King Arthur Flour, my go-to for unusual baking products, stocks it if you want to give it a try.
There may be some who are concerned about using raw egg whites in the frosting. But remember that the boiling sugar mixture you pour into the beaten egg whites is 212°F. Bacteria are killed at 140°F. Once the cake is frosted and toasted, keep it in the refrigerator. If you are worried, you can always use pasteurized egg whites, found in the refrigerator case near the regular eggs.
This cake comes from the pastry chef of ABC Kitchen with Jean Georges, located in New York City. Focused on local, sustainable, organic ingredients, award-winning Jean Georges Vongerichten has created another winning concept restaurant. This farm-to-table restaurant has a serious commitment to the environment that permeates every aspect of the business. The bulk of the building materials include found, salvaged, reclaimed and recycled goods. The dinnerware, decorations, and wooden tables are artisan crafted. A rooftop garden provides herbs and micro-greens used by the kitchen to create their delicacies. Even the candles are made of soy and are free of pesticides, GMOs and additives. ABC Kitchen delivers a changing menu that is locally sourced and presented in a fresh and articulate space.
This dessert would also be wonderful baked as individual 7-inch cakes or even cupcakes. Topped with the marvelous frosting, you have the perfect vanilla and chocolate dessert. Happy Valentine’s Day everyone!!
Jane’s Tips and Hints:
If you want the most perfectly frosted cake, get yourself a turntable or Lazy Susan. Being able to spin the cake easily, allows you to get the smoothest sides – you move the cake instead of the spatula. Also, for an even top, get down and look at it from eye-level. Many of my cakes, which look perfect from the top when I’m working on them, turn out to be higher on one side when I get down and look at them closely. Ultimately practice makes perfect and in time you will be turning out exceptional cakes one after another!
Kitchen Skill: Melting Chocolate
There are a number of ways to melt chocolate, but two methods are better than the others. The first is to use a microwave oven. You must be careful because the chocolate will melt from the center outward and may not appear to be melted until you touch it and the chocolate collapses. It is easy to scorch it. Stir often and heat in small increments of time.
The most widely accepted and preferred method of melting chocolate is over simmering water. It is imperative that the bowl your chocolate is in does not touch the water, so choose a bowl that sits up in a saucepan. Put about 2 inches of water in your saucepan, set the bowl in the pan and lift it out – make sure the bottom isn’t wet! Heat over medium-high heat until steam starts to rise and bubbles appear around the edges of the pan. Reduce the heat to low and set the bowl in the pan. Place 3/4 of your chocolate in the bowl. Stirring occasionally, heat until chocolate is melted and smooth. Remove from the heat and add remaining chocolate, whisking until smooth.
If not using immediately, keep it warm over barely hot water, stirring occasionally.

- Malted Chocolate Ganache
- 1 cup heavy cream
- 3/4 cup malted milk powder
- 1 cup chopped milk chocolate
- 1-1/2 cups chopped dark chocolate
- Cake
- Nonstick cooking spray
- 8 oz (2 sticks) unsalted butter, room temperature
- 2-1/3 cups plus 3 tbsp "superfine" sugar (or you can put regular granulated sugar in a food processor and pulse it)
- 1-1/4 cups extra-dark cocoa powder, sifted
- 2 large eggs, room temperature
- 1 large egg yolk
- 1-1/3 cup plus 4 tsp all-purpose flour
- 1-1/2 cup plus 4 tsp cake flour (not self-rising)
- 1 tbsp plus 1/4 tsp coarse salt
- 2-1/4 tsp baking powder
- 2 tsp baking soda
- 2 cups boiling water
- 1/2 cup canola or sunflower oil
- Frosting
- 6 tbsp hot water
- 2 cups powdered sugar
- 2 egg whites
- 1/2 tsp cream of tartar
- 1/4 tsp salt
- 2 tsp vanilla extract
- Make Ganache: In a small saucepan whisk together heavy cream and malted milk powder; bring to a boil over medium-high heat.
- Place both chocolates in a medium heatproof bowl. Pour boiling cream over chocolate and let stand until melted, about 1 minute. Using an immersion blender, blend until smooth. Let stand at least 6 hours and up to overnight before using.
- Make Cake: Preheat oven to 325°F. Spray two 9-inch round cake pans with nonstick cooking spray. Line bottom of each pan with a parchment paper round and spray again; set aside.
- In the bowl of an electric mixer fitted with paddle attachment, cream together butter and sugar on medium speed until light and fluffy, 5 to 8 minutes. Add cocoa powder and beat until combined, 3 to 5 minutes more, scraping down the sides as necessary.
- In a small bowl, whisk together eggs and egg yolk. With the mixer on low, slowly add eggs, mixing until smooth and well combined, scraping down sides of the bowl as necessary.
- In a large bowl, sift together both flours, salt, baking powder, and baking soda. Add to butter mixture and mix on low speed until combined.
- In a medium bowl, mix together boiling water and oil. With the mixer on low, slowly add water mixture and mix until combined. Divide mixture evenly between prepared cake pans. Transfer to oven and bake until a cake tester inserted into the center comes out clean, 35 to 40 minutes.
- Transfer cakes to wire racks; let cool completely, at least 2 hours.
- Make Frosting: Combine water and powdered sugar in a saucepan and bring to a boil. Boil in a covered pan until sugar is dissolved.
- Using a hand-held mixer (an immersion blender will also work), beat egg whites with cream of tartar and salt. With mixer running, slowly pour in boiling sugar syrup, beating on high for 1 minute. Add vanilla and continue beating until mixture comes to stiff peaks.
- Assemble and Frost Cake: Unmold cakes and remove parchment paper. Using a serrated knife, trim tops of cakes to make level, and then cut each cake in half horizontally. Place four strips of parchment paper around perimeter of a serving plate or Lazy Susan. Place the bottom side of one bottom half on the cake plate. Evenly spread top with one-third of the ganache. Repeat process twice with top halves of each cake and top with the remaining bottom half of cake bottom-side up. You should have three layers of ganache and four layers of cake.
- Separate frosting into two bowls. Working with the first bowl, use an offset spatula and smooth a thick layer over the sides of the cake. The reason you separate the frosting is to keep crumbs from getting mixed into all of the frosting. Leave the sides smooth or make a decorative pattern as you like.
- Transfer remaining frosting to a pastry bag fitted with a large star tip. Pipe a border around the top of the cake and then fill the center of the top with any decorative design you like. Remember that any high spots will be the first to color when you toast the cake. Using a kitchen torch, toast frosting until lightly browned.
- Yield: one 9-inch layer cake
Thank You!




Karen Palmer
Leave it to you to come up with this extravagant dessert. Must try it soon.
For Valentine’s Day I actually fast forwarded to President’s Day and did a cherry tart. Also did little tiny tarts for my support group. A home made treat was so well-received by the caregivers!
Thanks for always inspiring me!
T
Amanda
Wow jane so impressive! I have stumbled and pinned this 🙂
Jane Bonacci, The Heritage Cook
Thanks Amanda!!!
Bambi
You’ll also find the torch at your local, helpful Ace Hardware store
Jane Bonacci, The Heritage Cook
You are absolutely right Bambi! Good point – and you’ll save money too!!
Sanjeeta kk
That surely is a piece of marvel!! Love the wonderful frosting, you are a great baker, Jane. Have a good day.
Jane Bonacci, The Heritage Cook
Thank you Sanjeeta! I hope you have a wonderful day as well!