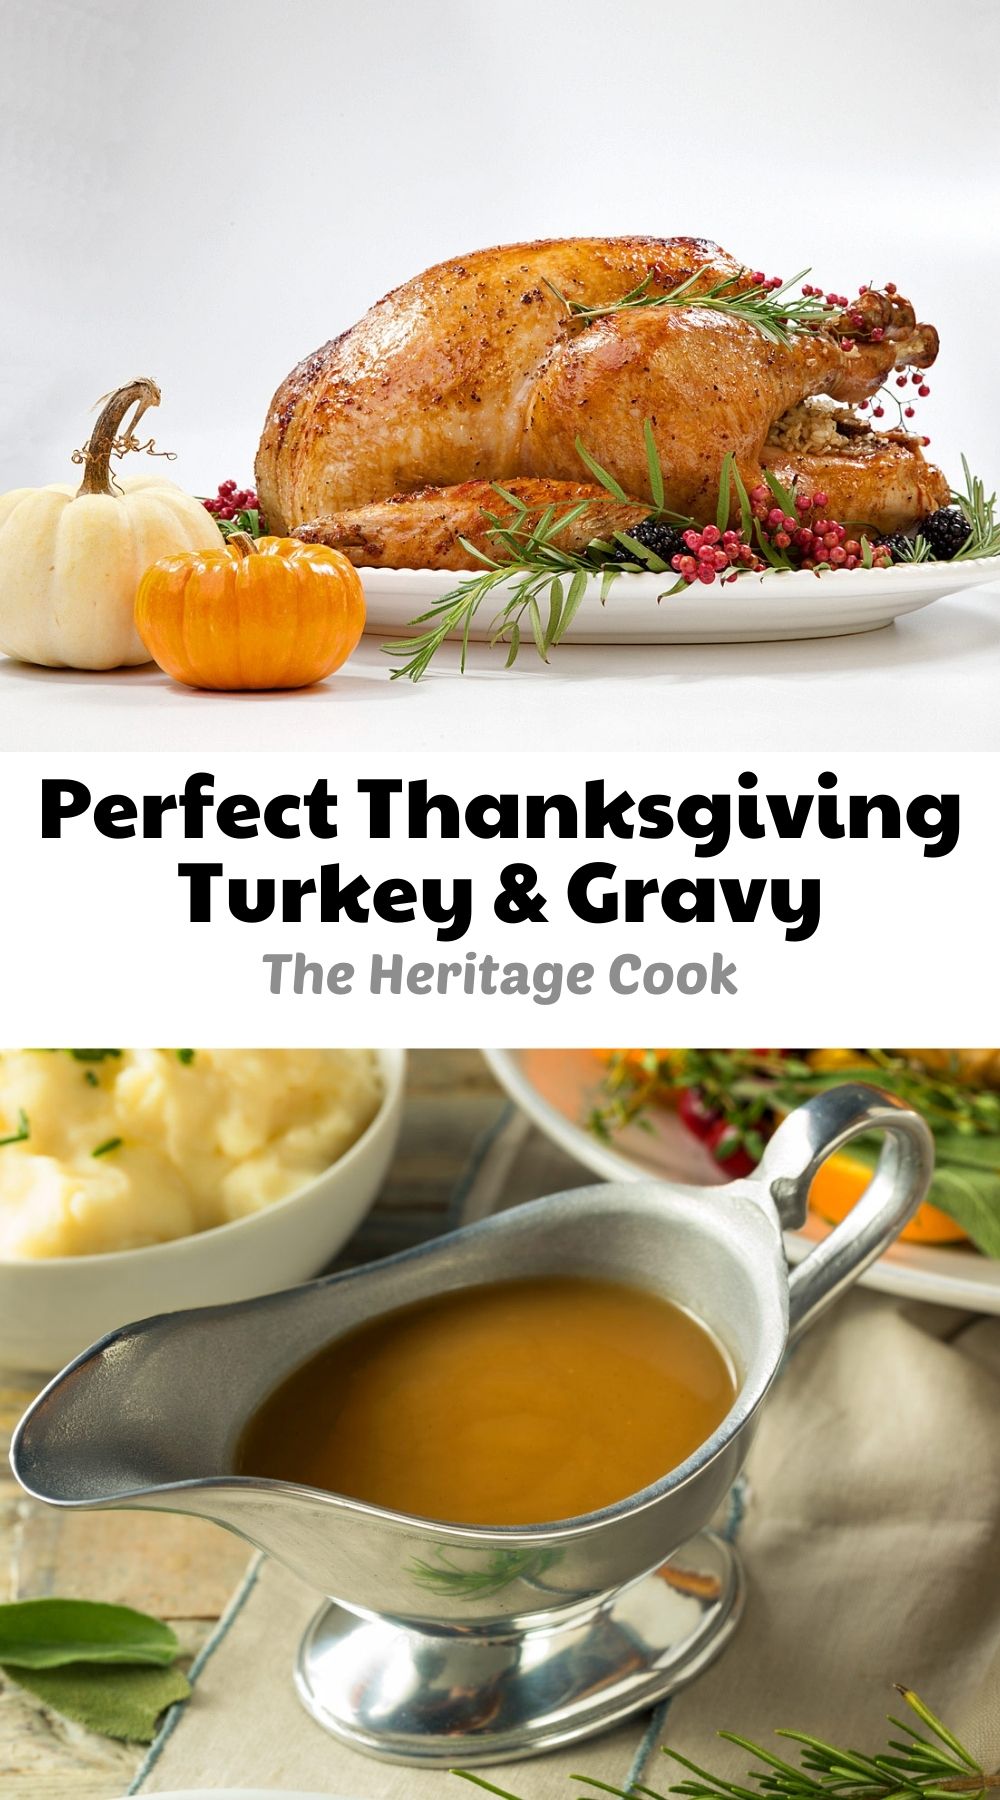
With Thanksgiving right around the corner, I want to share How to Make the Perfect Thanksgiving Turkey technique that I love. It is easy and produces the most amazing birds, the best I’ve ever made! Plus recipes for silky gravy and luscious turkey stock.
Today in addition to my annual holiday turkey I am also sharing a few of my favorite side dish recipes. You can have your entire holiday meal planned in no time!
With a few tweaks over the years, I have arrived at the perfect blend of technique and flavors for the turkey. I borrowed the technique from one of my favorite restaurants, Zuni Café in San Francisco.
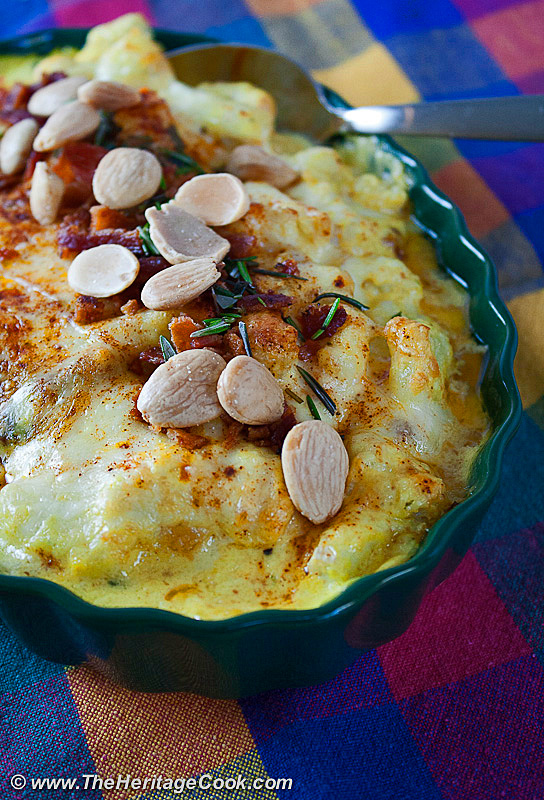
Cheesy Cauliflower with Saffron Cream Sauce
A meal at Zuni is a true experience. It is located in an old building with brick walls, towering ceilings, and a long copper bar that runs the length of the main room. It is warm, welcoming, funky, and so much fun. While their menu is always seasonal, local, and full of delicious choices, they are nationally known primarily for one dish … the Zuni Roast Chicken.
The technique, while time-consuming, is really simple. I have taken the chicken recipe, added a few ingredients and use it for my own holiday meals. These birds are by far the best turkeys I have ever made and I’m sharing that recipe with you!!
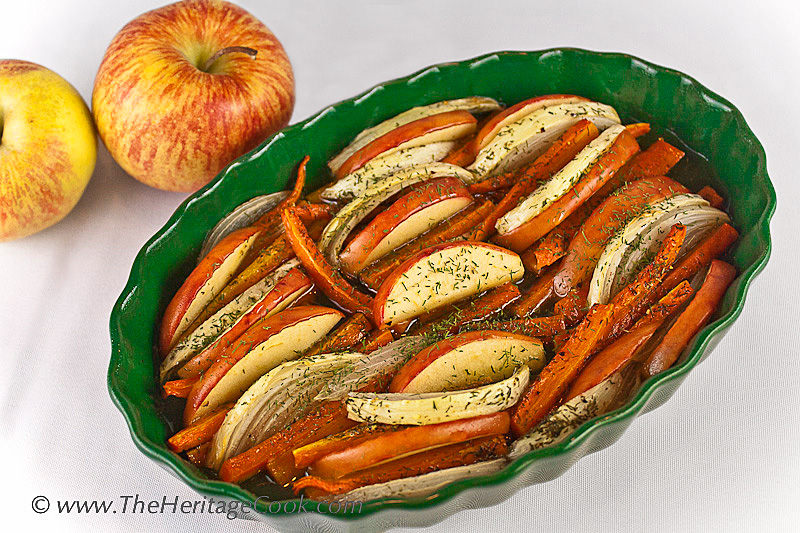
Maple Roasted Carrots, Apples and Onions
The technique calls for rubbing salt on the bird and letting it rest in the refrigerator a few days. Yep, you read that right, three days. What happens next is a miracle of chemistry. The salt does all the work for you and no more wrestling with a bucket of brine and a slippery bird or worrying about keeping it at a safe temperature. Hallelujah, Thanksgiving just got easier!
For me, the other main component of Thanksgiving dinner is the gravy. It can be a nightmare or a dream, cause headaches or delight. There are a few tricks to perfect gravy and if you follow them, it will turn out perfectly every time. A few minutes, a little patience, and you will have award-winning gravy!
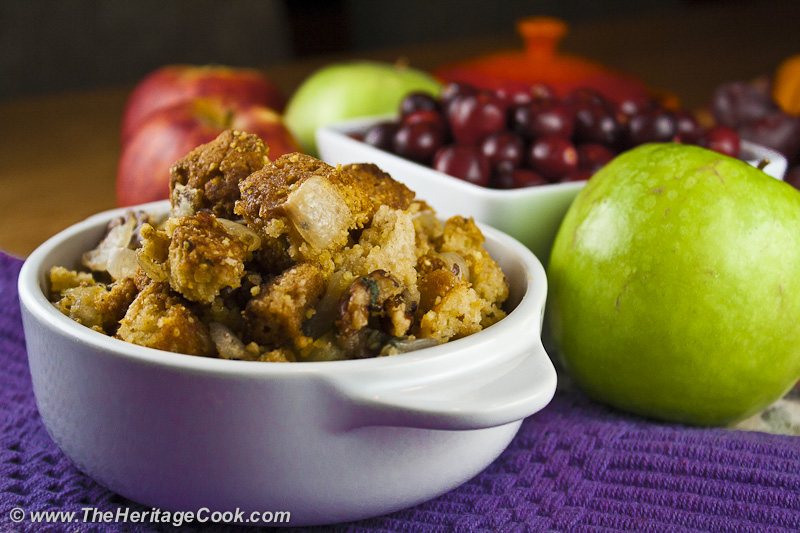
Gluten-Free Thanksgiving Cornbread Dressing
One of the components of the gravy (and used in the stuffing/dressing too) is turkey stock. It is really easy and I make mine several days ahead so it is ready when I need it for making the rest of the dinner. And if I have some leftover, it makes delicious soup!
All right, are you ready to learn how to make the perfect Thanksgiving turkey, stock, and gravy? From my house to yours … Zuni Turkey for Thanksgiving!
Thanksgiving Side Dish Recipes for You:
Cheesy Cauliflower Gratin with Saffron Cream Sauce
Thanksgiving Cornbread Stuffing or Dressing (Gluten-Free)
Maple Roasted Carrots, Apples and Onions
Did you enjoy these recipes? Let me know in the comments, I love hearing from you!
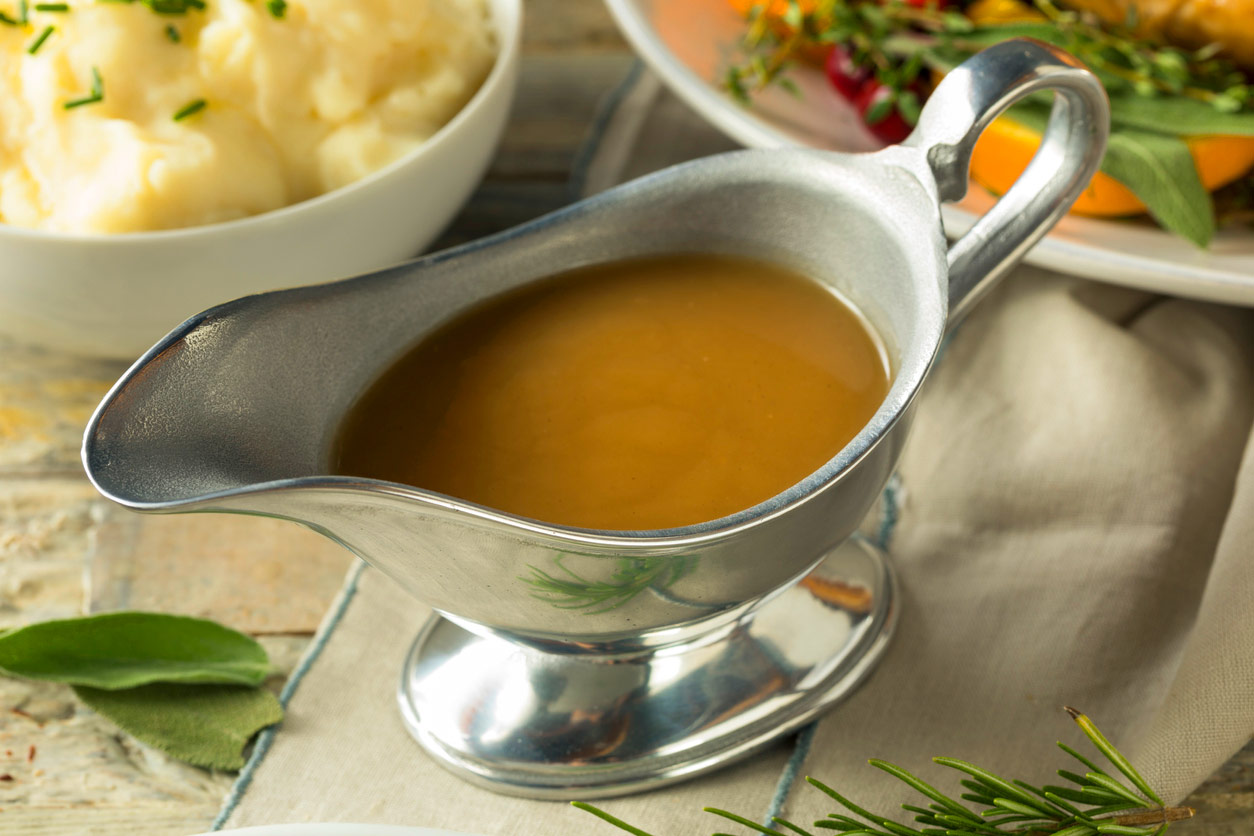
Satiny Turkey Gravy (recipe below)
Key Ingredients for The Perfect Thanksgiving Turkey, Gravy, and Stock:
- Turkey: Diamond Crystal kosher salt, ground sage, onion powder, lemon zest
- Gravy: Turkey broth, butter, flour or cornstarch, pan juices, black pepper, turkey broth concentrate (optional),
- Stock: Turkey parts, turkey or chicken base (optional), onions, shallots, carrots, celery, salt, peppercorns, fresh thyme
Why do you call for Diamond Crystal kosher salt?
Different salts are processed in different ways and their salt content ratio differs. Morton kosher salt and table salt are much saltier tasting than Diamond Crystal. If they are the only salts you can find, use about half the amount called for in the recipe.
CAUTION:
Do NOT use this technique with a turkey that is either kosher or that has been injected! The both contain salt already and you will wind up with an overly salty bird!
PRO Tip:
I know that many Americans are convinced that wet brining is the only way to guarantee moist, tender poultry. But I swear this dry-brining method works, is much easier, and takes a lot of the guesswork and hassle out of roasting a whole bird. You can use it for any poultry including your Thanksgiving turkey!
How to make The Perfect Thanksgiving Turkey, Gravy, and Stock:
- Turkey: Blend together the salt, sage, onion, powder, and lemon zest; use the mixture to rub on the fresh turkey and place in a large plastic bag and refrigerate for 3 days, massaging the bird occasionally while in the bag
- Remove the bird from the bag and wipe the skin dry with a paper towel; refrigerate uncovered about 8 hours to help dry out the skin
- Leave turkey at room temperature 1 hour before roasting – you can spread a compound butter under the skin if desired
- Slice large onions and place flat on bottom of the roasting pan, scatter the chopped carrots and celery around the edges of the pan and set the turkey in the center on top of the onions
- Roast at 425°F for 30 minutes then reduce the temperature to 325°F, add more stock to the pan if needed, cook until a thermometer inserted in the thigh registers 165°F, about 2-1/2 to 3 hours total roasting time
- Remove from the oven, drain accumulated juices from inside the bird, and transfer to a cutting board; cover with foil and let rest at least 30 minutes before carving and serving
- Gravy: Bring broth (stock) to a boil and keep warm over low heat; Melt butter in large saucepan or skillet and whisk in the flour or cornstarch being sure there are no lumps, carefully cook until golden brown, about 10 minutes
- Remove from the heat and whisk in the warm broth (stock) until smooth; return to the heat and cook, whisking constantly until thickened
- Add some of the pan juices if desired, taste and add salt and pepper if needed; strain through a sieve if you have any lumps
- Can be made a day or two in advance
- Stock: In a large roasting pan, oil the bottom and add turkey parts; roast at 375°F 1 to 2 hours until well browned, adding water to the pan if it gets too hot
- Transfer the legs and wings to a large stock pot, reserving the thighs separately; add a little water to the roasting pan, bring to a boil and scrape up any browned bits from the bottom of the pan, reserve to use in the gravy later
- To the wings and legs in the soup pot, add water, and vegetables with the salt and pepper; add thyme, bring to a boil, reduce heat to low and simmer, partially covered, for 2 to 3 hours until fully flavored; taste and add stock base (if using), adjust seasonings
- Strain the stock and discard the solids, refrigerate and when cold, skim the fat off the top – add the fat to the reserved drippings
- Can be refrigerated about a week or frozen for up to 3 months
PRO Tip:
If you are using a frozen turkey, you can use the same technique without needing to defrost the turkey first. Just rinse the frozen bird under running cold water until you are able to pull the giblet sack(s) out. Pat the turkey dry and follow directions below for salting and brining. The turkey will defrost and brine at the same time!
Recommended Tools (affiliate links; no extra cost to you):
- Food processor
- Citrus grater
- Chef’s knife
- Large cutting board
- Oven roasting bag
- Large roasting pan
- Carving knife
- Large saucepan
- Stock pot
- Colander
Gluten-Free Tips:
Make sure the turkey you buy has not been pre-brined or injected. Your safest choice is a fresh, organic turkey that has had minimal processing. Many processors use ingredients that contain gluten in their brines. Look for a gluten-free mark on the packaging. Making your own stock (broth) guarantees its safety for you and your family.
Dry Brined Thanksgiving Turkey
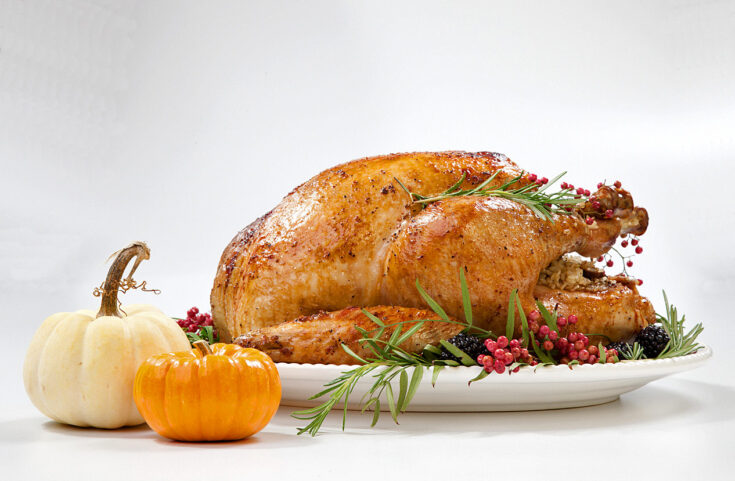
This is the best turkey I've ever made and is now the only technique I use. Simple and nearly entirely hands-off, there is no need to wrestle with a wet brine when cooking poultry. This dry-brining technique can be used on fresh chickens as well as turkeys.
Ingredients
Sage and Lemon Seasoned Salt
- 1/3 cup Diamond Crystal kosher salt (see note)
- 1 tablespoon ground sage
- 1/2 teaspoon onion powder
- 1 tablespoon freshly grated lemon zest
Turkey
- 1 (12 to 15 pound) fresh and organic turkey
- 4 large onions plus 2 medium onions, peeled
- 5 carrots, chopped
- 4 stalks celery, chopped
- 2 lemons
- Fresh sage
- Olive oil
- 1 cup dry vermouth, white wine, or water
- 1/2 cup turkey stock or water
Instructions
- In the bowl of a food processor, combine the salt, sage, onion powder, and zest. Pulse until thoroughly blended. Measure out 1 tbsp of the salt mixture for every 5 pounds of the turkey’s weight. If you get a 15 pound turkey, you will use 3 tbsp of the salt. Store the remaining mixture in an airtight container for up to three weeks.
- Starting 4 days before you intend to cook the bird (that’s Monday for cooking on Thanksgiving Thursday) remove any giblets or other items from inside the turkey. You can use them for other recipes or discard. Pat the turkey dry with paper towels and set on a cutting board.
- Starting on the breast, sprinkle the entire top with about 1 tbsp of the salt mixture. Rub it in with your hands, putting more on the meatiest areas. Rub the remaining salt mixture on the legs and thighs. Place the turkey breast-side up in a 2-1/2 to 3 gallon resealable food-safe plastic bag. If you can’t find a zip-top bag big enough, you can use an oven-roasting bag. Press the air out and seal tightly. If you are using a roasting bag, twisting the open end tightly and using a rubber band to hold it shut works well. You can also place on a baking sheet and wrap with plastic wrap.
- Refrigerate the turkey for 3 days, massaging the salt into the meat (without removing from the bag) about once a day. You can brine for less time but the bird won’t be as flavorful. Initially you will see a bit of liquid on the skin and in the bag – don’t be concerned, this is part of the process. The salt pulls the moisture out of the meat, but it will eventually be reabsorbed and when it does, it will pull the flavor of the salt and any seasonings deep into the meat.
- The day before cooking, remove the turkey from the bag and wipe the surface with a paper towel. The skin should be moist with little to no salt remaining. Place it in an open container and refrigerate uncovered about 8 hours. The air in the refrigerator will dry the skin. This helps with the browning and crisping of the skin during roasting.
- When ready to cook, let the turkey sit at room temperature for at least an hour before placing in the oven. If you want to use a compound butter under the skin, now is the time to make and spread it over the breast.
- Preheat the oven to 425°F.
- Slice the large onions horizontally into 1/2-inch thick slices. Place slices in a flat even layer on the bottom of a large roasting pan, sprinkle the carrots and celery around the edges, drizzle lightly with olive oil and season with a little salt and pepper. Cut remaining medium onions and the lemons into quarters, and place inside the cavity of the turkey along with a handful of the fresh sage. Rub the entire surface of turkey with olive oil, and set breast-side up on the vegetables in the pan. Pour vermouth and stock in the pan and carefully transfer to the hot oven.
- Roast for 30 minutes at 425°F and then reduce the temperature to 325°F. Roast another 30 minutes then add a little more stock if the pan is getting too dry. Continue roasting until the thigh reaches 170°F. Use an instant read thermometer. The total time will be about 2-1/2 to 2-3/4 hours. (An unstuffed turkey cooks faster than a stuffed one.) If you don’t have a thermometer, wiggle the leg – it should feel loose in the socket. Pierce the thigh and make sure the juices that flow out don’t have any pink in them. If they do, keep cooking for another 15 to 20 minutes and check again.
- When done, remove from the oven and lift the turkey using two heavy duty forks, tipping the bird so that liquid that has collected in the cavity drains into the cooking pan. Transfer turkey to a cutting board. Use the pan drippings to keep the leftovers moist. Tent with foil and let rest at least 30 minutes. The juices will be reabsorbed into the meat. Carve and serve on a warmed platter.
- NOTE: You can dry brine for less time, but it will take at least 2 days for the dry brine to fully work. The final drying time can also be shortened if needed. Pat any extra moisture off with a paper towel before roasting.
- Recipe Source: The Heritage Cook
Notes
Do NOT use this technique on kosher or previously injected birds! They both contain salt in the processes and you will wind up with an overly salty finished dish. This is for unprocessed, fresh turkeys.
Nutrition Information:
Yield:
14Serving Size:
1Amount Per Serving: Calories: 80Total Fat: 1gSaturated Fat: 0gTrans Fat: 0gUnsaturated Fat: 1gCholesterol: 0mgSodium: 1462mgCarbohydrates: 11gFiber: 2gSugar: 4gProtein: 1g
Silky Turkey Gravy
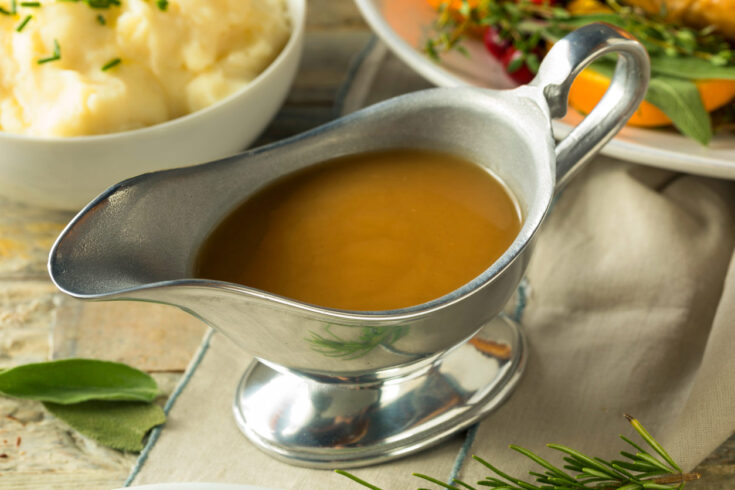
Lovely, silky smooth gravy is a dream when it turns out perfectly, but is notorious for being unpredictable. Follow these directions and you'll have the best rich gravy every time.
Ingredients
- 6 cups turkey broth (can be made well in advance – recipe below)
- 4 tbsp butter
- 6 tbsp all-purpose flour or 4 tbsp cornstarch for gluten-free
- Pan juices from turkey roasting pan, optional
- 1 to 2 packets of liquid turkey broth concentrate from Savory Choice, optional
- Freshly ground black pepper, to taste
Instructions
- In a medium saucepan, bring broth to a boil over medium-high heat. Reduce heat to low to keep warm.
- In a large saucepan or skillet, melt butter over medium-low heat. Using a flat whisk, stir in the flour (or cornstarch) until smooth with no lumps. Take your time with this step. Cook, stirring constantly, until golden brown, about 5 minutes. Don't get distracted, this can go too far quickly and burn. If it does, throw it out and start over.
- Remove the pan from the heat and gradually add the broth. Whisking until completely incorporated and smooth. Return pan to the heat and cook, stirring constantly, until thickened. You can whisk in some of the pan juices from the roasted turkey. Taste and add concentrate if the turkey flavor isn’t strong enough and add salt and pepper if needed. If there are any lumps, you can pour the gravy through a wire strainer to remove them.
- For Serving: Pour very hot water in your serving container (such as a gravy boat) to preheat it. When warm, pour out the water, dry the container, and fill with steaming hot gravy. Keep remaining gravy warm on the stove so refills will be hot.
- Make Ahead: You can make the gravy a day or two in advance and store in the refrigerator. Reheat in the microwave or over low heat. It will thin as it heats. Add a tablespoon or two of water or chicken stock if it is too thick, whisking until you have the right consistency.
- Recipe Source: The Heritage Cook
Nutrition Information:
Yield:
12Serving Size:
1Amount Per Serving: Calories: 79Total Fat: 4gSaturated Fat: 2gTrans Fat: 0gUnsaturated Fat: 1gCholesterol: 13mgSodium: 582mgCarbohydrates: 9gFiber: 0gSugar: 3gProtein: 1g
Golden Turkey Stock
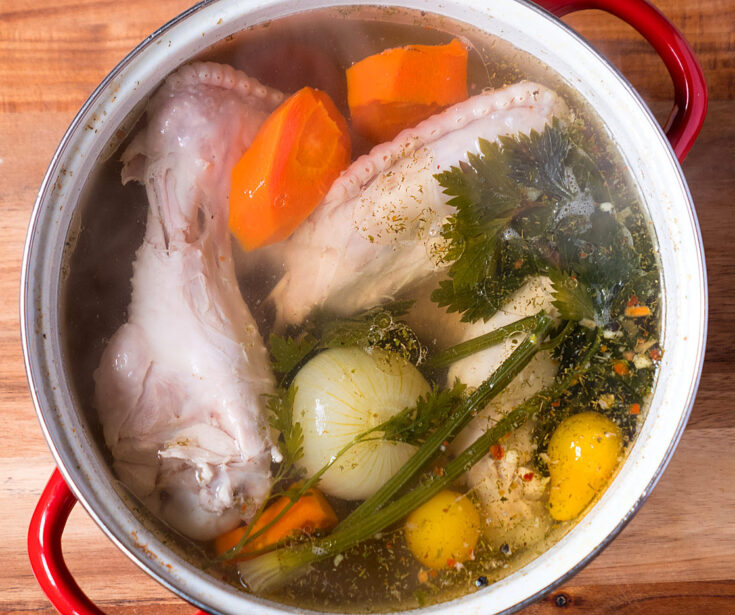
The best starter for turkey soup, dressing/stuffing, or gravy is a fully flavored stock or broth. I always make this several days ahead and have it ready for my other recipes, saving time and stress on the big day.
Ingredients
- Olive oil
- 5 lb turkey wings, necks, thighs, and drumsticks
- 8 quarts water
- 3 large onions, roots cut off but skins left on, quartered
- 4 large shallots, roots cut off but skins left on, quartered
- 4 large carrots, scrubbed, cut into large chunks
- 4 large celery stalks, scrubbed, cut into large chunks
- 2 to 3 tsp kosher salt
- Crushed peppercorns
- Fresh thyme sprigs, rinsed and patted dry
- 1 to 2 tbsp turkey or chicken demi-glace or base, optional
Instructions
- Preheat the oven to 375°F.
- Brush the bottom of a large roasting pan with oil. Add the turkey parts, placing them skin side down. Season lightly with salt and pepper. Roast in the oven for about 1 to 2 hours or until well browned. Add a little water to the pan if drippings start to get too brown. Using tongs, transfer turkey wings and legs to a 12-quart soup pot. Reserve the thighs to serve separately.
- Add a little water and bring to a boil on the stovetop. Scrape the bottom of the roasting pan to loosen browned bits. Pour the pan drippings into a container, cover, and store in the refrigerator until ready to use to make your gravy.
- Add the water and vegetables to the soup pot with the turkey parts. Stir in the salt and pepper. Add 6 to 8 sprigs of fresh thyme. Bring to a boil over medium-high heat, reduce heat to low, partially cover with a lid, and simmer for 2 to 3 hours or until it is fully flavored. Taste and adjust the seasonings; add the demi-glace or base if desired.
- Strain the stock and discard the solids. Refrigerate. When cold, skim the fat that solidifies on the top and add it to the reserved pan drippings to use for the gravy.
- Stock can be refrigerated for about a week or frozen for up to 3 months.
- Recipe Source: The Heritage Cook
Nutrition Information:
Yield:
24Serving Size:
1Amount Per Serving: Calories: 486Total Fat: 26gSaturated Fat: 7gTrans Fat: 0gUnsaturated Fat: 16gCholesterol: 167mgSodium: 515mgCarbohydrates: 5gFiber: 1gSugar: 2gProtein: 55g
If you enjoyed this recipe, be sure to follow me on social media so you never miss a post:
Create a New Tradition Today!
Welcome! The suggestions here are not intended as dietary advice or as a substitute for consulting a dietician, physician, or other medical professional. Please see the Disclaimers/Privacy Policy page for additional details. Unauthorized use, distribution, and/or duplication of proprietary material from The Heritage Cook without prior approval is prohibited. If you have any questions or would like permission, please contact me. We participate in the Amazon Services LLC Associates Program, an affiliate advertising program designed to provide a means for sites to earn advertising fees by advertising and linking to amazon.com. As an Amazon Associate I earn from qualifying purchases. This page may contain affiliate links. This post was first shared in Nov 2013. The article was updated in 2021.




Louise
Hi Jane!
I have actually heard of the Zuni Cafe and their chicken. I’m still looking to get that cookbook too.
I totally believe you when you say this method is so much easier. Unfortunately, I won’t be able to try it this year. I have a turkey still defrosting. (don’t ask:) I will be trying it though with a chicken because I most definitely don’t want to wait until next year.
Thank you so much for sharing this method and those gravy tips, Linda. May you and yours having a glorious Thanksgiving!!! Louise
Jane Bonacci
Hi Louise,
Actually, you can salt the turkey while it is defrosting and do this technique all in one step! Try it with a chicken and you will be amazed at how good it tastes! And don’t be afraid to cook turkey during the year. I often make a breast for The Artist and myself. Then we have delicious turkey sandwiches afterwards!!
I hope you all have a wonderful Thanksgiving too. Just relax and breathe!!! 🙂
Rhonda
I wonder if salting it would make difference if you deep fry it? I think I’ll just come to your house for Thanksgiving!
Jane Bonacci
I would love to have you join us Rhonda!!! The technique would certainly work with a deep fried turkey because it seasons the meat all the way through. I would just make sure it is completely dry before putting it in the hot oil. Did you see today’s Chocolate Monday round-up? You’re in it!! 😉