When I was a child I loved caramel apples and begged my parents to buy them for me. But I was only interested in the candy and threw most of the apple away when the caramel was gone. By cutting the apples into wedges and making them finger foods, your kids will be happy to eat all their fruit. What? A “healthy” Halloween snack that your kids will love? Oh yeah.
If you have been reading my recipes and stories for a while, you know that I have a major passion for chocolate and caramel. Since my earliest days eating Rolo’s, Milk Duds, Sugar Mamas and Black Cows, it is my favorite combination. As I grew up my palate changed and I began to appreciate darker chocolate as the perfect foil for the sweet caramel. With all the caramel apples showing up on the Internet at this time of the year, I wanted to figure out a way to add chocolate and increase the fun!
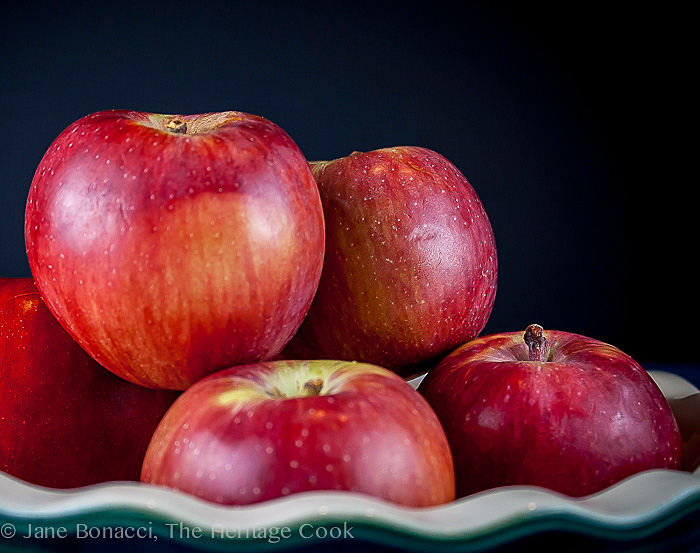
Beautiful Empire Apples
Today’s story is a lesson in recipe testing. When I first came up with the idea I knew there would probably be issues with the caramel and chocolate sticking to the apples, but I thought I could get around that. I wrote up my recipe and went into the kitchen to try to make it. Major, catastrophic fail! This is why we test recipes!
Through the testing process we improve recipes, clarify our instructions, make certain that our ratios are correct and find ways to make them easier for you to replicate. Sometimes this can take several efforts, becoming costly, but it is an invaluable process. I’m sure you have bought some cookbooks where the recipes simply do not work even though you follow them exactly. Occasionally this is because they were not clearly written, but often it is because they were not tested thoroughly or were edited poorly.
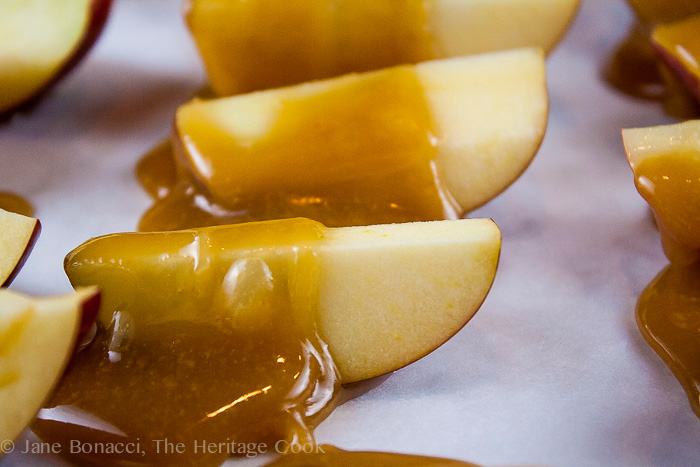
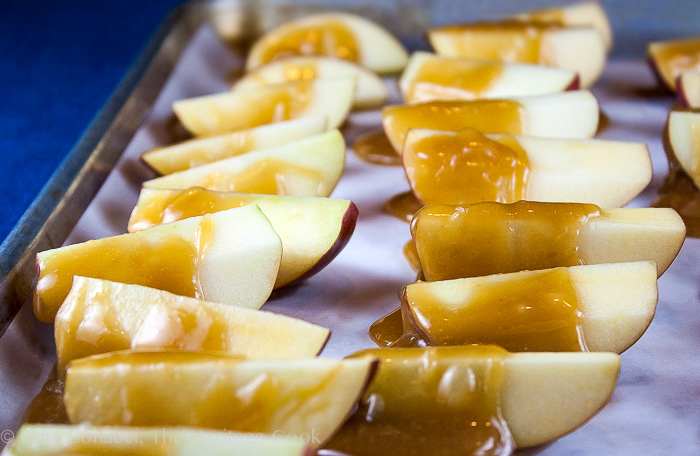
Apples draped in homemade caramel
My original thought was to give you beautiful hand-dipped apple wedges, first in homemade caramel and then in melted chocolate. I envisioned perfectly dipped wedges, oozing with caramel and draped with chocolate. Well, that only lasted for two wedges. I knew I had to make some changes.
I immediately realized that the apples were too wet and slippery to handle and that it would be dangerous to ask you to try and play around with boiling hot caramel. In hindsight I could have skewered the wedges and those probably would have been a whole lot easier to manage.
So, if dipping wasn’t the answer, then drizzling and partially covering them using a ladle was. I dug in my gadget drawer and got to work. I put all of my apple pieces on one baking sheet, which would have been fine if I could have dipped them, but became a nightmare when I had to cut them apart. I changed the recipe to make sure you didn’t make the same mistake as I did.
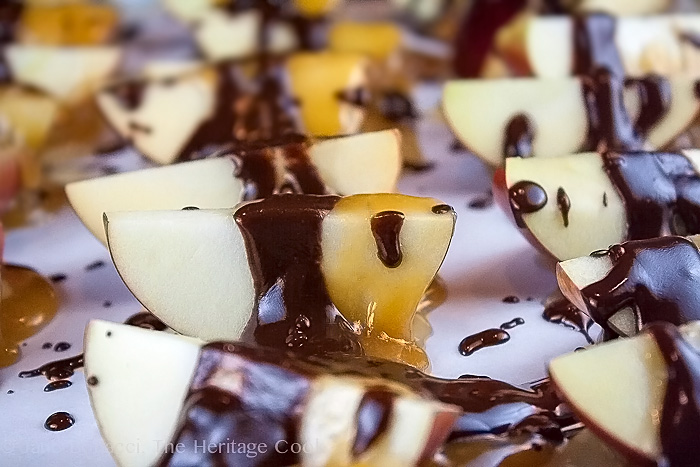
As I drizzled the caramel and chocolate, I had an inspiration probably brought about by spending so many years with The Artist. If I couldn’t make them perfectly, why not go completely the opposite direction and create some abstract art? If you are serving these to adults, you can call them a tribute to Jackson Pollock. If they are for a child’s party, tell the kids they are based on 101 Dalmatians, LOL!
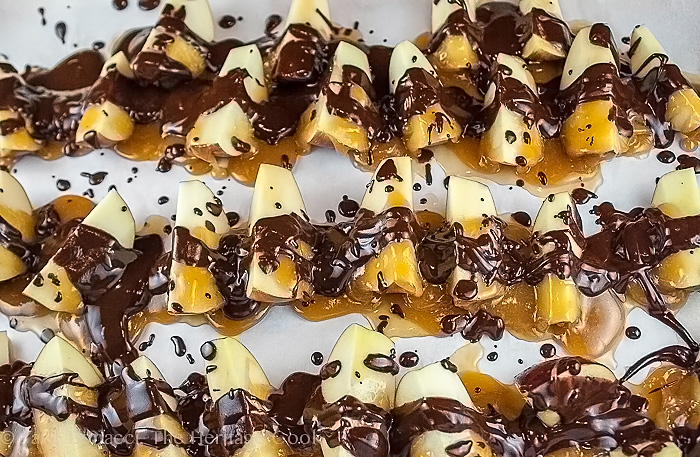
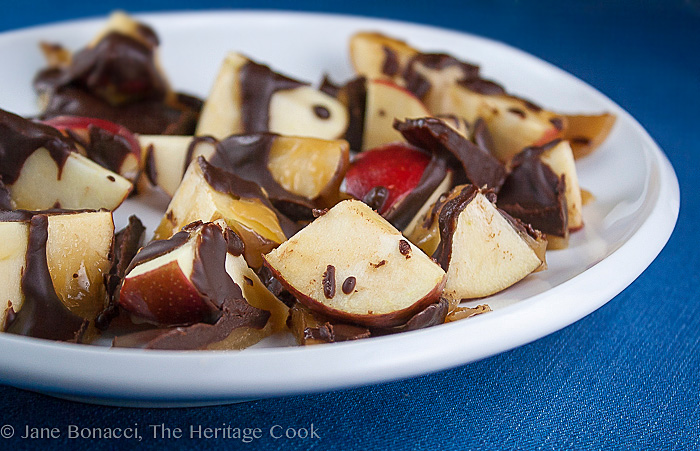
Modern culinary art inspired by Jackson Pollock or 101 Dalmatians!
Also, instead of keeping then in the pretty wedges, cut them into smaller chunks. They will be easier for your little ones to eat and handle, and will encourage them to eat the fruit along with the chocolate and caramel. And you can have them help you make these, giving them even more incentive to eat them!
If your children are a little older, you can have them help you cut up the apples and watch the thermometer. If they are really little, they can watch and learn, helping you measure out ingredients, and maybe sticking toothpicks into the apple cubes (if you want to do that as a way to make serving easier). Just be sure to handle the caramel yourself because a boiling sugar burn is the worst.
If you do not want to make your own caramel, you can use individually wrapped caramels or block caramel that you can chop into smaller pieces and melt over the stove.
Once you have covered the apples with the caramel and chocolate, place them in the refrigerator for a few minutes to firm up before trying to separate them. This will make the caramel harden and using a heavy-duty chefs knife is the best way to cut them apart if the caramel and chocolate have puddled around the apples and merged with the next piece.
I hope you give this a try. One bite and I know you’ll be shouting Hallelujah just like The Artist and I did, LOL!
Gluten-Free Tips:
This is naturally gluten free.
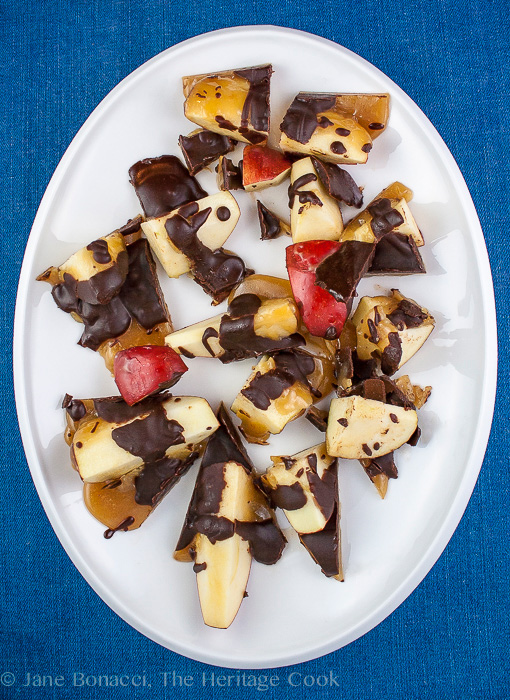

- Caramel Sauce
- 1 cup granulated sugar
- 1/2 cup firmly packed brown sugar
- 1/2 cup (1 stick) butter, cut into cubes
- 1/2 cup heavy whipping cream
- 1/2 cup light corn syrup (helps retard crystallization)
- Pinch kosher salt
- 1/2 tsp pure vanilla extract
- Apples
- 4 large sweet-tart apples, such as Honeycrisp, Fuji, or Gala
- Chocolate Sauce
- 1-1/2 cups semisweet or milk chocolate chips (or a combination)
- 3 tbsp heavy cream
- Wash the apples with fruit/vegetable wash to remove any wax and/or pesticides. Rinse well under running water and pat dry with paper towels. Set on a cutting board but do not cut yet.
- Line two baking sheets (with sides) with either parchment paper or Silpats; set aside.
- Set out a heavy 4-quart saucepan. If you are using a clip-on candy thermometer, attach it to the pan and adjust it so that the mercury sits just above the bottom of the pan without touching. Remove the thermometer carefully and set beside the stove.
- Make the Caramel: In the saucepan, combine the sugar, brown sugar, butter, milk, whipping cream, corn syrup, and salt. Cook over medium heat, carefully stirring occasionally, until the butter is melted and the mixture comes to a boil. Try to stir carefully so that you don’t splash any of the mixture on the sides of the pan. Put a lid on the pan and leave it for 15 to 30 seconds to wash down the sides with the steam. Remove the lid. This is another trick to help keep the sugar crystals from reforming after the candy is cooked.
- Attach the candy thermometer to the saucepan, and continue cooking, without stirring, until the thermometer reaches the firm ball stage (248°F to 249°F). You can also use a Thermapen thermometer for extremely accurate monitoring. The temperature will rise quickly at first and then take a long time to come to the final temperature. The amount of time will depend on your stove, the type of pan you use and the ambient temperature in the kitchen.
- Remove from the heat and standing back from the pan, carefully pour in the vanilla – be prepared for it to sputter and splash. Stir it in with a heatproof spatula. Set aside to cool slightly.
- Prep the Apples: While the caramel is cooking, cut one apple in half lengthwise through the stem. Set each half cut-side down and cut lengthwise in half again. Flip each quarter onto one cut side and cut out the core; repeat with remaining quarters. Cut quarters in half lengthwise so you have eight total pieces. Cut the wedges into 1-inch chunks and place on the lined baking sheet.
- Use a small ladle and pour the caramel over the apple pieces, trying to cover each one. If you have any extra caramel, pour it onto a second sheet of parchment ~ it makes outstanding candies!
- Prepare the Chocolate: Place the chocolate in a heatproof bowl. Pour the cream in a small saucepan and place over medium-low heat. Bring to a simmer and pour over the chocolate. Stir until the chocolate is melted and the mixture is smooth and well blended. Use a small ladle or transfer the chocolate to a squeeze bottle and drizzle over the caramel apples. You do not have to cover them, make a fun and funky pattern. Set aside until chocolate has completely hardened, about 20 minutes in the refrigerator is perfect.
- Cover the sheet with plastic and store in the refrigerator until ready to serve. Transfer the parchment paper to a cutting board. Use a sharp, heavy-duty chef’s knife and cut between the chunks. Transfer the chunks to a platter and let everyone dive in. Have them start with forks and then use their fingers to wrap the caramel and chocolate around the apples. I guarantee that pretty soon the forks will be abandoned.
- Make sure you have plenty of napkins and wet-wipes available because everyone will be sticky and very happy!
Create a New Tradition Today!
Unauthorized use, distribution, and/or duplication of proprietary material from The Heritage Cook without prior approval is prohibited. This includes copying and reprinting content and photographs. If you have any questions or would like permission, I can be contacted via email at theheritagecook (at) comcast (dot) net. Feel free to quote me, just give credit where credit is due, link to the recipe, and please send people to my website, www.theheritagecook.com. Please see the Disclaimers page for additional details.
Thank You!

