It is cool here in Northern California with a brisk wind to remind us that winter is arriving soon. We are happy to see the series of storms in the Pacific that look like they will bring us much needed rain and snow in the mountains. It has been tough dealing with such a severe drought, but it looks like El Nino will provide us with a reprieve. Hopefully we will get enough precipitation to refill our reservoirs and begin to refill the aquifer that has been depleted to support the agriculture that supplies most of the country with fresh fruits and vegetables.
When we come inside, our noses and cheeks are bright red from the cold and we head straight for a cup of coffee or hot cider to warm up. And what is better than something sweet to go alongside our drinks, especially a Chocolate Monday treat!
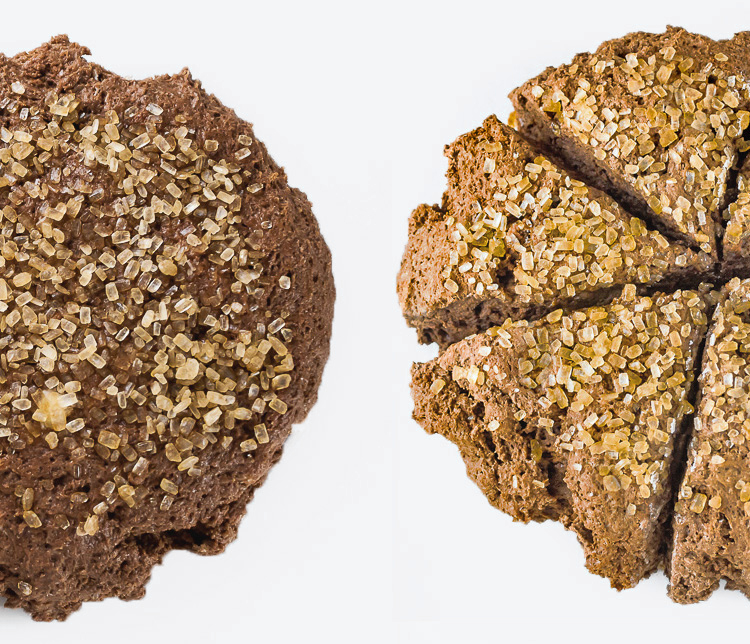
Before baking on the left; Hot from the oven on the right
Today’s recipe is a lovely chocolate scone, studded with coarse sugar and then drizzled with chocolate glaze for even more chocolate punch. Like a true British scone, these are not particularly sweet. The sugar crystals on the top gives them a nice crunch and a little sweetness and the chocolate drizzle takes them over the top! You can make these gluten-free like I did or use regular flour, both versions are delicious.
The Artist decided to have his scone smeared with some Italian orange marmalade and I have to admit, they were pretty darn fantastic that way too. If you have jam lovers in your home, you might want to hold off on glazing them right away and see if they would prefer to use jams or jellies instead. In addition to orange, raspberry and cherry are always a welcome addition to any chocolate indulgence.
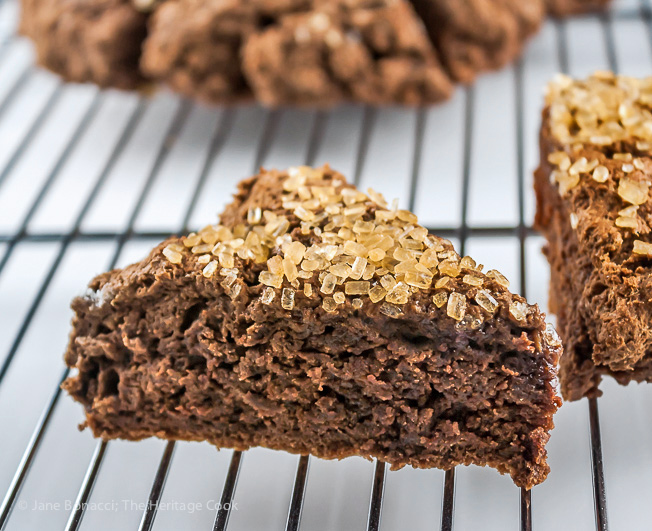
Hot from the oven!
These are the perfect breakfast, brunch, or luncheon treat to have on hand when you have overnight guests or family visiting. You can make them in advance and freeze them so you have more time to spend enjoying your guests and less time in the kitchen!
I also like to serve them as an afternoon snack with a cup of tea or espresso to refresh after a day of exploring, shopping, or any other activities. They give me the boost I need before getting back in the kitchen to create dinner for my crowd.
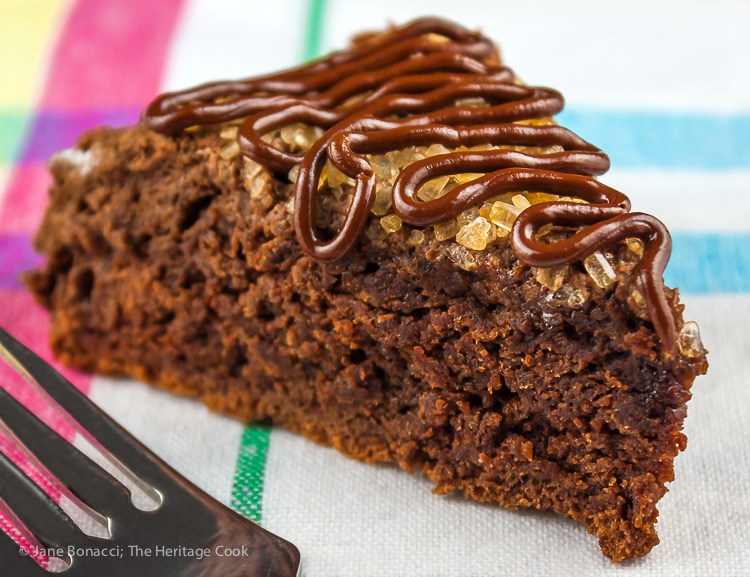
Ready for a bite?
I think it would be fun to make these into smaller rounds so that when you cut them into wedges, they are miniature scones, about 2 bites each. You could stuff them into cellophane bags for hostess gifts, take-aways after parties, or for cookie exchanges so popular at this time of the year.
The Artist dislikes typically over sweet American desserts. When I suggested he take the extra scones to the office to share, he politely told me that that wouldn’t be necessary this week … he is planning on eating them all, LOL!!
Happy Chocolate Monday everyone!
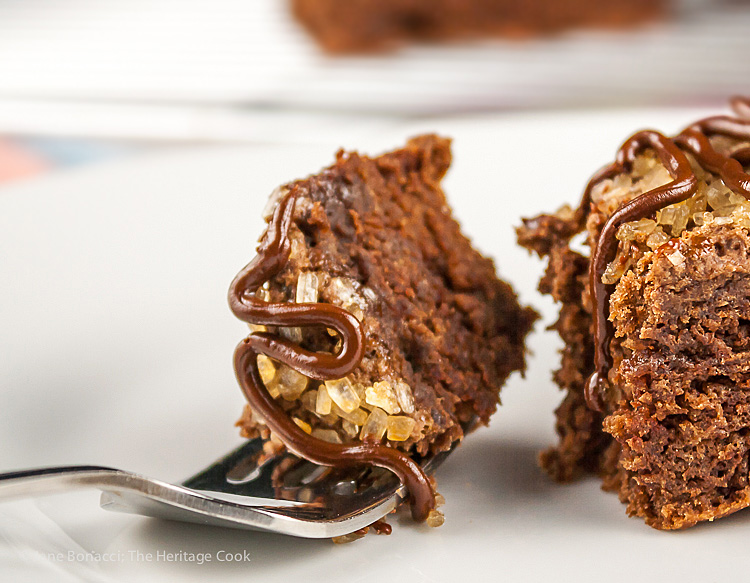
Here you go!
Jane’s Tips and Hints:
If you want to practice your piping skills, pipe frosting onto a sheet of parchment. Then you can scrape it up and put it back in the bag to practice over and over without having to use too much frosting!
Gluten-Free Tips:
Even if your gluten-free flour blend includes xanthan gum, adding a touch more will give your scones a little more chew and help reduce the tendency to be crumbly. The problem with blends that include the gums is that you can never be sure how much of it gets into each cup you scoop out of the container. I usually add a pinch to every recipe just to be sure.
Kitchen Skill: How to Fill a Piping Bag
Place the piping tip in the bottom of the piping bag (cut off the tip if using a disposable bag). Fold the top of the bag down creating a large “cuff” at the top. Place the bag, tip end down and bent so the frosting or other ingredients don’t leak out of the piping tip too early, into a tall glass with a weighted bottom (you don’t want it to tip over). Slip one hand under the cuff and use a spatula or spoon to add your piping material to the bag.
Do not over fill the bag. It should be no more than 2/3 full. When it is filled, fold the top over to keep the mixture in the bag, and then twist the top until it forces the mixture down into the tip. Always start by piping onto a plate or piece of parchment to be sure you’ve pushed all the air bubbles out before piping. Press from the top using your other hand to steady the point, and keep twisting the top as needed to keep the contents firmly in the bottom of the bag.
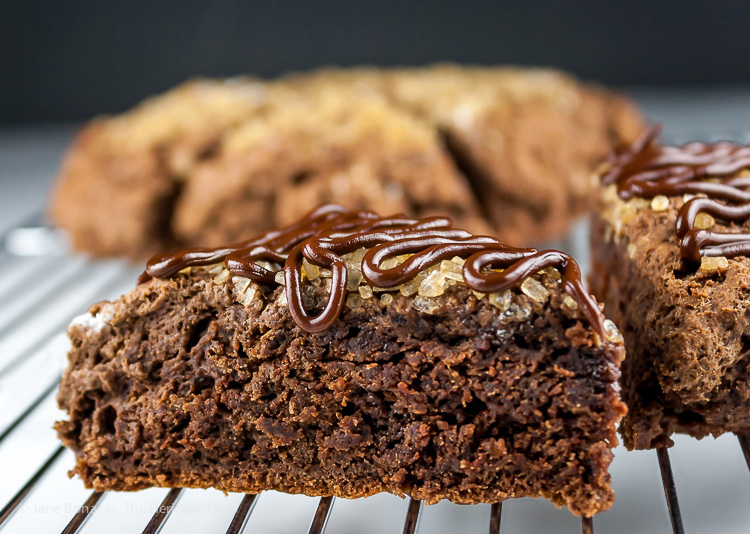

- Scones
- 2 cups unbleached all-purpose flour or gluten-free all-purpose flour blend
- 1/2 cup cornstarch (if using gluten-free flour)
- 3/4 tsp xanthan gum (if using gluten-free flour that does not already have it included; if there is xanthan in the blend, use just 1/4 tsp)
- 1/4 cup Dutch-process unsweetened cocoa
- 1/2 cup granulated sugar
- 1 tbsp baking powder
- 1/2 tsp baking soda
- 1/2 tsp salt
- 1/2 cup (8 tbsp/1 stick) cold butter, cut into small pieces
- 1 tsp vanilla extract
- 2 large eggs
- 1/2 to 3/4 cup half-and-half or milk, or as needed
- Coarse sugar crystals, optional
- Glaze
- 2/3 cup semisweet or bittersweet chocolate chips
- 1/4 cup half & half or milk
- Preheat oven to 375°F. Lightly grease a baking sheet with sides or line it with parchment.
- Prepare the Scones: In a large mixing bowl, combine the flour, cornstarch & xanthan gum (if using gluten-free flour), cocoa, sugar, baking powder, baking soda, and salt together. Whisk until completely incorporated.
- With a pastry blender or your fingertips, work the butter into the dry ingredients until the mixture is crumbly. Leave some larger pieces of butter for a more tender scone, you do not need to be perfect at this stage, lumpy is good.
- In a small bowl, whisk together the vanilla, eggs, and milk.
- Make a well in the center of the dry ingredients. Add the liquid ingredients to the dry ingredients, stirring with a fork until the mixture is evenly moist. If the dough is too dry and you are having trouble getting all the dry ingredients incorporated, add more milk, 1 tsp at a time until the dough comes together.
- Divide the dough in half, form half into a ball in your hands and place on the baking sheet. Pat it gently into a 6-inch circle about 3/4" thick. Repeat with the second half of the dough. Cut each circle into 6 wedge-shaped pieces with a sharp knife, pressing straight down without sawing. Dip the knife in flour (or gluten-free flour) after each cut. Cutting the dough allows the scones to rise higher and in the case of gluten-free, helps it bake all the way through. Sprinkle the top with coarse sugar if desired and gently press into the dough.
- Bake the scones for 15 to 20 minutes, until they look dry on top, smell fully baked, and a toothpick inserted into the center of one comes out clean. Remove from the oven and transfer to a rack to cool completely.
- If you won’t eat all of these in one sitting, you can wrap each wedge individually in plastic wrap before glazing and store in an airtight container in the refrigerator for several days. Glaze them once they have returned to room temperature or after you've microwaved them for about 15 seconds, before serving for the best texture.
- Make the Glaze: Place the chocolate chips and half & half or milk in a microwave-safe bowl or small saucepan. Heat in the microwave (or over low heat) until the cream is very hot. Remove from the heat, and stir until the chips melt, and the mixture is smooth.
- Transfer to a piping bag fitted with a small round tip. Drizzle the glaze over the cooled scones. You can reheat individual scones very briefly in the microwave; watch closely so their icing doesn't melt and run.
- Yield: 12 scones
- (Photos are of my gluten-free version)
Create a New Tradition Today!
Let’s connect! If you ever need any entertaining or cooking advice, need to alter a recipe for gluten-free, or want recipe suggestions, don’t hesitate to email me. I can also be found at the social media site links on this page. This post may contain Amazon affiliate links. If you purchase a product via my link, it doesn’t cost you anything and I earn a tiny commission, which helps defray the costs of producing The Heritage Cook blog. Thank you for supporting me. Welcome to The Heritage Cook Family!
Unauthorized use, distribution, and/or duplication of proprietary material from The Heritage Cook without prior approval is prohibited. This includes copying and reprinting content and photographs. If you have any questions or would like permission, I can be contacted here. Feel free to quote me, just give credit where credit is due, link to the recipe, and send people to my website. The suggestions here are not intended as dietary advice or as a substitute for consulting a dietician, physician, or other medical professional. It is the reader’s sole responsibility to determine which foods are appropriate and safe for their family to consume. The author makes no claims regarding the presence of food allergens and disclaims all liability in connection with the use of this site. Please see the Disclaimers page for additional details.
Thank You!


