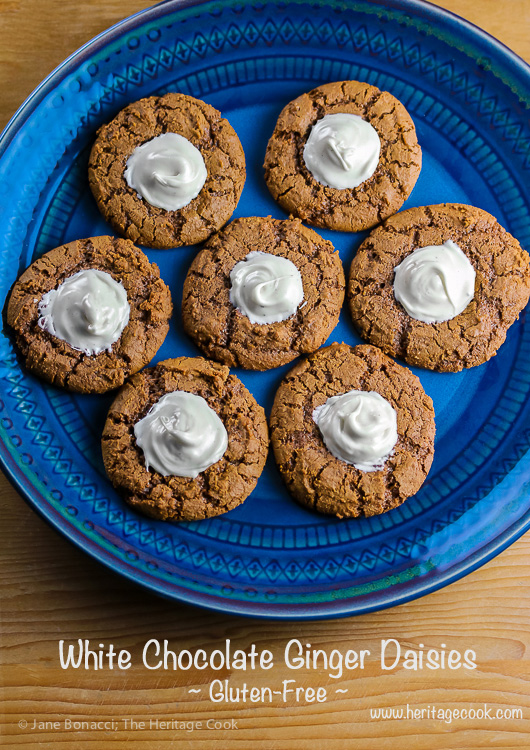
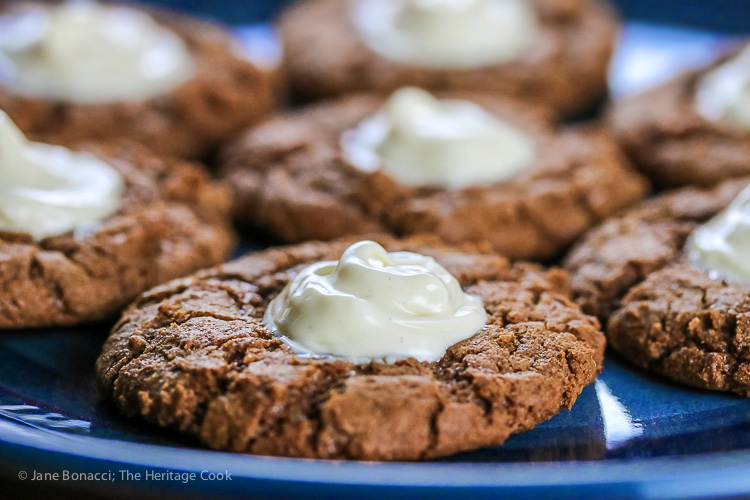
Now that Thanksgiving is over, we can turn our attention to the upcoming Christmas baking frenzy. If you are anything like me, the oven becomes the primary heating source for our home during the weeks leading up to Christmas, running nearly every day. Pan after pan of cookies are baked and decorated to be used in exchanges, as gifts for family and friends, to take to parties, and of course for us to enjoy ourselves.
I am always on the lookout for fun new cookies to make. Something a little different, sparkly whenever possible, and with bold flavors that can compete with a tray full of chocolate brownies. Today’s cookies fill all those requirements. While super simple to make (yay!), these pack a punch of ginger flavor in these crunchy cookies are perfectly offset by the heavenly creamy white chocolate filling. One bite and you will be craving the entire tray!
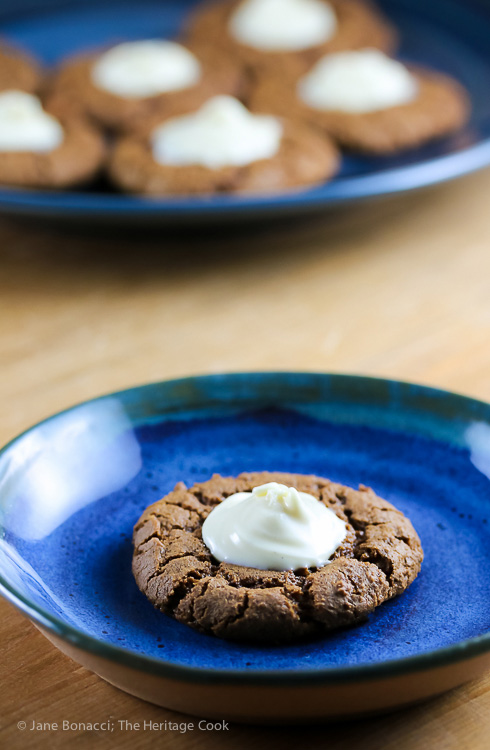
The perfect blend of crunchy cookies with creamy filling
Traditionally thumbprints are basic sugar cookies with a fruit jam filling. This version is made with a spicy ginger dough that will wake up your taste buds and filled with a silky white chocolate center with just a touch of your choice of spice to enhance the flavors. We chose cardamom and it was amazing!
The smell of ginger cookies baking always reminds me of Christmas and the laughter as my family sat around the kitchen table decorating each one. When these cookies are baking, don’t be surprised if memories of your childhood come to mind. It is hard not to feel a bit giddy and silly when you are making holiday cookies, a remnant of being young and the joy that fills your heart.
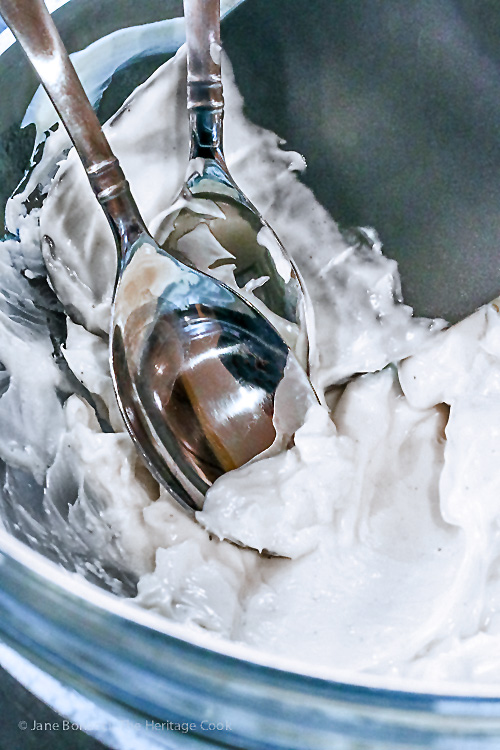
The white chocolate-cardamom filling
If you know others who are doing a lot of baking for the holidays too, why not invite a few over and do it together. You can share the work, make a ton of cookies and each head home with their own portion. As the saying goes, many hand make light work. And the laughter and stories you share will make the job much more pleasurable and memorable.
If you have never worked with white chocolate, it is much more delicate than dark chocolate. You definitely want to use a double boiler when melting it for this filling. And be sure to stir it often. It has a tendency to scorch if it gets too hot. Keep it moving regularly and don’t let the water under the bowl get too hot. It is better to take it a little slower than risk it burning or seizing on you.
I found the best method to get the white chocolate into the cookie centers was using two regular dinner spoons. Scoop up a little and use the second spoon to ease the chocolate into the depression in the cookie. If it looks a little chunky, just swirl it with the spoon and it will soften beautifully. If you are really lucky it will hold the peak as you pull the spoon directly up from the middle!
While these were baking, The Artist kept coming into the kitchen saying, “Gee, something sure smells good!” This was extra special because he left the football game in progress while he came into the other room to investigate the source of the delicious aromas. These must be powerful cookies to pull him away from the game, LOL.
Have a wonderful week and Happy Chocolate Monday!
Jane’s Tips and Hints:
When measuring sticky substances like honey, molasses, agave, or corn syrup, spray your measuring spoon or cup first with vegetable oil and the sticky liquid will pour right out without sticking!
Gluten-Free Tips:
Pretty much any gluten-free all-purpose flour blend will work to make cookies. I prefer those made with Authentic Foods’ superfine flours because there is absolutely no grittiness ever. It may cost more, but in my opinion it is absolutely worth it. To save on shipping costs, buy 3 bags at a time because they fit perfectly in the flat-fee postal boxes, saving you money.
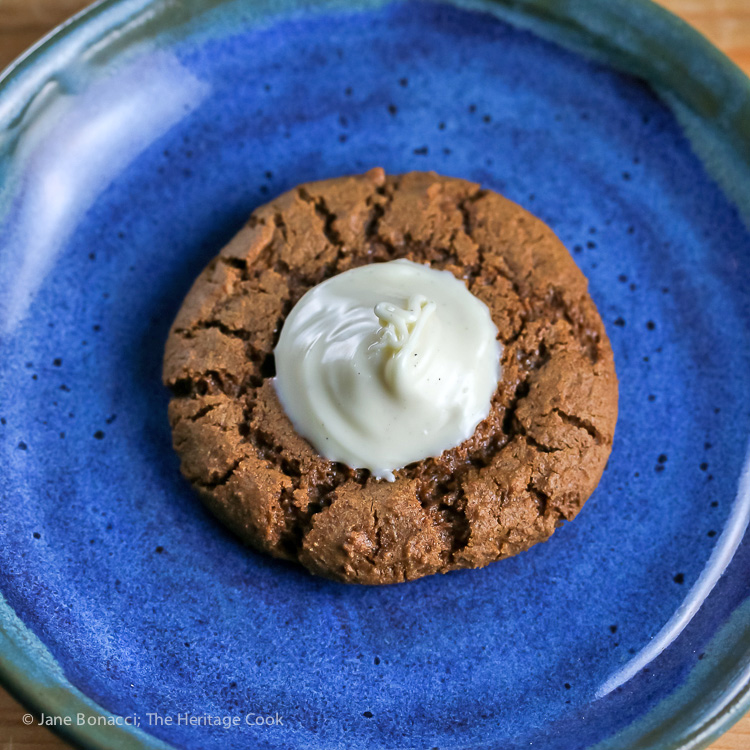

- Cookies
- 1/3 cup (5-1/2 tbsp) butter, softened and cut into pieces
- 1 cup granulated cane sugar
- 1 tsp vanilla paste or pure extract
- 1 large egg
- 1/3 cup molasses (not blackstrap)
- 2 cups (240g) all-purpose flour or gluten-free flour blend (add 1/4 tsp xanthan gum if your GF blend does not already include it)
- 1-1/2 tsp ground ginger
- 1 tsp baking soda
- 1 tsp ground cinnamon
- 1/2 tsp kosher or fine sea salt
- 1/4 tsp finely ground black pepper, optional
- 1/4 ground cloves
- Filling
- 8 oz (224g) white chocolate, chopped
- Pinch of ground cardamom, nutmeg, cinnamon, or allspice
- Preheat the oven to 350°F. Line two baking sheets with parchment paper.
- Prepare Cookie Dough: In the bowl of your standing mixer, add the butter, sugar, and vanilla. Beat with the paddle attachment until evenly blended and starting to come together in clumps, about 3 minutes on medium. Add the egg and molasses and beat until smooth.
- In a separate bowl, whisk together the dry ingredients (flour through cloves). Add to the butter mixture and beat on low until combined, then increase speed to medium and mix until slightly lightened and smooth. Take the bowl off the mixer.
- Use a scoop to form 1 tbsp portions of dough and roll each one into a round ball. Place them 2-inches apart on the prepared baking sheets. Press your thumb* in the center of each one, making a depression, but not all the way through - they need to hold the filling.
- Bake the Cookies: Place the cookies in the oven and bake 5 minutes, then swap the baking sheets, top to bottom and spin each one so the cookies in front are now facing the back of the oven (this gives you the most even baking). Bake another 5 to 7 minutes or until the edges are firm to the touch.
- Remove the pans from the oven and using the back of a measuring spoon or the handle of a wooden spoon, gently press the cookies in the centers to make the depressions deeper again (they puff up during baking). Let the cookies cool on the pans for 5 minutes and then transfer to wire racks to cool thoroughly.
- Make the Filling: While the cookies are cooling, place the chopped white chocolate into a heatproof bowl that fits into a saucepan without touching the bottom. Add about 1-inch of water to the pan and bring to a simmer over medium-high heat. Reduce the heat to medium and set the bowl over the water.
- Hold the bowl with a hot pad and stir regularly until nearly all the pieces of chocolate are melted. Remove from the heat and stir until completely smooth. Stir in the spice. Use two teaspoons to scoop about 1 teaspoon of the chocolate into the center of each cookie. Let them sit until cooled (if you can stand the wait!) and the chocolate is firm, about 1 hour.
- If you want, you can sprinkle the tops of the centers with a little more of the spice you used, a touch of cocoa powder, edible glitter, or colored sugars to add sparkle to your holiday dessert displays.
- Yield: about 45 cookies
- * If you have long nails, you can use the back of a round measuring spoon or the handle end of a large wooden spoon instead of your thumb.
Create a New Tradition Today!
Let’s connect! If you ever need any entertaining or cooking advice, need to alter a recipe for gluten-free, or want recipe suggestions, don’t hesitate to email me. I can also be found at the social media site links on this page. This post may contain Amazon affiliate links. If you purchase a product via my link, it doesn’t cost you anything and I earn a tiny commission, which helps defray the costs of producing The Heritage Cook blog. Thank you for supporting me. Welcome to The Heritage Cook Family!
Unauthorized use, distribution, and/or duplication of proprietary material from The Heritage Cook without prior approval is prohibited. This includes copying and reprinting content and photographs. If you have any questions or would like permission, I can be contacted here. Feel free to quote me, just give credit where credit is due, link to the recipe, and send people to my website. The suggestions here are not intended as dietary advice or as a substitute for consulting a dietician, physician, or other medical professional. It is the reader’s sole responsibility to determine which foods are appropriate and safe for their family to consume. The author makes no claims regarding the presence of food allergens and disclaims all liability in connection with the use of this site. Please see the Disclaimers page for additional details.
Thank You!

