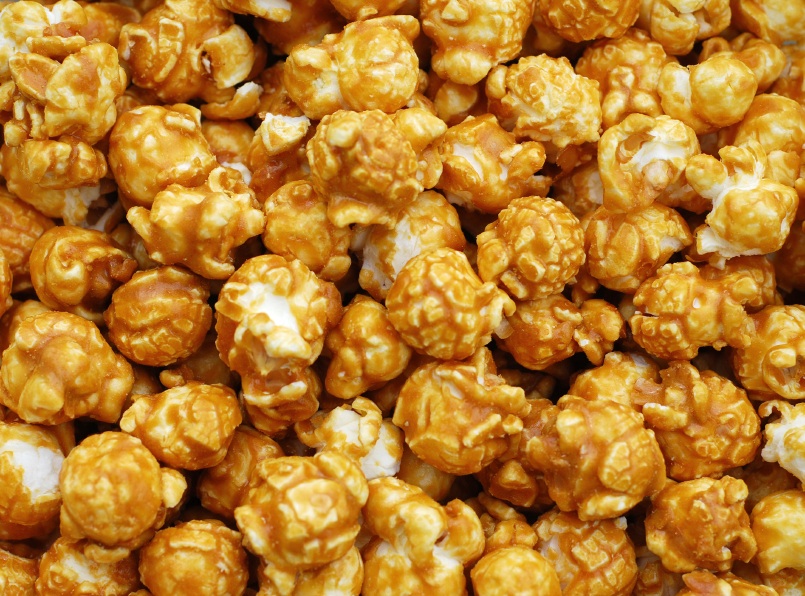
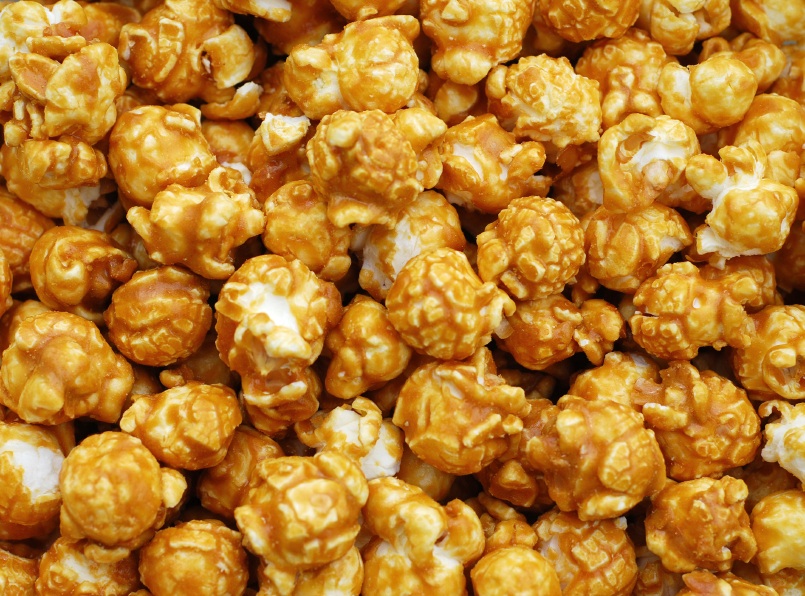
Caramel is my favorite candy. Hands down my favorite by miles and miles. I love the buttery, smooth, indescribably delicious flavor. Caramel syrup, chewy candies, toffee, turtles, it really doesn’t matter, I am wild about them all. But my most beloved is caramel corn. The crunchy, slightly salty, sweet popcorn drives me crazy! And the day I found this recipe was in heaven. It’s from Jiffy Pop popcorn. Even novice candy makers will be successful with this recipe so don’t let any preconceived notions of failure stop you from trying this!
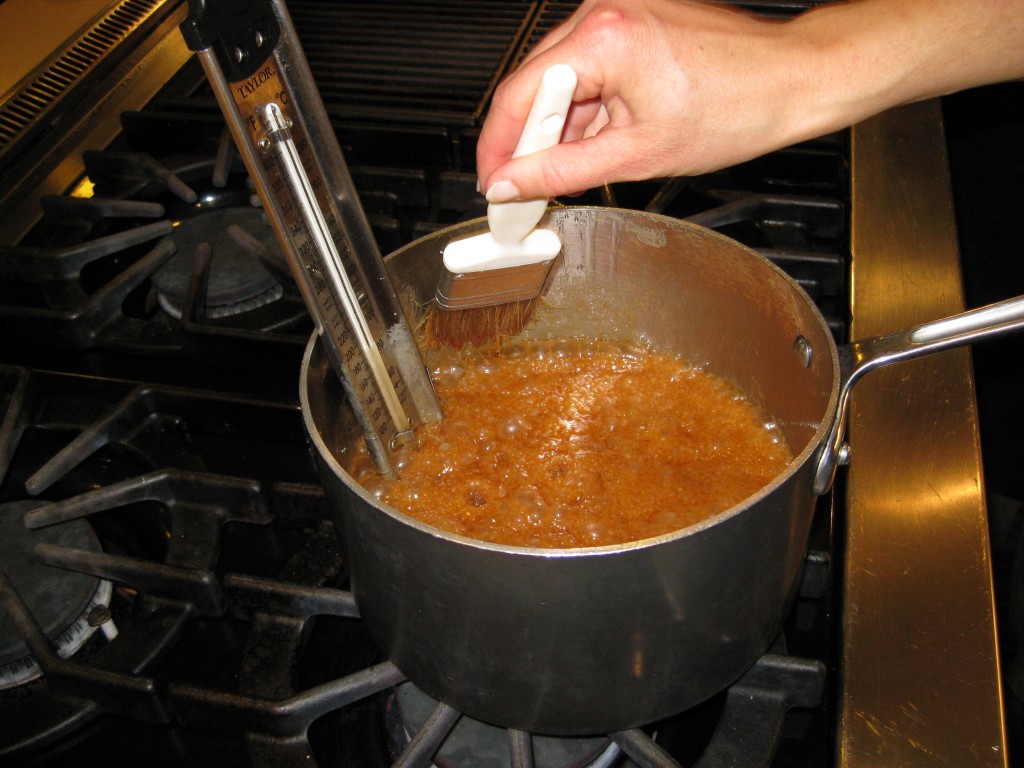
There are a few secrets to working with sugar that will help you. First and foremost, stir sugar until is has dissolved and is boiling, and then NEVER stir it again! If you do, the entire batch will turn back into crystallized sugar. What happens is that if even one grain of sugar sneaks into the syrup, it starts a chain reaction of crystallization. Unfortunately this is one situation where you can’t fix it. You’ll have to start all over again. Brushing the sides of the pan with a brush dipped in water will help keep sugar crystals from forming on the sides and being stirred into the syrup.
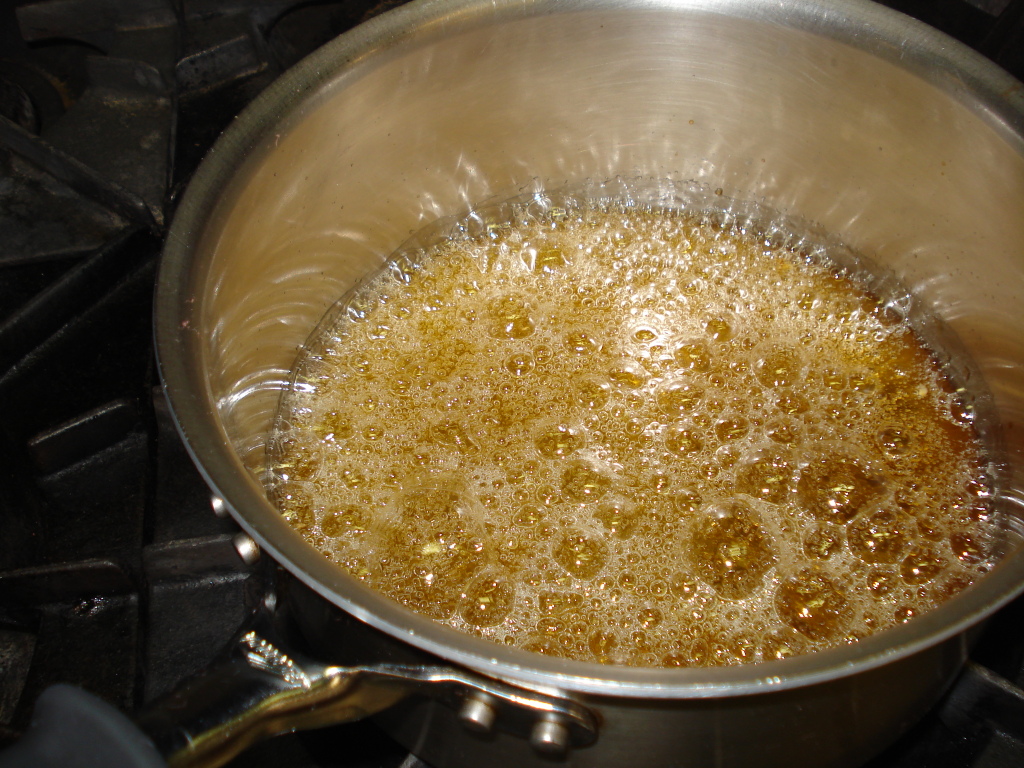
When you are cooking sugar, use a pan with a light interior so you can see the color change. It is very subtle at first, just a hint of yellow in the boiling sugar, then it turns a deep gold, and finally a rich brown. It will take forever for it to start changing color and then it will go quickly. Don’t get distracted, don’t answer the phone if it rings, stay focused and it will be perfect every time.
In most recipes for caramel, or any other candy, you will use a candy thermometer. You absolutely need one if the recipe calls for it. My favorite is made by CDN and has a metal frame protecting a glass tube with mercury in it. Make sure you can see the mercury easily – I like red because I can see it through the steam.
This recipe is different from most because you don’t use a thermometer, instead you cook it exactly 5 minutes. This has always worked for me, but each stove is different. If you have a very hot burner or the candy is cooking more quickly, follow your nose and eyes and pull it before it burns. Look for the right color and the smell of caramel. You’ll know when it’s ready.
Once the caramel has finished cooking you will stir in vanilla and baking soda. The candy will bubble up furiously, get lighter in color, and change texture. This is supposed to happen so don’t be worried when you see it change. Quickly pour it over the warm popcorn and toss well. Keeping the popped corn warm helps the caramel distribute more evenly. Toss and toss and toss it until each kernel is coated. Turn it out onto one or two baking sheets and bake in a low oven. This dries out the popcorn and makes it very crunchy. Turning it while it bakes keeps the caramel on the popcorn and stops it from puddling on the pan.
There are a few things that will make cleaning up much easier. Use vegetable spray on the bowl before you start to toss the popcorn and caramel together, and if you use a Silpat on the baking sheets, the caramel corn will release really easily. As soon as you have the popcorn coated and in the oven, fill your saucepan with water and bring to a boil. The boiling water will dissolve the caramel and clean up will be a breeze.
Now you’re ready to make caramel corn! Perfect for Halloween or as a gift during the holidays, you’ll be the hit of the party when you bring this treat!
Jane’s Tips and Hints:
If you don’t own one already, go out and buy a humongous mixing bowl for this recipe. I have a big aluminum one that is perfect. You need a lot of room to toss the popcorn. Use two spoons and scoop from the bottom to the top. As always with boiling sugar, be extremely cautious, wear long sleeves and close-toed shoes. Sugar burns are incredibly painful!
Kitchen Skill: Caramelizing Sugar
Why: To transform plain white sugar into dark, sweet, caramel
How: With heat, plain white sugar will turn to the most glorious caramel in a matter of minutes. But leave it on the heat a few seconds too long and it burns horribly. Adding water makes it a bit easier for beginners, but takes longer because you have to cook off all the water before the sugar starts to turn to caramel. Pour sugar into a pan over medium-high heat. Stir it or swirl the pan to keep it moving. It will start to get a little yellow and then will quickly turn to brown. Watch it carefully, when it reaches the desired color, pull it off the heat and let it cool.

- 1 cup butter
- 2 cups brown sugar
- 1/2 cup corn syrup (I use dark, but light is fine too)
- 1 tsp salt
- 1/2 tsp baking soda
- 1 tsp vanilla
- 6 quarts popped popcorn, kept warm (I use 3 bags microwave popcorn)
- Buy plain popcorn if you can find it, try not to use buttered popcorn. Pop it and pour into a large bowl. Make sure you discard any un-popped kernels! Keep warm in a slow oven.
- Melt butter in medium saucepan. Stir in brown sugar, corn syrup and salt. Bring to a boil, stirring constantly, then boil without stirring for 5 minutes. Remove from heat and stir in baking soda and vanilla. Mixture will boil furiously then subside.
- Immediately pour over warm popcorn in very large bowl, stirring until evenly coated. Turn into large baking sheets with sides. Bake at 250°F for 1 hour, stirring every 15 minutes.
- Remove from oven and cool. Break apart and store in airtight containers or zip-top plastic bags.



Kristen
Hi Jane! I’m trying to perfect my caramel corn skills, and am having problems with the baking/stirring part of the two corn recipes I’ve tried. I seem to cook the sugar mixture fine, but when I stir the caramel corn while baking, it sugars and it doesn’t have the beautiful gloss afterward. I make caramel professionally, but this kind of candy is stumping me. Any ideas? Help!
Jane Bonacci, The Heritage Cook
Wow Kristen, that’s never happened to me. How frustrating for you! Being a pro I doubt you are making the mistakes that commonly plague first time candy makers.
The obvious question is how are sugar crystals coming in contact with the cooked caramel? You already know that whenever you are working with caramel you have to make sure all your tools are scrupulously clean so you don’t reintroduce any sugar crystals. Are you putting the lid on your pot to let the steam wash down the sides of your pot while cooking the caramel?
Also, you do not have to stir the corn while it bakes. The purpose of that is to avoid “puddling” of the caramel. If you do a light coating, that shouldn’t be a problem. You can always break the clumps apart while it is still warm from the oven.
Working in smaller batches may make it easier too. If you spread the popcorn out in a single layer, you can separate the pieces more easily.
I did some research on the Internet (I am the queen of research, LOL) and found this microwave version. I haven’t tried it, but it sounds very doable. If you try it let me know how it turns out!
Microwaved Caramel corn
INGREDIENTS
5 quarts pre-popped corn
Clean, large brown grocery sack
1 cup packed brown sugar
1/4 cup corn syrup (I like the color and molasses flavor of dark corn syrup)
1/2 cup (1 stick) butter
1/2 tsp salt
1/2 tsp baking soda
METHOD
Spray the inside of a large brown paper grocery sack with Pam. Place pre-popped corn in the bag. Make sure there are no un-popped kernels in the bag.
Make the Caramel: Combine the sugar, corn syrup, butter and salt in a 1 to 2 quart microwavable container. Microwave on high for 2 minutes. Stir and microwave on high for 2 more minutes. Stir in 1/2 tsp baking soda (it will foam up and become lighter in color).
Coat the Popcorn: Pour the caramel over the popped corn in the bag. Stir and shake well. Roll the top of the bag closed and place in the microwave. Microwave on High for 1-1/2 minutes.
Remove the bag and shake well. Return to the oven and microwave for another 1-1/2 minutes on High.
Remove the bag and shake well. Return it to the oven and microwave for another 45 seconds.
Remove the bag and empty it into a large bowl. Allow popcorn to cool. Popcorn will crisp as it cools.
I hope you have wonderful success with all your future caramel corn adventures!!!
Kristen
Well, today I didn’t use the microwave recipe you sent, but I did follow the rule of not stirring, and decided to cook it to 250°F. It worked! I have wonderfully shiny, crunchy caramel corn now, and will be able to move on to the flavored kinds that we are creating – Java Almond, and Maple Pecan Rum, as well as traditional caramel corn. I think those two changes in my cooking are what finally worked, especially since I have to create recipes that come out the same every time. Thank you for your help!
Jane Bonacci, The Heritage Cook
Oh Kristin – I am absolutely thrilled that this worked for you! Brava!! I can’t wait to try all your flavors. If you ever want to write a guest post, I know my readers would love to hear your story too! Have fun creating your new flavors!!
Otto Sood
Excellent content. Thanks for posting.
Jenn@slim-shoppin
Thanks so much for stopping by my blog today. I can’t wait to try this recipe!
I’ve never attempted to make caramel corn and I like that you bake it so it’s crunchy.
Jane Bonacci, The Heritage Cook
I’m tickled that you’re going to try this recipe. I was nervous too the first time, but if you time it right and follow my tips, you’ll have no trouble! Make sure you use corn syrup because it helps keep the sugar from re-crystallizing. I can’t wait to hear how it turns out!