Today’s Ginger White Chocolate Thumbprint cookies are delightful and will become a family favorite! I am always on the lookout for fun new cookies to make. Something a little different with bold flavors that can compete with a tray full of chocolate brownies and other assorted flavors.
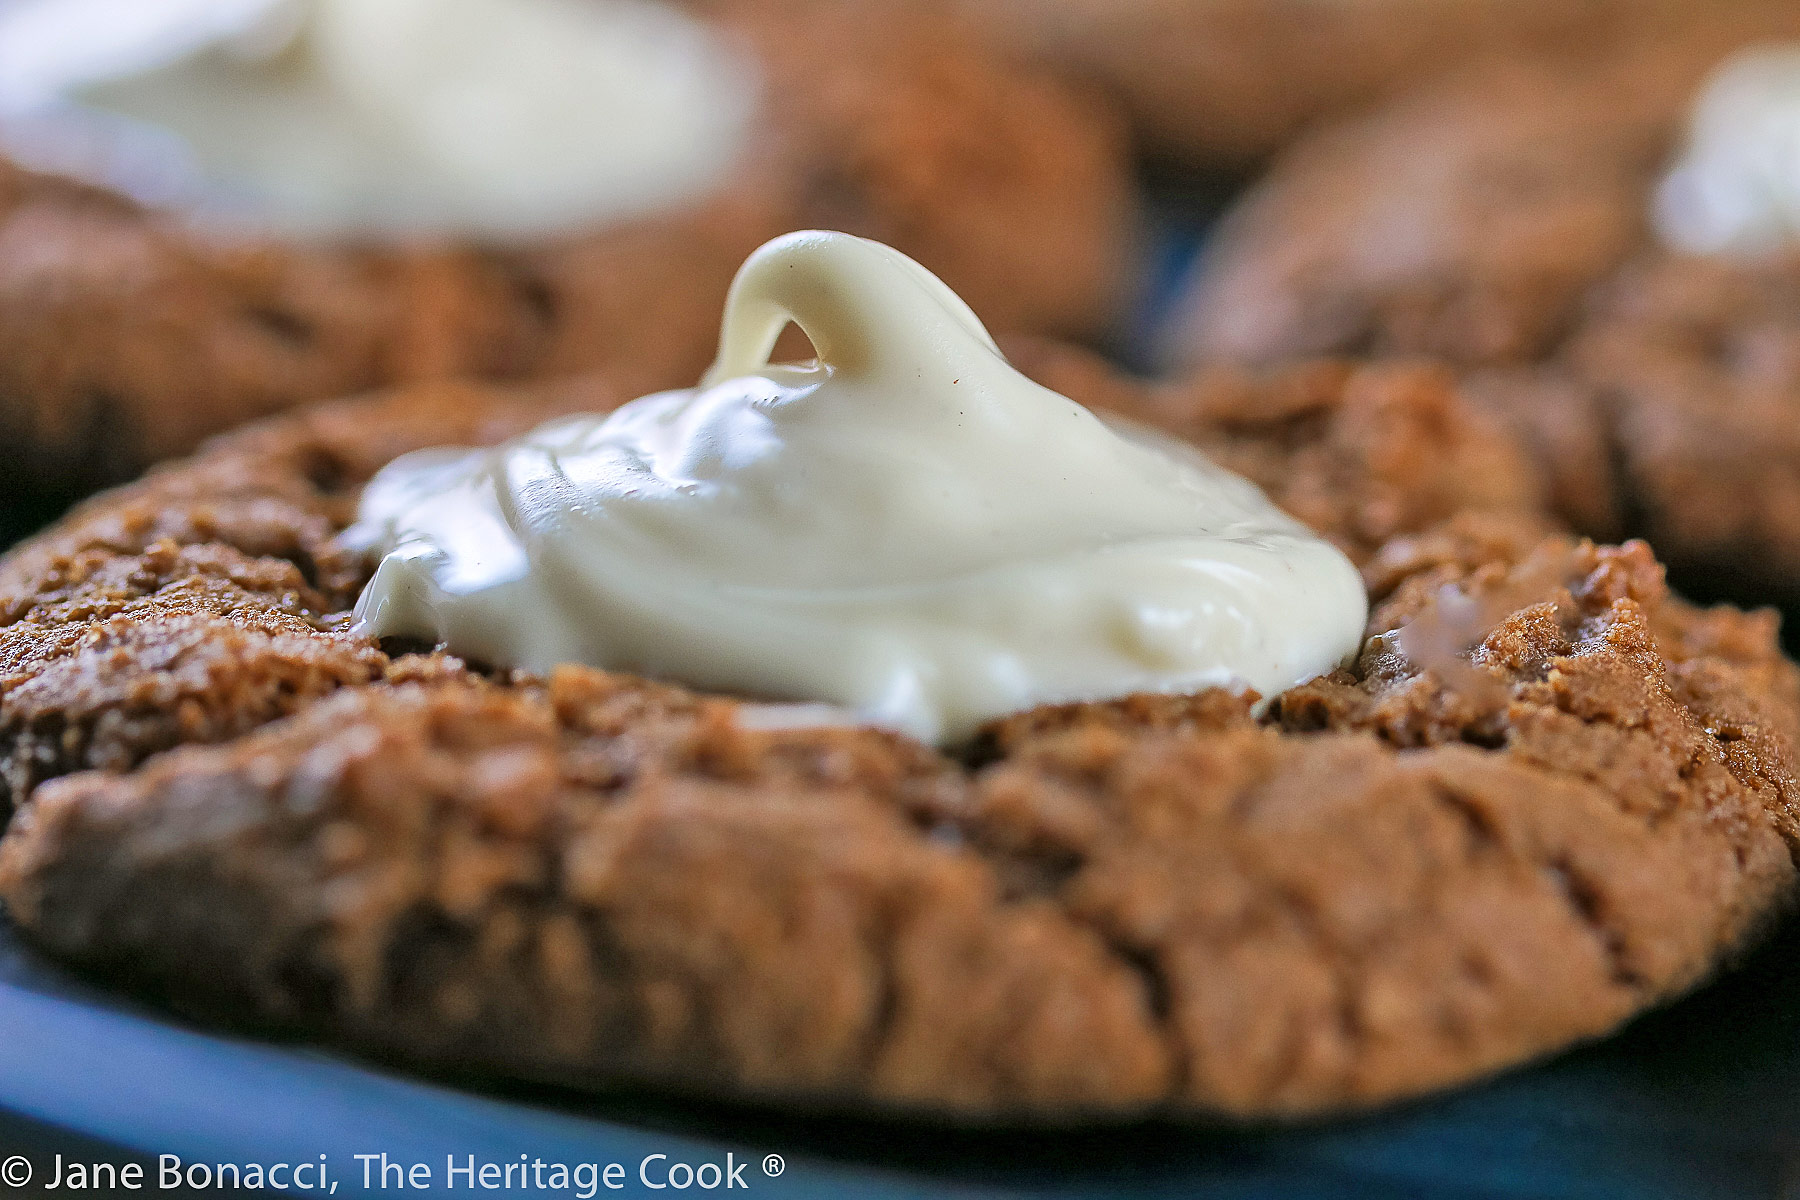
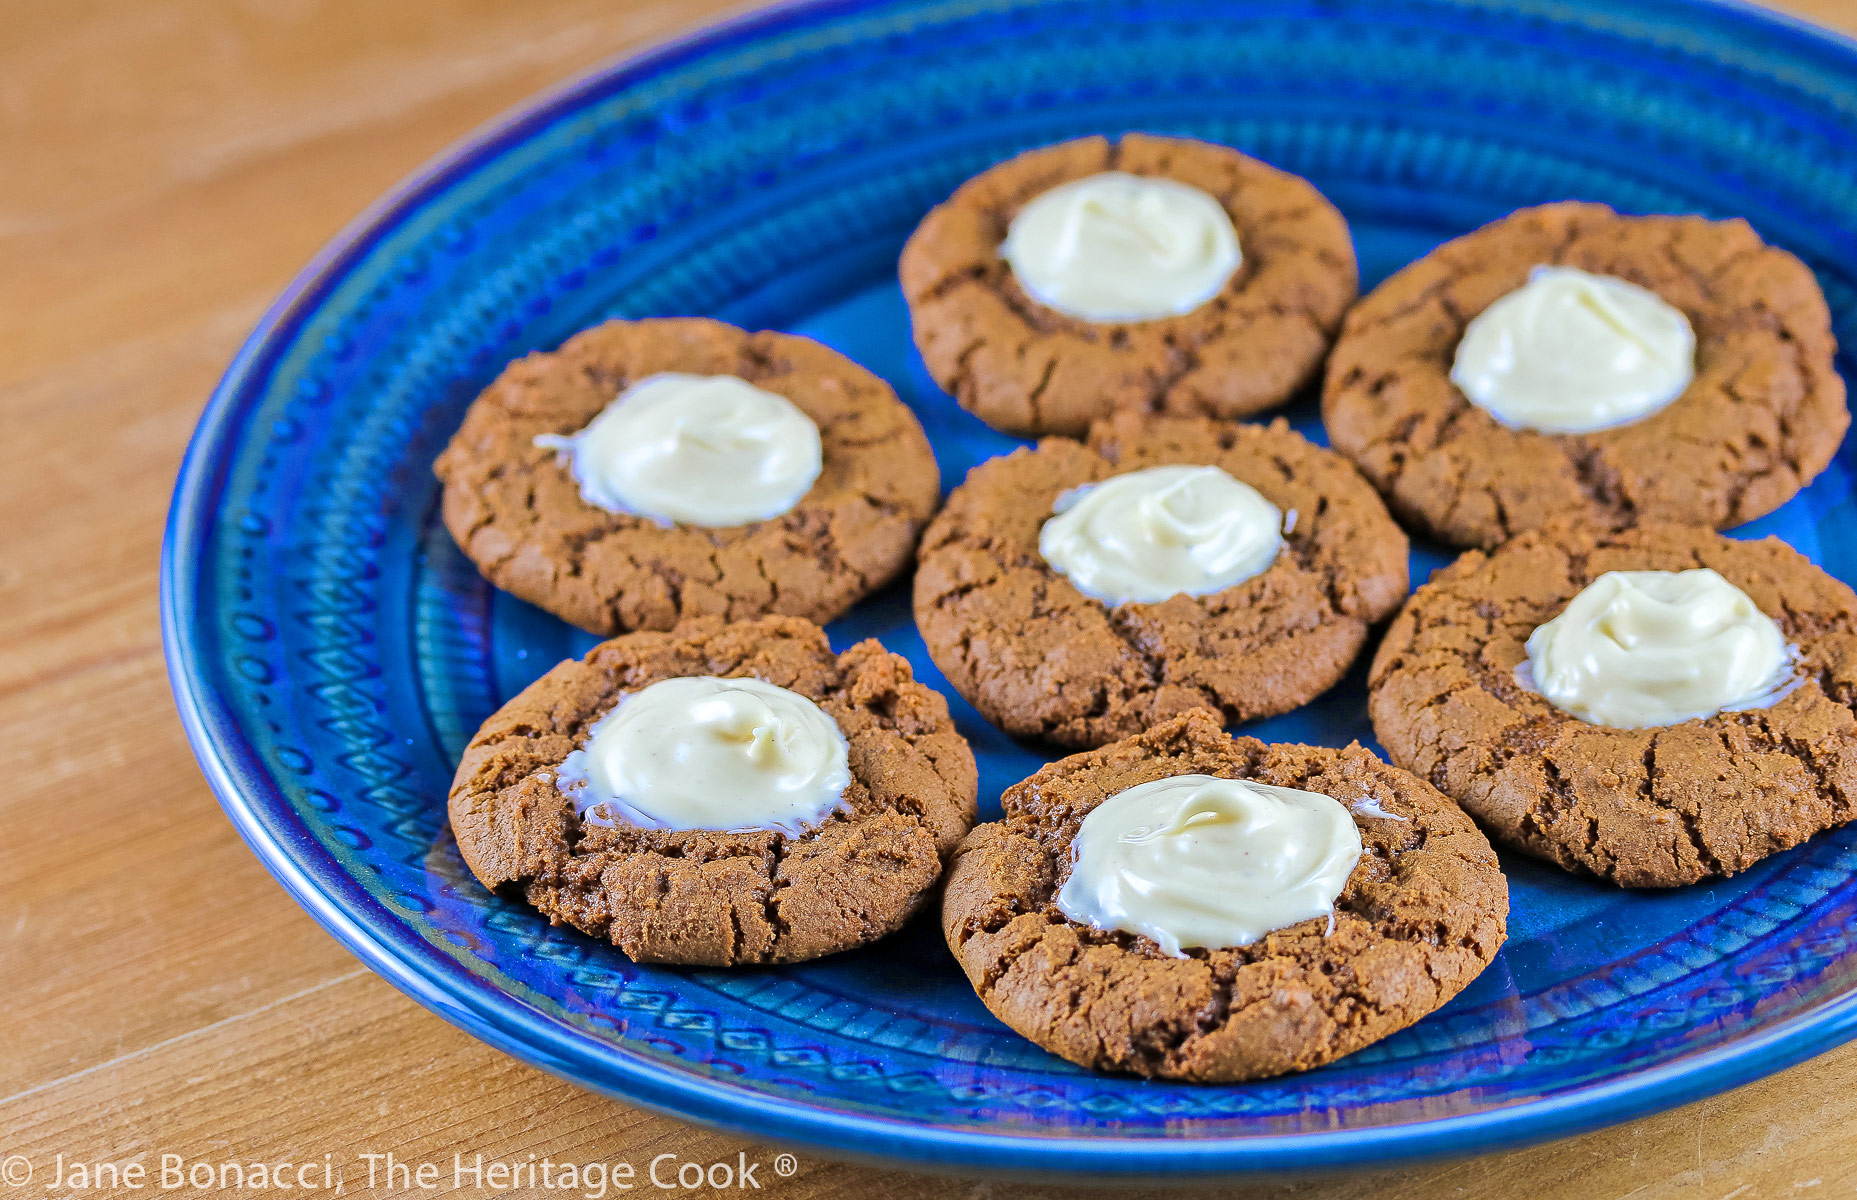
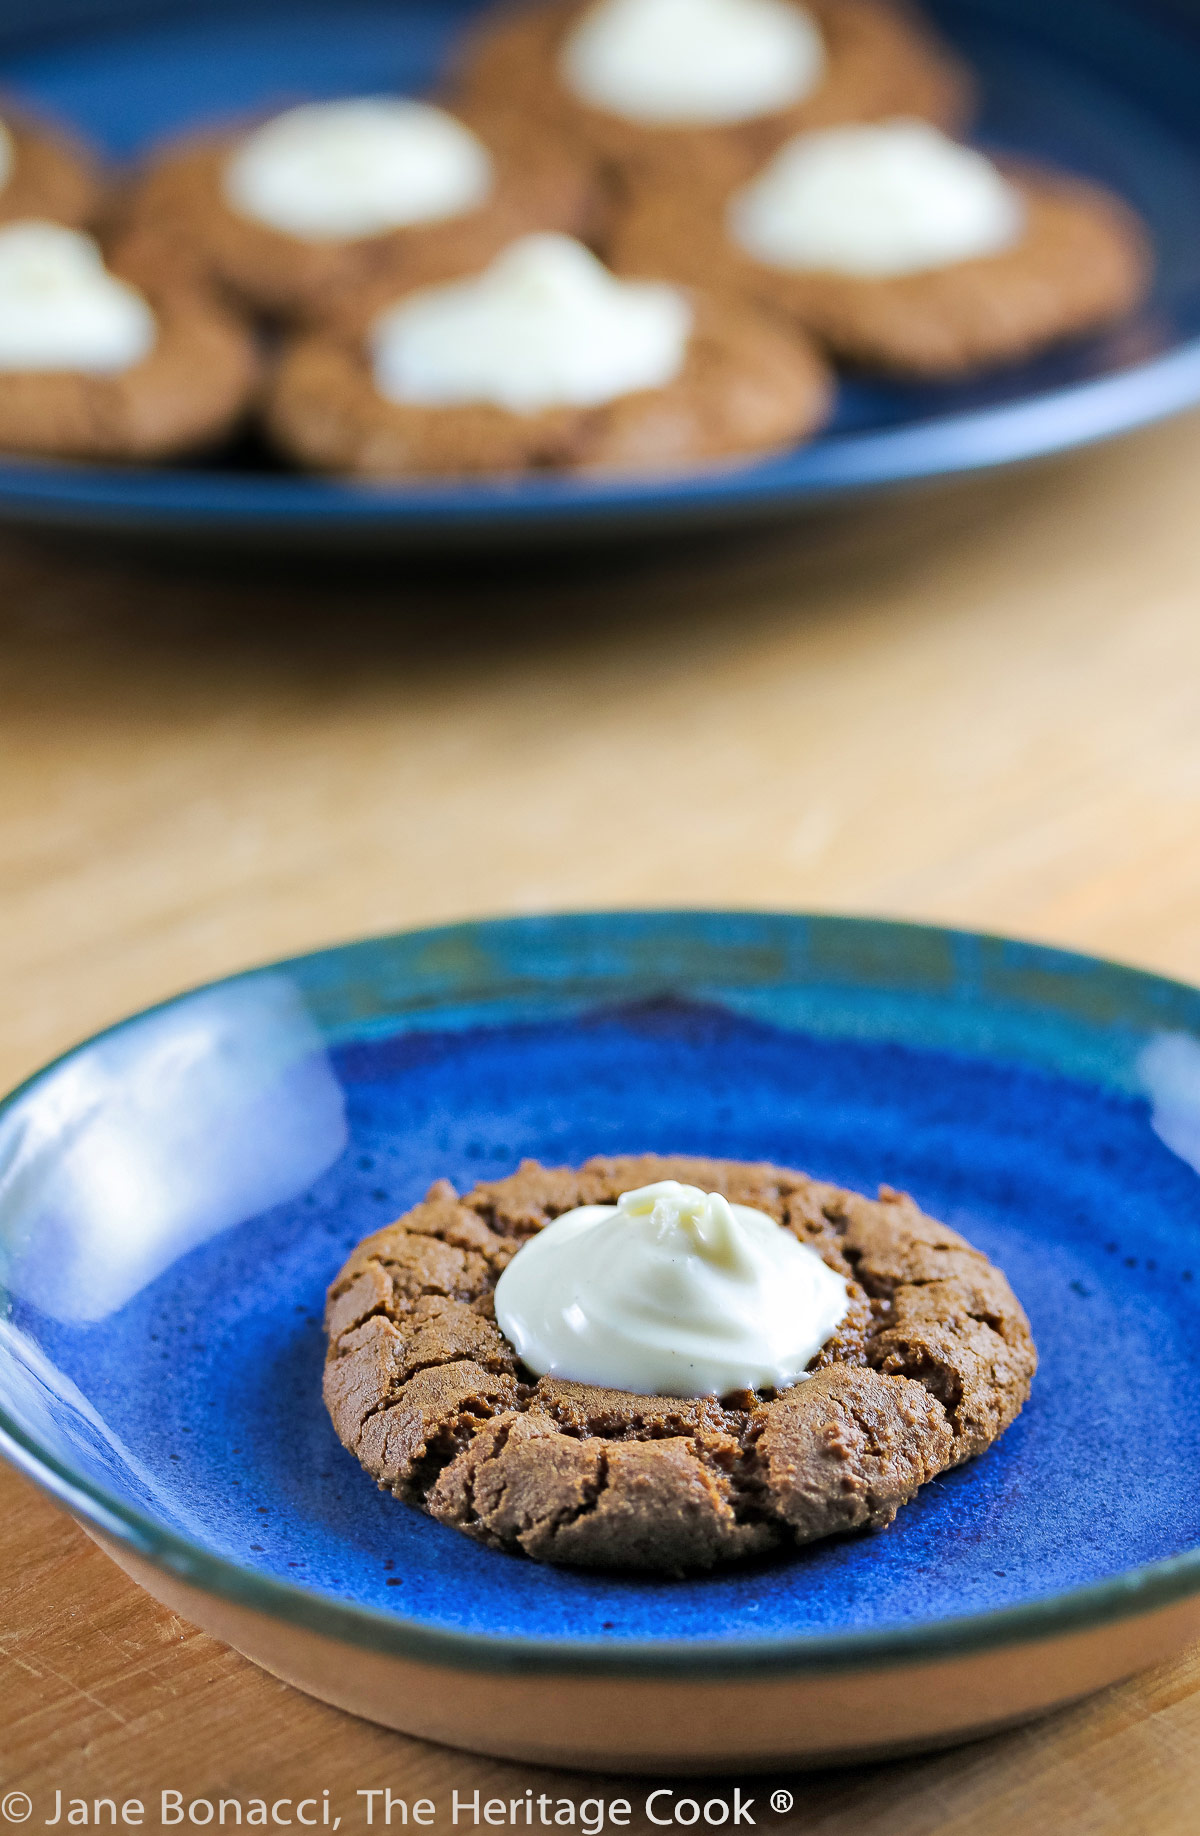
While super simple to make (yay!), these cookies pack a punch of ginger flavor. The crunchy cookies are perfectly offset by the heavenly creamy white chocolate topping. One bite and you will be diving into the entire tray!
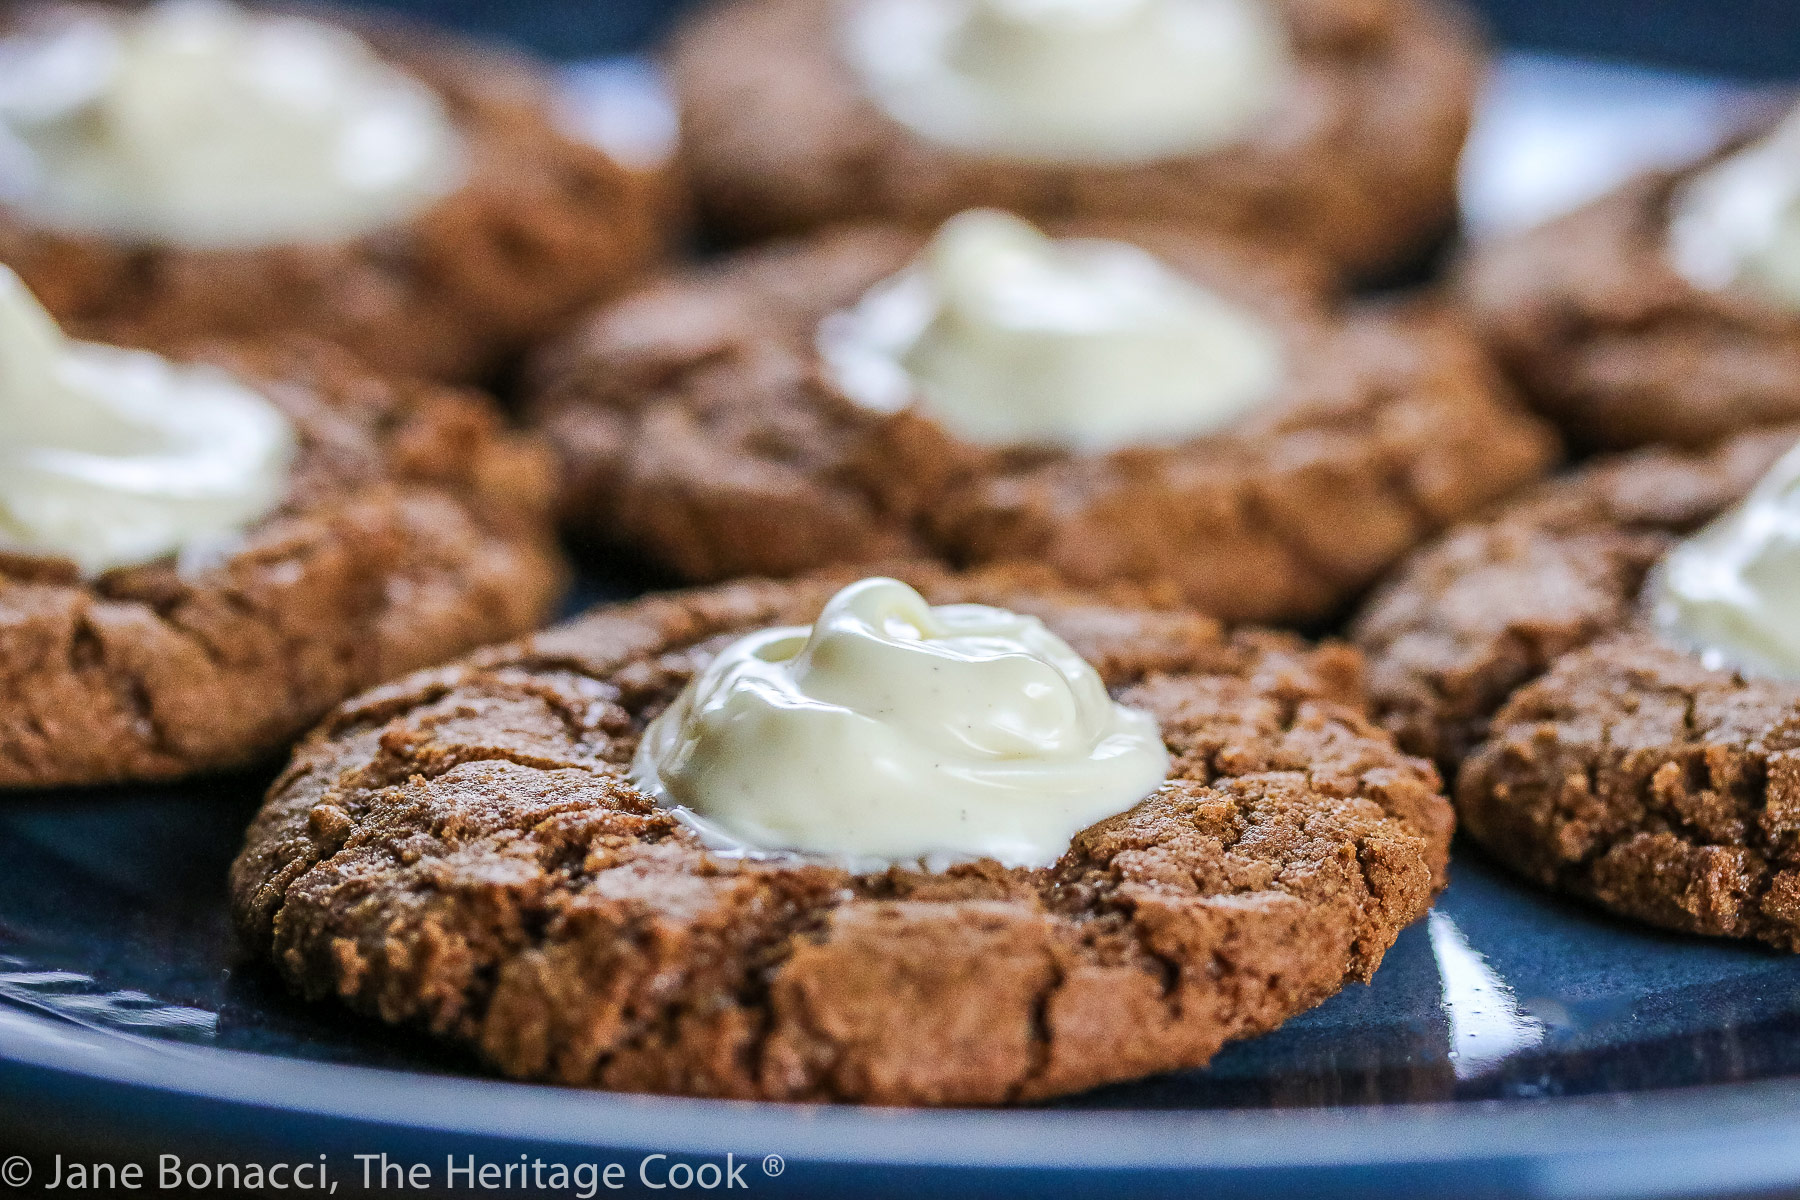
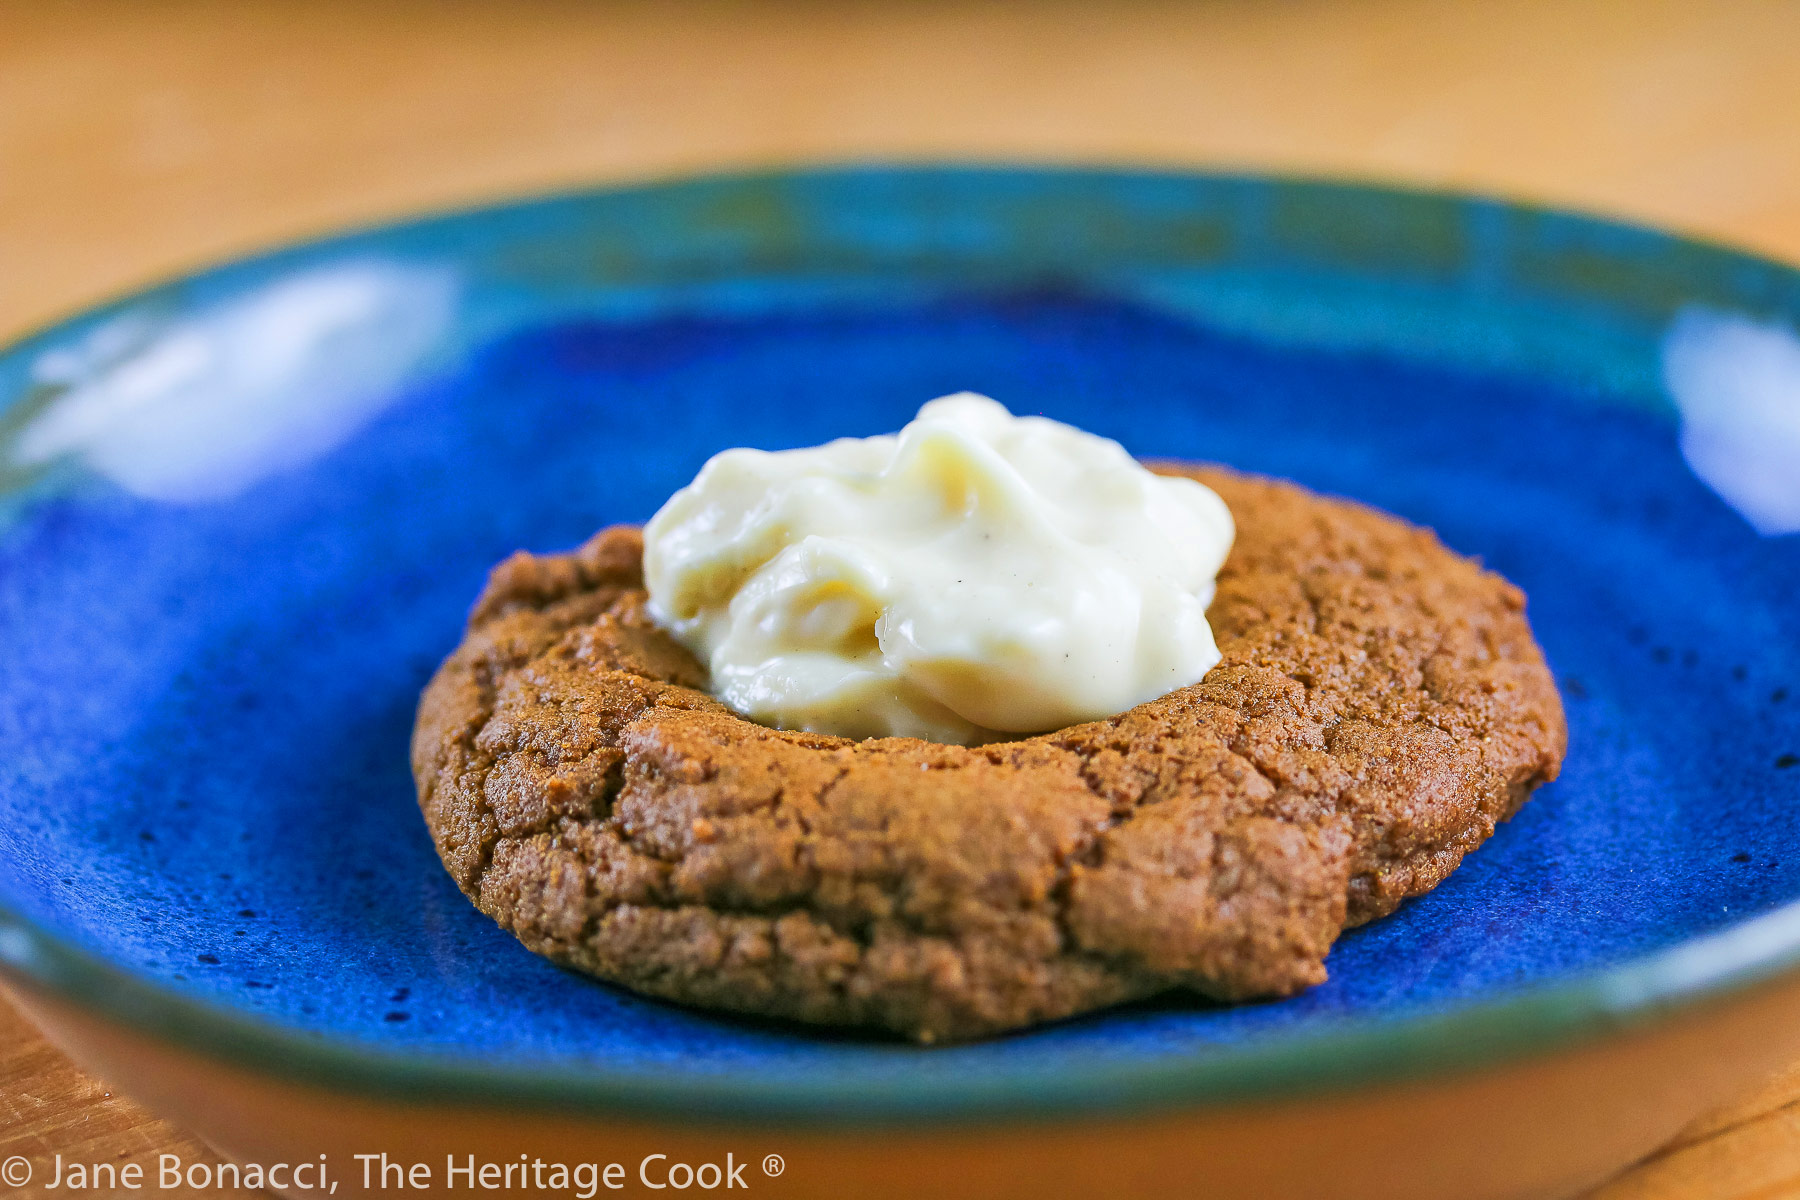
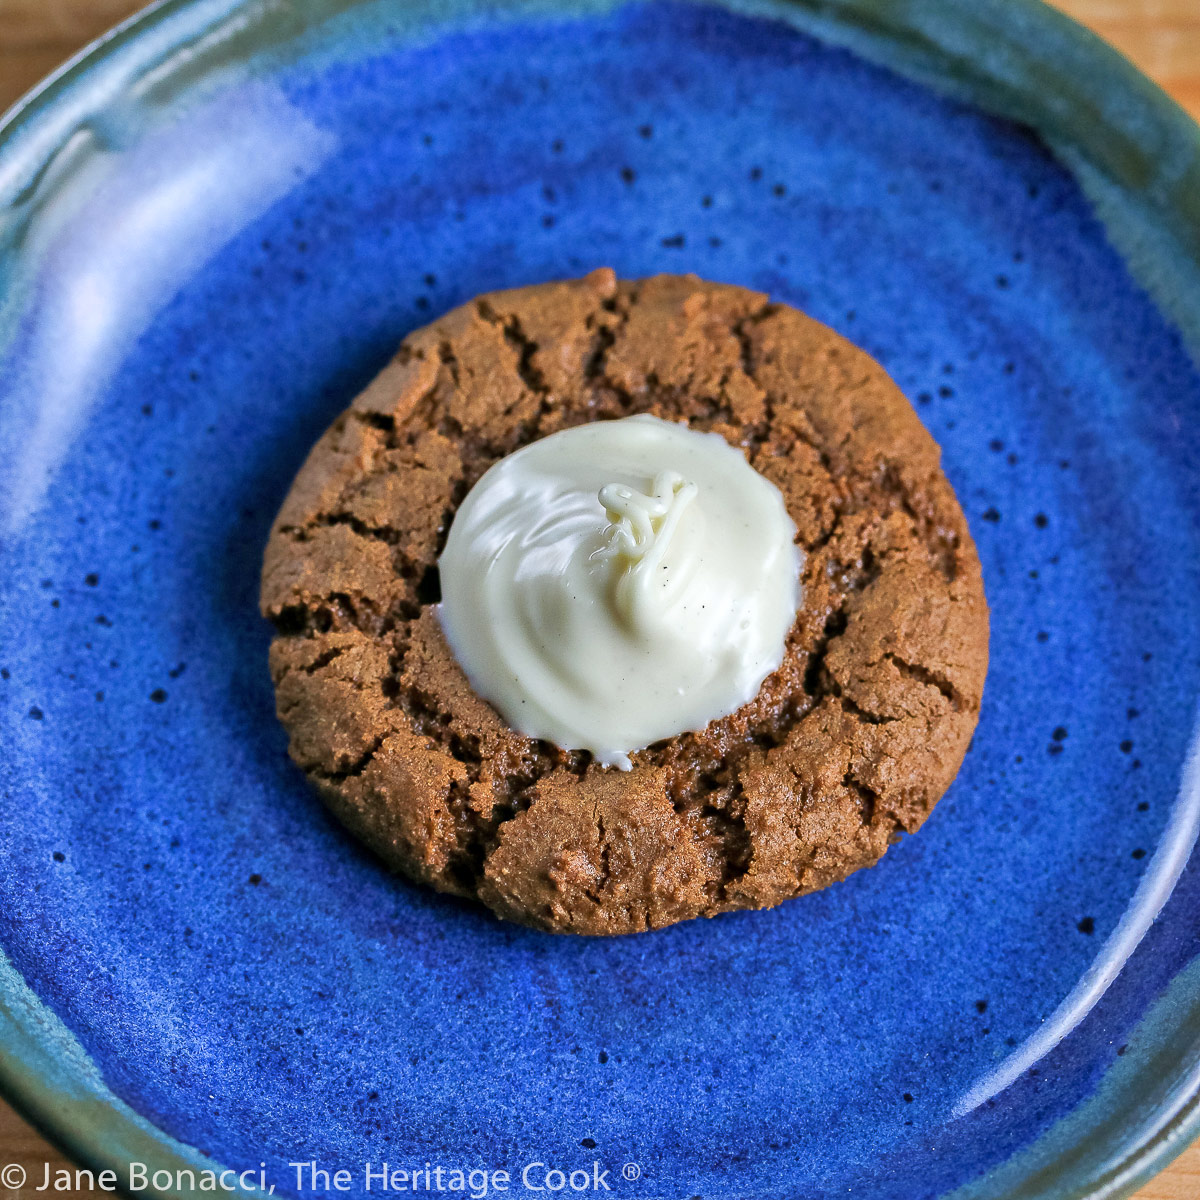
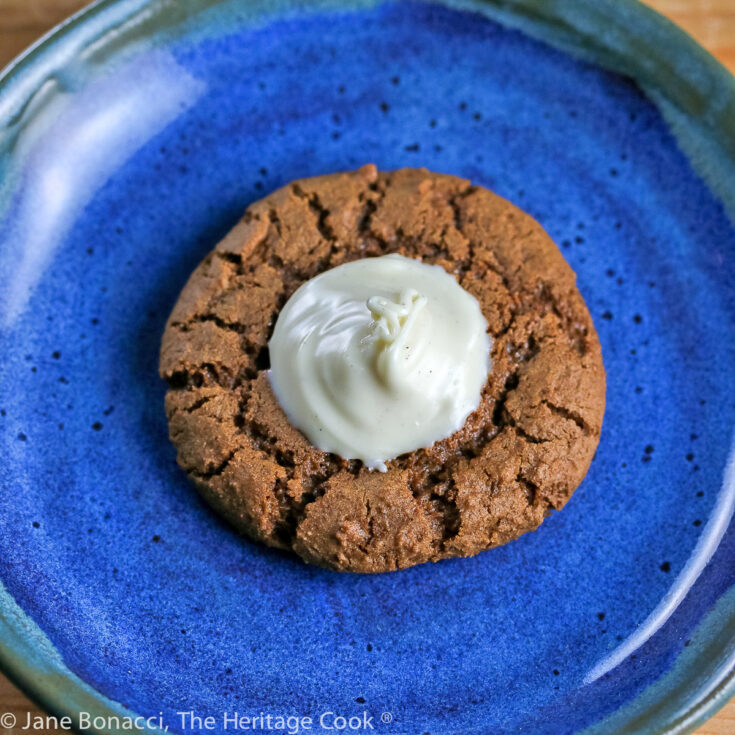
Traditionally, thumbprints are sugar cookies with a fruit jam topping. This version is made with a spicy ginger dough that will wake up your taste buds and topped with a silky white chocolate cream with just a touch of your choice of spice to enhance the flavors. I chose to use cardamom and it was amazing!
When these cookies are baking, don’t be surprised if memories of your childhood come to mind. It is hard not to feel a bit giddy and silly when you are baking cookies, especially with kids, a remnant of being young and the joy that fills your heart.
If you have never worked with white chocolate, it is much more delicate than dark chocolate. You definitely want to use a double boiler when melting it for this topping. And be sure to stir it often. It has a tendency to scorch if it gets too hot. Keep it moving regularly and don’t let the water under the bowl get too hot. It is better to take it a little slower than risk it burning or seizing on you.
I found the best method to get the white chocolate into the cookie centers was using two spoons. Scoop up a little and use the second spoon to ease the chocolate into the depression in the cookie. If it looks a little chunky, just swirl it with the spoon and it will soften beautifully. You can return the bowl to the heat if it gets too thick. If you are really lucky it will hold the peak as you pull the spoon straight up from the middle!
Enjoy these Ginger White Chocolate Thumbprint Cookies and have a wonderful week. Happy Chocolate Monday!
Did you enjoy this recipe? Let me know in the comments and leave a star rating, I love hearing from you!
Ingredients needed for Ginger White Chocolate Thumbprint Cookies:
- Butter, sugar, vanilla, egg, molasses, flour, xanthan gum (if needed)
- Ginger, baking soda, cinnamon, salt, pepper, ground cloves
PRO Tip:
If you have long nails, you can use the back of a round measuring spoon or the handle end of a large wooden spoon instead of your thumb to make the indentations.
How to make Ginger White Chocolate Thumbprint Cookies:
- Beat together the butter, sugar, and vanilla. Add the egg and molasses and beat until smooth.
- In a separate bowl, whisk together the dry ingredients (flour through cloves) and add to the butter mixture. Beat on low until combined, then increase to medium and mix until lightened and smooth.
- Use a scoop to form 1 tablespoon portions of the dough and roll each into a round ball. Place 2-inches apart on parchment-covered baking sheets. Press your thumb or the back of a round measuring spoon in the center of each one, making a depression but not all the way through, to hold the white chocolate topping.
- Bake at 350°F (177°C) for 5 minutes then swap the baking sheets, top to bottom and spin them front to back for the most even baking. Bake another 5 to 7 minutes or until the edges are firm to the touch.
- Remove from the oven and use the back of a measuring spoon or the handle of a wooden spoon to gently press the centers until flat again (they puff up while baking). Let the cookies on the pans for 5 minutes then transfer to wire racks to cool thoroughly.
- Meanwhile, make the topping. Place white chocolate pieces and milk in a heatproof bowl that fits into a saucepan without touching the bottom. Add about 1-inch of water to the saucepan, bring to a simmer over medium-high heat. Reduce the heat to medium and set the bowl over the water.
- Stir the chocolate/milk mixture regularly until nearly melted. Any remaining pieces of chocolate will melt in the residual heat. Stir until completely smooth. Stir in your favorite spice.
- Using two spoons, scoop about 1 teaspoon of the chocolate into the center of each cookie. Let them sit until cooled and the chocolate has firmed up, about 30 minutes.
PRO Tip:
If you prefer a fancier presentation, you can scoop the melted white chocolate into a piping bag fitted with a round or star tip and pipe the filling into the centers of the cookies.
Recommended Tools (affiliate links; no extra cost to you):
- Chef’s knife
- Cutting board
- Baking sheets
- Parchment paper
- Stand mixer or hand mixer
- Mixing bowls
- Cookie scoop
- Round measuring spoons
- Wire cooling racks
- Saucepan
Gluten-Free Tips:
* You can adjust any baking recipe to gluten-free by using 120 grams per cup of my favorite gluten-free flour blend. If you are using another brand of gluten-free flour, whisk the mix, spoon it lightly into a measuring cup until mounded, level off the top with the back of a knife, and weigh the flour left in the cup. Use that weight as your standard per cup of that specific flour. Do this for each flour blend you use. Commercial blends such as Pamela’s All-Purpose Artisan Blend, Bob’s Red Mill 1-to-1, or King Arthur Measure for Measure are all good choices.
All recommended ingredients are gluten-free as of the writing of this article. Always check to be sure the products haven’t changed and are still safe to consume.
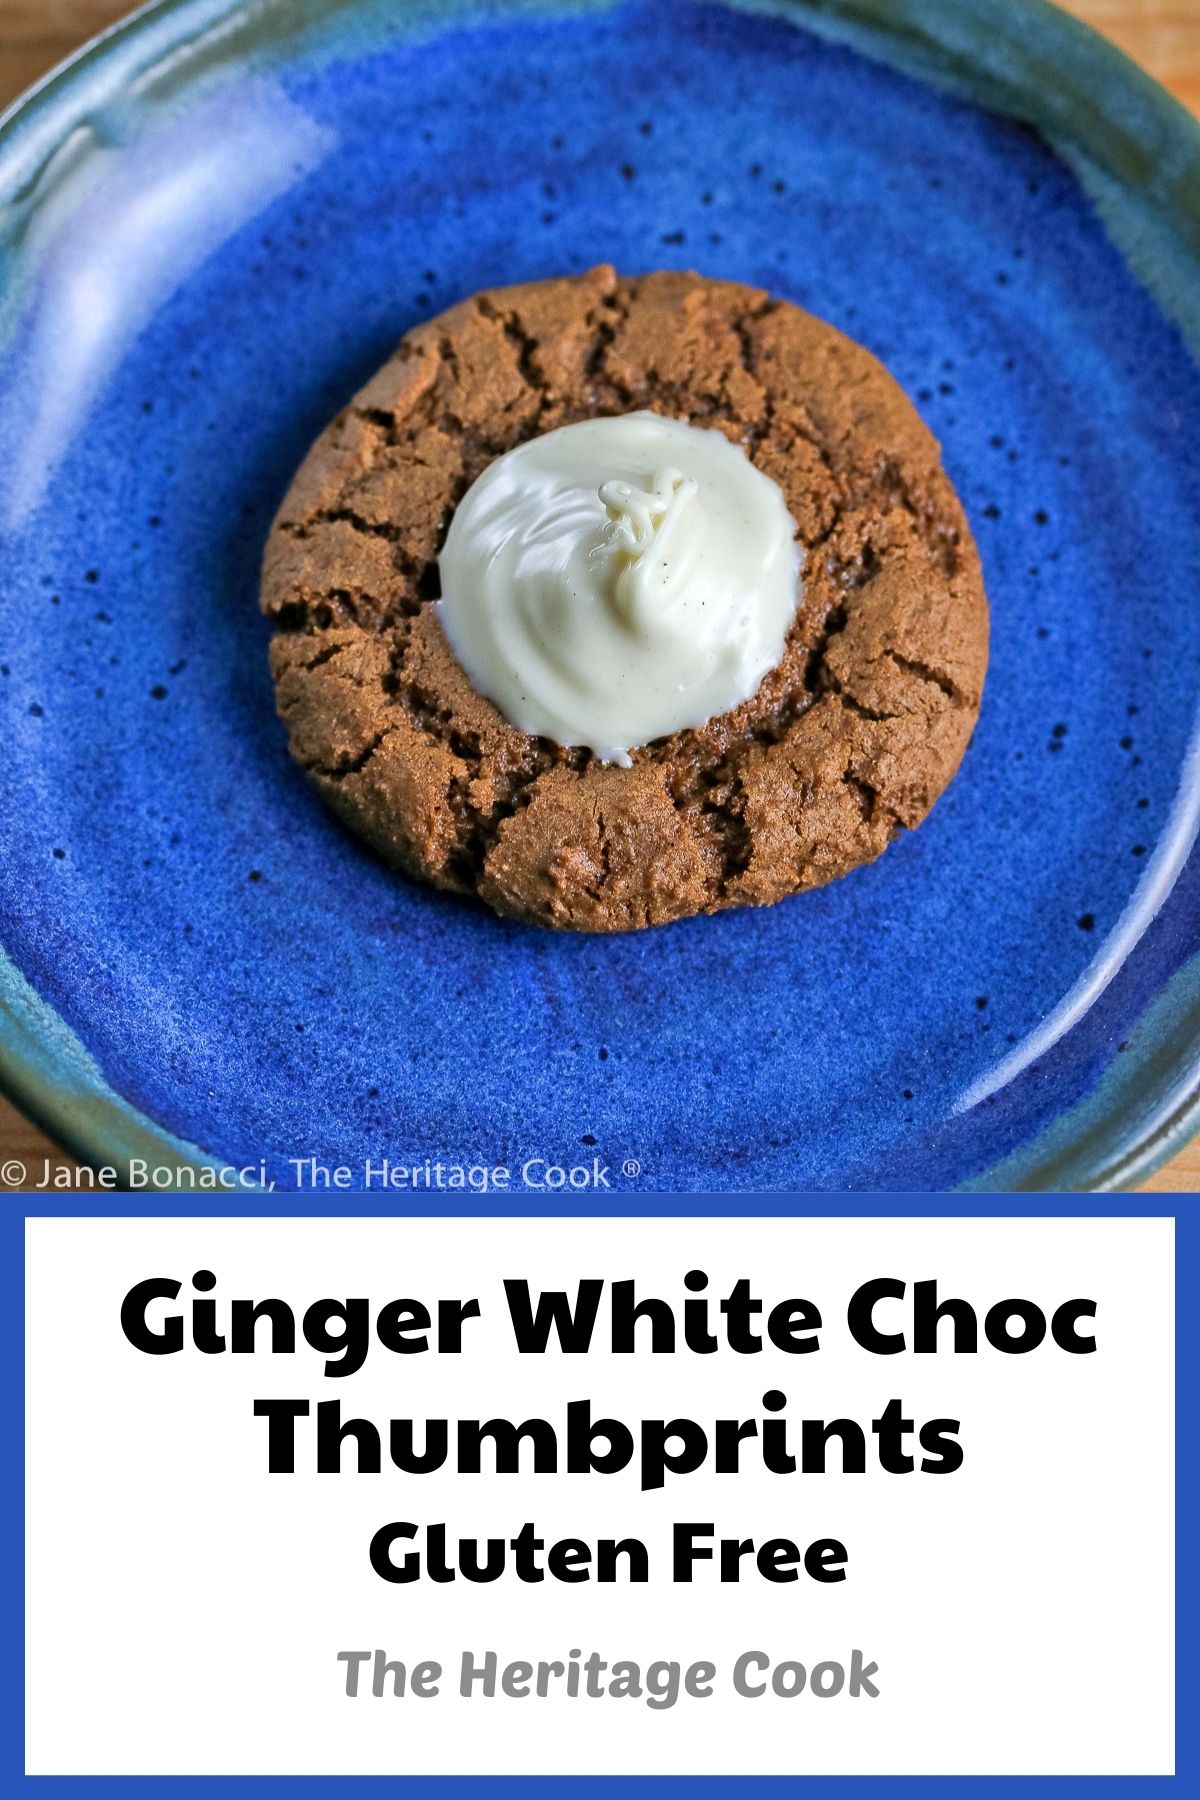
Ginger White Chocolate Thumbprint Cookies (Gluten Free)
Today's Ginger White Chocolate Thumbprint cookies are delightful and will become a family favorite! These cookies pack a punch of ginger flavor. The crunchy cookies are perfectly offset by the heavenly creamy white chocolate topping. One bite and you will be diving into the entire tray!
Ingredients
Cookies
- 1/3 cup (5-1/2 tbsp; 76g) butter, softened and cut into pieces
- 1 cup granulated cane sugar
- 1 tsp vanilla paste or pure extract
- 1 large egg
- 1/3 cup molasses (not blackstrap)
- 2 cups (240g) all-purpose flour or gluten-free flour blend* (add 1/4 tsp xanthan gum if your GF blend does not already include it)
- 1-1/2 tsp ground ginger
- 1 tsp baking soda
- 1 tsp ground cinnamon
- 1/2 tsp kosher or fine sea salt
- 1/4 tsp finely ground black pepper, optional
- 1/4 ground cloves
Topping
- 8 oz (224g) white chocolate, chopped
- 1 tsp milk
- Pinch ground cardamom, nutmeg, cinnamon, or allspice, or to taste
Instructions
- Preheat the oven to 350°F (177°C). Line two baking sheets with parchment paper.
- Prepare Cookie Dough: In the bowl of your standing mixer, add the butter, sugar, and vanilla. Beat with the paddle attachment until evenly blended and starting to come together in clumps, about 3 minutes on medium. Add the egg and molasses and beat until smooth.
- In a separate bowl, whisk together the dry ingredients (flour through cloves). Add to the butter mixture and beat on low until combined, then increase speed to medium and mix until slightly lightened and smooth. Take the bowl off the mixer.
- Use a scoop to form 1 tbsp portions of dough and roll each one into a round ball. Place them 2-inches (5 cm) apart on the prepared baking sheets. Press your thumb or the back of a round measuring spoon in the center of each one, making a depression, but not pressing all the way through - they need to hold the topping.
- Bake the Cookies: Place the cookies in the oven and bake 5 minutes, then swap the baking sheets, top to bottom and spin each one so the cookies in front are now facing the back of the oven (this gives you the most even baking). Bake another 5 to 7 minutes or until the edges are firm to the touch.
- Remove the sheet pans from the oven and using the back of a measuring spoon or the handle of a wooden spoon, gently press the cookies in the centers to make the depressions deeper again (they puff up during baking). Let the cookies cool on the pans for 5 minutes and then transfer to wire racks to cool thoroughly.
- Make the White Chocolate Topping: While the cookies are cooling, place the chopped white chocolate and milk into a heatproof bowl that fits into a saucepan without touching the bottom. With about 1-inch (2-1/2 cm) of water in the pan, bring it to a simmer over medium-high heat. Reduce the heat to medium and set the bowl over the water.
- Hold the bowl with a hot pad and stir regularly until nearly all the pieces of chocolate are melted. Remove from the heat and stir until completely smooth. Stir in your choice of spice. Use two spoons to scoop about 1 teaspoon of the chocolate into the center of each cookie. Let them sit until cooled (if you can stand the wait!) and the chocolate has firmed up, about 30 minutes.
Recipe found at www.theheritagecook.com
Notes
* You can adjust any recipe to gluten-free by using 120 grams per cup of my favorite gluten-free flour blend. If you are using another brand of gluten-free flour, whisk the mix, spoon it lightly into a measuring cup without a spout until mounded, level off the top with the back of a knife, and weigh the flour left in the cup. Use that weight as your standard per cup of that specific flour. Do this for each flour blend you use. Commercial blends such as Pamela's, Bob's Red Mill 1-to-1, or King Arthur Measure for Measure are all good choices.
All recommended ingredients are gluten-free as of the writing of this article. Always check to be sure the products haven’t changed and are still safe to
consume.
Nutrition Information:
Yield:
45Serving Size:
1Amount Per Serving: Calories: 64Total Fat: 1gSaturated Fat: 0gTrans Fat: 0gUnsaturated Fat: 0gCholesterol: 4mgSodium: 84mgCarbohydrates: 14gFiber: 0gSugar: 7gProtein: 1g
The nutritional information for recipes on this site is calculated by online tools and is merely an estimate.
If you enjoyed this recipe, be sure to follow me on social media so you never miss a post:
Create a New Tradition Today!
Welcome! The suggestions here are not intended as dietary advice or as a substitute for consulting a dietician, physician, or other medical professional. Please see the Disclaimers/Privacy Policy page for additional details. Unauthorized use, distribution, and/or duplication of proprietary material from The Heritage Cook without prior approval is prohibited. If you have any questions or would like permission, please contact me. We participate in the Amazon Services LLC Associates Program, an affiliate advertising program designed to provide a means for sites to earn advertising fees by advertising and linking to amazon.com. As an Amazon Associate, I earn a small amount from qualifying purchases without any additional cost to you. This page may contain affiliate links. This post was first shared in May 2018. The article was updated in 2023.