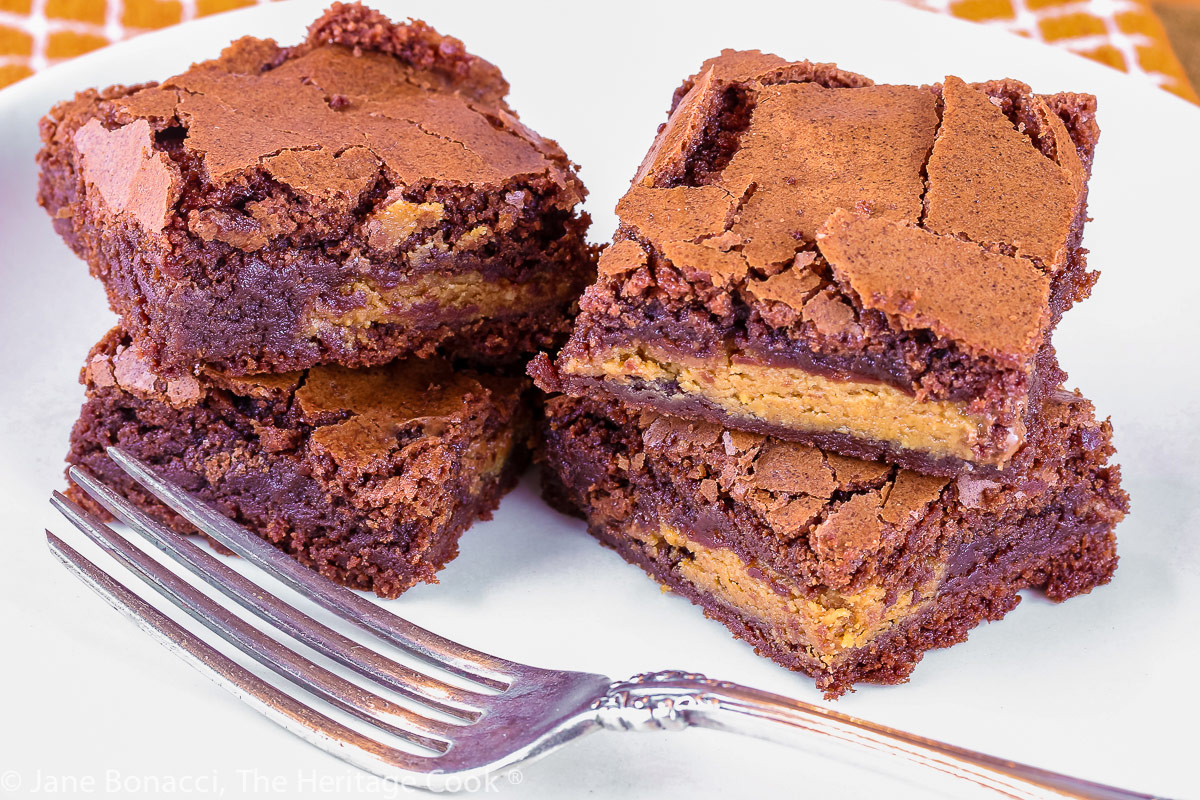
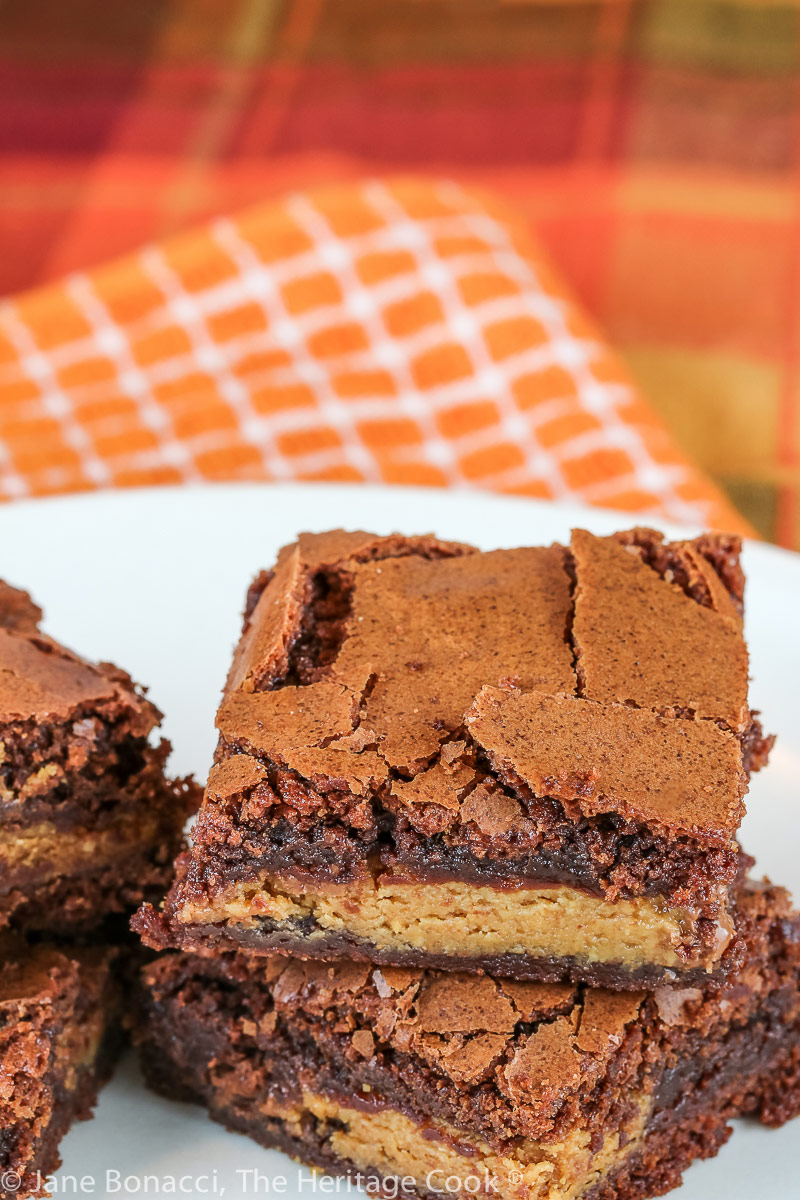
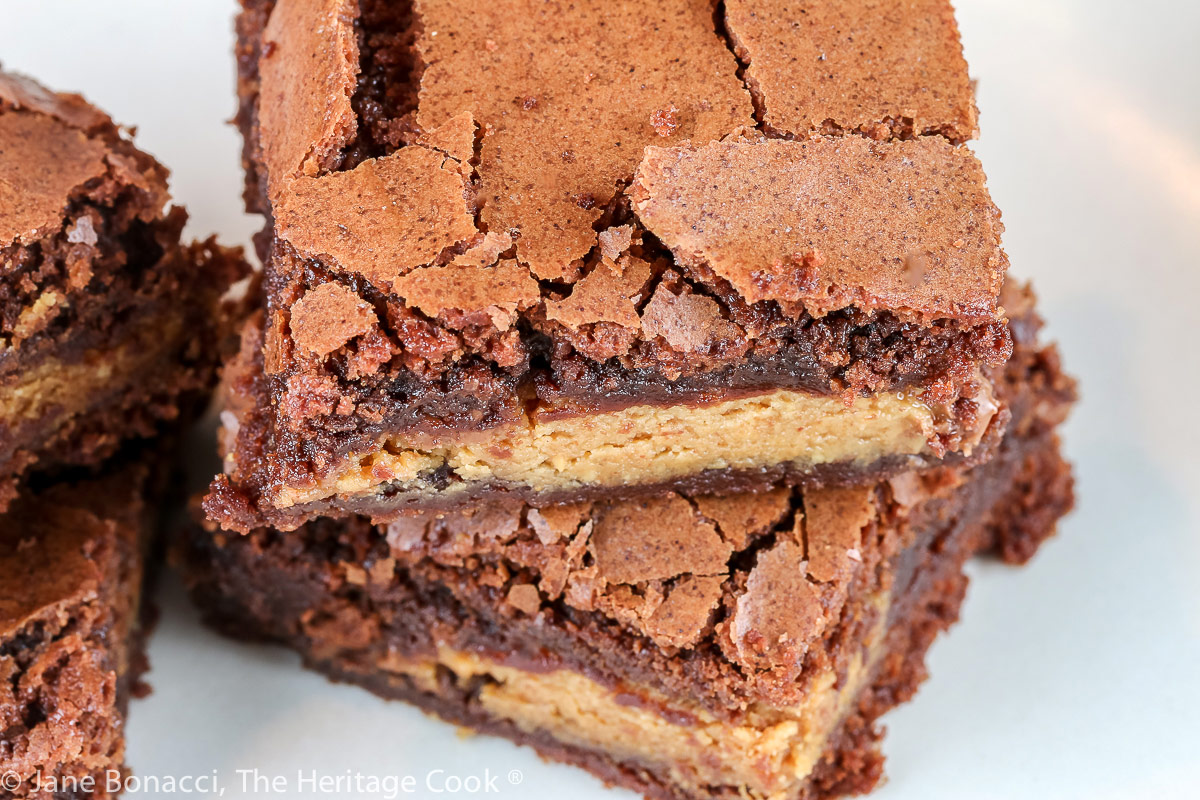
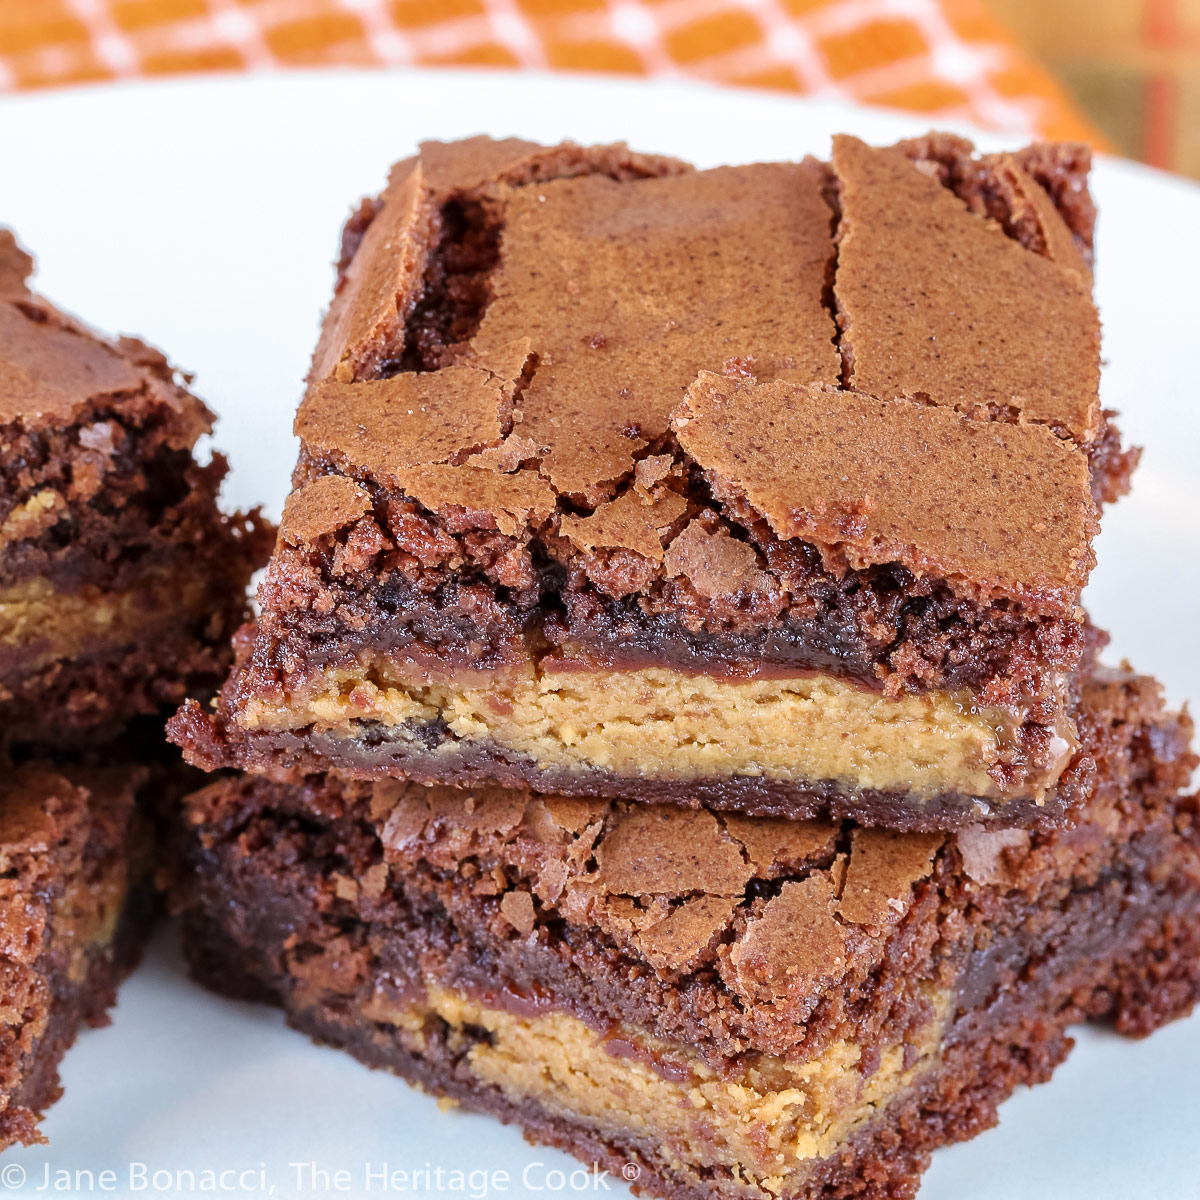
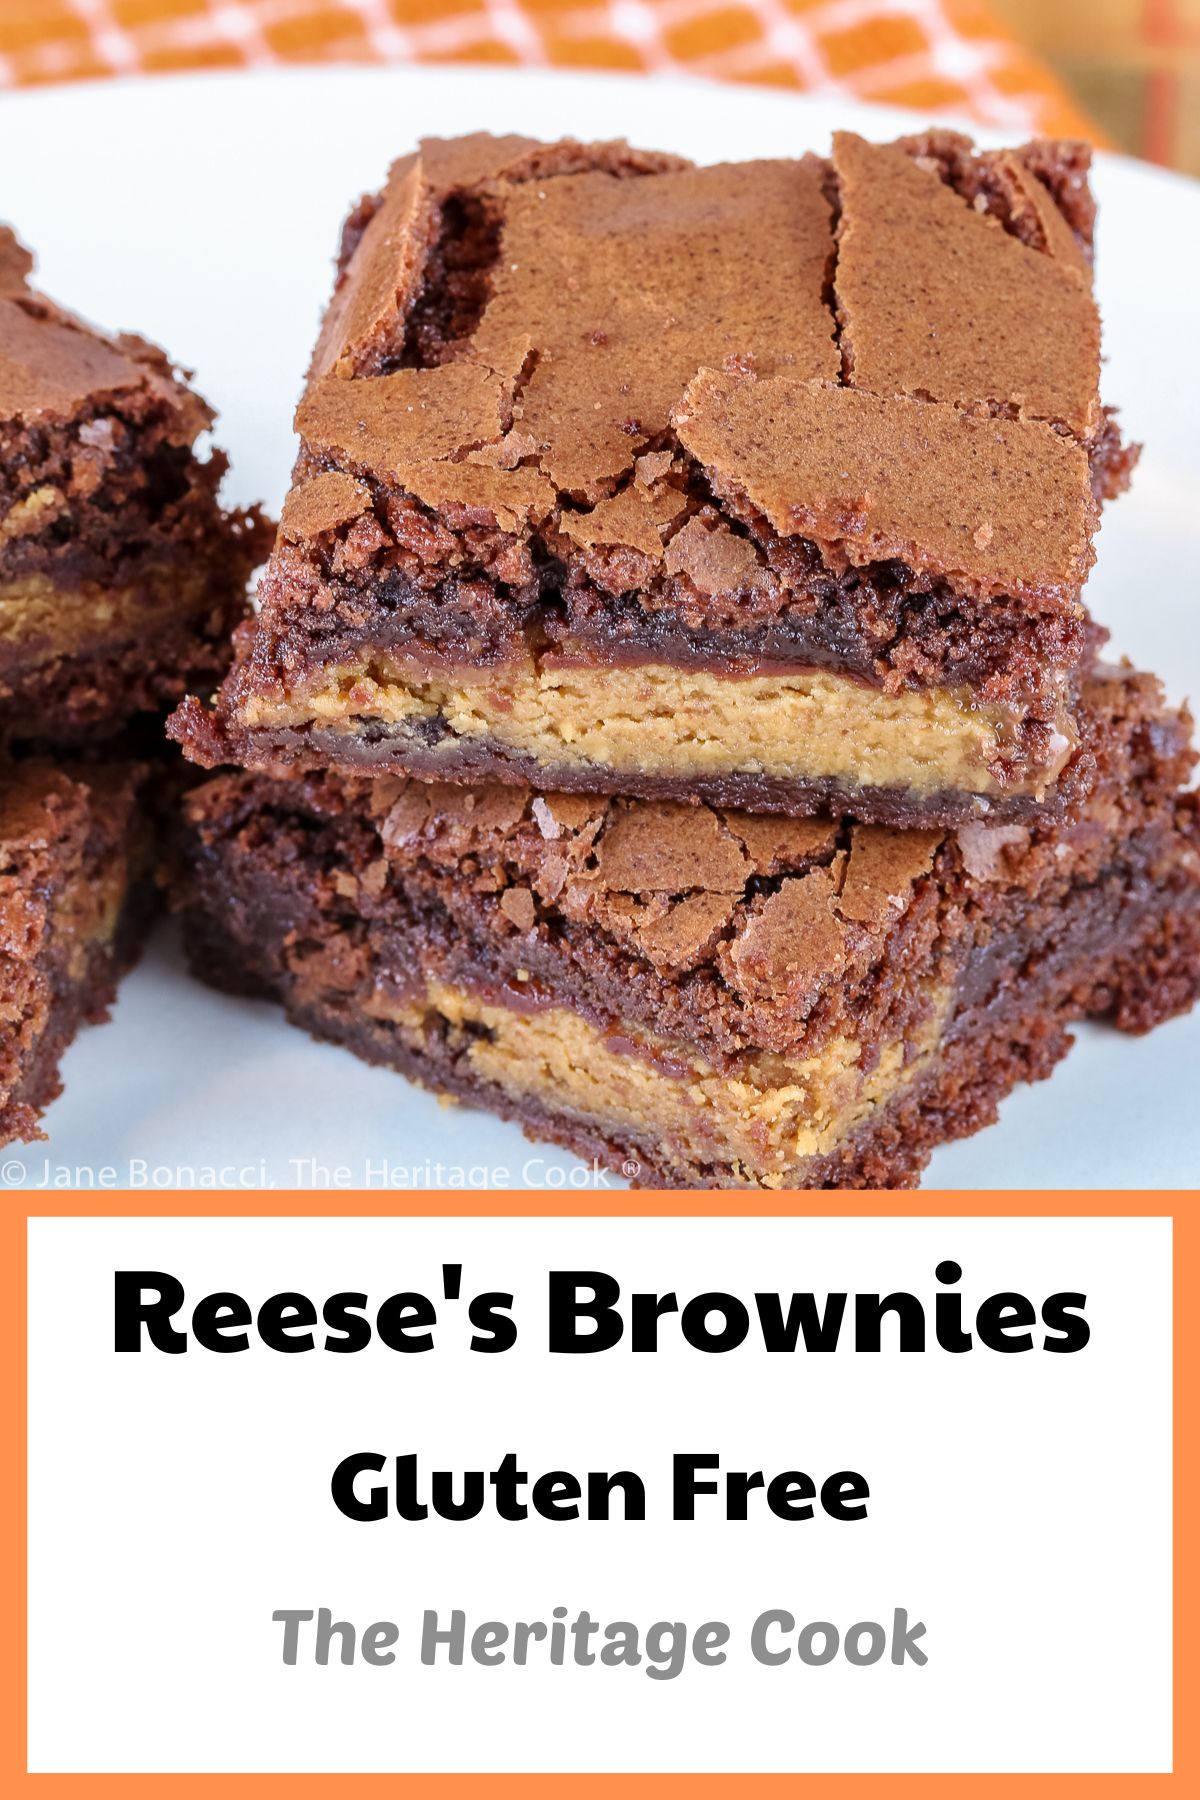
These brownies are the perfect blending of chocolate and peanut butter with bites of the candy in every square. These are positively addicting, so beware and plan to make gifts to your neighbors like I did so I wouldn’t eat the whole pan!
Welcome to #Choctoberfest! This week instead of just Chocolate Monday, you have a full week of chocolate! I am joining forces with over 100 other bloggers from around the world to post delicious chocolate recipes. Every day, Choctoberfest bloggers will be celebrating all things chocolate – milk, dark, white, bittersweet, semi-sweet, and cocoa!
I used my favorite gluten-free flour blend for these brownies, but you can use another 1-for-1 style of gluten-free flour if you prefer. It worked beautifully and gave me brownies that were rich and delicious.
Remember, Reese’s Peanut Butter Cups are gluten free except the unwrapped minis and seasonal shaped items. Always check the labels for any hidden gluten ingredients!!
Enjoy these Reese’s Brownies and Happy Chocolate Monday!
Did you enjoy this recipe? Let me know in the comments and leave a star rating, I love hearing from you!
Ingredients needed for Reese’s Brownies:
- Butter, bittersweet chocolate, gluten-free flour or all-purpose flour
- Baking powder, salt, sugar, brown sugar, eggs, peanut butter cups
PRO Tip:
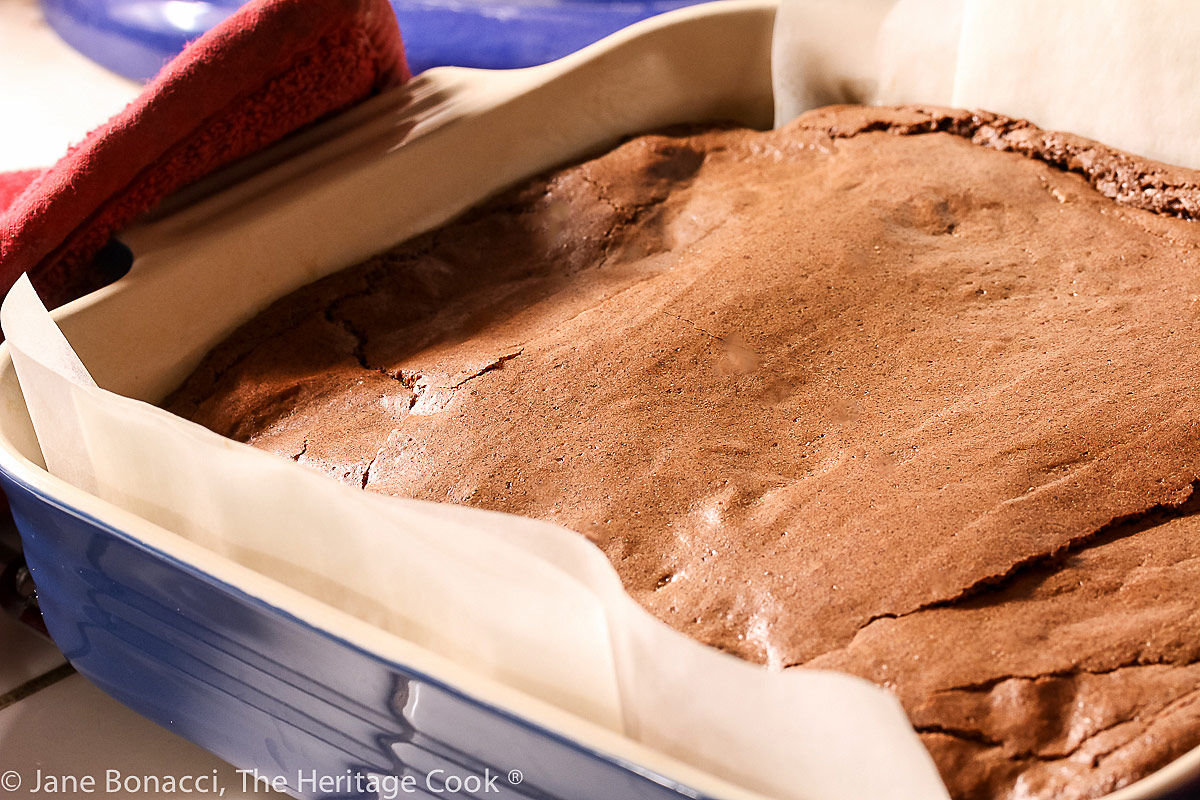
Using sheets of parchment folded to fit into the baking pan leaves longer ends hanging over the edges. This creates a sling to help you lift the brownies out of the pan without breaking them. Then you can get perfectly cut squares using a long sharp knife.
How to make Reese’s Brownies:
- Melt the butter and chocolate together in a bowl set over a pan of simmering water, stir until smooth; in another bowl whisk together the flour, baking powder, and salt, set aside
- Beat the melted chocolate mixture with both sugars on low speed until cool enough to hold the bottom of the bowl; add the eggs and beat on low to mix in then turn up to medium speed and beat until lightened in color and fluffy, about a minute, scrape the bowl and beater
- Pour half the batter into a buttered and parchment-lined 9-inch baking dish, then gently press unwrapped Reese’s peanut butter cups into the batter in rows; pour remaining batter over the top and gently spread it with an offset spatula to cover the cups completely
- Bake for 40 minutes at 350°F until a toothpick comes out with a few moist crumbs, avoiding the peanut butter cups; transfer to a wire rack and cool completely
- Loosen the uncovered edges with a knife and use the parchment paper sling to lift the brownies out of the pan; use a long sharp knife to cut into squares and serve at room temperature
PRO Tip:
To get the prettiest pieces, cut a thin slice off each edge of the brownies before you cut it into squares. You can save the edges for nibbling on later!
Recommended Tools (affiliate links; no extra cost to you):
- Kitchen scale
- Chef’s knife
- Cutting board
- 9-inch square baking pan
- Parchment paper
- Saucepan
- Stand mixer
- Offset spatula
- Long sharp knife
Gluten-Free Tips:
You can adjust any recipe to gluten-free by using 120 grams per cup of my favorite gluten-free flour blend. If you are using another brand of gluten-free flour, whisk the mix, spoon it lightly into a measuring cup until mounded, level off the top with a straight edge, and weigh the flour left in the cup. Use that weight as your standard per cup of that specific flour. Do this for each flour blend you use. Commercial blends such as Pamela’s All-Purpose Artisan Blend, Bob’s Red Mill 1-to-1, or King Arthur Measure for Measure are all good choices.
Reese’s Peanut Butter Cups are gluten free except the unwrapped minis and seasonal shaped items.
All recommended ingredients are gluten-free as of the writing of this article. Always check to be sure the products haven’t changed and are still safe to consume.
Reese's Brownies (Gluten Free)
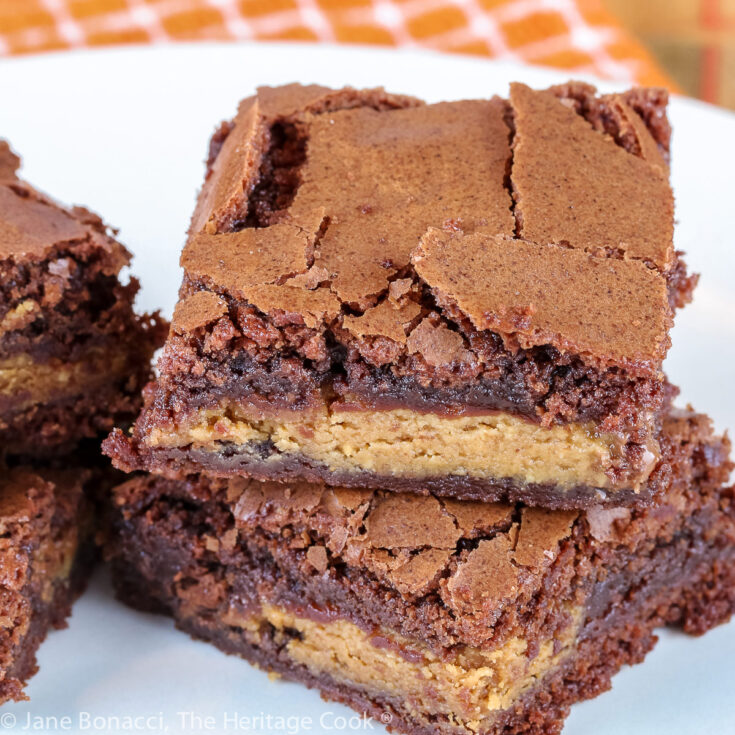
Enjoy these Reese's Brownies, the perfect way to kick off the week and a creative use for your leftover Halloween candy. Or if you're like me, the best excuse to buy an extra bag of Reese's peanut butter cups ahead of the holiday!
Ingredients
- 6 tbsp butter, cut into small pieces
- 4 oz bittersweet chocolate (70%) chopped
- 1/2 cup (60g) gluten-free flour blend or all-purpose flour
- 1/2 tsp baking powder (gluten-free if needed)
- 1/2 tsp kosher or fine sea salt
- 1/2 cup (100g) granulated sugar
- 1/2 cup (100g) brown sugar
- 2 large eggs
- Reese's snack-size peanut butter cups, unwrapped
Instructions
- Preheat the oven to 350°F. Butter a 9-inch square baking pan and line with a sheet of parchment paper long enough to hang over two sides creating a sling. Butter the parchment.
- Pour about 2-inches of water into a 3 to 4 quart saucepan. Set the bowl of your standing mixer into the pan - it should fit snuggly but the bottom of the bowl should be above the water. Bring the water to a simmer. Place the butter and chocolate in the bowl. Heat, stirring occasionally, until the butter and chocolate are melted and the mixture is smooth.
- In another bowl, blend together the flour, baking powder, and salt. Set aside.
- Remove the bowl with the chocolate mixture from the heat, dry the bottom of the bowl and set on your standing mixer. Using the paddle attachment and with the mixer on low, beat in both the sugars until blended and the mixture is cooled enough to hold your hand on the bottom of the bowl. Add the eggs and beat on low to mix in; turn up to medium and beat for about a minute or until lightened in color and fluffy.
- Stop the mixer and thoroughly scrape the sides and bottom of the bowl and the beater(s). Add the dry ingredients, beat on low until smooth.
- Pour half the batter into the parchment paper-lined baking pan then press the Reese's cups into the batter in rows, pressing gently into the batter. Pour the remaining batter over the top and gently spread with a small offset spatula so the cups are completely covered.
- Bake for about 40 minutes or until a toothpick inserted between the cups comes out with a few moist crumbs. Transfer the pan to a wire rack and let cool completely.
- Loosen the uncovered edges with a knife and use the parchment paper to carefully lift the brownies out of the pan. Use a long, sharp knife to cut into squares and serve at room temperature.
Recipe found at www.theheritagecook.com
Notes
Reese's Peanut Butter Cups are gluten free except the unwrapped minis and seasonal shaped items.
You can adjust any recipe to gluten-free by using 120 grams per cup of my favorite gluten-free flour blend. If you are using another brand of gluten-free flour, whisk the mix, spoon it lightly into a measuring cup without a spout until mounded, level off the top with a straight edge, and weigh the flour left in the cup. Use that weight as your standard per cup of that specific flour. Do this for each flour blend you use. Commercial blends such as Pamela's, Bob's Red Mill 1-to-1, or King Arthur Measure for Measure are all good choices.
All recommended ingredients are gluten-free as of the writing of this article. Always check to be sure the products haven’t changed and are still safe to consume.
Nutrition Information:
Yield:
10Serving Size:
1Amount Per Serving: Calories: 163Total Fat: 9gSaturated Fat: 5gTrans Fat: 0gUnsaturated Fat: 3gCholesterol: 56mgSodium: 338mgCarbohydrates: 17gFiber: 1gSugar: 2gProtein: 4g
The nutritional information for recipes on this site is calculated by online tools and is merely an estimate.
If you enjoyed this recipe, be sure to follow me on social media so you never miss a post:
Here are more recipes from Choctoberfest just for you!
Check out our participating bloggers:
The PinterTest Kitchen ♥ 2 Cookin Mamas ♥ 27th and Olive ♥ A Day in the Life on the Farm ♥ A Kitchen Hoor’s Adventures ♥ A Little Fish in the Kitchen ♥ addicted 2 recipes ♥ Amy’s Cooking Adventures ♥ An Affair from the Heart ♥ April GoLightly ♥ At the Table with R and R ♥ Baking Sense ♥ Blade & Barbell ♥ Blogghetti ♥ Body Rebooted ♥ Books n’ Cooks ♥ Bottom Left of the Mitten ♥ Canning and Cooking at Home ♥ Cheese Curd In Paradise ♥ Chef Sarah Elizabeth ♥ Cindy’s Recipes and Writings ♥ Coconut & Lime ♥ Cook With Renu ♥ Cook’s Hideout ♥ Cookaholic Wife ♥ Cookie Dough and Oven Mitt ♥ CopyKat.com ♥ Daily Dish Recipes ♥ Everyday Eileen ♥ Fairyburger ♥ Faith, Hope, Love, & Luck Survive Despite a Whiskered Accomplice ♥ Family Around the Table ♥ Fix Me a Little Lunch ♥ Frankly Entertaining ♥ Frugal & Fit ♥ Get the Good Stuff! ♥ Growing Up Gabel ♥ Hardly A Goddess ♥ Hezzi-D’s Books and Cooks ♥ Home Sweet Homestead ♥ House of Nash Eats ♥ Intelligent Domestications ♥ jenniferbakes ♥ JoAnn’s Food Bites ♥ Join Us, Pull up a Chair ♥ Jolene’s Recipe Journal ♥ Jonesin’ For Taste ♥ Karen’s Kitchen Stories ♥ Kate’s Recipe Box ♥ Kelly Lynn’s Sweets and Treats ♥ LeMoine Family Kitchen ♥ Life on Food ♥ Life, Love, and Good Food ♥ Lisa’s Dinnertime Dish ♥ Little House Big Alaska ♥ Long Distance Baking ♥ Maria’s Mixing Bowl ♥ Moore or Less Cooking ♥ Must Love Home ♥ Norine’s Nest ♥ Our Good Life ♥ Our Sutton Place ♥ OVENTales ♥ Palatable Pastime ♥ Prettysweetblog ♥ Red Cottage Chronicles ♥ Restless Chipotle ♥ Reviews, Chews & How-Tos ♥ Sarah Cooks the Books ♥ Sarah’s Bake Studio ♥ Savory Moments ♥ Seasonal and Holiday Recipe Exchange ♥ Seasoned Sprinkles ♥ Seduction In The Kitchen ♥ Simple Family Crazy Life ♥ Simply Inspired Meals ♥ Snacks and Sips ♥ Soulfully Made ♥ Stephie The Happy Mom ♥ Sumptuous Spoonfuls ♥ Sweet Coralice ♥ Take Two Tapas ♥ Tampa Cake Girl ♥ That Recipe ♥ The Baking Fairy ♥ The Beard and The Baker ♥ The Food Hunter’s Guide to Cuisine ♥ The Gingered Whisk ♥ The Heritage Cook ♥ The Mad Scientist’s Kitchen ♥ The Olive Blogger ♥ The Pajama Chef ♥ The Redhead Baker ♥ The Saucy Fig ♥ The Spiffy Cookie ♥ The Weekday Gourmet ♥ This is How I Cook ♥ Trampling Rose ♥ Turnips 2 Tangerines ♥ Walking Fruitfully ♥ Wendy Polisi ♥ Wildflour’s Cottage Kitchen ♥ Zesty South Indian Kitchen
Create a New Tradition Today!
Welcome! The suggestions here are not intended as dietary advice or as a substitute for consulting a dietician, physician, or other medical professional. Please see the Disclaimers/Privacy Policy page for additional details. Unauthorized use, distribution, and/or duplication of proprietary material from The Heritage Cook without prior approval is prohibited. If you have any questions or would like permission, please contact me. We participate in the Amazon Services LLC Associates Program, an affiliate advertising program designed to provide a means for sites to earn advertising fees by advertising and linking to amazon.com. As an Amazon Associate, I earn a small amount from qualifying purchases without any additional cost to you. This page may contain affiliate links. This post was first shared in Oct 2018. The article was updated in 2022.



Karen
These sound amazing. Chocolate and peanut butter are meant to be!
Jane Bonacci
Thanks Karen – they are pretty darn addictive. Watch out, LOL