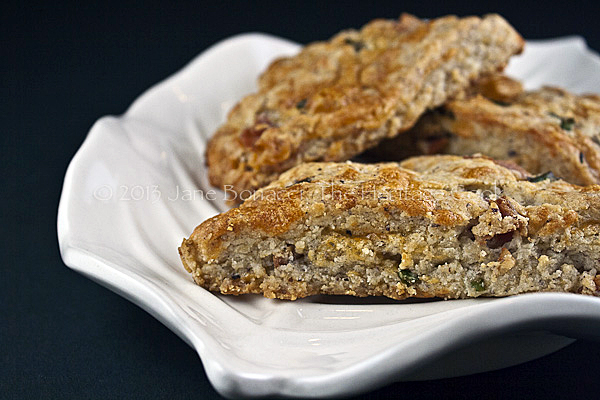
Today’s post is going to be sweet and simple. You absolutely HAVE to make these scones! They couldn’t be easier, faster, or better. I took one bite and instantly fell in love. It is really amazing there were any left to take photos of, LOL.
I used hazelnut meal along with the flour and the extra flavor it added was remarkable. It isn’t necessary, but it adds interest and protein, making them easier to justify. 😉 If you are making them with a gluten-free flour blend, make sure you add more cream. I needed about 3 tbsp more to make a good dough. The amount you use will depend on the humidity in your area.
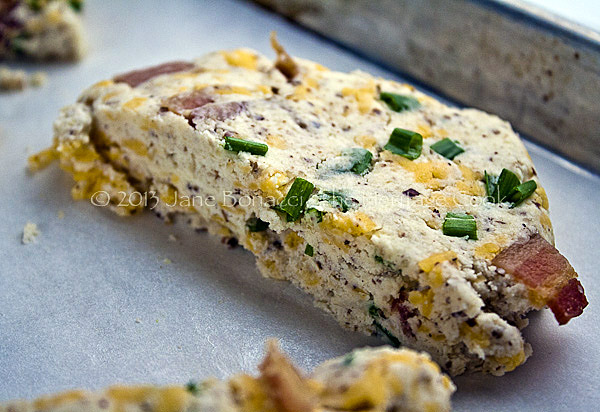
Raw dough ready for baking
The base dough can be either sweet or savory. If you are going to make them sweet, cut back the salt to 1/2 tsp. and add some dried raisins, cranberries, cherries, etc. if desired. Serve them warm with butter and jam or make a powdered sugar/lemon juice glaze and drizzle it over the top.
If you like savory scones go ahead and add the bacon, cheese and chives or change them out for other ingredients. Some hot pepper flakes, green chiles, curry powder, or harissa seasoning would all be good in these too. What sounds best to you?
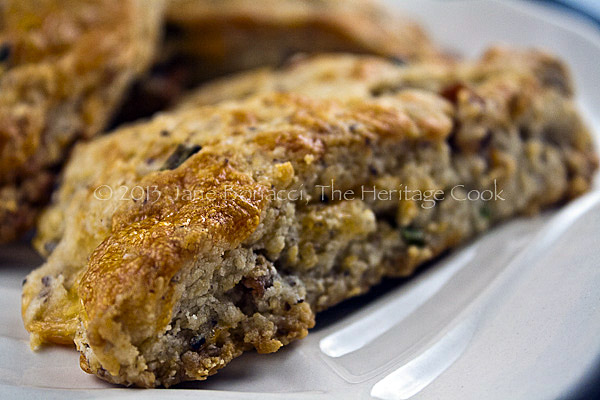
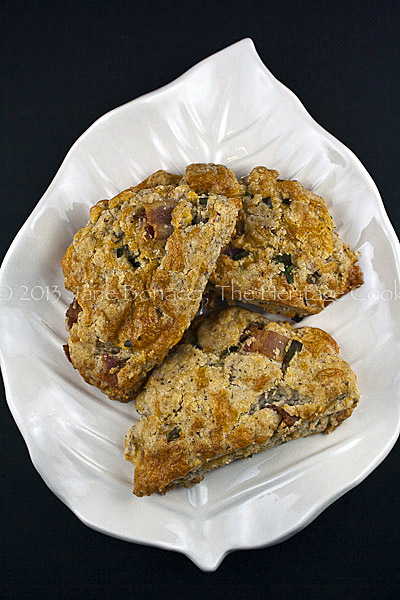
They came out of the oven perfect and are best freshly baked, but if you are using double-action baking powder, you can make the dough a few hours ahead and up to overnight. That is one benefit of gluten-free flours. They need more time to fully absorb the liquid and become tender. This gives you the chance to make them ahead, saving you time and energy on the day of your party or when guests are staying over.
If you cut them into smaller pieces, you can serve them as appetizers for your Super Bowl party. They will not take as long to bake, so watch them carefully and pull them when the tops are beautifully golden brown. These would also be a delicious accompaniment to bowls of soup on cold winter days. There is nothing more comforting!
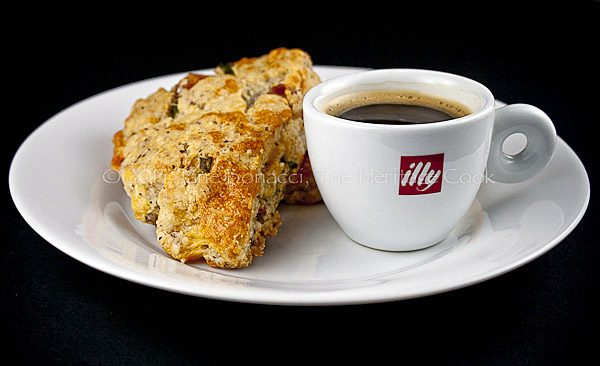
The Artist loves sweet scones, so I made a couple of them plain for him. He is looking forward to having his in the morning with a cup of espresso and homemade jam. I pulled out some of the dough and shaped it first, placing them on the baking sheet. And then I added the cheese, bacon and chives to the remaining dough and formed the rest. This gives you the opportunity to make one batch and customize it for your family’s preferences.
So get into the kitchen and make these scones pronto. That’s an order! 🙂
Have a wonderful weekend. Happy Festive Friday everyone!!
Jane’s Tips and Hints:
I made these in the food processor, which made it incredibly fast and easy. Just be sure to pulse the mixture lightly and leave visible chunks of butter. This helps create pockets of steam that lift the dough creating a soft crumb and delectable treat.
Gluten-Free Tips:
I created this recipe using my favorite gluten-free all-purpose blend, Silvana Nardone’s basic recipe. I keep a bucket of it on my counter and use it the same way I used to wheat AP flour. Other blends may behave differently, so be prepared to make some adjustments or a second batch if they don’t turn out.

- 4 to 6 strips bacon
- 3 to 4 oz cheddar, shredded (about 1 cup)
- 2 tbsp finely minced chives
- 1-1/2 cups gluten-free all-purpose blend plus 1/2 cup almond or hazelnut flour/meal or 2 cups unbleached all-purpose flour
- 4 tsp baking powder
- 1 tsp kosher salt (reduce to 1/2 tsp if making sweet scones)
- 5 tbsp cold butter, cut into small cubes
- 3/4 cup heavy cream (add 2 to 3 tbsp more, if needed, if you are using GF flour)
- Preheat the oven to 450°F (230°C). Line baking sheet with parchment paper or lightly butter.
- Cook the bacon in a skillet or microwave until mostly done. Transfer to a paper towel-lined plate to remove most of the grease. Chop bacon into 1/4 to 1/2-inch pieces. NOTE: If you cook the bacon in the microwave, set it on paper towels and top with another sheet; the paper towels automatically absorb all the excess grease while it is cooking.
- Shred the cheese and mince the chives; set aside.
- Place the flour, baking powder, and salt together in the bowl of a food processor fitted with a steel blade. Pulse a few times to blend it. Add the butter to the flour and pulse until it is incorporated, about 5 to 10 pulses. Do not overmix, you want visible chunks of butter in the dough. Pour the cream over the flour mixture and pulse just until incorporated. Add more cream if needed. The dough is ready when it holds together when pinched in your fingers. You can also do this by hand in a medium bowl and using two knives, a pastry blender, or your hands, until the butter is incorporated into the flour. Add the cream and stir until the dough comes together.
- Transfer the mixture to a bowl. Add the cheese, bacon, and onions. Using your hands, fold the additions into the flour mixture. Break up any large clumps. Stir and knead the dough as little as possible until evenly distributed. (If you are using gluten-free flours, you do not have to worry about developing gluten by over-handling the dough.)
- Gather the dough into palm-sized balls, pressing together. Set on prepared baking sheet and flatten until about 3/4-inch thick. Press any cracks along the edges back together. They will be about the size of a hamburger patty. Cut each circle in half or quarters. Separate the pieces, placing them about 1-inch apart.
- Bake for about 12 minutes or until golden brown, spinning the baking sheet halfway through for more even baking. Remove and serve warm.
- Gluten-free baked goods tend to improve with time, so you can bake these a day ahead and rewarm gently in a low oven before serving.
- Yield: 6 to 10 scones, depending on the size you make
Create a New Tradition Today!
Unauthorized use, distribution, and/or duplication of proprietary material on The Heritage Cook without prior approval is prohibited. This includes copying and reprinting content and photographs. If you have any questions or would like permission, I can be contacted via email: theheritagecook (at) comcast (dot) net. Feel free to quote me, just give credit where credit is due, link to the recipe, and please send people to my website, www.theheritagecook.com. Please see the Disclaimers page (under the “About” tab above) for additional details.
Thank You!



Brian @ A Thought For Food
Looks delicious! A classic pairing wrapped up in a gorgeous scone.
Jane Bonacci, The Heritage Cook
Thank you so much Brian! These were so good right out of the oven that I was inhaling them, LOL!