
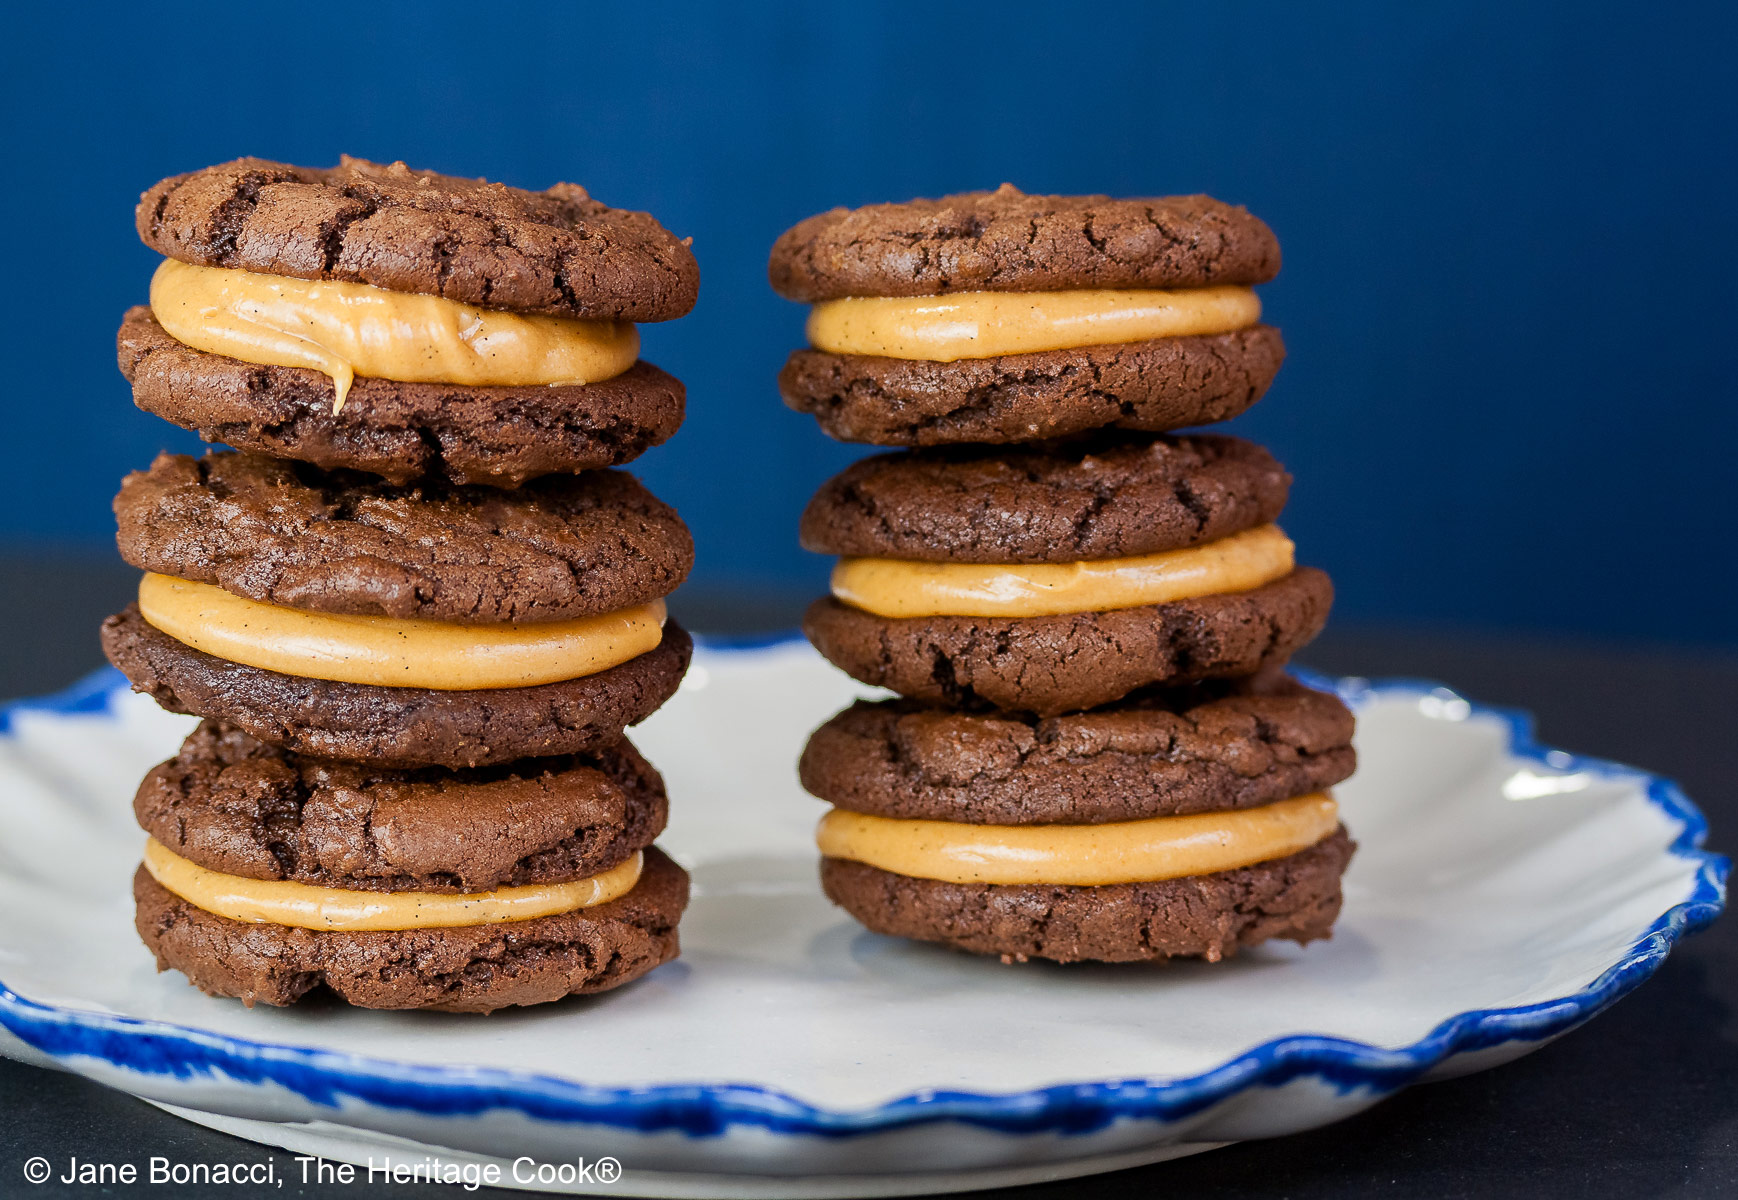
My father-in-law loves chocolate and peanut butter and has been begging me for a special treat. So I went hunting for something new to make and share with you and I found these incredible cookies. O.M.G. they are so good!
The cookies are a lovely deep rich chocolate, so dark they are almost black. They contrast perfectly with the caramel-colored peanut butter filling. These are a little like a crispy Reese’s. The longer you leave the cookies (overnight would be good), the softer they get and the easier the cookies are to eat.
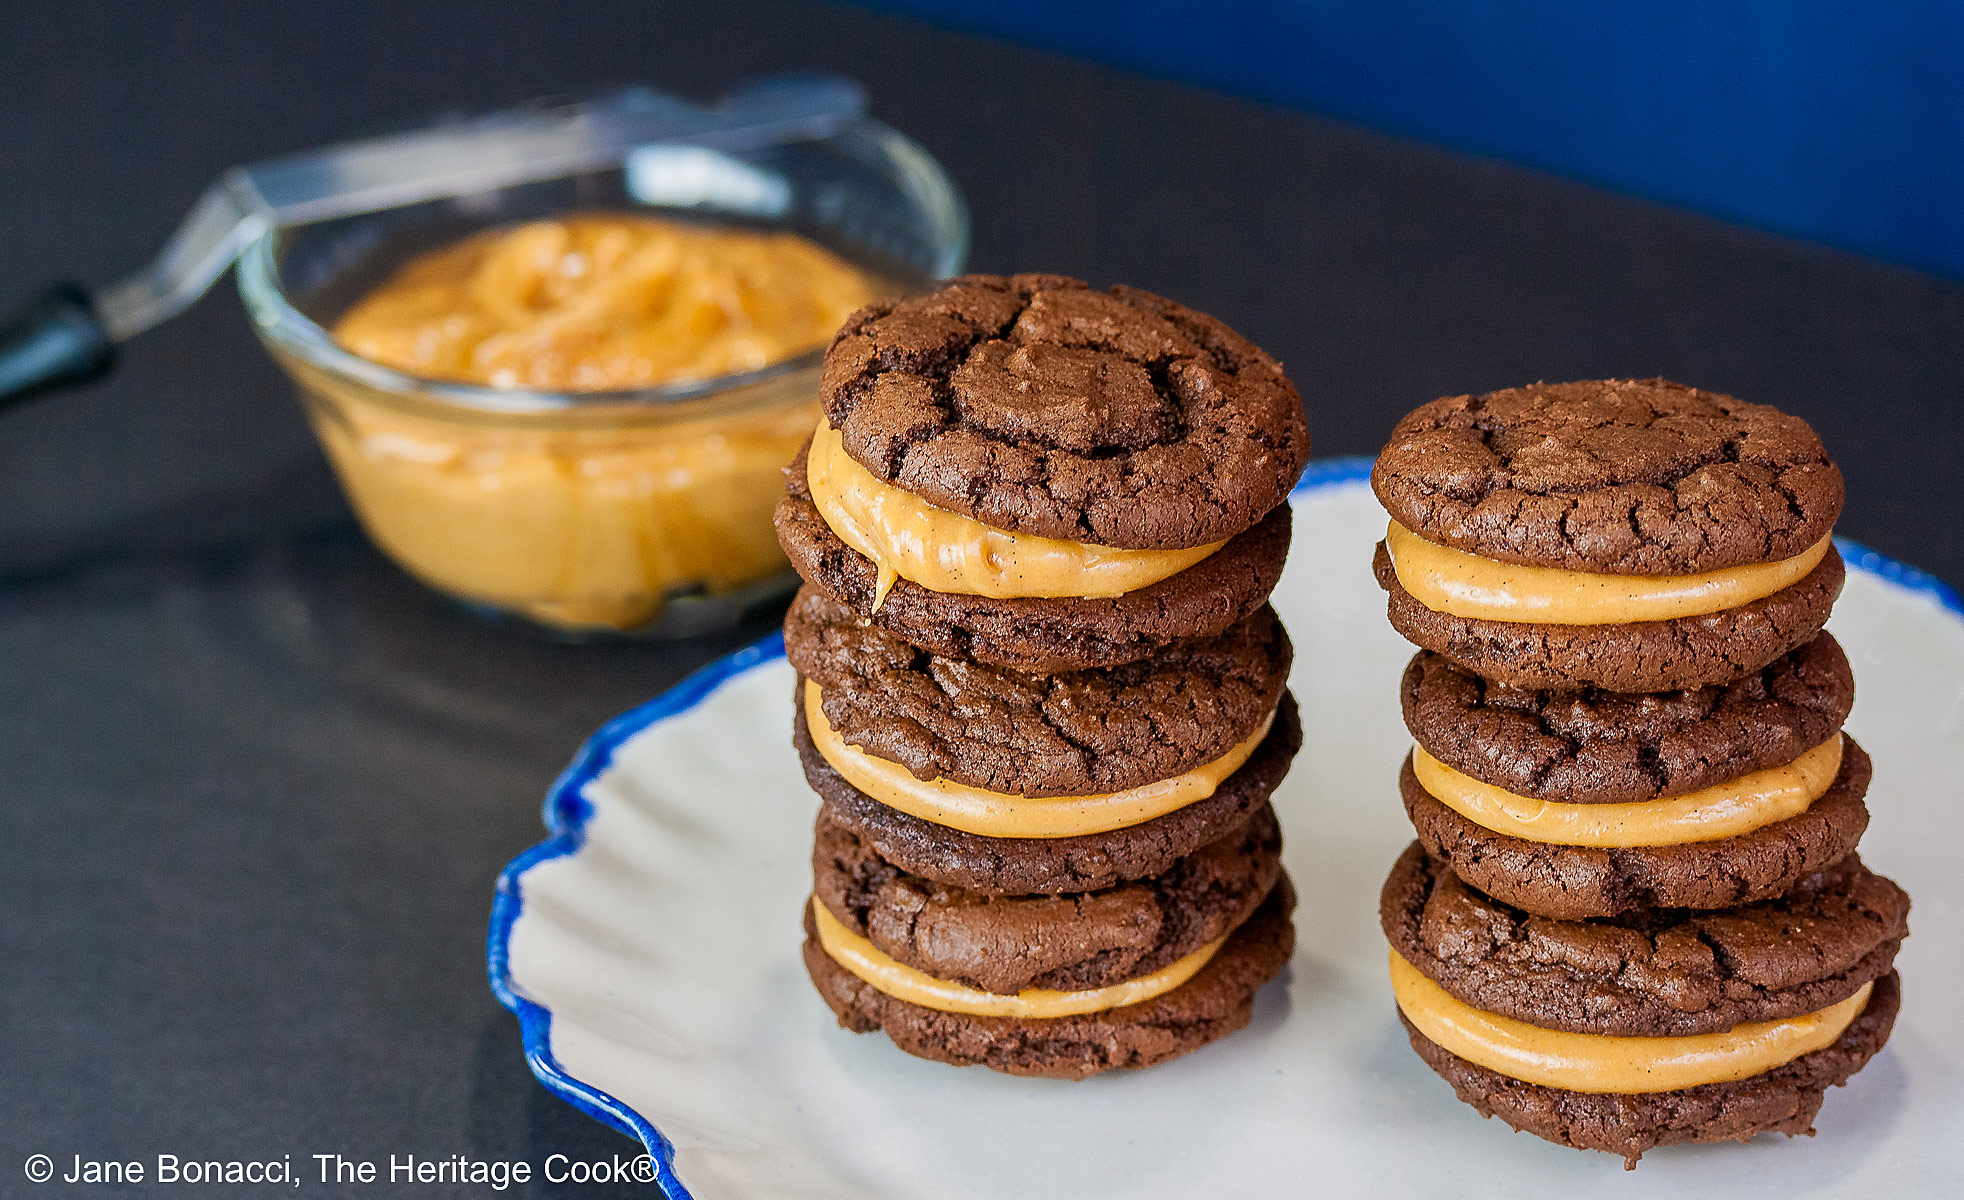
However, beware, you are not going to be able to resist them. I waited about an hour but the cookies were still crisp and I had filling squishing out. Oh well, what’s a little peanut butter between friends, LOL.
You could easily serve the cookies on their own without the filling. They would be fantastic with a light sprinkling of powdered sugar or a drizzle of ganache and served alongside a hot cup of coffee, espresso, tea, or copious amounts of milk. When they are baked they look a little like crinkle cookies. Really lovely. I could win blue ribbons with these beauties.
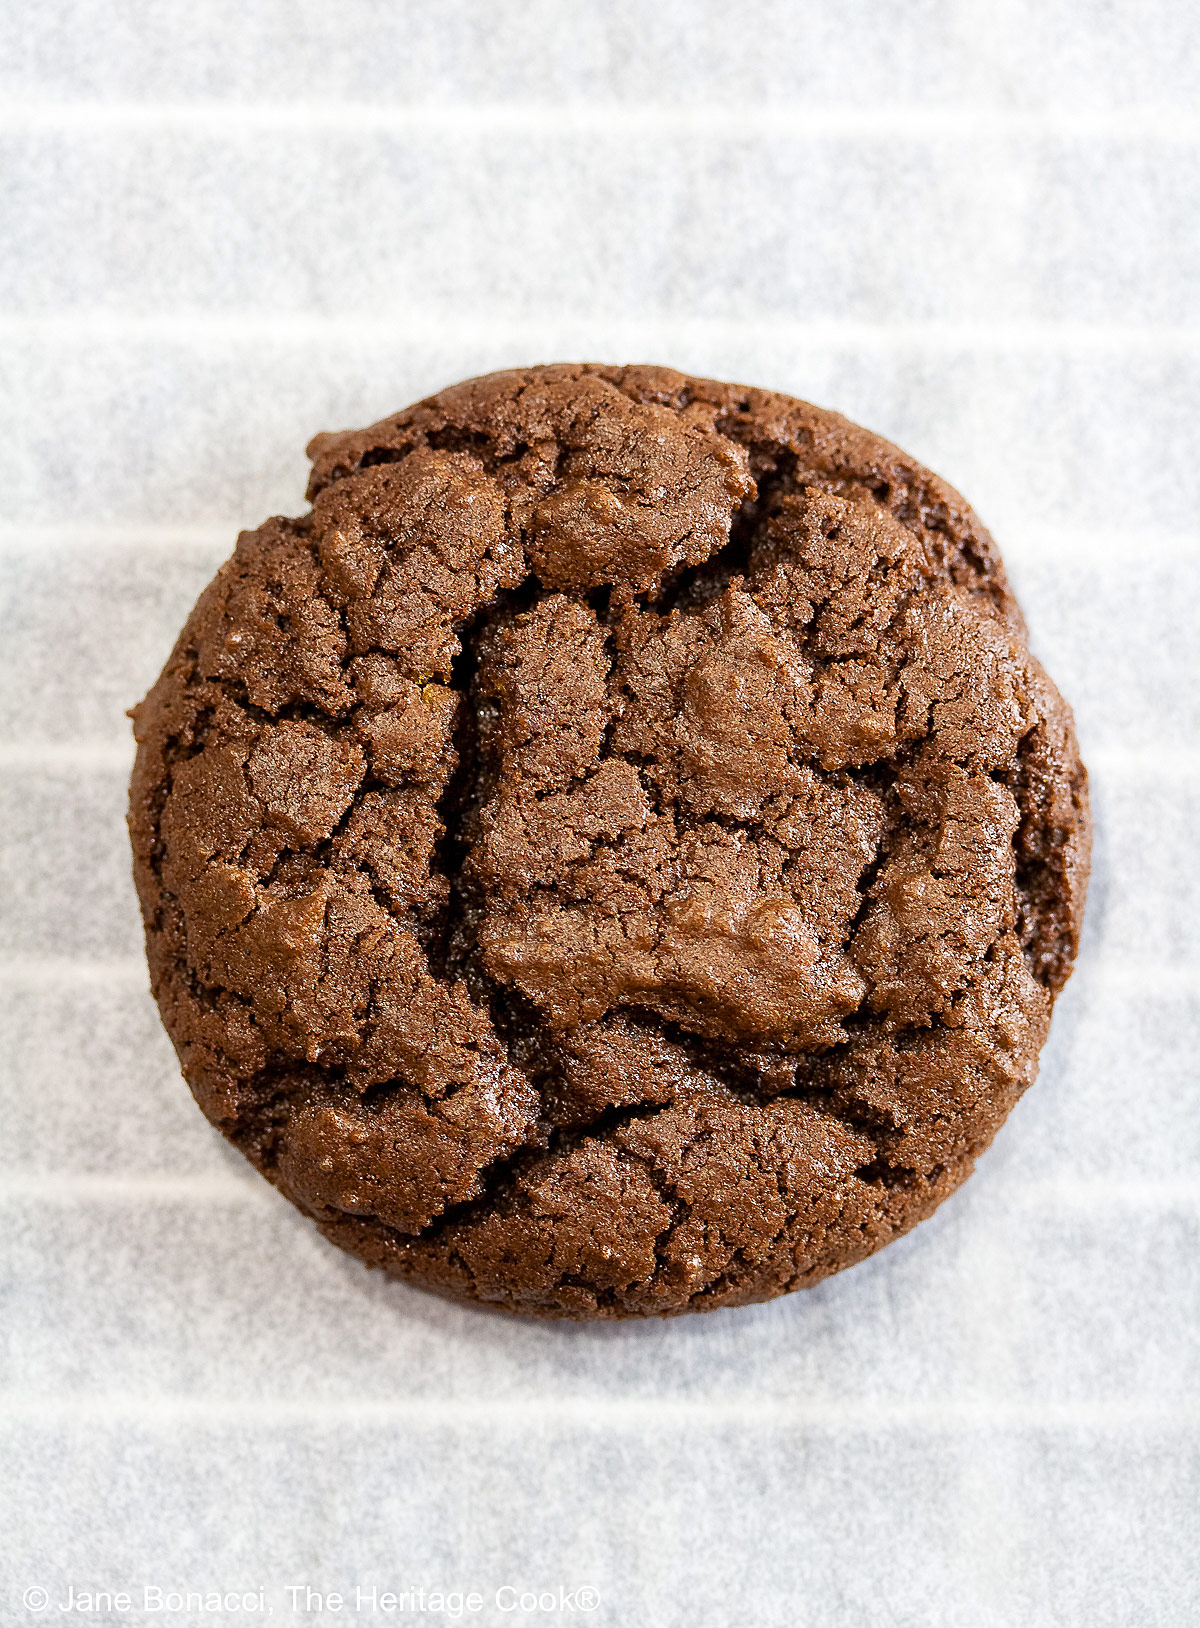
I like that we can control the sweetness in the filling. The cookies are not that sweet on their own, so I liked the ratio of sugar to peanut butter in the recipe. But if you have major sweet lovers in your family, you can increase the sugar and make everyone happy.
If you love the look and flavor of vanilla seeds in your desserts, instead of extract, use vanilla paste. Nielsen-Massey is my favorite and I love the intense flavor it gives my baked goods. Give it a try and see what you think.
The slight bitterness of the chocolate cookies balances the sweetness of the peanut butter filling. These are treats that would be lovely any time of the year, but with the coloring, I can’t wait to serve these for Halloween!
The recipe only makes about 24 cookies which make about 12 sandwich cookies. If you want to make larger individual cookies or have a higher yield of the regular-size ones, double the recipe.
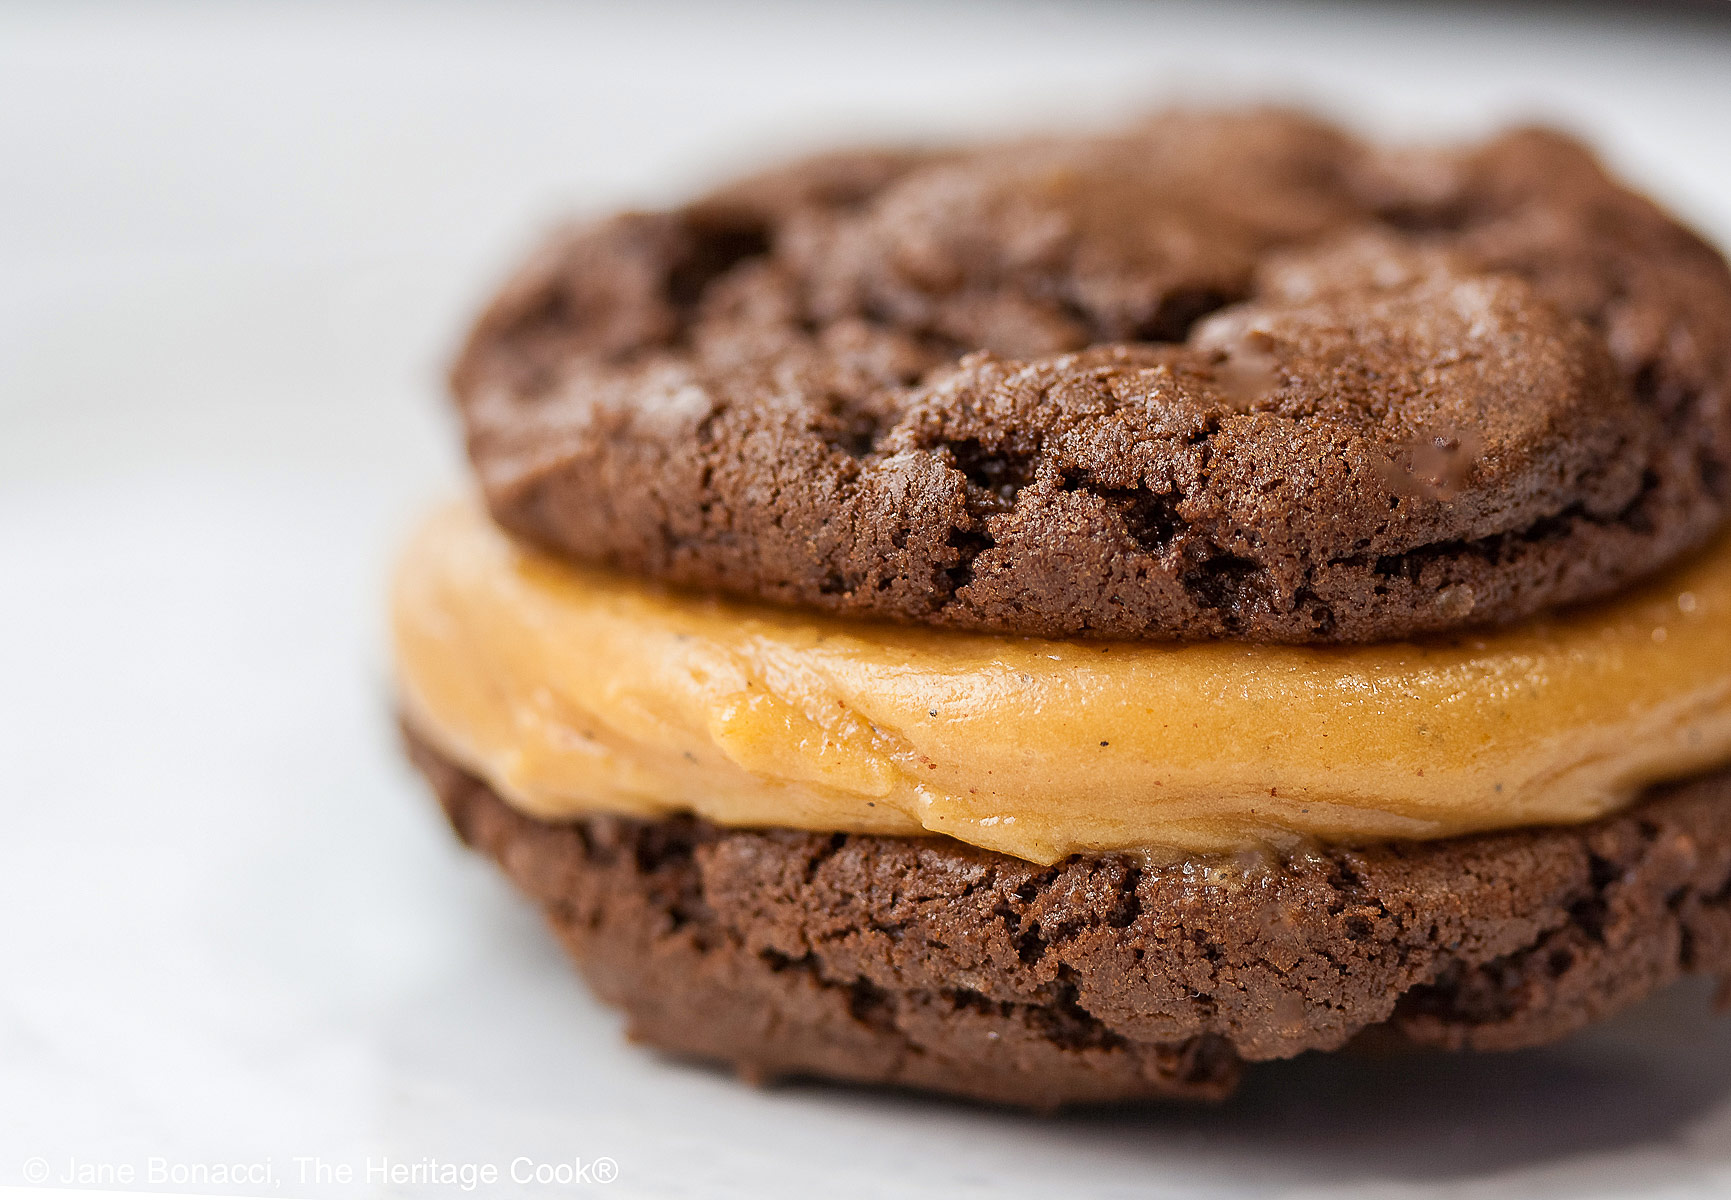
If you look very closely at the filling you can see tiny black specks. Those are the seeds from vanilla beans!
I found the recipe on a wonderful blog. Please pop over to Barefeet in the Kitchen and check out her recipes. There are over 1000 of them to choose from so I’ll bet you can find lots that are fun to make.
Mary’s version is also gluten-free, but I used my favorite blend in place of the combination of flours and starches she recommends. You can use whichever you prefer – check the original recipe for her suggestions. If you do not need to bake gluten-free, I have included the option to bake these with regular all-purpose flour. See the notes under the recipe.
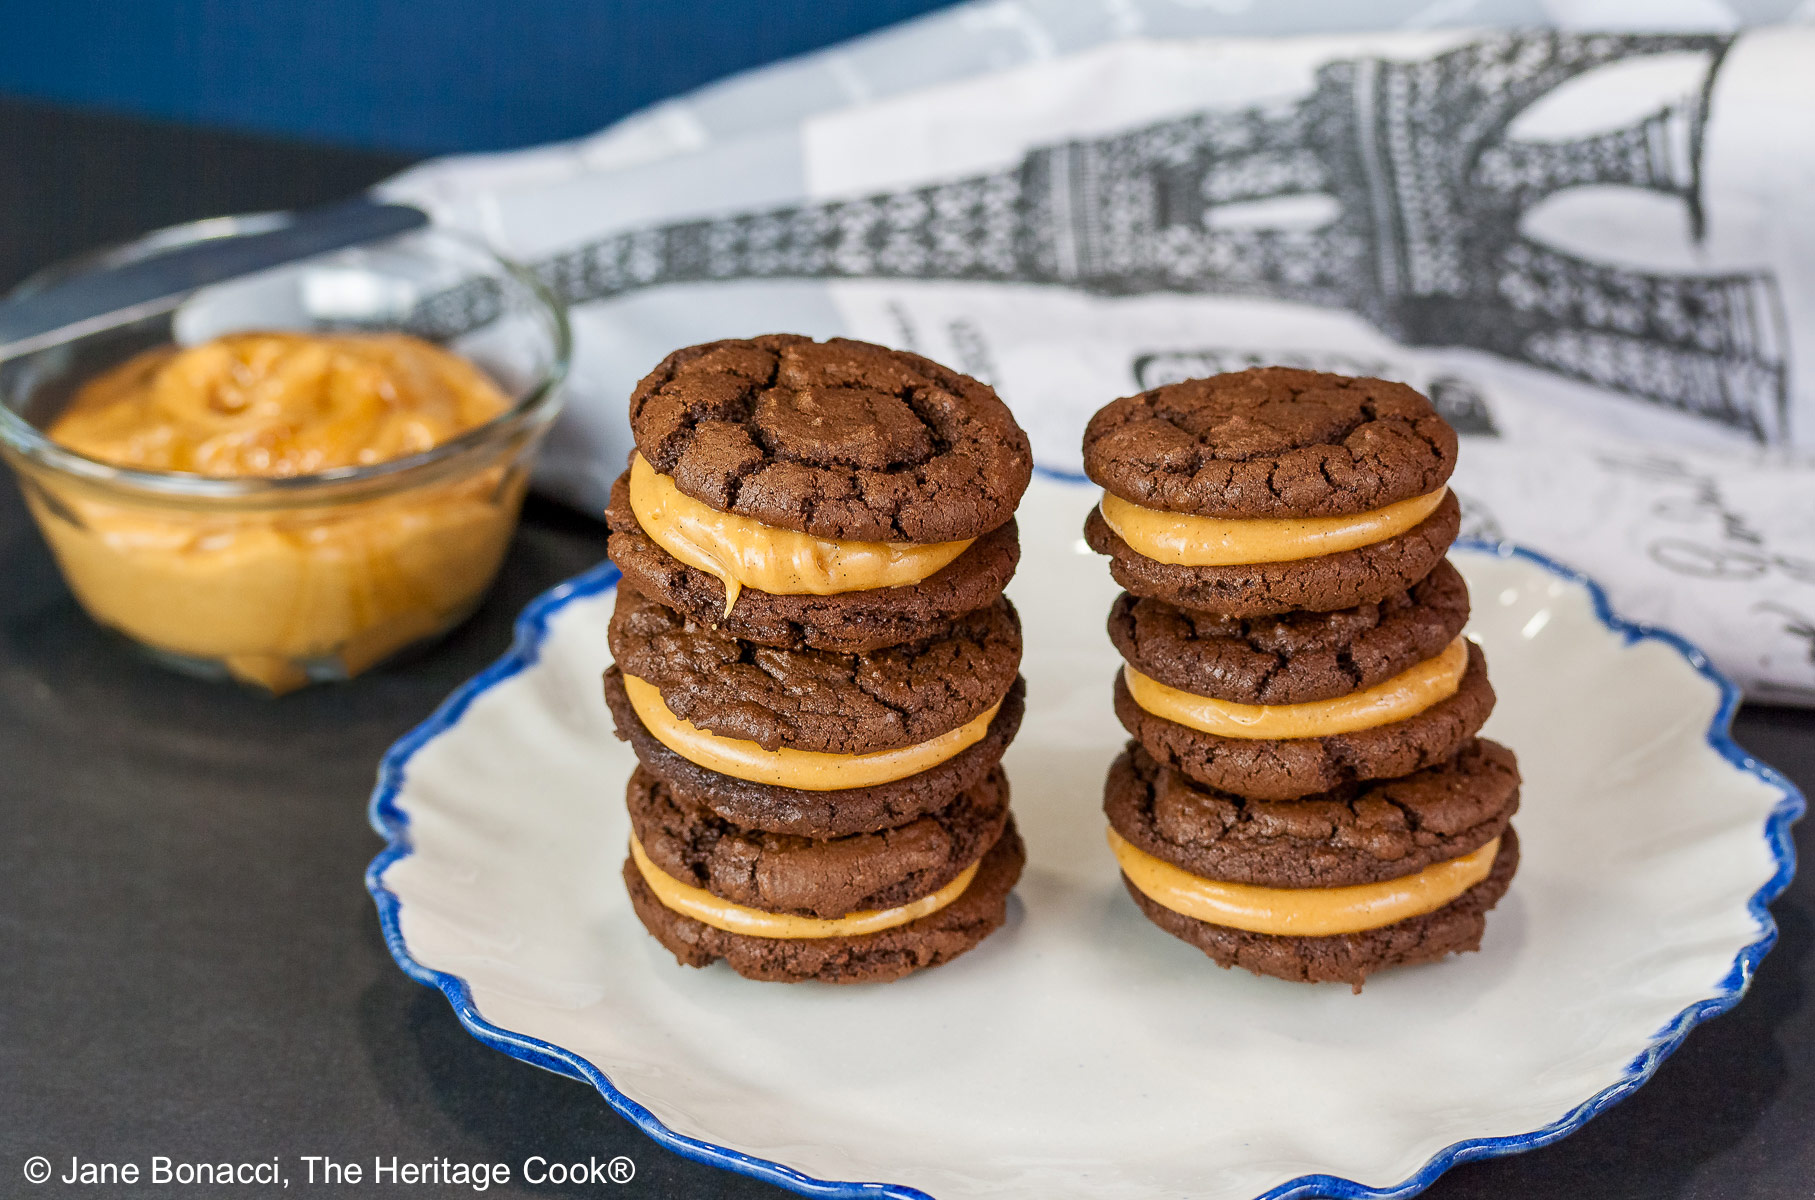
Enjoy these really easy to make and luscious Chocolate Peanut Butter Sandwich Cookies. I know they will bring a smile to everyone’s face!
Have a wonderful Chocolate Monday and I’ll see you back here on Friday for another delightful savory recipe. Have a terrific week!
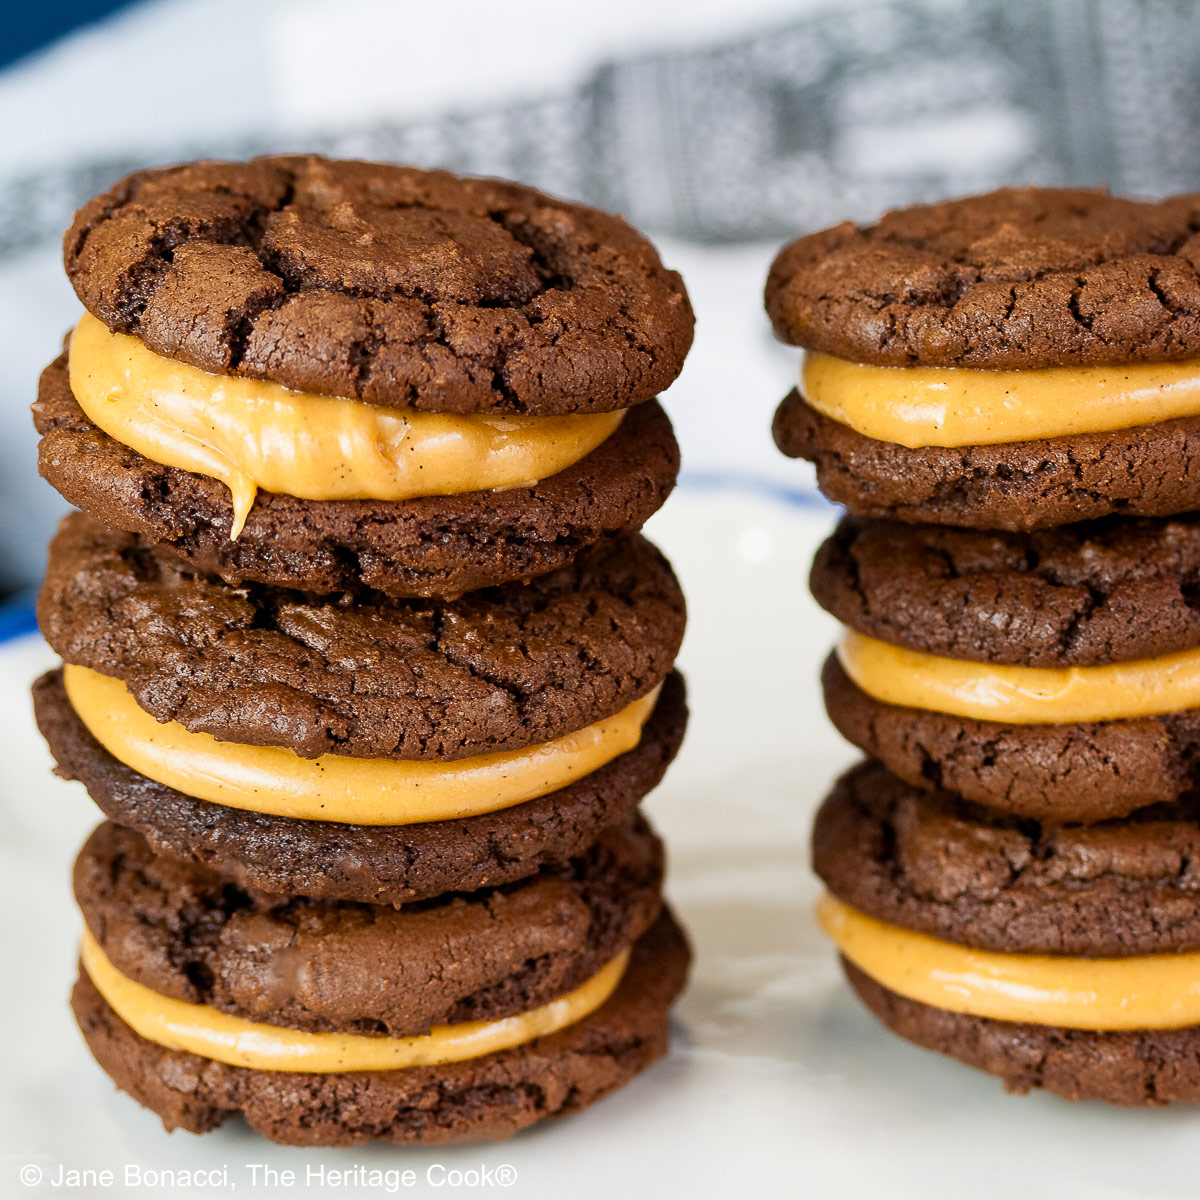
If you try this recipe, let me know! Please leave a star rating in the recipe card, comment below, and don’t forget to snap a pic and tag it @theheritagecook on Instagram! Seeing your creations makes my day and I love hearing from you!
Ingredients needed for Chocolate Peanut Butter Sandwich Cookies:
- Cookies: flour, xanthan gum (if needed), Dutch processed cocoa powder, salt, baking soda, butter, brown sugar, vanilla, egg
- Peanut Butter Filling: peanut butter, powdered sugar, vanilla, cream or milk
PRO Tip:
Use a cookie scoop (#60) for the easiest and most consistent size cookies. When you are laying the baked cookies out, try to match them as closely as possible in size so they will sandwich together more easily.
How to make Chocolate Peanut Butter Sandwich Cookies:
- Make the Cookie Dough: Whisk together the dry ingredients and set aside. Beat together the butter and sugars until smooth, then add the egg and vanilla, beating until satiny. Add the dry ingredients and beat until just combined and smooth.
- Cover dough with plastic wrap and chill 1 hour to help reduce spreading. Preheat the oven to 375°F (191°C).
- Form and Bake the Cookies: Use a #60 cookie scoop to make balls of dough. Place on parchment-lined baking sheets and bake until crisp on the edges about 8 minutes. Leave cookies on the baking sheet pan for at least 2 to 3 minutes before sliding the parchment with the cookies on it onto a wire rack to cool completely. Repeat with remaining dough.
- Make the Peanut Butter Filling: Combine the peanut butter and powdered sugar and beat about 2 minutes until combined. Add a little cream and the vanilla, beating until smooth. Taste and adjust sugar if needed.
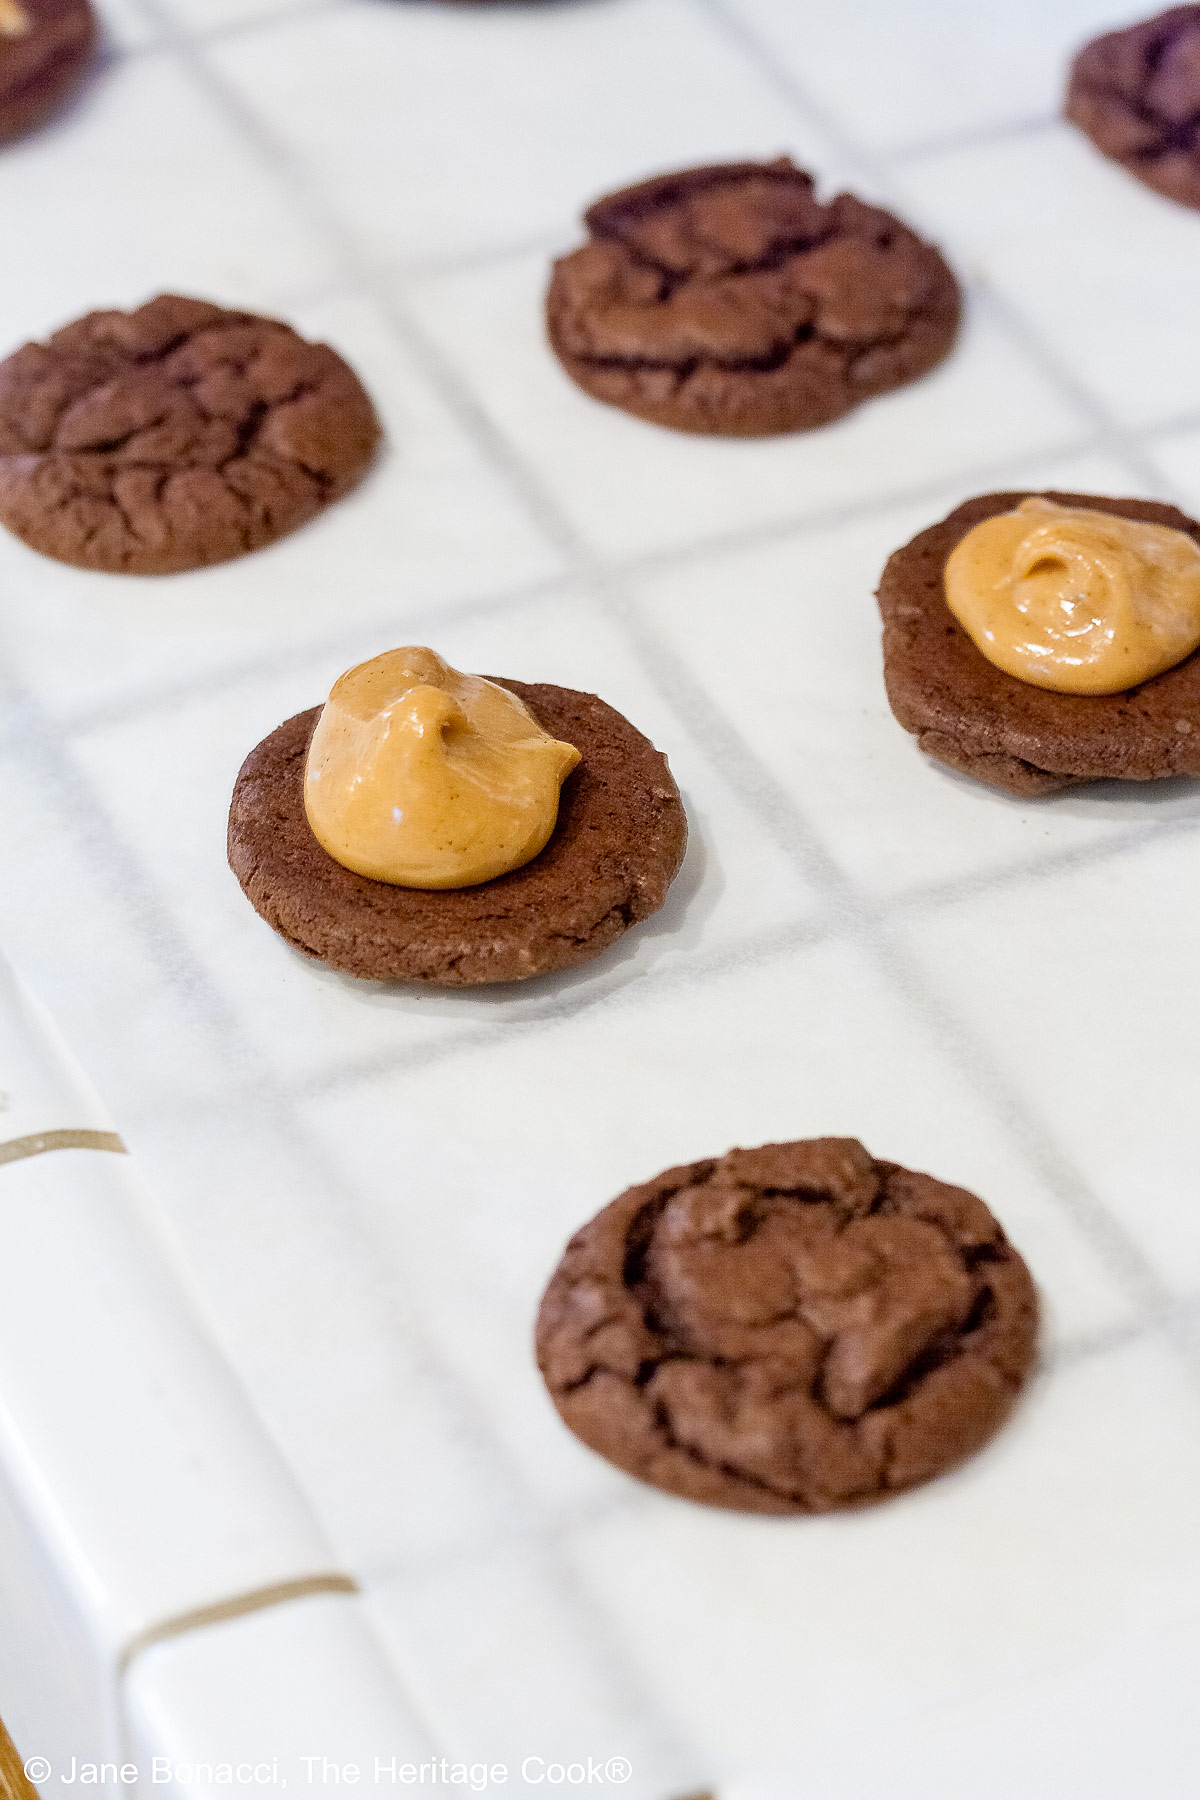
- Fill the Cookies: Turn half the cooled cookies flat side up and place a large dollop on the center of each. Top with a second cookie, flat side down and press gently to spread the filling out to the edges. Set the cookies aside for at least 30 minutes and up to overnight before serving. The cookies will soften enough to easily eat them without the filling squeezing out the edges.
- Store in an airtight container in the refrigerator.
PRO Tip:
If you love the look and flavor of vanilla seeds in your desserts, instead of extract, use vanilla paste. Nielsen-Massey is my favorite and I love the flavor it gives my baked goods. Give it a try and see what you think.
Recommended Tools (affiliate links; no extra cost to you):
- Kitchen scale
- Mixing bowls
- Stand mixer or hand mixer
- Cookie scoop (preferably #60)
- Baking sheet pans
- Parchment sheets or silicone baking mats
- Wire cooling rack
Gluten-Free Tips:
Most peanut butter is naturally gluten-free, but some manufacturers are more careful than others at guaranteeing safety. Some process other products on the same equipment that may contain contaminants. Always look for a GF certification on the label to be sure. Skippy and Peter Pan brands are generally gluten-free, though some special varieties may contain soy ingredients.
* You can adjust any baking recipe to gluten-free by using 120 grams per cup of my favorite gluten-free flour blend. If you are using another brand of flour or regular flour, whisk it, spoon it lightly into a measuring cup until mounded, level off the top with a knife, and weigh the flour left in the cup. Use that weight as your standard per cup of that specific flour. Do this for each flour blend you use. Commercial gluten-free blends such as Pamela’s All-Purpose Artisan Blend, Bob’s Red Mill 1-to-1, or King Arthur Measure for Measure are all good gluten-free choices.
** My preferred brand of kosher salt is from Diamond Crystal. If you use Morton’s, another kosher brand, or table salt, you will not need as much because they are saltier.
You will get the best and most consistent results by using a digital kitchen scale and weighing your ingredients, especially when you are baking. Use grams, they are much more accurate than pounds and ounces.
All recommended ingredients are gluten-free as of the writing of this article. Always check to be sure the products haven’t changed and are still safe to consume.
Chocolate Peanut Butter Sandwich Cookies (GF)

Note that the dough requires a 1 hour rest in the refrigerator before baking. And the cookies are best when they’ve rested after filling them to let the moisture soften the cookies a bit. Otherwise the filling will squeeze out the sides when you bite them. I like them best on the second day, so plan ahead if you are serving them for a party.
Ingredients
Cookies
- 1/2 cup (60g*) gluten-free flour blend * or regular all-purpose flour like Gold Medal (read note below)
- 1/4 tsp xanthan gum - only if your GF blend doesn’t already contain it, do not add to regular flour
- 1/3 cup (28g) unsweetened Dutch processed cocoa powder
- 1/4 tsp kosher salt **
- 1/2 tsp baking soda
- 1/4 cup (1/2 stick; 57g) butter, softened to room temperature
- 3/4 cup (160g) firmly packed brown sugar
- 1 tsp pure vanilla extract or vanilla paste
- 1 large egg
Peanut Butter Filling
- 1/3 cup (90g) creamy or chunky peanut butter, at room temperature
- 1/3 to 1/2 cup (38g to 57g) powdered sugar, to taste
- 1 tsp vanilla paste or pure vanilla extract
- About 1 to 3 tbsp heavy cream or milk, as needed
Instructions
1. Make the Cookie Dough: In a small bowl, whisk the flour, cocoa, salt, and baking soda together until blended and set aside.
2. In the bowl of your stand mixer or a large bowl if using a hand mixer, beat the butter and sugars together until smooth, about 2 to 3 minutes. The mixture will look slightly lumpy, but it should clear the sides of the bowl. Scrape the sides and bottom of the bowl. Add the egg and vanilla and beat until satiny. Add the dry ingredients and beat until just combined and smooth. Scrape the bowl thoroughly, mixing in any unincorporated ingredients. If you are using regular gluten flour, do not over beat the batter or your cookies will be tough.
3. Cover with plastic wrap and chill the dough 1 hour. If you don’t chill the dough, the cookies will spread more and be much thinner. Resting also helps the flours fully absorb the liquids, giving you a better tasting cookie.
4. Preheat the oven to 375°F (191°C). Line two baking sheets with parchment paper or Silpats.
5. Form the Cookies: Using a #60 cookie scoop (or similar size or two spoons), portion the dough into small balls about 1 tbsp each and place on the prepared baking sheets, leaving room between the cookies to allow for some spreading. Keep the remaining dough chilled until ready to bake the next batch.
6. Bake the Cookies: Baking one sheet at a time, bake the cookies for 8 minutes, only until they begin to crisp on the edges; they will still look a little moist in the center. Let the cookies cool on the baking sheet for at least 2 to 3 minutes before sliding the parchment with the cookies on it onto a wire rack to cool completely. This allows them to finish cooking in the center and firm up. Repeat with the remaining dough.
7. Make the Peanut Butter Filling: While the cookies are cooling, combine the peanut butter and 1/2 cup powdered sugar in the bowl of your stand mixer or a large bowl if using a hand mixer. Beat about 2 minutes until thoroughly combined. Add 2 tbsp of the cream and beat until smooth. Taste and add more sugar if desired. The filling should be creamy and smooth enough to spread easily. Add more cream if needed for a good a spreading consistency. If it gets too thin, add more powdered sugar.
8. Fill the Cookies: When the cookies are cool, turn half of them over so the flat side is up and place a large dollop of the filling on top. Place another cookie (flat side down) over the filling and press gently together to spread the filling to the edges. If you like, you can turn the top cookie a bit while pressing down for a slightly prettier presentation.
9. Set the cookies aside for at least 30 minutes and up to overnight before serving. They will become softer and absorb some of the moisture from the filling making them easier to eat nearly. Store the cookies in an airtight container in the refrigerator.
Recipe found at www.theheritagecook.com
Notes
* You can adjust any recipe to gluten-free by using 120 grams per cup of my favorite gluten-free flour blend. If you are using another brand of gluten-free flour, whisk the mix, spoon it lightly into a measuring cup without a spout until mounded, level off the top with the back of a knife, and weigh the flour left in the cup. Use that weight as your standard per cup of that specific flour. Do this for each flour blend you use. Commercial blends such as Pamela's, Bob's Red Mill 1-to-1, or King Arthur Measure for Measure are all good gluten-free choices.
** My preferred brand of kosher salt is from Diamond Crystal. If you use Morton’s, another kosher brand, or table salt, you will not need as much because they are saltier.
You will get the best and most consistent results by using a digital kitchen scale and weighing your ingredients, especially when you are baking. Use grams, they are much more accurate than pounds and ounces.
All recommended ingredients are gluten-free as of the writing of this article. Always check to be sure the products haven’t changed and are still safe to consume.
Slightly modified recipe based on a recipe from Barefeet in the Kitchen
Nutrition Information:
Yield:
24Serving Size:
1Amount Per Serving: Calories: 114Total Fat: 4gSaturated Fat: 2gUnsaturated Fat: 3gCholesterol: 13mgSodium: 94mgCarbohydrates: 16gFiber: 1gSugar: 10gProtein: 2g
The nutritional information for recipes on this site is calculated by online tools and is merely an estimate. If you need nutritional calculations for medical reasons, please use a source that you trust.
If you enjoyed this recipe, be sure to follow me on social media so you never miss a post:
Create a New Tradition Today!
Welcome! The suggestions here are not intended as dietary advice or as a substitute for consulting a dietician, physician, or other medical professional. Please see the Disclaimers/Privacy Policy page for additional details. Unauthorized use, distribution, and/or duplication of proprietary material from The Heritage Cook without prior approval is prohibited. If you have any questions or would like permission, please contact me. We participate in the Amazon Services LLC Associates Program, an affiliate advertising program designed to provide a means for sites to earn advertising fees by advertising and linking to amazon.com. As an Amazon Associate, I earn a small amount from qualifying purchases without any additional cost to you. This page may contain affiliate links. The author makes no claims regarding the presence of food allergens and disclaims all liability in connection with the use of this site. This post was first shared in April 2015. The article was updated in 2026.


Janet
I can’t wait to make these. Love all your tips, too. Chocolate and peanut butter. .. What’s not to love?
Jane Bonacci
Thanks Janet! I’m glad you like the tips and I hope they make it easier for you to get beautiful results every time. I love these cookies and I hope you and your family will too!