This month for the Secret Recipe ClubI was lucky to be assigned Feeding Andy written by the adorable Peggy. When Peggy started blogging she and Andy were engaged and her blog was called My Fiance Likes It So It Must Be Good! After a beautiful wedding earlier this year (congratulations and best wishes Peggy and Andy!!), she changed the name of her blog and began her life as Mrs. Andy 😉
Peggy is currently pursuing a Culinary Arts degree in Louisville, Kentucky and will be realizing her dream of being a chef in the near future. In the meantime, we get the benefit of her training and creativity with all the recipes she shares on the blog, and delightful glimpses of her fun and crazy life.
In addition to her skills in the kitchen, Peggy is an accomplished photographer and could certainly make a career of it if she ever decides that being a chef is not her cup of tea. Make sure you check out her photo gallery on FoodGawker – it is astoundingly beautiful!
Right now she has an amazing recipe on her page that she just posted on Friday for Steak Roulade with Caramelized Onions, Bacon and Cheese that has me drooling all over my computer! You better believe that it will be making an appearance on my dinner table soon. You can definitely tell she has professional training, but none of her recipes are overly complicated or confusing. She has a delightful way of explaining steps so that everyone can accomplish the same results.
When I started cruising through all of her recipes, I must have bookmarked at least a couple dozen before I settled on today’s treat. I have made chocolate covered peppermints before, but it has been a long time and I was thrilled with the excuse to make them again. And as soon as The Artist learned what I was making, he quickly volunteered to go to the grocery store to get me the ingredients I needed. As a matter of fact, he was so excited that he offered several times – he wanted to be sure I was able to make these, one of his favorite desserts!
I thought I would get creative and try something different with this version and replaced the vegetable shortening with the thick “cream” at the top of a can of coconut milk. I had the coconut milk in my pantry and didn’t have any shortening on hand. The “cream” has more liquid in it that shortening does so I had to nearly double the amount of sugar I used in order to get the dough to be firm enough to work with and to keep it from sticking.
You can do the same, but beware that it will produce a very sticky dough that is difficult to deal with. I would strongly recommend you use a Silpat for the bottom and parchment for the top when rolling it out. And use copious amounts of powdered sugar, like you would with homemade marshmallows, so you can get the pieces cut out smoothly. My mini offset spatula was a big help in moving these candies around as I worked with them!
Also, I kept them in the freezer much longer than the recipe called for so they would be firm enough to dip in the chocolate coating. If you make them as directed in the recipe, this will not take as long. By the way, instead of putting the parchment (or in my case a Silpat) in the baking sheet, I used the backside of the sheet so it would be easier to slide the sheets on and off. Sometimes using a tool in a slightly different way can be even more effective and give you a secondary function. I love that!
Tempering the chocolate (melting, cooling, and reheating) may seem like a pain in the behind, but it will give you a glossy coating with a wonderful snap when you bite into the candy just like a professionally made piece. Use a candy thermometer or a Thermapen to monitor the temperature. I keep a kitchen towel on the counter next to the stove and move the bowl with the chocolate back and forth from the heat as needed to keep it warm and fluid to easily coat the candies.
When it is time to dip them, there are two tools that will make the job much easier. The first is a chocolate dipping fork. It isn’t necessary and you can use a regular table fork, but these are designed specifically for dipping candies and work beautifully. There are several different shapes of dipping tools that will come in very handy if you are thinking of making truffles or other dipped candies for the holiday season. The second tool is a small offset spatula. Sometimes called a frosting spatula, this little workhorse is one I use all the time for a wide variety of tasks.
If you are hosting a holiday party, want something different for your dessert buffet, or just really love the combination of peppermint and chocolate like The Artist and I do, you need to add these babies to your repertoire. Thanks Peggy for a wonderful recipe and a great excuse to make one of The Artist’s favorites!
Happy Chocolate Monday everyone. Have a fabulous week!!
Jane’s Tips and Hints:
If you are making these for holiday gifts or parties, you can double the recipe. Once they are coated and the chocolate has hardened, you can store them in an airtight tin, with layers separated by sheets of waxed paper. Keep them refrigerated and bring out about 30 minutes before serving.
Gluten-Free Tips:
These candies are naturally gluten-free. Make sure the chocolate you use is not made in a facility that also manufactures gluten-containing products.

- Peppermint Filling
- 2-1/4 cups confectioner’s sugar plus 1/4 cup for kneading and rolling
- 1-1/2 tbsp light corn syrup
- 1-1/2 tbsp water
- 1/2 tsp pure peppermint extract
- 1 tbsp shortening
- Pinch salt
- Chocolate Coating
- 10 oz semisweet or bittersweet chocolate, coarsely chopped
- Beat 2-1/4 cups of the confectioner’s sugar with corn syrup, water, peppermint extract, shortening, and a pinch of salt using an electric mixer (with paddle attachment if using a stand mixer) at medium speed until just combined.
- Transfer to a working surface dusted with remaining 1/4 cup of confectioner’s sugar and knead until smooth. Use more confectioner’s sugar if needed to keep it from sticking.
- Place dough on a sheet of parchment paper or a Silpat and top with a second sheet (this protects your rolling pin from absorbing the peppermint extract). Roll out between sheets of parchment paper into a 7 to 8-inch round (about 1/4 inch thick). Slide the parchment paper onto the bottom of a baking sheet and freeze until firm, about 15 minutes.
- Remove top sheet of paper and sprinkle round with confectioner’s sugar. Replace top sheet of parchment, then flip round over and repeat sprinkling with more sugar on other side.
- Cut out as many rounds as possible with cutter, transferring to a parchment-lined baking sheet. Freeze until firm, at least 10 minutes. Meanwhile, gather scraps, reroll, and freeze, then cut out more rounds, freezing them. (Note: I didn't use a rolling pin; my dough was soft enough to just pat out with my hands.)
- Make Chocolate Coating: Melt 3/4 of the chocolate in a metal bowl set over a saucepan of barely simmering water. When the chocolate is completely melted, remove the bowl from pan and add remaining chocolate, stirring until smooth. Cool until thermometer inserted at least 1/2 inch into chocolate registers 80°F.
- Return water in pan to a boil and remove from heat. Set bowl with cooled chocolate over pan and reheat, stirring, until thermometer registers 88 to 91°F. Remove bowl from pan. (This is tempering the chocolate, giving it a beautiful shine and nice snap when you bite into it.)
- Balance 1 peppermint round on a fork and submerge in melted chocolate, make sure it is completely coated. Flip it over if needed to get a thick coating of chocolate. Lift out of the bowl, letting the excess drip off and scraping the back of the fork against the rim of the bowl if necessary, then return patty to the parchment sheet or Silpat.
- Coat remaining rounds, rewarming chocolate to 88 to 91°F as needed. Let patties stand until chocolate is set, about 1 hour. You can help speed up this process by setting them into the refrigerator if you like. You can store them in an airtight container with the layers separated by sheets of waxed paper. Keep chilled in the refrigerator and set on the counter for 30 minutes before serving to warm up slightly.
- Yield: Makes about 2 dozen 2-inch candies
The intention of the content on this site is for your inspiration and enjoyment. It is not a substitute for advice given by a licensed health-care professional. You are responsible for medically confirming any dietary restrictions and ingredient safety with product manufacturers before consuming or using any product. If you have dietary restrictions, always read the labels before including any ingredient in your cooking.
As an affiliate member, if you click on links in my posts and purchase a product, I may receive a small percentage of the sale. Any commissions received will be used to offset a portion of the costs of running The Heritage Cook. If I have received products for review or had travel expenses covered, I will disclose that in the content of each article where applicable.
Thank You!



Kirstin
Oh wow…this sounds so yummy!
Peggy
You definitely picked a great one, Jane! I always make a few batches of these during the holidays and pass them out in gift baskets – they’re always a hit!
Shelby
Peppermint Patties have always been my favorite candy. I have made them once but they weren’t as good as what one of my friends make so I leave the making to her and the eating to me 🙂
Jess
Jane – these are my all time favorite sweet treat, but I never thought of making them myself. Thank you for the great instructions – this might be the motivation I need to give it a try!
Amy | Amy's Cooking Adventures
Yummy! These are one of my bucket list recipes! Great info on tempering, as well – I’ve never tempered chocolate and it’s high time I tried!
Lisa~~
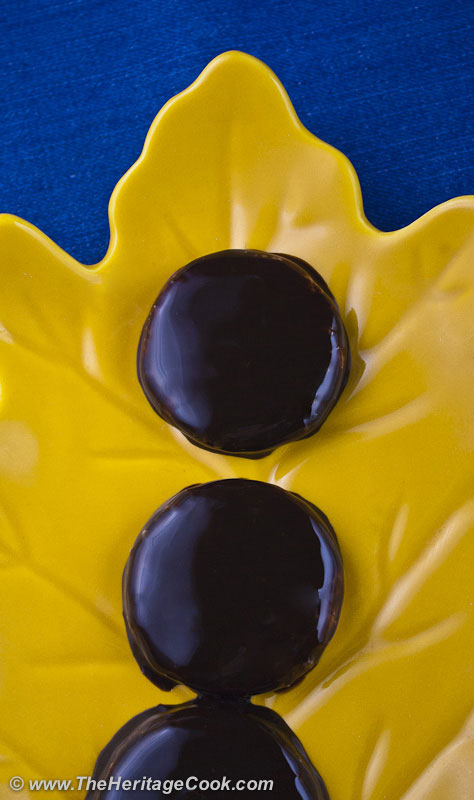
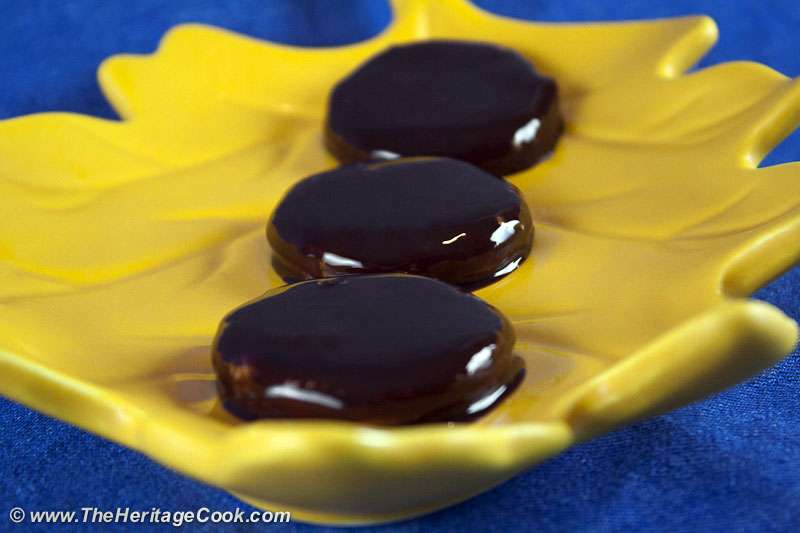
Your peppermint patties look amazing, the shiny chocolate has me drooling.
If you haven’t already, I’d love for you to check out my SRC entry: Thai Peanut Noodles with Chicken.
Lisa~~
cookingrookie
Peppermint patties are one of these things that seem unimaginably difficult to make at home. You make the recipe sound so easy. And they look just perfect! What a wonderful recipe!
p.s. this morning my link was magically added to the bloghop all by itself… I think it might have been you :-). Thank you, Jane, for all the work you are doing for our group! I really appreciate it!
Lesa @Edesia's Notebook
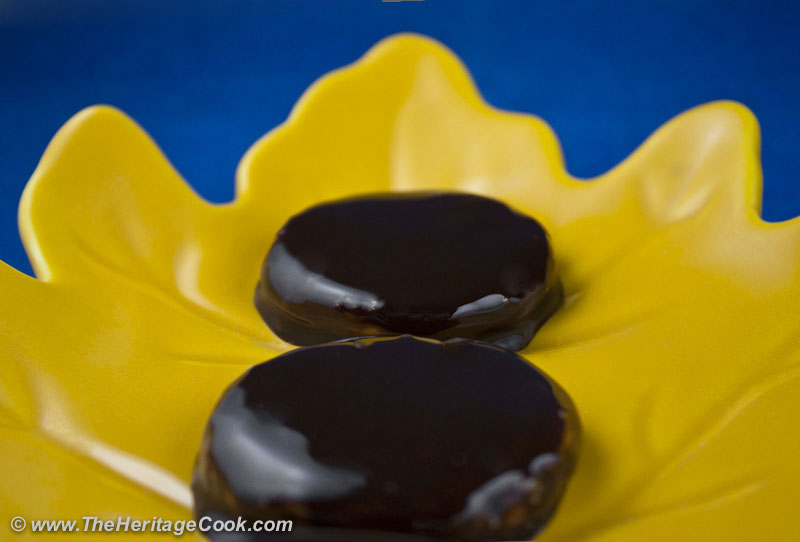
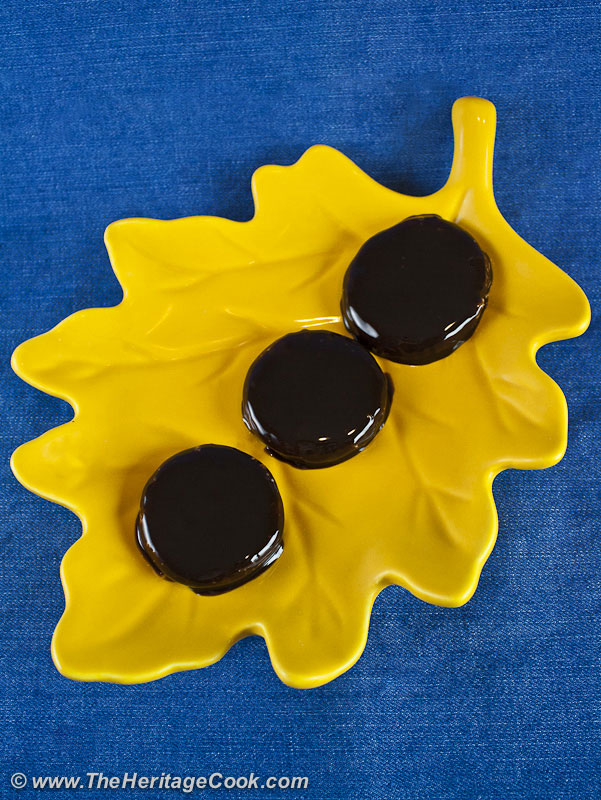
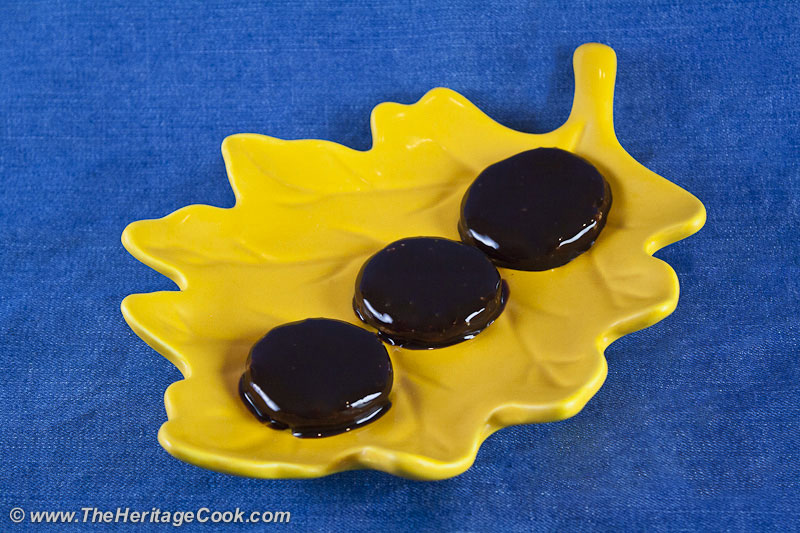
These look divine! And I love your leaf plate. Adorable! You always have me craving chocolate during these reveals.
Delishhh
These just look AMAZING!!!
Jane Bonacci, The Heritage Cook
Thanks Ewa!!! 🙂
Ginny
I have goosebumps. I love Peppermint Patties, and now I realize that I can MAKE THEM MYSELF. Oh, joy!
I had your blog this go-round, Jane. It was SO VERY DIFFICULT to choose only one recipe to prepare, due in great part to your Chocolate Mondays. UMPH. I love chocolate. 🙂
Thanks for the lovely little tips on this recipe. And I’m heading over to check out “Mrs. Andy’s” blog!
Warmly,
Ginny
Jane Bonacci, The Heritage Cook
Ginny – go for it. They are SO good!! Glad you enjoy our Chocolate Mondays – there seems to be an unending supply of amazing recipes to make and share with you. I can’t believe you didn’t slip in our emails and tell me you had my blog this month, you are sneaky, LOL!! 😉
melissa@IWasBornToCook
I want one NOW!
Jane Bonacci, The Heritage Cook
It’s a good thing I have a ton of them just for you guys Melissa!! 🙂