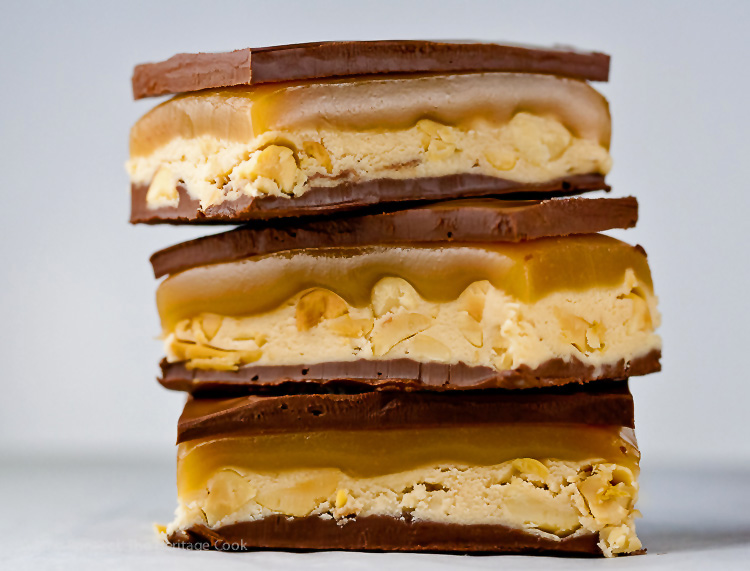
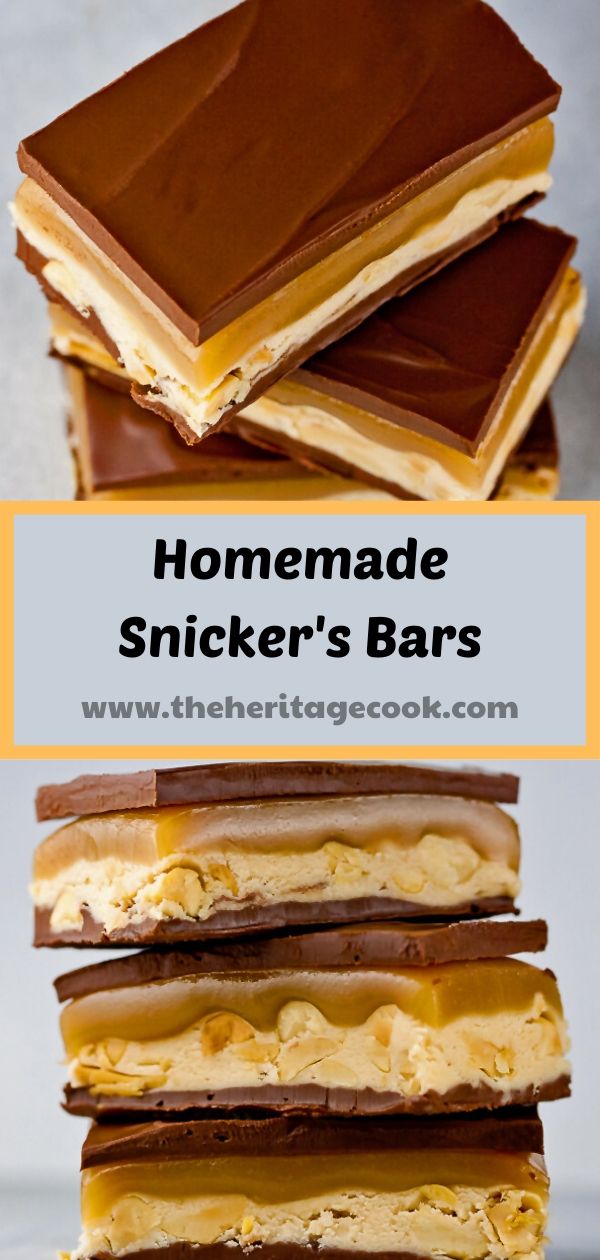
Today I am sharing a homemade version of one of my favorite sweet candies, Snicker’s bars, which along with hopscotch and sonic booms, made up my childhood! The candy does take some patience, but each layer is pretty simple to make – it’s just the assembly that takes time. Believe me, one bite and you will know it was all worth it!
Lately I’ve been reminiscing about the happier and innocent times of my childhood. A time when we were united in support and pride in our nationality. When I was a child, we had an international enemy looming that shaped my generation.
After the end of World War II and Korea, while Americans were putting their lives back together and returning to a normal albeit irrevocably changed world, a new challenge emerged. We entered the era of the Cold War.
It was a very confusing time to be a child. Why were we supposed to hate people we had never met? What was Communism and why were people who followed it the enemy? We lived in a constant state of fear that we would be bombed at any minute. There were weekly practice sessions of crawling under our desks and protecting ourselves from nuclear bombs. In hindsight it was ridiculous, but oh so serious at the time.
When we weren’t learning math, memorizing dates in history, or practicing Spanish phrases, we were outside releasing our endless energy during recess. My favorite game was hopscotch. My friend Lynette and I would play it every day, game after game, perfecting our skill at throwing and hopping. No one was better than us!
While we were outside enjoying the fresh air, it was common to hear sonic booms. At first they scared us, but soon they became commonplace, just another stitch in the quilt of our childhoods. They punctuated our games of hopscotch like applause for a good throw or successful difficult jump.
A sonic boom occurs when a plane breaks the sound barrier and it can be heard for hundreds of miles. It is unnerving if you’ve never heard one. There were many military aeronautic experiments happening over the salt flats in Nevada and California and every time one of the planes broke the sound barrier, there was a huge bang that echoed across the skies.
Eventually they became ordinary for us so that we barely noticed them. And then one day I realized that I hadn’t heard one for a long time. It took many more years before the Cold War ended, but I always think of that day and my awareness as a turning point.
Oh how I wish we adults could still have recess – don’t you think we would all do better if we did. Though nowadays there aren’t sonic booms to remind us of impending doom, danger is still present as we are reminded every day when we watch news programs. I want to ignore it like I did as a child and return to that sweet innocence. If only it were that simple. But maybe making and sharing some childhood favorite sweets will remind us of those wonderful carefree days and ease a little of stress.
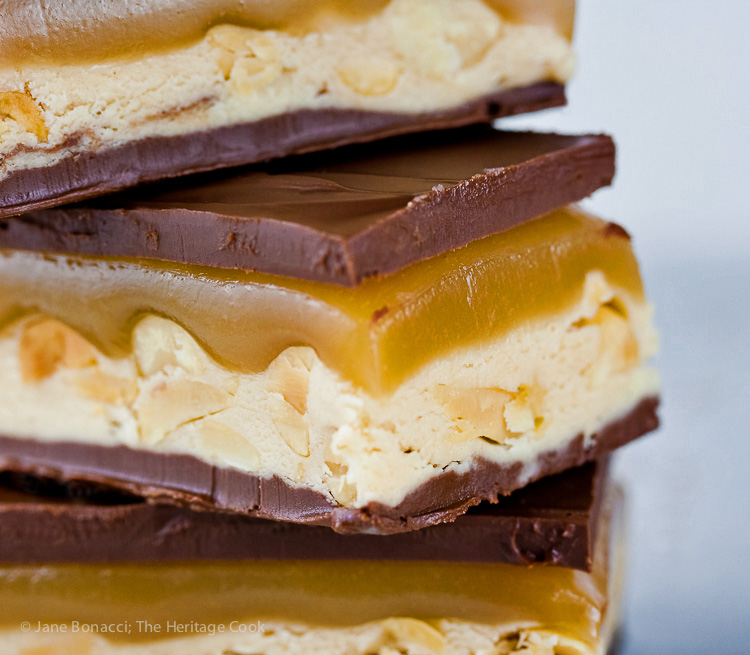
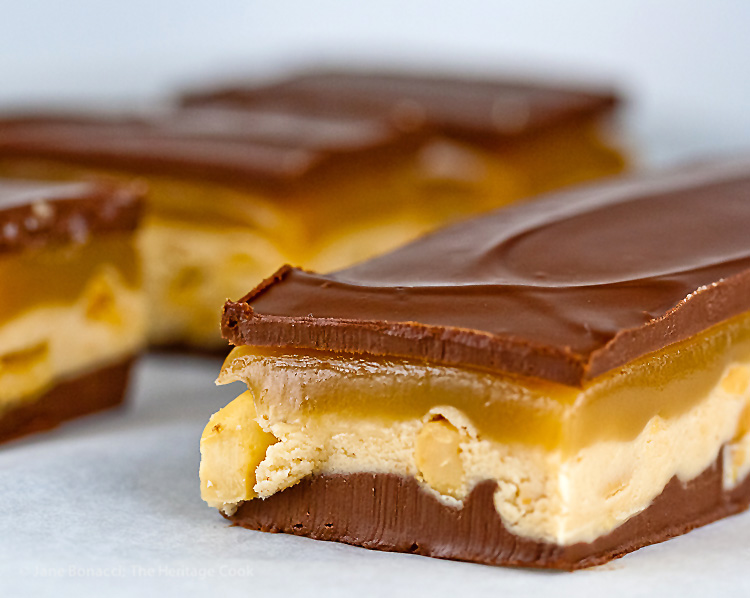
Is there anyone who doesn’t love Snicker’s bars? I mean, really, what’s not to love. Vanilla flavored nougat studded with salty peanuts, covered with a layer of caramel and coated with chocolate. And when I was young, it wasn’t Halloween without mini Snickers in our treat bags.
Using the skills I learned cooking beside my grandmother, I made my own caramel, but not everyone is as comfortable with candy making as I am. If the thought of making caramel scares you silly, you can use store-bought caramels (the kind that come individually wrapped) and melt a 14 oz bag of them (unwrap first!) in a saucepan with 1/4 cup heavy whipping cream. Voila! The next best thing to homemade caramel sauce!
If you love Snicker’s bars, you are going to swoon when you taste this homemade version. Run to the kitchen and make these. You don’t need an excuse or reason, just go do it! Even The Artist, who doesn’t really care for Snicker’s bars, told me that mine were good enough to sell. Oh, my heavens, that is one heck of a compliment!
I hope you enjoy these and they will put a smile on your face as you recall your own favorite childhood memories. Have a wonderful and peaceful week my friends.
How to make Homemade Snicker’s Bars:
- Melt chocolate and peanut butter together and spread over the bottom of the pan.
- For the nougat, melt the butter and stir in the sugar and milk. Cook for 5 minutes then stir in the marshmallow fluff, peanut butter, and vanilla; fold in peanuts and spread over the cooled chocolate layer in pan.
- For the caramel, cook the sugar, brown sugar, butter, milk, cream, and corn syrup to the firm ball stage on a candy thermometer. Carefully stir in the vanilla. Pour over the cooled nougat and spread into the corners.
- Melt remaining chocolate and peanut butter together and spread over the cooled caramel. Cool thoroughly to firm up.
- Remove the candy from the pan and cut into strips, then into rectangles or squares. Serve chilled or at room temperature.
What if my child can’t have peanuts?
Feel free to substitute another type of nut in the place of the peanuts and use an alternative nut butter if needed. The flavor will not be quite the same, but still utterly delightful and a treat for your entire family.
PRO Tip:
If you don’t want to use a disposable aluminum pan to make your bars, you can use a regular 9×13-inch baking pan that is lined with foil or parchment that is long enough to drape over the ends and is well buttered. You can use the extra lengths as handles to remove the candy from the pan.
What kind of chocolate is best for Snicker’s bars?
That is up to you! If you love milk chocolate, use milk chocolate chips. If you are a dark chocolate fan, use semisweet or bittersweet chips. If you want something in between, use a combination of milk with semisweet chips. You can customize these to suit your individual tastes!
I don’t usually use corn syrup, is it necessary?
I typically avoid using it except when I am making candy. There is nothing that works better to help avoid re-crystallization of sugar when making caramel. Candy is tricky enough on its own and I like every advantage I can get!
How do I make the Snicker’s bars look professionally made?
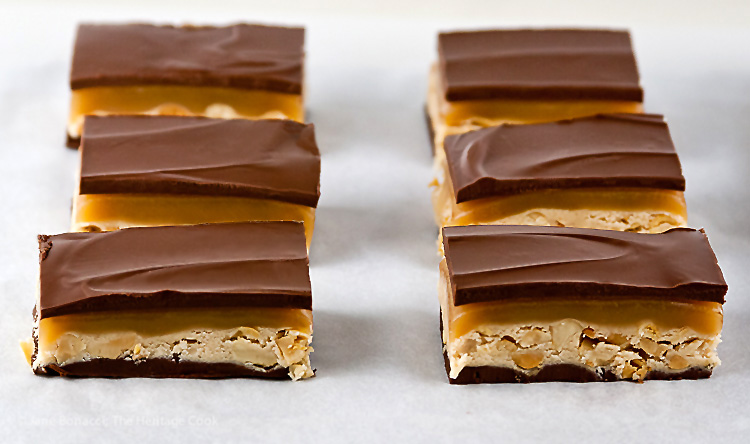
Once you pop the Snicker’s bars out of the pan, take a very long, very sharp knife and cut a slice off each edge. This gives you a clean, sharp edge to work with and every piece will look more professional.
Key Ingredients for this Recipe
- Chocolate chips
- Creamy peanut butter (or alternate variety if needed)
- Butter, sugar, evaporated milk, marshmallow fluff, and vanilla
- Salted peanuts (or other nut if needed)
- Brown sugar
- Whipping cream and light corn syrup
Kitchen Tools I Use to Make This Recipe (affiliate links)
- 9×13-inch baking pan
- Medium saucepan
- Heatproof bowl (glass works well)
- Off-set spatula
- 4-quart saucepan
- Candy thermometer
- Heatproof spatula
Other Candy Recipes You May Enjoy:
- Brigadeiros Chocolate Candies
- World’s Easiest Homemade Fudge
- 14 of the Best Chocolate Candies and Small Bites
- Homemade English Toffee
- Cocoa Meringue Kisses
Gluten-Free Tips:
These are naturally gluten-free, but always check the labels of every ingredient if you have Celiac or are cooking for someone with severe reactions to wheat and gluten.
Homemade Snicker's Bars (Gluten-Free)
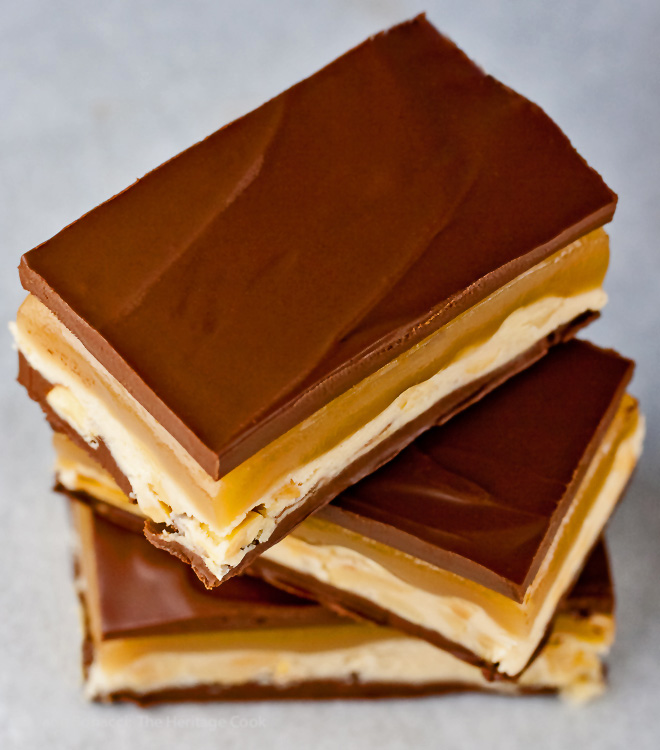
These candy bars do take some patience, but each layer is pretty simple to make – it's just the assembly that takes time. But believe me, one bite and you will know it was all worth it!
Ingredients
Layer 1 - Bottom Chocolate Layer
- 1-1/2 cups chocolate chips (milk or semisweet, or a combination)
- 1/4 cup creamy peanut butter (or other variety if you are allergic)
Layer 2 - Nougat Layer
- 1/4 cup (4 tbsp) butter
- 1 cup granulated sugar
- 1/4 cup evaporated milk
- 1-1/2 cups (one 7oz jar) marshmallow fluff or crème
- 1/4 cup creamy peanut butter (or other variety if you are allergic)
- 1 tsp pure vanilla extract
- 1-1/2 cups salted peanuts, roughly chopped, such as Planter’s Cocktail Peanuts (or other nut if you are allergic)
Layer 3 - Homemade Caramel Layer
- 1 cup granulated sugar
- 1/2 cup firmly packed brown sugar
- 1/2 cup (1 stick) butter
- 1/2 cup heavy whipping cream
- 1/2 cup light corn syrup
- 1/2 tsp pure vanilla extract
Layer 4 - Top Chocolate Layer
- 1-1/2 cups chocolate chips (milk or semisweet, or a combination)
- 1/4 cup creamy peanut butter (or other variety if you are allergic)
Instructions
- Using room temperature butter, line with parchment and thoroughly butter a 9x13x2-inch pan. For the easiest removal, use a disposable aluminum baking pan that you can twist to pop the bars out of, making extra sure that all the nooks and crannies are well buttered.
- Make Layer 1, Bottom ChocolateLayer: In a saucepan over low heat or a heatproof bowl in the microwave, melt the chocolate and peanut butter together, stirring until smooth. If you are using the microwave, heat in 2 (30-second) bursts. Remove from the oven and stir until all the chips have melted. There is plenty of residual heat in the bowl.
- Pour into the prepared pan and spread to cover the bottom evenly. It may not seem as though you have enough, but there is plenty for a nice layer. Set aside to cool and harden completely. Set the bowl you used aside to be used again for the final top chocolate layer.
- Make Layer 2, the Nougat Layer: Melt the butter in a saucepan over medium heat. Add the sugar and milk; stir until dissolved and then bring to a boil. Cook for 5 minutes, stirring occasionally. Stir in the marshmallow fluff, peanut butter and vanilla; continue stirring until smooth. Remove from the heat and fold in the peanuts. Pour over the bottom chocolate layer. Let cool completely.
- Make Layer 3, the Caramel Layer: Do not start this layer until the nougat is quite firm. You will not have any leeway when this is done and ready to pour into your pan.
- In a heavy 4-qt saucepan, combine the sugar, brown sugar, butter, milk, whipping cream, and corn syrup. Cook over medium heat, stirring occasionally, until the butter is melted and the mixture comes to a boil. Try to stir carefully so that you don’t get any excess liquid on the sides of the pan.
- Attach a candy thermometer to the saucepan and continue cooking, without stirring, until the thermometer reaches the firm ball stage (about 248°F). The temperature will rise quickly at first and then take a long time to come to the final temperature, about 15 to 20 minutes total. Remove from the heat and standing back from the stove, carefully pour in the vanilla - be prepared that it will sputter and splash. Stir it in with a long-handled heatproof spatula.
- Pour the caramel over the nougat layer, smoothing until evenly distributed. Let cool and firm up.
- Make Layer 4, the Top ChocolateLayer: In a saucepan over low heat or a heatproof bowl in the microwave, melt the chocolate and peanut butter together, stirring until smooth. Pour over caramel layer and set aside to cool and harden thoroughly.
- To Serve: Place pan in the refrigerator and let cool for at least 1 hour before cutting into bars. Place a piece of parchment paper on the top of the pan and invert onto a cutting board. You may have to wiggle the edges to release the cold butter and candy, but eventually it will slip out of the pan. Using a disposable aluminum or silicone pan gives you more flexibility and makes release easier. Set a second piece of parchment on top of the candy and flip the block of candy back over. For the neatest presentation, take a very long carving knife and trim off the edges.
- Cut the bar into equal parts lengthwise. Cut each long piece into pieces about 2-inches long. If you like a softer, gooey, fudgy type of candy bar, serve these at room temperature. If you like them firmer, eat them straight from the refrigerator.
- Note: If you pour this caramel into its own buttered dish, you can cut them into homemade caramels. Just wrap individually in plastic wrap and you have bites of pure heaven and the perfect gift for any occasion - everyone loves homemade candy!
Notes
Bars adapted from How Sweet It Is
Caramel layer adapted from Land O’ Lakes
Nutrition Information:
Yield:
20Serving Size:
1Amount Per Serving: Calories: 463Total Fat: 25gSaturated Fat: 10gTrans Fat: 0gUnsaturated Fat: 13gCholesterol: 8mgSodium: 122mgCarbohydrates: 60gFiber: 4gSugar: 52gProtein: 8g
If you love this recipe, be sure to follow me on social media so you never miss a post:
| Facebook | Pinterest | Instagram | Twitter |
Create a New Tradition Today!
First Published: 11 Dec 2015
Last Updated: 2 Dec 2019
Welcome! The suggestions here are not intended as dietary advice or as a substitute for consulting a dietician, physician, or other medical professional. Please see the Disclaimers/Privacy Policy page for additional details. Unauthorized use, distribution, and/or duplication of proprietary material from The Heritage Cook without prior approval is prohibited. If you have any questions or would like permission, please contact me. We participate in the Amazon Services LLC Associates Program, an affiliate advertising program designed to provide a means for sites to earn advertising fees by advertising and linking to amazon.com. This page may contain affiliate links.

