Chocolate, in any form, is The Artist’s favorite. He would live on nothing but chocolate if he had his way. Too bad our bodies require additional nutrients! He, above everyone else, has benefited from our weekly Chocolate Mondays. As another year nears its close, I thought I would take this opportunity to say Thank You!
You see, if it were not for your suggestion, encouragement, comments, and support, Chocolate Mondays never would have been born. So I dedicate today’s recipe (and all the previous Chocolate Monday recipes) to you, my passionate and loyal chocolate lovers!
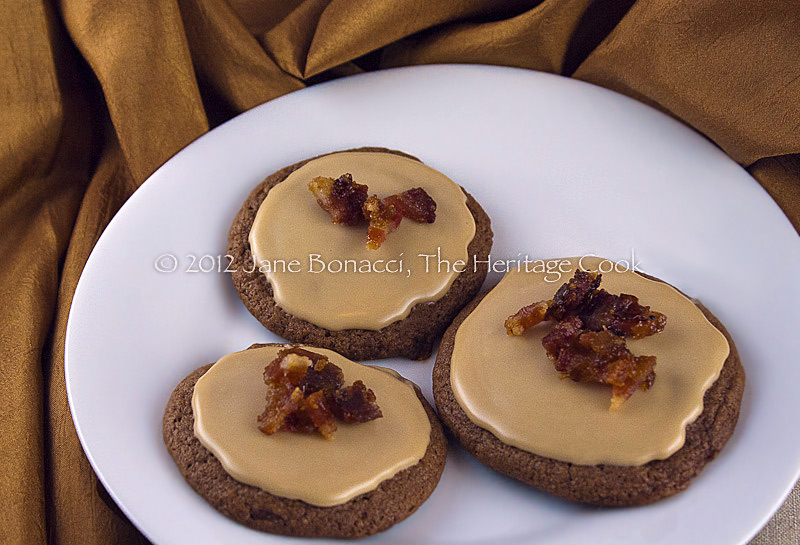
I will bet Santa would be over the moon if he had a plate of these waiting for him!
While there are many people in the food industry that consider the use of bacon in sweet dishes as being passé, I love the combination of sugar and salt together in one bite. And ever since my trip to the Ohio Amish country and learning about how maple syrup is made, you can honestly say I am addicted to it. I consider it one of my primary go-to sweeteners in my baking.
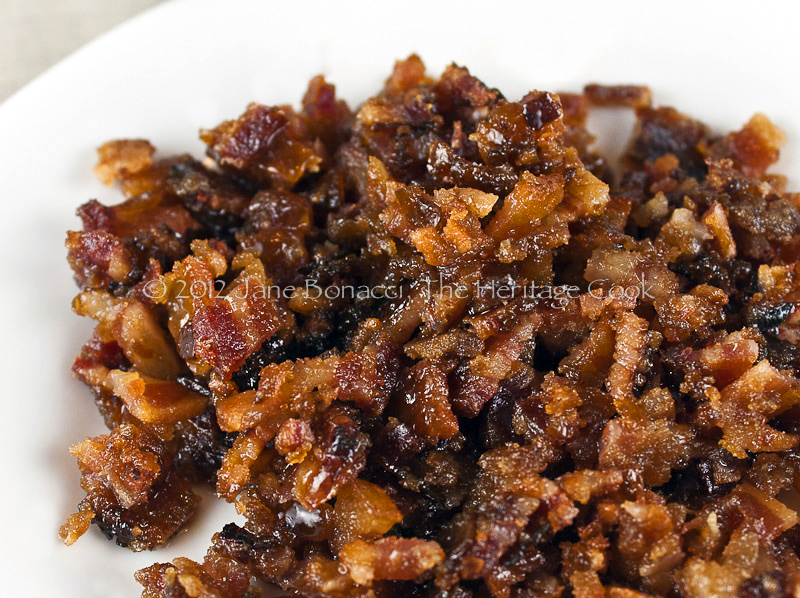
Plate of chopped Candied Bacon. YUM!
When I was thinking about today’s dessert, I knew I wanted a chocolate cookie with maple, but didn’t want either flavor to overpower the other. The cookies are perfect in their simplicity with the addition of chopped chocolate augmenting the flavor and lending a nice crunch. If you like nuts in your cookies, adding chopped walnuts, pecans, cashews, or macadamias would be excellent. I meant to add them but honestly just forgot. Oops 🙂
Making candied bacon is as simple as baking slices sprinkled with brown sugar in your oven until crispy. There is a fine line in getting the bacon crispy without burning the sugar. I think next time I will cook the bacon about halfway first and then add the sugar. That way it can get really crispy before the sugar has a chance to burn. If your sugar does get a little dark, just don’t use that part because it will make all the cookies taste bitter.
My sugar coating started to burn a little so I pulled the bacon out before it was completely crispy. While it was absolutely delicious this way, it didn’t crumble the way I wanted it to, even after chilling. So I placed the bacon strips on a cutting board and chopped them finely with a sharp knife. I reheated the bacon slightly in my microwave (about 15 seconds) before using to top the cookies.
For bacon connoisseurs of the world (you know who you are!) you can cook the bacon plain and drain it on paper towels before crumbling it. The hit of salty goodness adds a beautiful counterpoint to the sweetness of the cookies and frosting. Personally, I can eat bacon morning, noon, and night, with or with out the candy coating!
Rather than use maple syrup in the cookies themselves, I decided to create a maple frosting similar to what you find on donuts. Of course any frosting made with powdered sugar is going to be super sweet, so I used sour cream as the liquid to offset that slightly. I love the very slight tang it lends to the frosting.
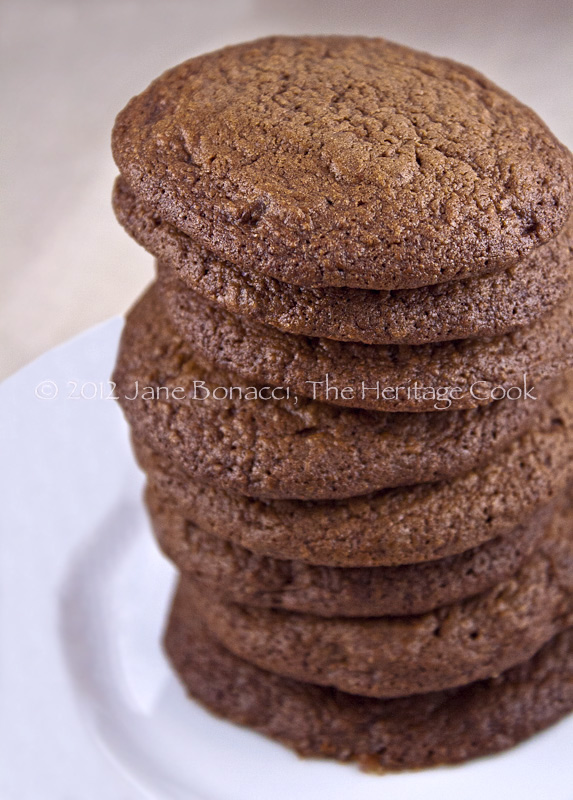
Milk Chocolate Cookies waiting to be frosted
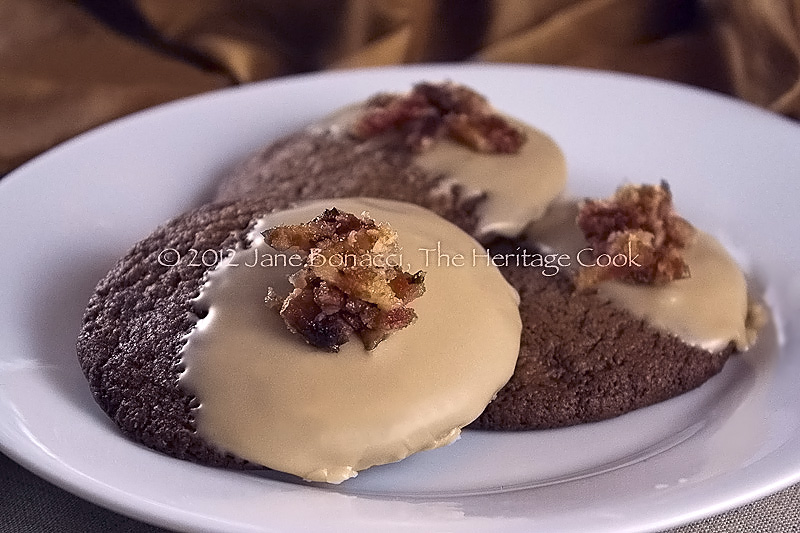
When you are ready to frost the cookies you have several options. If you have people in your life like The Artist who don’t care for frosting, leave some of the plain – they are delicious straight out of the oven! You can use a thinner glaze and drizzle it over the top of the cookies – use a whisk or fork for thin, even lines. You can dip the cookies half way in the frosting giving a nice contrast of color and flavors. If you add a little “stem” at the dipped end they look a little like an acorn!
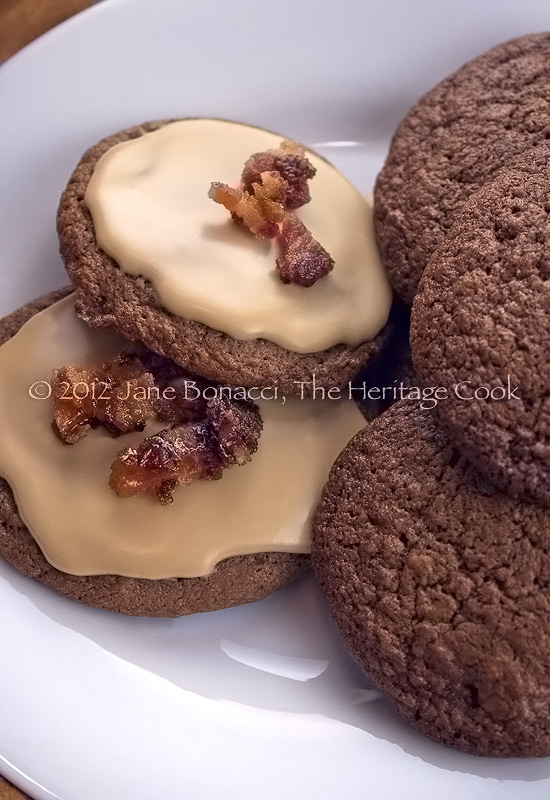
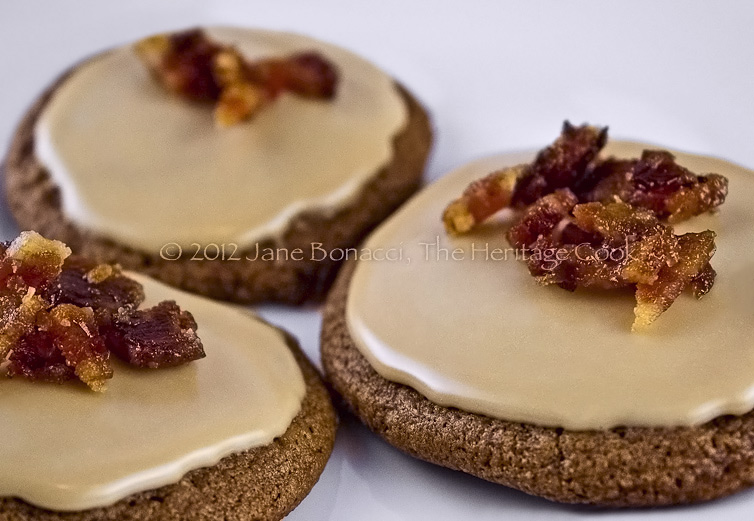
Use a small offset spatula to fully frost the cookies, giving them and even, professional-looking finish. In each case, when the frosting has set up slightly, sprinkle the tops with some of the crumbled (or chopped) candied bacon.
I hope you enjoy these chocolate-maple-bacon treats. If you made miniature versions of them I think they would be perfect as an anchor to any holiday buffet. Happy Chocolate Monday!
Jane’s Tips and Hints:
Let the candied bacon cool completely so the sugar has a chance to solidify before you attempt to remove any excess grease. For me the easiest thing is to candy it, set aside to cool to room temperature, then refrigerate it for about 1 hour. That makes crumbling or chopping much easier. Then you can reheat the chopped bacon in the microwave on a paper towel-lined plate which absorbs the grease without losing any of the sugar coating.
Gluten-Free Tips:
I used my standard gluten-free flour blend from Silvana Nardone’s cookbook, Cooking for Isaiah. Use this combination or your favorite blend.


- Candied Bacon
- 6 to 7 slices thick-cut bacon
- 6 tbsp brown sugar, divided
- Cookies
- 2 cups all-purpose flour or GF flour blend (or use your favorite)
- 1/4 cup unsweetened cocoa powder
- Pinch xanthan gum, optional
- 1/2 tsp baking soda
- 1/2 tsp salt
- 1 cup (2 sticks) butter, at room temperature
- 1-1/2 cup firmly packed brown sugar
- 2 tsp pure vanilla extract
- 2 large eggs
- 1 cup chopped milk or semisweet chocolate (or use chocolate chips)
- Maple Frosting / Glaze
- 2 tbsp sour cream
- 1/4 cup pure maple syrup (do not use imitation)
- 1/4 tsp maple flavoring, optional
- 2 to 4 cups sifted powdered sugar
- Preheat oven to 400°F. Line a baking sheet with parchment paper; set aside.
- Prepare Candied Bacon: Place the bacon on parchment-lined baking sheet. Sprinkle evenly with 3 tbsp of the brown sugar, breaking up any clumps of sugar. Transfer to the oven and bake for 7 minutes. Remove from the oven and, using tongs, carefully flip the pieces over. Sprinkle with remaining 3 tbsp brown sugar, return to the oven and continue baking until crisp, about 7 to 9 more minutes.
- Set the baking sheet on a wire rack to help it cool faster. When bacon is cool enough to handle, place on a paper towel-lined plate. Crumble into small pieces and set aside. Note: If bacon isn’t completely crispy, you can also chop it with a sharp knife.
- Reduce oven temperature to 325°F. Line baking sheet with parchment paper. Set a wire rack on the counter with a piece of parchment or waxed paper underneath it (to catch drips/crumbs).
- Make Cookies: In a bowl, combine the flour (or gluten-free flour blend), cocoa powder, xanthan gum (if using), baking soda, and salt. Whisk until thoroughly blended. Set aside.
- Cream butter and sugar together until light and fluffy. Mix in vanilla and eggs and beat until smooth. Add the dry ingredients, 1/2 at a time, beating after each addition just until incorporated. Stir in the chopped chocolate.
- Using a spring-loaded ice cream scoop, portion the dough into 2 tbsp balls and place on prepared baking sheet. These do spread so leave at least 1-inch between each one. I was able to get 8 on each sheet. For best results bake them one sheet at a time.
- Bake for about 8 minutes, the spin the baking sheet so that the front is now in the back of the oven. Continue baking until cookies are crisp at the edges and centers are mostly firm when lightly touched, about 8 to 10 more minutes.
- Transfer to prepared wire cooling rack and let sit until firm and completely cooled.
- Make Frosting/Glaze: In a medium bowl, whisk together the sour cream and maple syrup until smooth. Add 2 cups of the powdered sugar and whisk until smooth. If you want a stronger maple flavor, you can add 1/4 tsp of maple flavoring. Add as much more of the sugar as you like to make a thick mixture. If you want to drizzle it over the cookies, use less sugar; if you want to spread it on like a frosting, use more.
- Assemble and Decorate Cookies: Spread frosting over cookies or drizzle with thinner glaze if preferred.
- Set the frosted cookies back on the parchment. Sprinkle the tops with the crumbed candied bacon. Let the frosting firm up before serving. Store leftovers in an airtight container, layered between sheets of waxed paper or parchment.
- Yield: about 2-1/2 dozen 3-inch cookies
The intention of the content on this site is for your inspiration and enjoyment. It is not a substitute for advice given by a licensed health-care professional. You are responsible for medically confirming any dietary restrictions and ingredient safety with product manufacturers before consuming or using any product. If you have dietary restrictions, always read the labels before including any ingredient in your cooking.
As an affiliate member, if you click on links in my posts and purchase a product, I may receive a small percentage of the sale. Any commissions received will be used to offset a portion of the costs of running The Heritage Cook. If I have received products for review or had travel expenses covered, I will disclose that in the content of each article where applicable.
Thank You!



sippitysup
Really spectacular photos this week. XOGREG