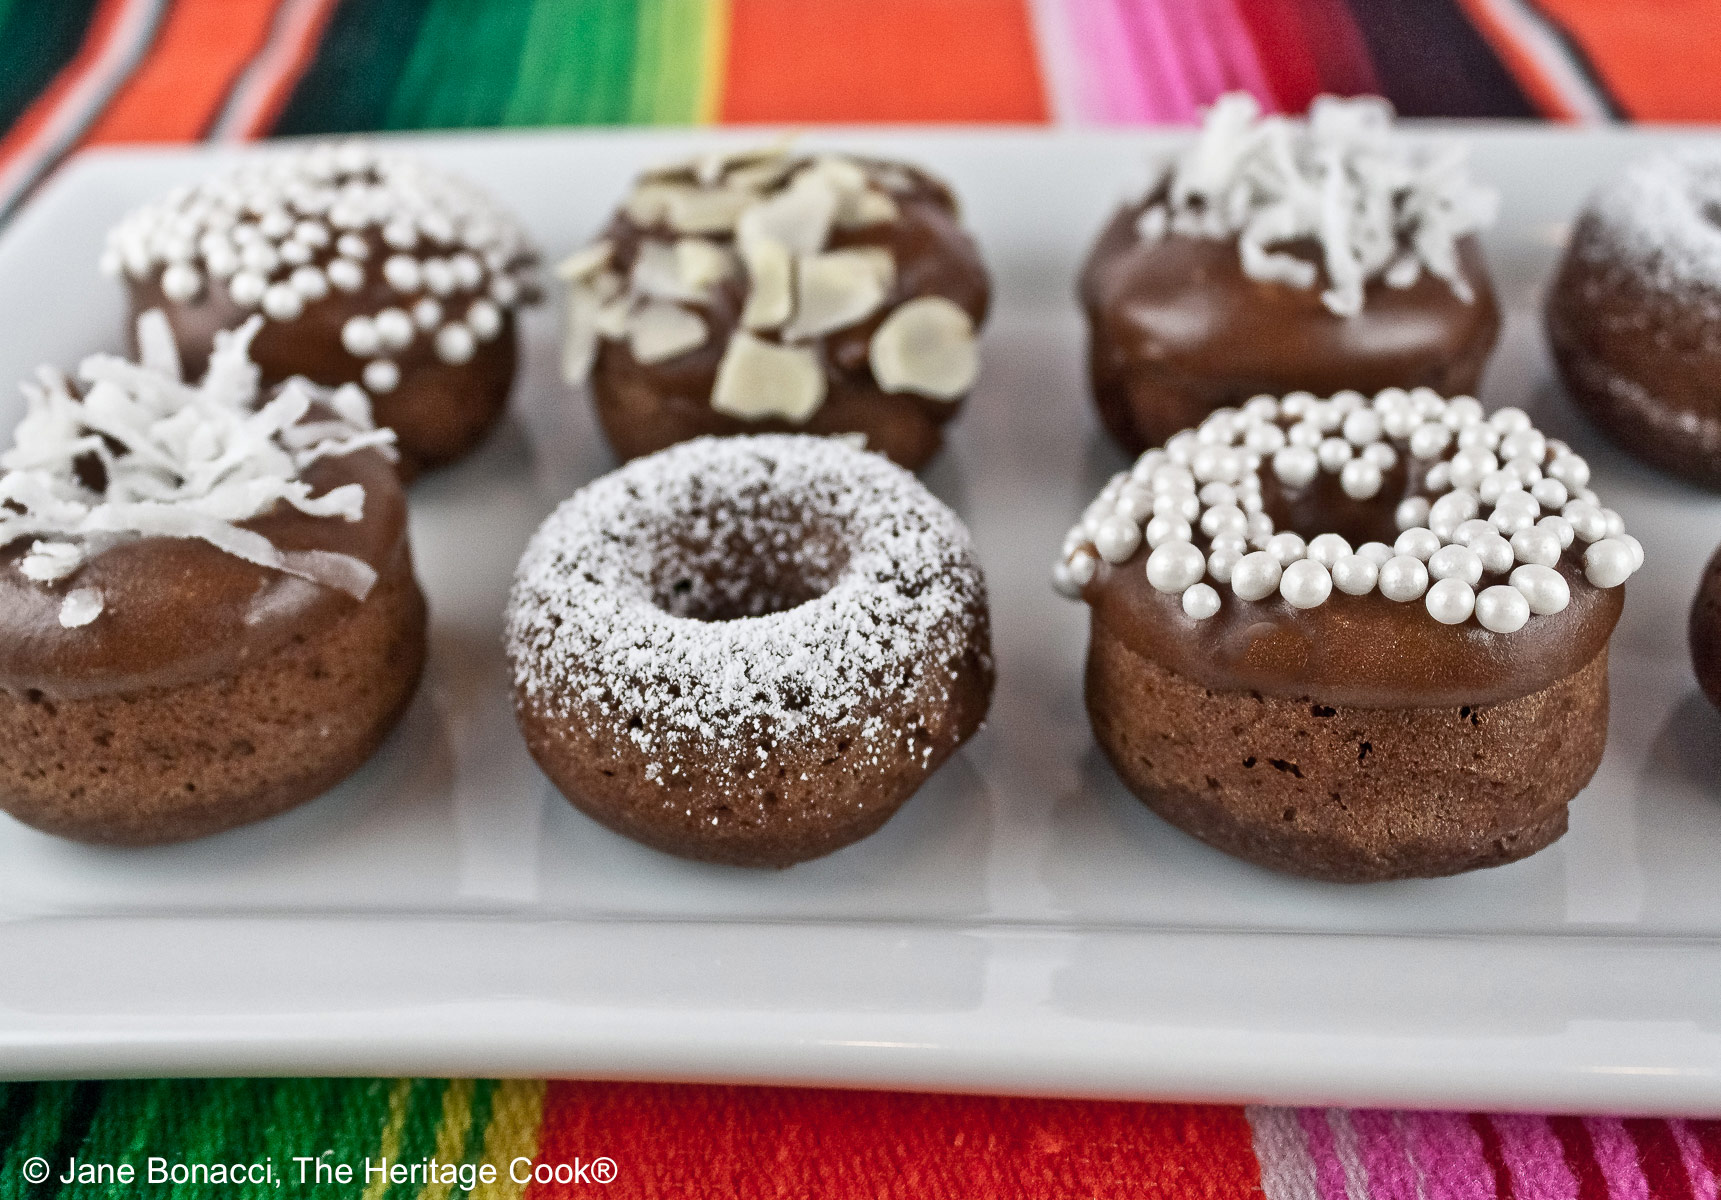
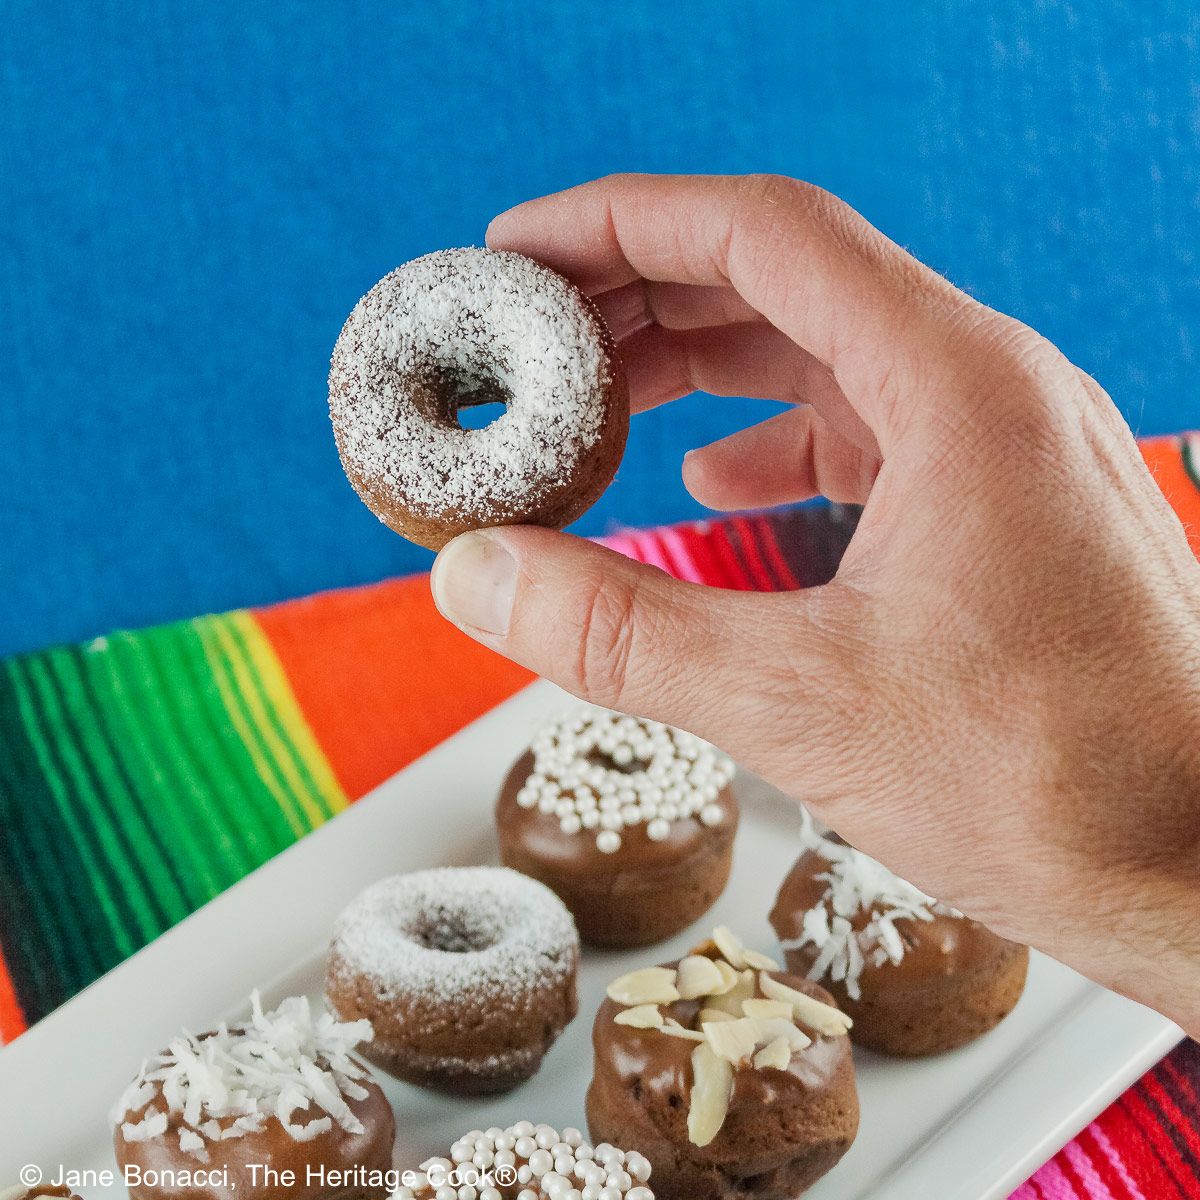
Mini Baked Chocolate Donuts are one of the most fun desserts I have ever made! They are adorable, delicious, and the perfect two-bite treat when you want something small. They would be great on a dessert buffet, the perfect addition!
The Artist loves donuts, but they don’t love him. He usually winds up with a heck of a stomachache from the greasiness in regular fried donuts. He splurges occasionally but always pays for it. I have wanted to find a new way of making donuts that we both can enjoy without any repercussions.
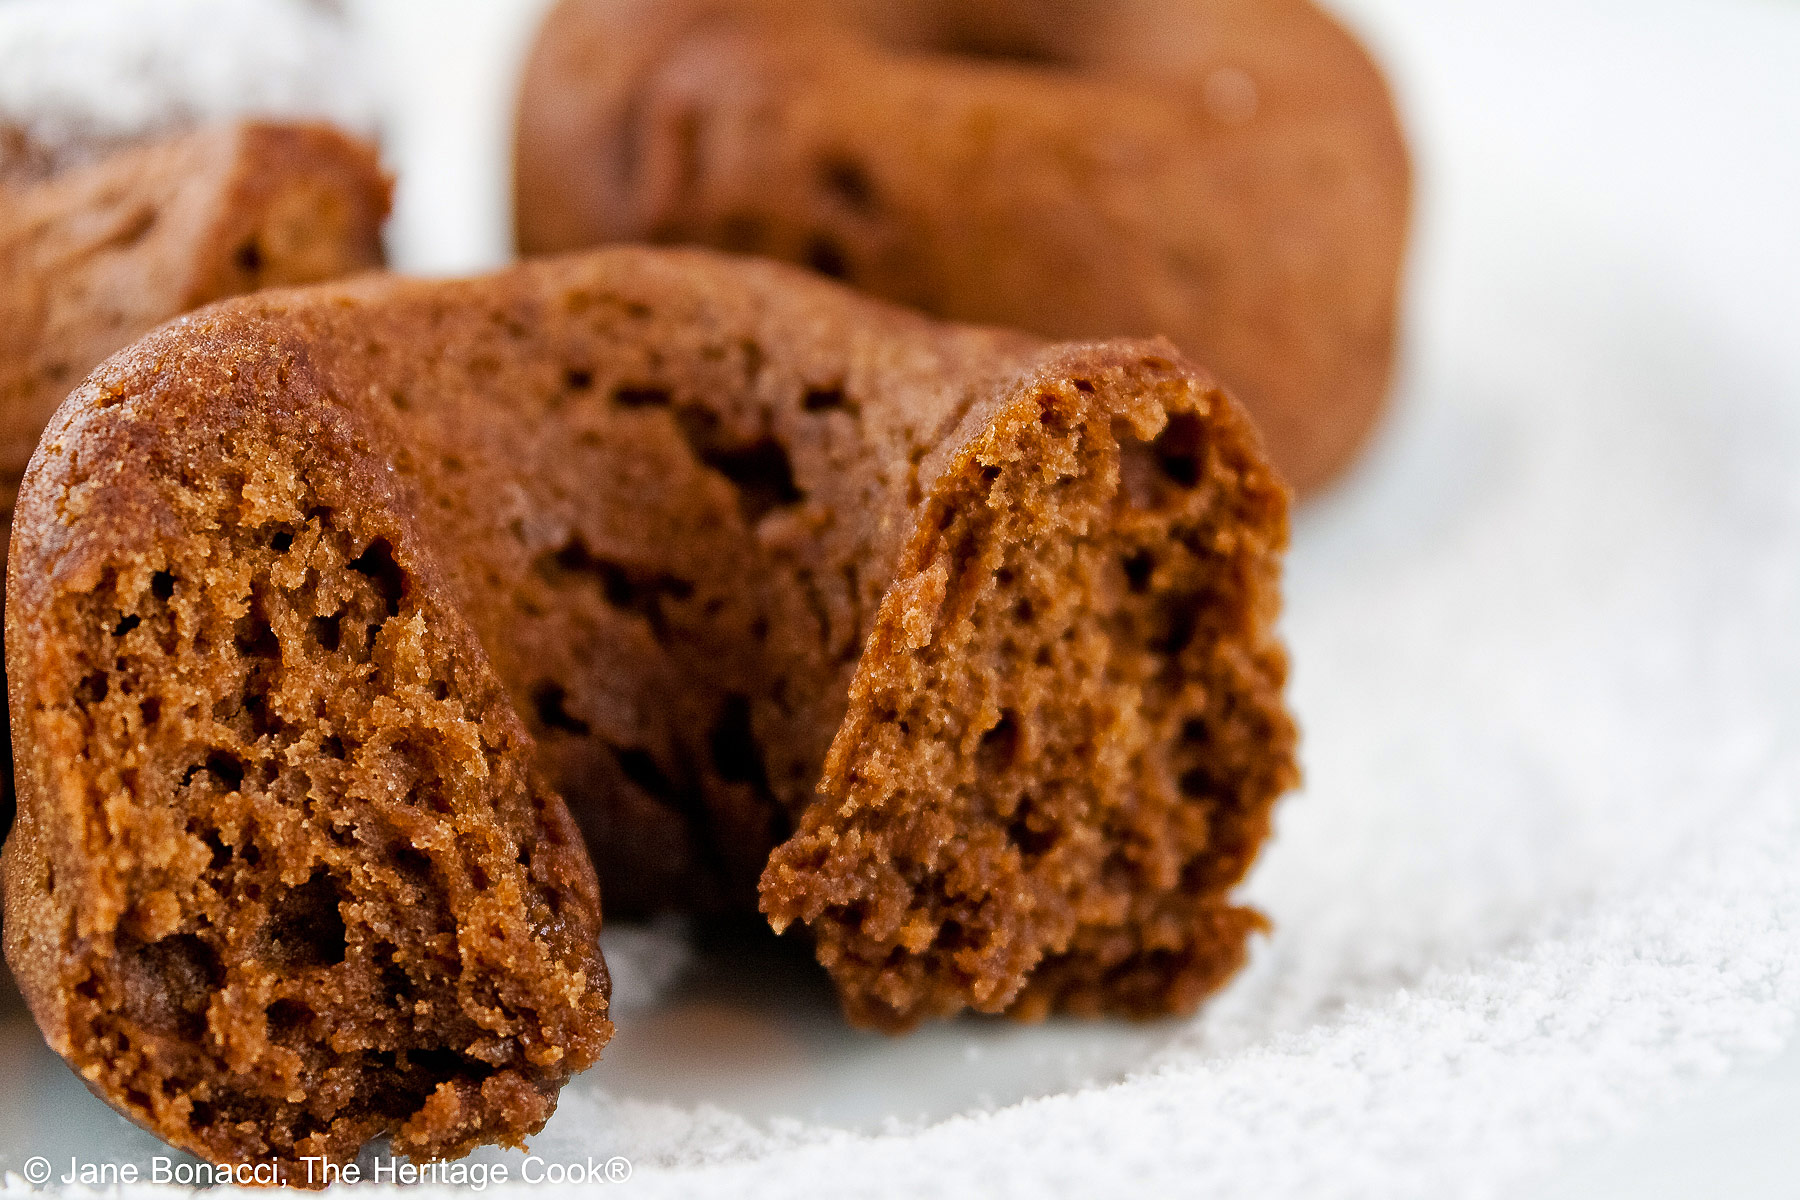
One way around his physical reaction is to bake the donuts instead of frying them. They taste more like mini cakes than traditional yeast-risen donuts but boy are they good!! Instead of making a yeast dough, rolling it out and cutting it into donut-shaped pieces, you make a thick batter and pipe it into a baking form.
I looked at many donut pans before settling on the one I got. It is from Norpro and I love it! Make sure you get a nonstick pan so that the donuts will pop right out. I also love the petite size of these donuts. They are just right for a bite or two of sweetness after a big, heavy meal. And because they are so small, everyone can have several without having to choose between their favorite toppings.
Another tool I used to make these really easy is a disposable piping bag. They are sturdy enough to handle stiff doughs, yet flexible enough to pipe easily. I made one mistake, I cut too large an opening at the tip of the bag, making the amount of dough I piped into the baking pan a bit thicker than it should have been. Instead of filling each opening 2/3 full, they were nearly filled to the rim with batter. But they still turned out perfectly!
If I had a slightly thinner batter and filled them as directed, I probably would have gotten twice as many donuts as I did, but I’m not complaining. With only two of us to eat them, this recipe made just the right amount.
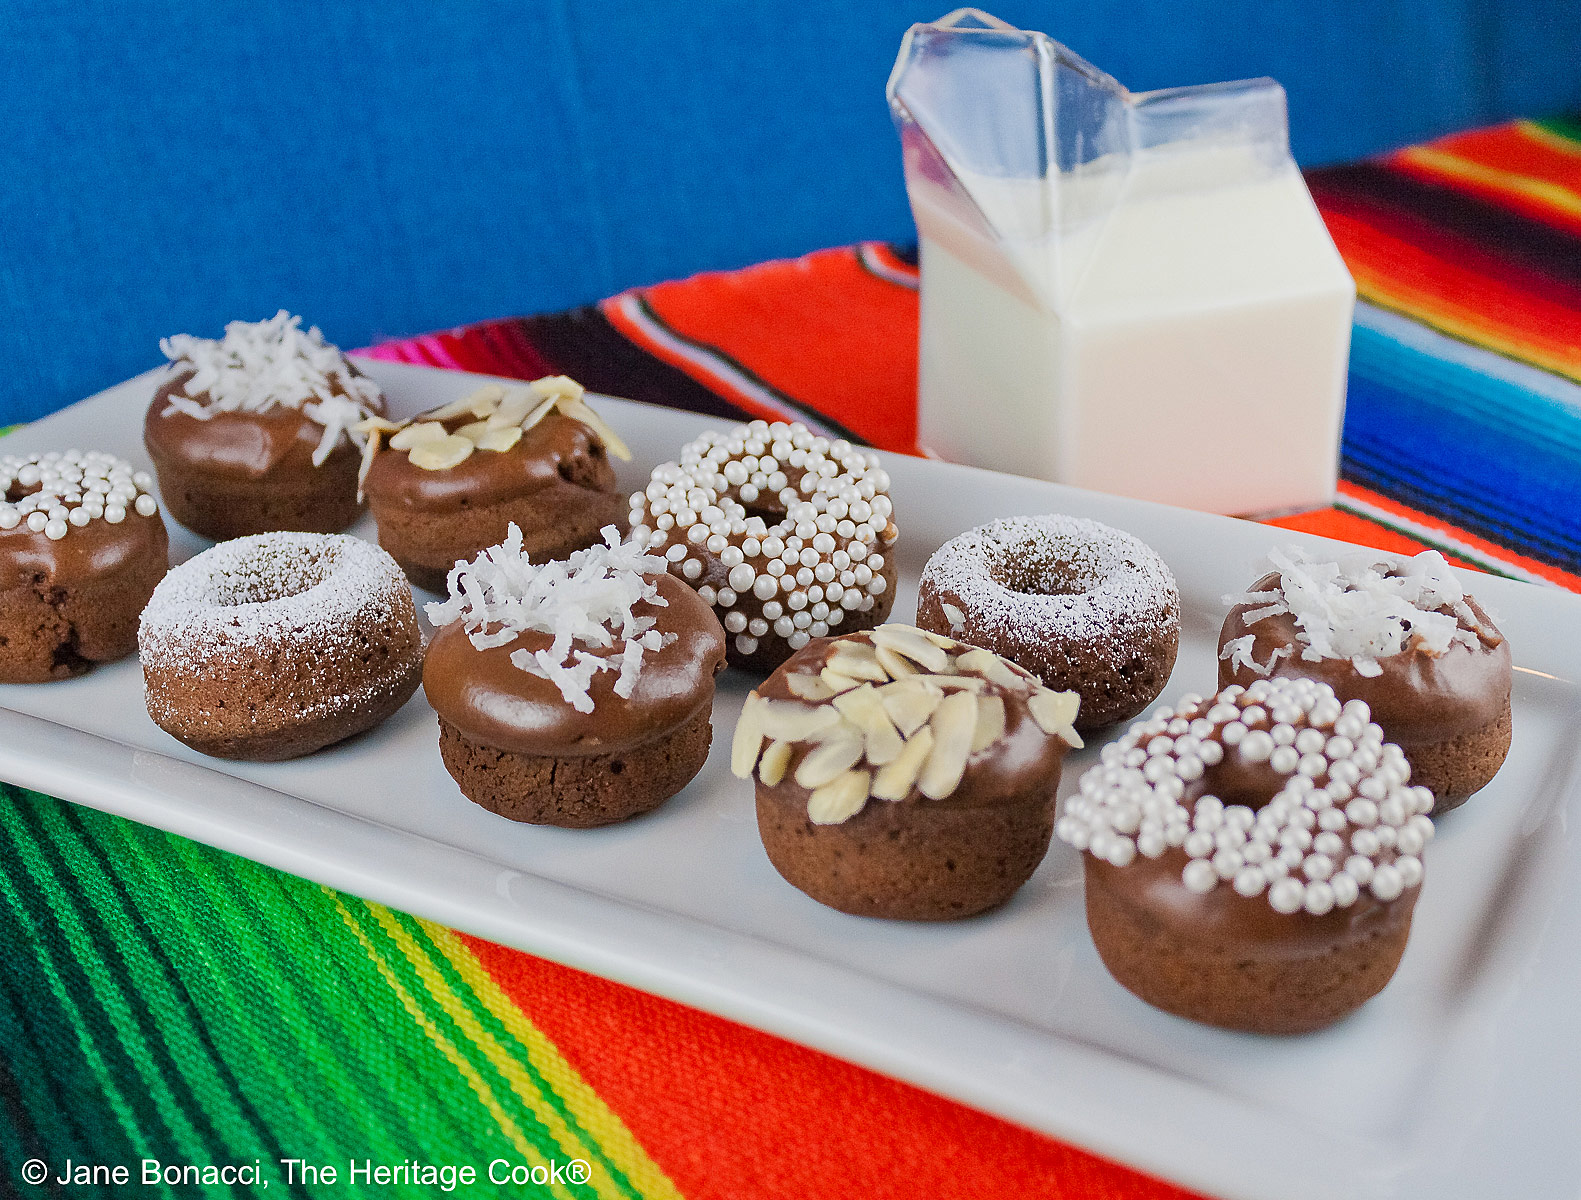
Don’t you love my clear glass milk carton container!
Piping bags are a wonderful way to make quick work of repetitive tasks, portioning of dough and batter, or making foods look extra festive and decorative.
If you are doing more delicate or intricate decorating of cookies and such for the holidays, a variety of stainless steel tips will be most helpful. A small round tip allows you to write messages on birthday cakes. I love using a star tip when filling deviled eggs because they make something so commonplace incredibly beautiful.
A piping bag is traditionally used to form profiteroles or eclairs out of choux pastry, meringues with sweetened egg whites. If you are making jelly doughnuts, you can insert a round piping tip into the baked pastry and inject the filling. Piping bags are incredibly versatile!
When your donuts are hot out of the oven, baked and puffed, transfer them from the donut pan onto a wire rack for cooling. If you are using a nonstick pan, you can flip the pan over and the donuts will fall right out. If they stick at all, nudge them loose with a spoon or fork.
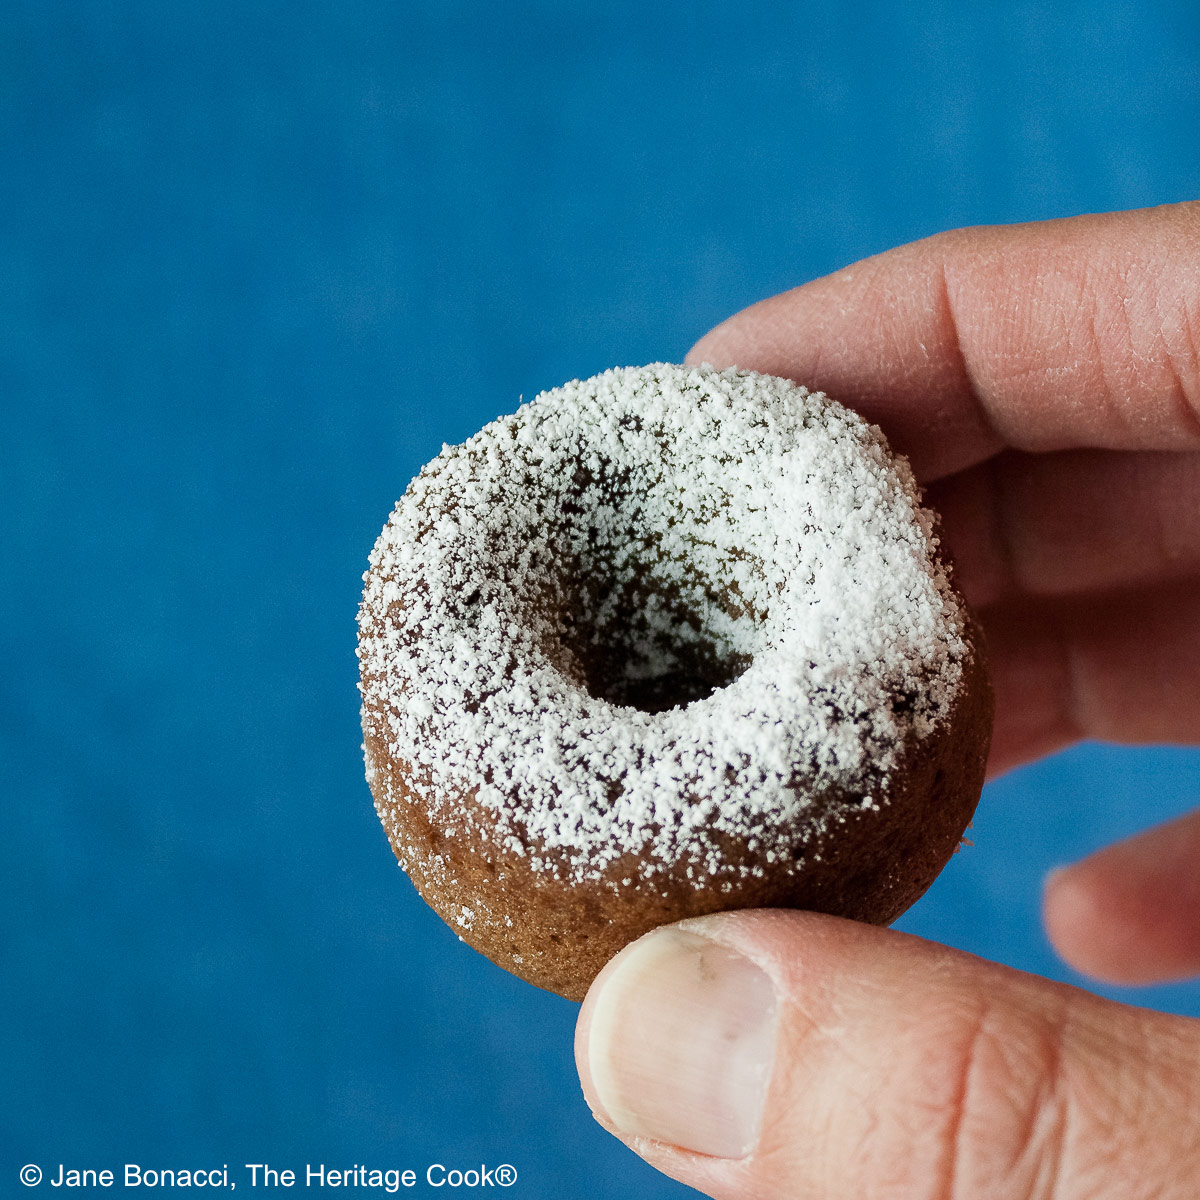
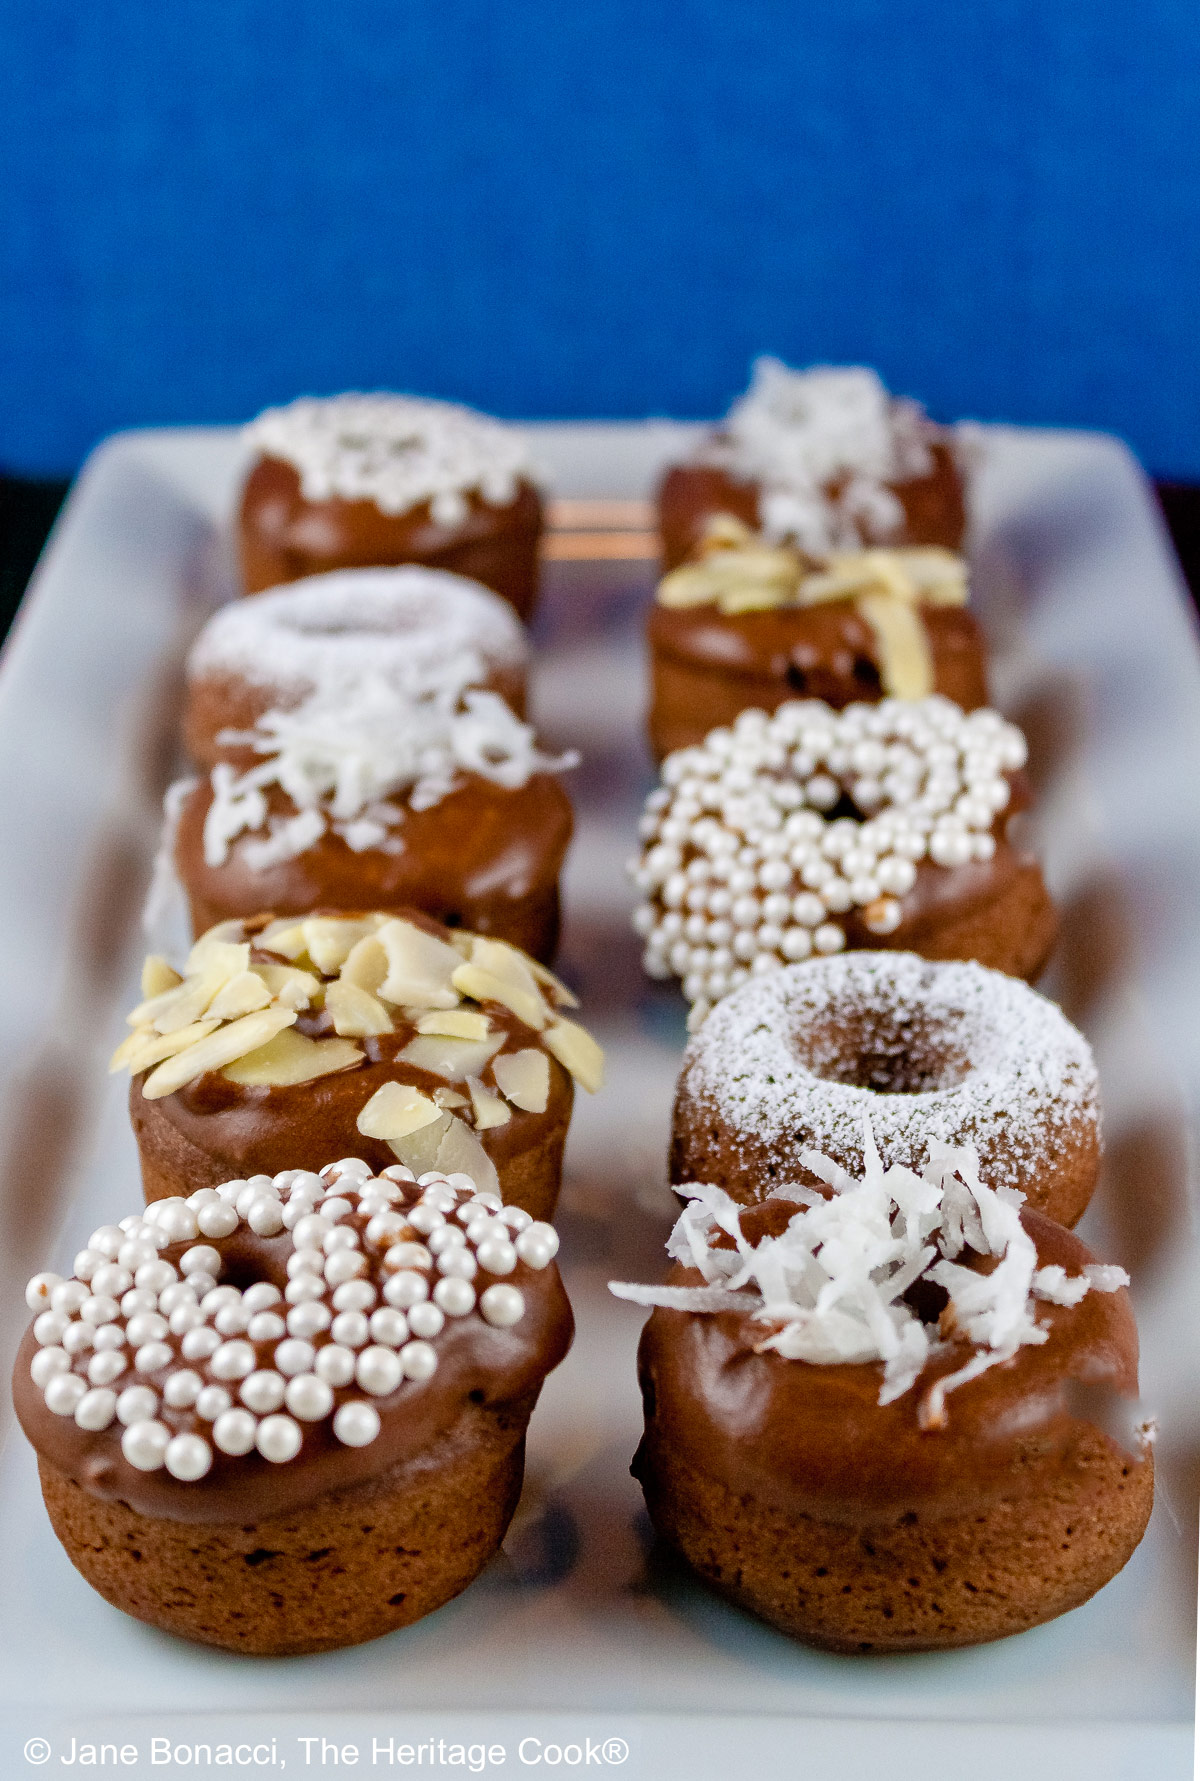
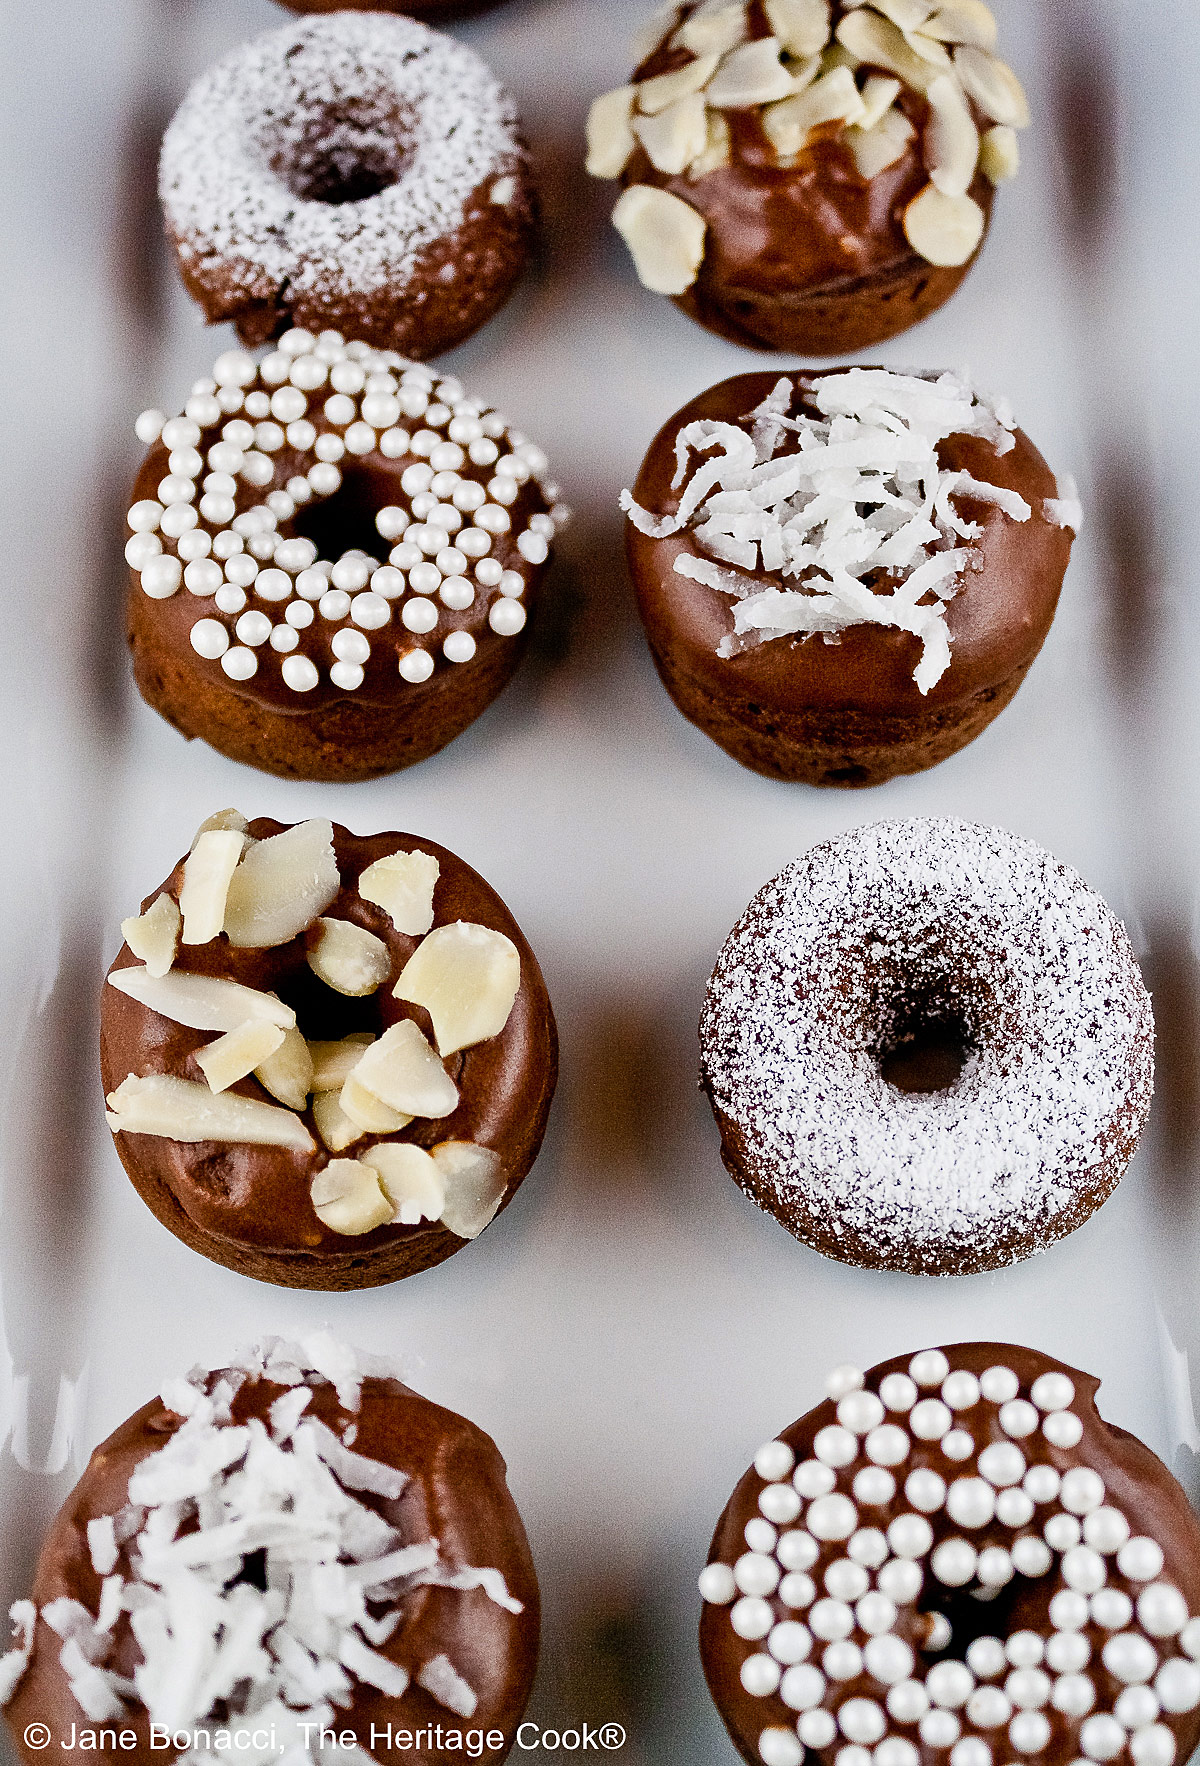
When I was thinking of garnishes for the donuts, I decided to go with all white for an elegant look that would be perfect for holiday parties or certainly for a New Year’s Eve Party! I used coconut, sliced almonds, powdered sugar, and white candy pearls. If you are making these for children, colorful sprinkles, candy confetti, and jimmies would be perfect.
These fun and delicious donuts are suitable for many occasions from casual potlucks, birthday parties, and picnics to weddings and New Year’s Eve celebrations. They are completely customizable with the toppings for specific occasions. Something for every day!
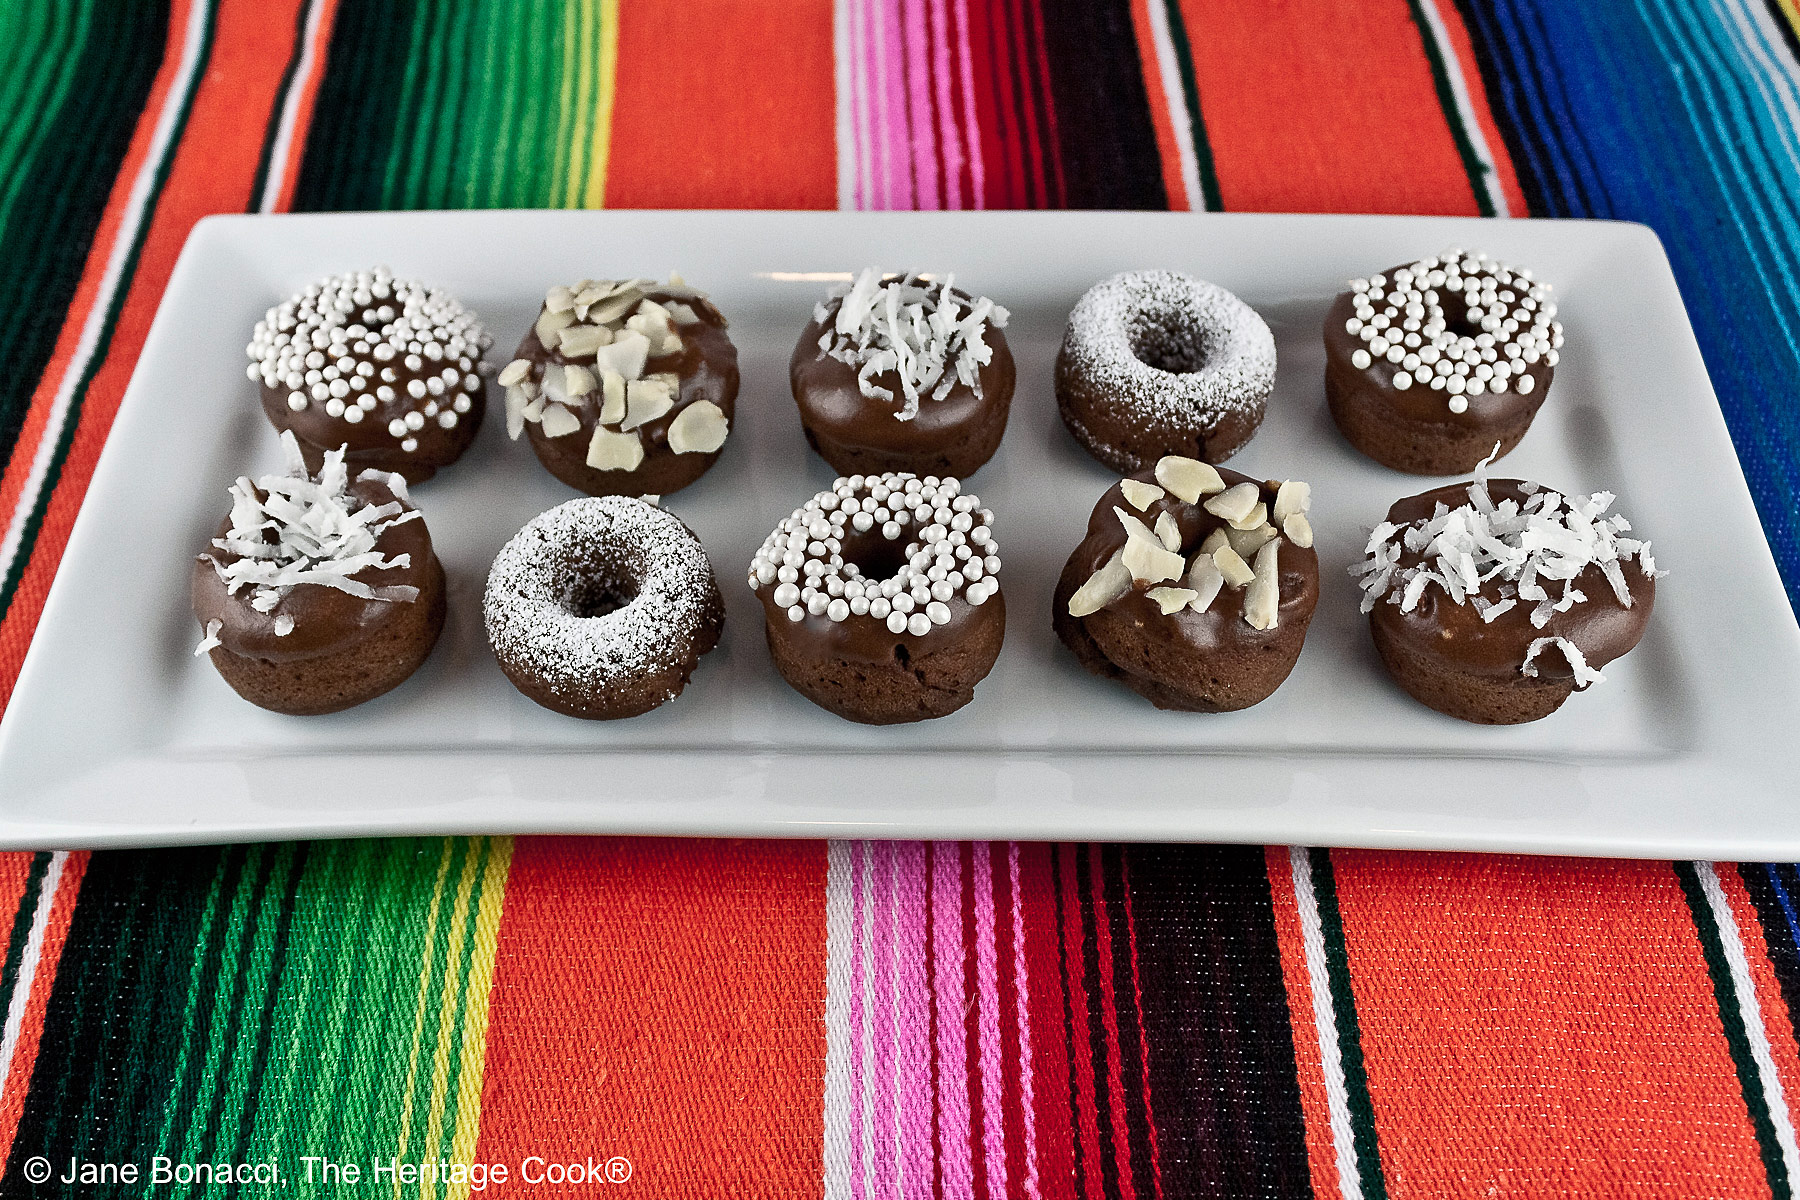
These Mini Baked Chocolate Donuts would be fun to change up too. I could easily see adding a touch of cinnamon to turn them into Mexican chocolate donuts, using a touch of bourbon or rum in the glaze for an adult version, or swapping out the dark chocolate for white chocolate in the glaze. The sky is the limit – go out and get creative!
Happy Chocolate Monday! Have a wonderful week!!
If you try this recipe, let me know! Please leave a star rating in the recipe card, comment below, and don’t forget to snap a pic and tag it @theheritagecook on Instagram! Seeing your creations makes my day and I love hearing from you!
Ingredients needed for Mini Baked Chocolate Donuts:
- Donuts: milk, butter, flour, cocoa powder, baking powder, salt, eggs, water, sugar, vanilla
- Chocolate Glaze: powdered sugar, cocoa powder, butter, vanilla, milk
- Decorations (optional): coconut, nuts, sprinkles, chocolate, cinnamon-sugar, powdered sugar
PRO Tip:
I made this completely by hand with a whisk, but if you are short on time, you can certainly whip this up in a stand or hand electric mixer.
How to make Mini Baked Chocolate Donuts:
- Combine the dry ingredients in one bowl, and the liquids in another. Mix the two together, whisking until smooth.
- Spoon or pipe the mixture into a greased donut pan until 2/3 full. Bake at 325°F (163°C) for about 8 minutes or until puffed and cooked through.
- Cool completely then dip in the glaze and toppings if using.
PRO Tip: How to Fill a Piping Bag
The easiest way to fill a piping bag is to set it, tip down in a tall, heavy drinking glass. Using a bottom-heavy glass will help keep it from tipping over. Fold the top of the bag down over the lip of the glass creating a deep cuff. Spoon, pour or scoop the batter into the bag, until about 2/3 full. Fold or roll the cuff over the batter and then cut the tip off the bag. Squeeze the bag from the top and use your opposite hand to guide the bag’s tip.
Recommended Tools (affiliate links; no extra cost to you):
Gluten-Free Tips:
* You can adjust any baking recipe to gluten-free by using 120 grams per cup of my favorite gluten-free flour blend. If you are using another brand of flour or regular flour, whisk it, spoon it lightly into a measuring cup until mounded, level off the top with a knife, and weigh the flour left in the cup. Use that weight as your standard per cup of that specific flour. Do this for each flour blend you use. Commercial gluten-free blends such as Pamela’s All-Purpose Artisan Blend, Bob’s Red Mill 1-to-1, or King Arthur Measure for Measure are all good gluten-free choices.
** My preferred brand of kosher salt is from Diamond Crystal. If you use Morton’s, another kosher brand, or table salt, you will not need as much because they are saltier.
You will get the best and most consistent results by using a digital kitchen scale and weighing your ingredients, especially when you are baking. Use grams, they are much more accurate than pounds and ounces.
All recommended ingredients are gluten-free as of the writing of this article. Always check to be sure the products haven’t changed and are still safe to consume.
Mini Baked Chocolate Donuts (GF)

Mini Baked Chocolate Donuts are one of the most fun desserts I have ever made! They are adorable, delicious, and the perfect two-bite treat when you want something small. They would be great on a dessert buffet, the perfect addition!
Ingredients
Donuts
- 1/2 cup (113g) lightly warmed milk
- 2 tbsp butter, melted and cooled slightly
- 1-1/2 cups (180g*) gluten-free flour blend* or all-purpose flour like Gold Medal
- 1/3 cup (56g) unsweetened cocoa powder (either natural or Dutch-processed are fine
- 1 tsp baking powder
- 1/8 tsp kosher salt**
- 2 large eggs
- 1 tbsp water
- 2/3 cup (132g) granulated sugar
- 1 tbsp vanilla extract
Chocolate Glaze
- 1 cup (113g) confectioners’ sugar
- 2 tbsp cocoa powder
- 2 tbsp softened or partially melted butter
- 1 tsp vanilla extract
- 1 to 2 tbsp milk, or as needed (start with 1 tbsp)
Decorations, optional
- Flaked coconut, chopped nuts, colorful sprinkles, shaved chocolate, cinnamon-sugar mixture, or a dusting of powdered sugar, for example
Instructions
1. Make the Donuts: Preheat the oven to 325°F (163°C). Spray your donut pan lightly with vegetable oil spray. Set a wire cooling rack over a sheet of parchment or waxed paper to catch drips.
2. In a small bowl stir together the milk and melted butter. Reheat as needed to keep the butter liquefied. In a large bowl, combine the flour, cocoa, baking powder, and salt. Whisk to blend thoroughly. In a separate bowl, beat the eggs, water, sugar, and vanilla until thick and creamy. Add the dry ingredients and the milk/butter mixture to the sugar/egg mixture. Whisk until smooth.
3. Spoon or pipe the mixture into the prepared pan(s) until each donut well is 2/3 full. Using a piping bag with a round tip makes this fast, tidy, and easy!
4. Bake the Donuts: Place the donut pan in the oven and bake for about 8 minutes or until puffed, the tops spring back when lightly touched with your finger, and a toothpick inserted in the thickest part comes out clean. Set the pan on the wire rack.
5. When slightly cooled, you can flip the donuts out onto the wire rack. Cool completely before glazing. If you only have a portion of the tins filled or they are sticking, you will want to use a spoon or fork to nudge them onto the wire rack for cooling.
6. Wipe the donut pan clean with a paper towel, re-spray with vegetable oil and repeat with the remaining batter.
7. Prepare the Chocolate Glaze: In a small bowl, whisk together the sugar, cocoa powder, butter and 1 tbsp of the milk until smooth. Add more milk if needed to make a good dipping consistency. Set the glaze next to the donuts.
8. Some possible toppings would be flaked coconut, chopped nuts, colorful sprinkles, shaved chocolate, cinnamon-sugar mixture, or a dusting of powdered sugar. If you are using toppings, place each of them in individual shallow bowls for dipping. Set them near the donuts.
9. Glaze the Donuts: When the donuts are cool enough to handle, hold each at the edges and quickly dip the top in the glaze. Lift straight up and quickly flip it over and set on the wire rack over the parchment. Let sit for no more than a minute if you are using garnishes. Carefully dip them in your favorites and turn them back over, setting them on the rack to finish firming up. Repeat with remaining donuts and set aside to allow glaze to get more solid before serving.
Recipe found at www.theheritagecook.com
Notes
* You can adjust any recipe to gluten-free by using 120 grams per cup of my favorite gluten-free flour blend. If you are using another brand of gluten-free flour, whisk the mix, spoon it lightly into a measuring cup without a spout until mounded, level off the top with the back of a knife, and weigh the flour left in the cup. Use that weight as your standard per cup of that specific flour. Do this for each flour blend you use. Commercial blends such as Pamela's, Bob's Red Mill 1-to-1, or King Arthur Measure for Measure are all good gluten-free choices.
** My preferred brand of kosher salt is from Diamond Crystal. If you use Morton’s, another kosher brand, or table salt, you will not need as much because they are saltier.
You will get the best and most consistent results by using a digital kitchen scale and weighing your ingredients, especially when you are baking. Use grams, they are much more accurate than pounds and ounces.
All recommended ingredients are gluten-free as of the writing of this article. Always check to be sure the products haven’t changed and are still safe to consume.
Nutrition Information:
Yield:
24Serving Size:
1Amount Per Serving: Calories: 120Total Fat: 3gSaturated Fat: 2gUnsaturated Fat: 2gCholesterol: 22mgSodium: 66mgCarbohydrates: 21gFiber: 1gSugar: 17gProtein: 2g
The nutritional information for recipes on this site is calculated by online tools and is merely an estimate. If you need nutritional calculations for medical reasons, please use a source that you trust.
If you enjoyed this recipe, be sure to follow me on social media so you never miss a post:

Create a New Tradition Today!
Welcome! The suggestions here are not intended as dietary advice or as a substitute for consulting a dietician, physician, or other medical professional. Please see the Disclaimers/Privacy Policy page for additional details. Unauthorized use, distribution, and/or duplication of proprietary material from The Heritage Cook without prior approval is prohibited. If you have any questions or would like permission, please contact me. We participate in the Amazon Services LLC Associates Program, an affiliate advertising program designed to provide a means for sites to earn advertising fees by advertising and linking to amazon.com. As an Amazon Associate, I earn a small amount from qualifying purchases without any additional cost to you. This page may contain affiliate links. The author makes no claims regarding the presence of food allergens and disclaims all liability in connection with the use of this site. This post was first shared in Nov 2012. The article was updated in 2026.

Jamie
Oooh yum! These look so fabulously good! And I love them with the chocolate glaze and the pretty toppings. I never fry at home so baked is perfect for me! I have long dreamed of buying a donut pan but haven’t yet so maybe I can make these in a mini bundt pan? I really want these!
Barbara @ Barbara Bakes
Love how you decorated them. So pretty!
Jersey Girl Cooks
These are beautiful looking donuts! To me, baked ones are as good as fried.