Orangesicles were my favorite dessert treat that our elementary school offered as the school year neared its end. I’ll never forget those hot days on the blacktop-covered schoolyard, trying to eat the popsicle as quickly as I could before it melted and ran down my arm.
A couple of months ago some friends and I were chatting about fun desserts we love and someone mentioned a trifle she had been served at a restaurant. That conversation stuck in my mind and I knew I wanted to use the concept to create a fun Chocolate Monday treat for you guys.
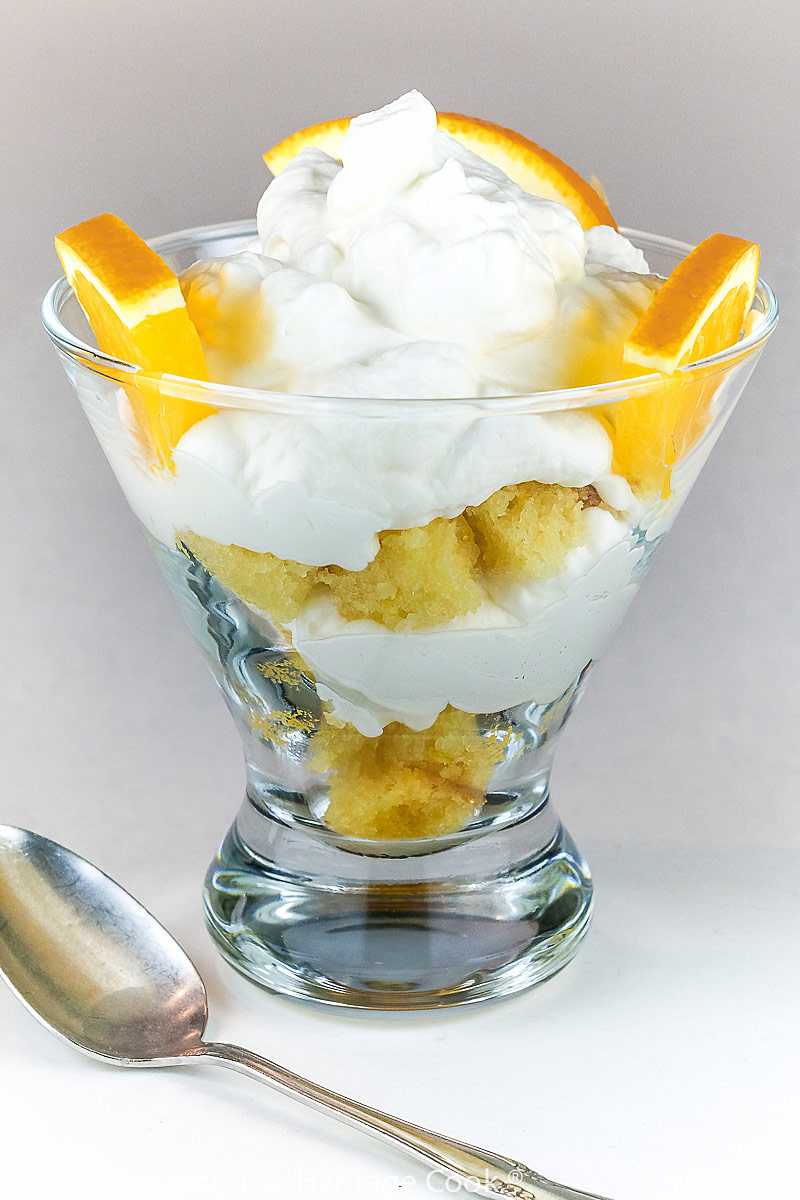
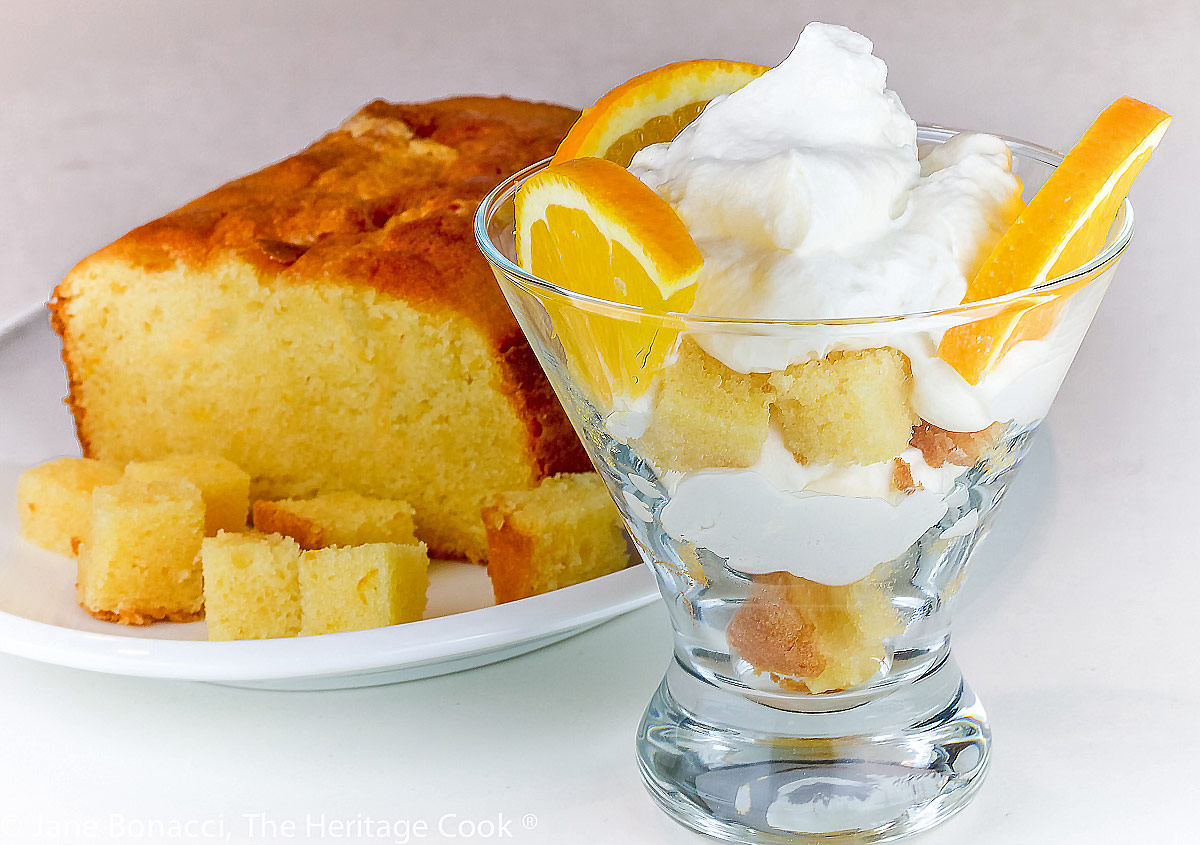
A trifle is a traditional English dessert usually made with sponge cake and whipped cream layered into tall glass bowls so you can see the beautiful layers. Any reasonably straight-sided glass bowl will work. If you want you can assemble these directly into individual glass serving bowls (like I did here) instead of the more dramatic large bowl.
To add a great textural and flavor boost, I added white chocolate chips. It is a fun surprise to take a bite of soft cake and whipped cream and experience the sensation of the chips in every bite. A little added sweetness and the perfect chewiness!
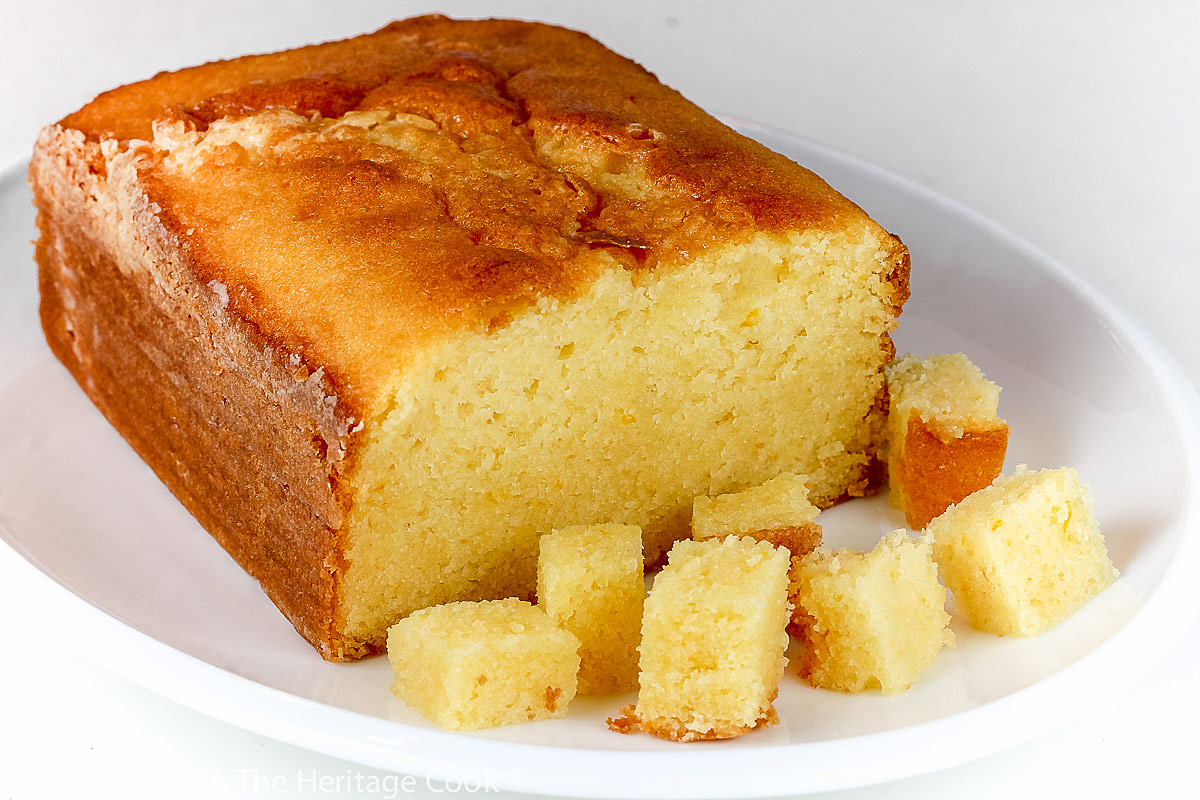
I’ve been making this cake for many years and now I make it gluten-free because of my diagnosis of gluten intolerance. I am delighted to report that it is every bit as delicious as it always has been. And combining it with the whipped cream and white chocolate make it even more indulgent.
If you want to try a white chocolate whipped cream – which is absolutely delicious – you can find the recipe here. The cake recipe makes two loaf cakes so you can use one for the trifle and keep the second one for a future dessert. Wrapping it tightly in plastic wrap and then aluminum foil will keep it safe for up to 2 months in the freezer.
If you want to try another interpretation of creamsicles, be sure to look at my recipe for Orange Creamsicle Mousse Parfaits, an elegant and refreshing dessert!
Enjoy today’s Orange Creamsicle Trifle! Have a wonderful week and Happy Chocolate Monday!!
Did you enjoy this recipe? Let me know in the comments, I love hearing from you!
Key Ingredients for Orange Creamsicle Trifle:
- Gluten-free flour or all-purpose flour, xanthan gum, salt, baking powder
- Baking soda, buttermilk, orange juice, vanilla, butter, sugar, eggs
- Orange extract, orange zest, cold heavy cream, powdered sugar
- White chocolate chips, orange, food coloring (optional)
PRO Tip:
For the loaf pans, I used the smaller ones from USA Pans that I use for my gluten-free breads. If you have them, be sure the butter gets into all the depressions between the lines and in the corners. (Not sponsored.)
How to make Orange Creamsicle Trifle:
- Make the Cake: Whisk together the dry ingredients and set aside; in a measuring cup whisk together the buttermilk, orange juice, and vanilla then set aside
- Cream the butter and sugar together until light and fluffy, add the eggs one at a time, mixing after each addition, then mix in the orange oil and zest; scrape the bowl and beater(s)
- Add the dry ingredients, 1/3 at a time, alternating with the buttermilk mixture, mixing just until incorporated between each addition; scrape the bowl and beater(s) and divide the batter between two buttered loaf pans
- Bake at 350°F for 50 to 60 minutes or until a toothpick inserted in the center comes out clean; cool in pans 15 minutes then turn them out and cool thoroughly on a wire rack
- Whip the Cream: In your stand mixer or using a hand mixer, whisk the cold cream until foamy, add vanilla and keep mixing until it begins to thicken; add the sugar and mix in, beat on medium-high to firm peaks, then cover and refrigerate until ready to assemble the dessert
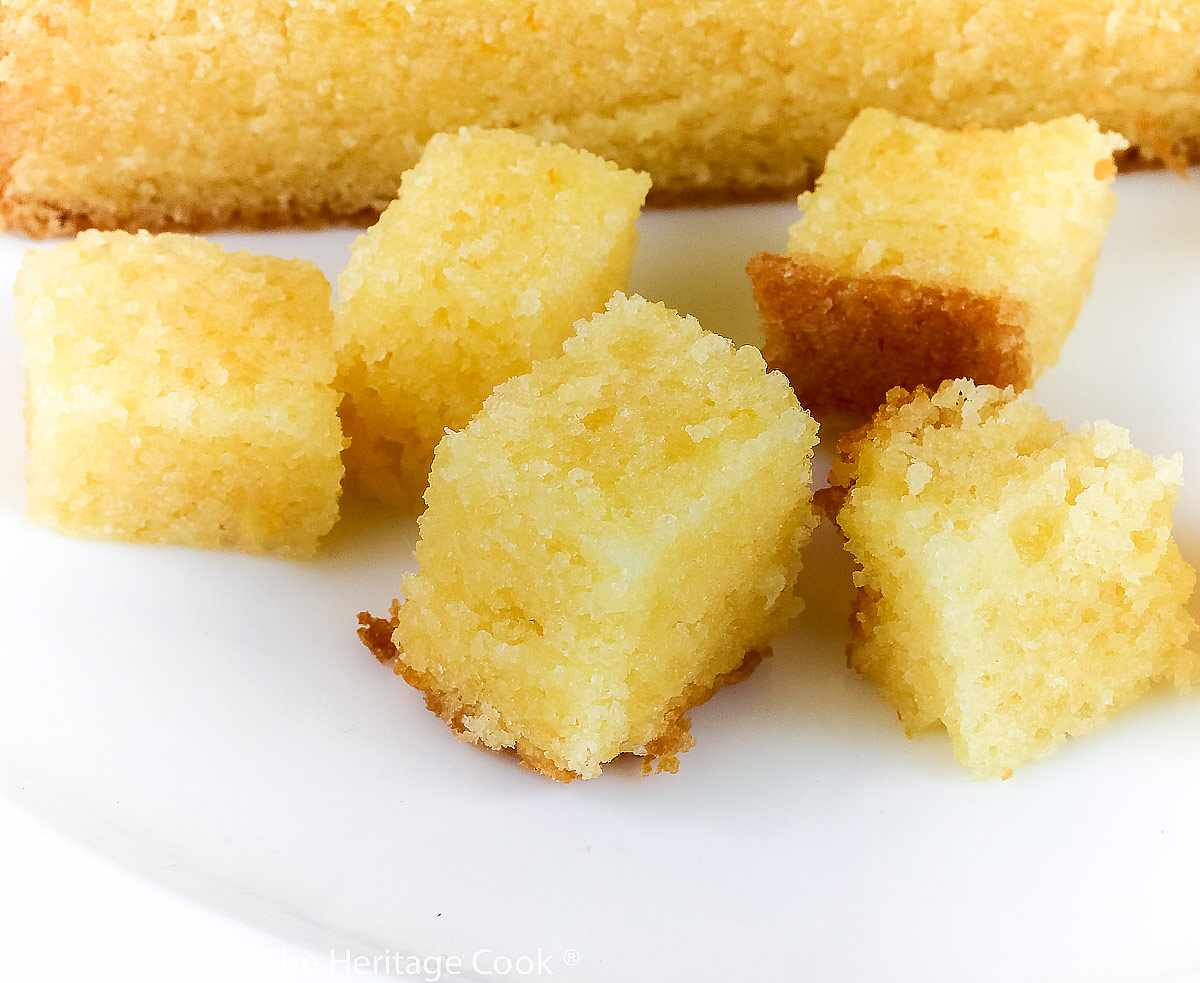
- Assemble the Dessert: Cut the cake into bite-sized pieces and place a layer in the bottom of the glass dish, top with dollops of the whipped cream and spread over the cake pieces, sprinkle with some of the white chocolate chips; repeat layers ending with the cream
- Decorate and Serve: Slice the orange through the “equator” and cut each slice into quarters; garnish each serving and serve
PRO Tip:
I added a little food coloring (red and yellow) to give a bit more color to the cakes for photography purposes. This is totally optional.
Recommended Tools (affiliate links; no extra cost to you):
- Measuring spoons and liquid measuring cups
- Citrus zester
- Chef’s knife
- Cutting board
- Citrus reamer
- Loaf pans
- Stand mixer or hand mixer
- Glass serving bowls or large glass serving bowl
Gluten-Free Tips:
Cakes can be a little crumbly so I usually add a little xanthan gum or psyllium husk powder (helpful if you are sensitive to gums) to hold them together. You will only need about 1/2 teaspoon to do the trick.
You can adjust any recipe to gluten-free by using 120 grams per cup of my favorite gluten-free flour blend. If you are using another brand of gluten-free flour, whisk the mix, spoon it lightly into a measuring cup until mounded, level off the top with a straight edge, and weigh the flour left in the cup. Use that weight as your standard per cup of that specific flour. Commercial blends such as Pamela’s, Bob’s Red Mill 1-to-1, or King Arthur Measure for Measure are all good choices.
Orange Creamsicle Trifle (Gluten-Free)
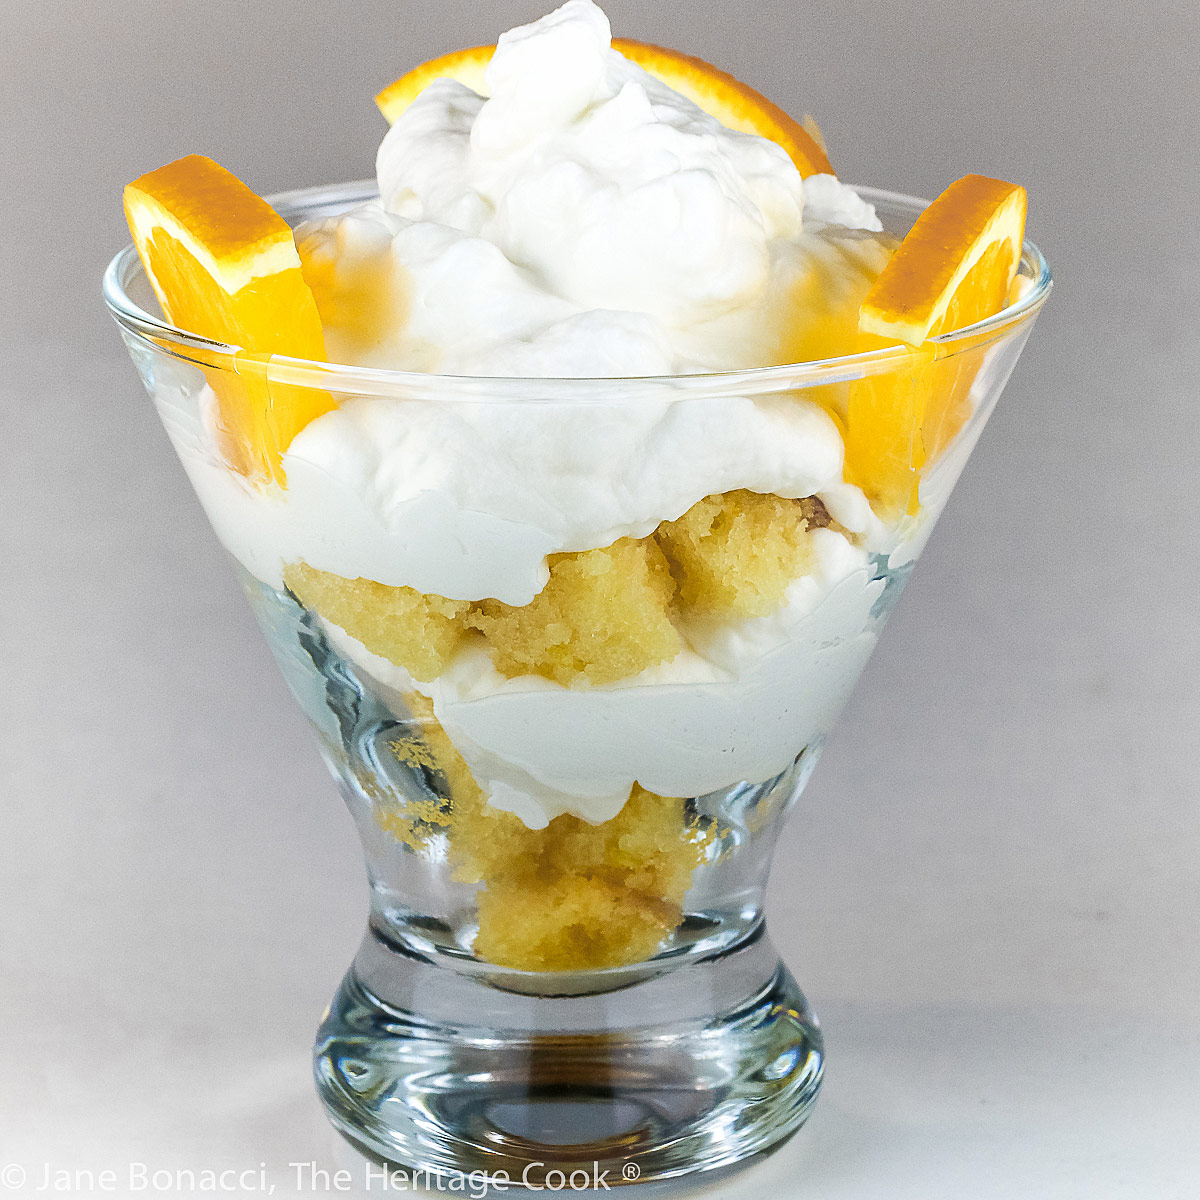
This Orange Creamsicle Trifle will have you reminiscing about your youth, remembering the ice cream bars made with vanilla ice cream covered with an orange sherbet coating. Light and luscious, it is the perfect way to end dinner any time of the year.
Ingredients
Orange Pound Cake
- 3 cups (360g) gluten-free flour blend or all-purpose flour
- 1/2 tsp xanthan gum or psyllium husk powder (use only with gluten-free flour blend)
- 1 tsp kosher or fine sea salt
- 1/2 tsp baking powder
- 1/2 tsp baking soda
- 3/4 cup buttermilk or soured milk
- 1/2 cup freshly squeezed orange juice
- 1 tsp pure vanilla extract
- 1 cup (2 sticks) butter at room temperature
- 2 cups granulated sugar
- 4 large eggs, at room temperature
- Orange oil, optional
- Zest of 1 orange
- Food coloring, optional
Whipped Cream
- 2 cups cold heavy cream, divided
- 1/4 to 1/3 cup powdered sugar, or to taste
- 1/2 tsp vanilla paste or pure extract
Garnishes
- About 2 cups white chocolate chips
- 1 organic Naval orange
Instructions
- Heat the oven to 350°F. Butter and flour (use gluten-free flour if needed) two 8x4x4-inch loaf pans. Set aside. Note: If you don't have the recommended size pans, use what you have, but you'll need to watch carefully while baking as times will be different.
- Bake the Cakes: In a bowl, whisk together the flour, xanthan if using, salt, baking powder, and baking soda. Set aside.
- In a large measuring cup, whisk together the buttermilk, orange juice, and vanilla. Set aside.
- In the bowl of your stand mixer, cream the butter and sugar together until light and fluffy, about 4 to 5 minutes on medium speed. Reduce speed to low and add the eggs, one at a time, mixing thoroughly between each addition. Mix in the orange oil and zest. Scrape the bowl and beater(s).
- Mix in 1/3 of the dry ingredients to the butter mixture, 1/2 of the buttermilk mixture, another third of the dry ingredients, the final buttermilk and final dry ingredients. Mix between additions just until incorporated before adding the next ingredient. Scrape the bowl and beater(s).
- Divide the batter evenly between the two prepared loaf pans and smooth the tops. Bake until golden brown and a toothpick inserted in the center comes out clean, 50 to 60 minutes.
- Cool the cakes 15 minutes in their pans, then turn out onto a wire rack and cool completely.
- Whip the Cream: Using the whisk attachment, whip the cream in your standing mixer until foamy. Add the vanilla and continue whisking until it begins to thicken and is the texture of soft pudding. Add the sugar and mix in, then increase speed to medium-high and beat to firm peaks. Cover and refrigerate until ready to assemble the dessert.
- Keep the cream and cake separate until you are ready to assemble.
- To Assemble: Cut the cake into bite-sized pieces. Place a layer of the pieces in the bottom of a large glass bowl. Top with dollops of the cream and spread it over the cake with the back of a spoon. Sprinkle a handful of the white chocolate chips over the cream. Scatter more cake pieces on top, add another thick layer of cream, more white chocolate chips, and continue until all the ingredients have been used, ending with a layer of cream.
- Cut orange slices (through the "equator") and cut each slice into quarters.
- Scoop portions into individual bowls. Garnish with piece of orange and sprinkle with white chocolate and serve. Alternately you can layer the ingredients in individual glass containers and serve to each of your guests.
- Wrap the second cake tightly in plastic and then foil and freeze up to 2 months.
Recipe found at
www.theheritagecook.com
Notes
Gluten-free cakes can be crumbly so I usually add a little xanthan gum or psyllium husk powder (helpful if you are sensitive to gums) to hold them together. You will only need about 1/2 teaspoon to do the trick.
You can adjust any recipe to gluten-free by using 120 grams per cup of my favorite gluten-free flour blend. If you are using another brand of gluten-free flour, whisk the mix, spoon it lightly into a measuring cup until mounded, level off the top with a straight edge, and weigh the flour left in the cup. Use that weight as your standard per cup of that specific flour. Commercial blends such as Pamela's, Bob's Red Mill 1-to-1, or King Arthur Measure for Measure are all good choices.
Nutrition Information:
Yield:
6Serving Size:
1Amount Per Serving: Calories: 1293Total Fat: 54gSaturated Fat: 31gTrans Fat: 1gUnsaturated Fat: 19gCholesterol: 230mgSodium: 733mgCarbohydrates: 184gFiber: 5gSugar: 115gProtein: 22g
If you enjoyed this recipe, be sure to follow me on social media so you never miss a post:
Create a New Tradition Today!
Welcome! The suggestions here are not intended as dietary advice or as a substitute for consulting a dietician, physician, or other medical professional. Please see the Disclaimers/Privacy Policy page for additional details. Unauthorized use, distribution, and/or duplication of proprietary material from The Heritage Cook without prior approval is prohibited. If you have any questions or would like permission, please contact me. We participate in the Amazon Services LLC Associates Program, an affiliate advertising program designed to provide a means for sites to earn advertising fees by advertising and linking to amazon.com. As an Amazon Associate, I earn a small amount from qualifying purchases. This page may contain affiliate links. This post was first shared in Aug 2018. The article was updated in 2022.

