Today for the Food Network’s #ComfortFoodFeast, we are sharing our favorite peanut butter recipes that remind us of our childhoods. I have to be honest, peanut butter cookies were never my favorites – I am more of a chocolate chip or oatmeal gal. But when I recently saw this recipe I just had to try it. And boy oh boy, am I glad I did!
I am a group manager for the Secret Recipe Club, an organization of bloggers. Each month we are assigned one of the other blogs and we select one of their recipes, make and photograph it, and then on Monday mornings we all post at the same time. It is a wonderful opportunity to showcase other websites and introduce them to our readers.
Originally founded by Amanda Formaro of Amanda’s Cookin’ it started with just a handful of friends and has grown to nearly 400 members under the capable guidance of the new owner, April Tuell of Angel’s Homestead. We are divided into four groups and I run Group-A, the powerhouse team that posts on the first Mondays of each month. I joined in 2011 and have met so many amazing people who share my passions for food, family, and chocolate. I am honored to be part of this engaging and dynamic group.
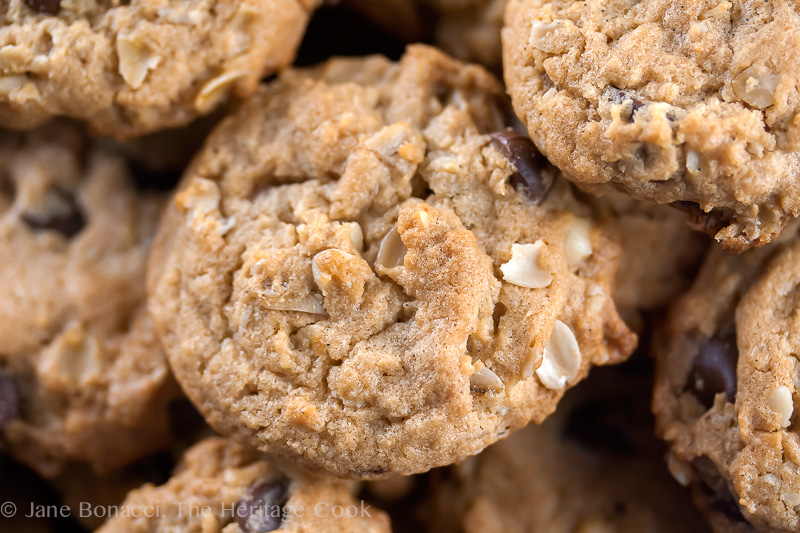
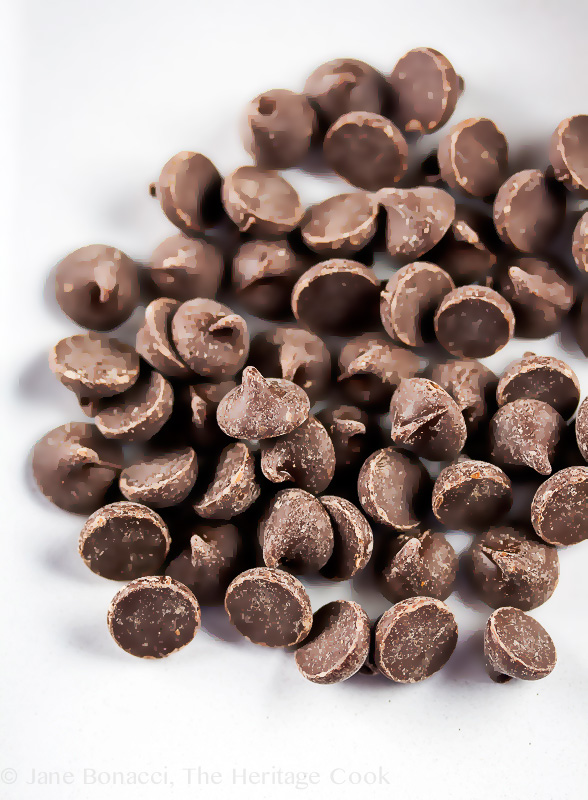
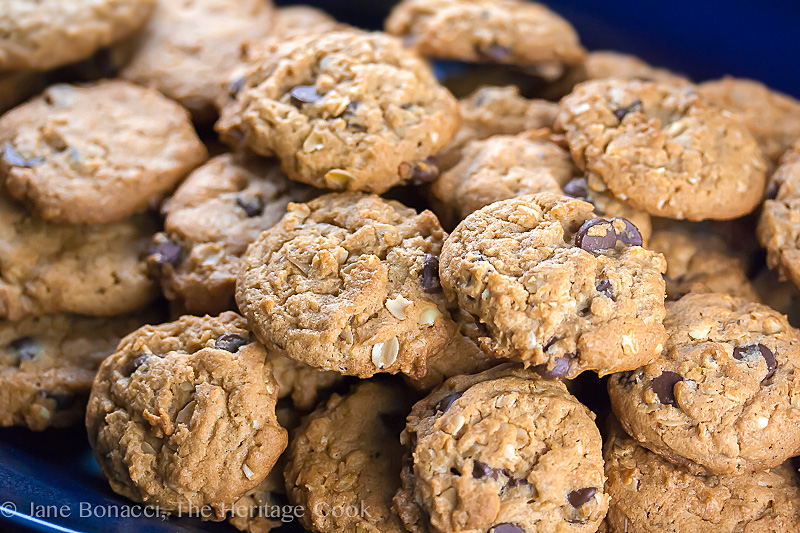
Last month I saw this recipe from the delightful Shannon of Searching For Dessert and I knew I wanted to give it a try. With the addition of chocolate chips (after all it IS Chocolate Monday!), it is the perfect combination of three different cookies – peanut butter, oatmeal, and chocolate chip. The oatmeal makes them a bit healthier and gives you lots of fiber, so I tell myself that I am eating these due to doctor’s orders, LOL!
There is nothing easier to make than a drop cookie and these cookies are no exception. You beat everything together, use an ice cream scoop to portion the dough, and bake the cookies until golden brown and crispy. It is a little like an assembly line once you get going, refilling a baking sheet while the other one is in the oven. And the aromas that waft through your home will have everyone salivating.
Then of course you have to taste one to make sure that they are acceptable, wink. And oh gee, maybe one more to be certain that they are OK halfway through the batch, and of course when you get down to the bottom of the bowl you want to be careful that there aren’t any clumps of unincorporated ingredients, so you need another one – all in the name of quality! Yep, you just learned the secret to my quality control measures, LOL!
So throw these together, bake some of them off for your family and freeze the rest. That way you won’t sit down and polish off the entire batch in one seating. Yes, that‘s right, they are down right addicting. A little like Reese’s peanut butter cups in a cookie form – what’ not to love about that!
If you want to freeze them, I like to scoop out the dough onto parchment-lined baking sheets, setting them close together but not touching, and then leave them in the freezer until frozen solid. Transfer the frozen dough balls to resealable plastic bags or containers and store them in the freezer. Then when you want some fresh from the oven cookies, just pop a few onto a baking sheet and toss them in the oven. Oh my, is there anything better?
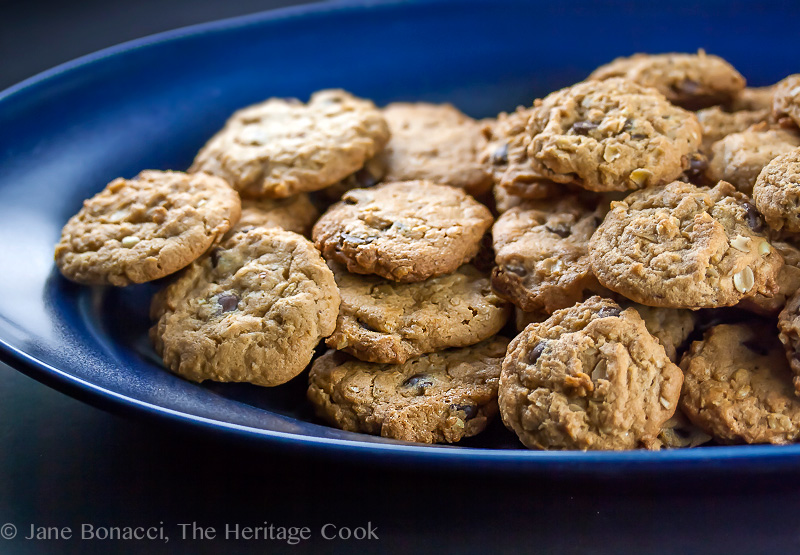
Cookies on the left were flattened before cooking; those on the right were not
This is the last in our series of Comfort Food recipes for this year. Next up we will be focusing on Spring produce and sharing new and interesting ways to showcase the beauty of the earth shaking off its snowy covering and delivering fresh, wholesome, and delicious fruits and vegetables to keep us healthy and strong!
Make sure you check out all the recipes listed below from some truly remarkable people. I am constantly amazed at their creativity, ingenuity, and pure talent as they create and share unbelievable recipes each week.
Enjoy!!
Jane’s Tips and Hints:
If you don’t already have one (or several) spring-loaded ice cream scoops that you use to portion doughs for cookies and other baked items, make the investment. They are not that expensive if you buy them one at a time and you will find them to be incredibly versatile tools for a wide variety of tasks. There is nothing that revolutionized how I make cookies more than my first scoop – my cookies are perfectly shaped, equally sized, and incredibly fast to pan. I love my scoops and have four different sizes for any task at hand. From forming cookies, to filling muffin tins and making uniform pancakes, these scoops are a time-saver that you will love!
Gluten-Free Tips:
Use GF flour blend, peanut butter, baking soda, and oatmeal. Be very careful of the oats you use. Due to the way crops are grown in this country, most oats are contaminated with wheat either by the winds that blow across the fields and cross germinate or during processing in the plants that process both wheat and oats. You want to look for a brand that is labeled gluten-free (Bob’s Red Mill carries GF oatmeal) so you don’t accidentally make someone sick.

- 3/4 cup all-purpose flour or gluten-free all-purpose flour blend
- 1/2 tsp baking soda (gluten-free if needed)
- 1/4 tsp baking powder (gluten-free if needed)
- 1/4 tsp kosher or sea salt
- 1/2 cup (1 stick) butter, at room temperature
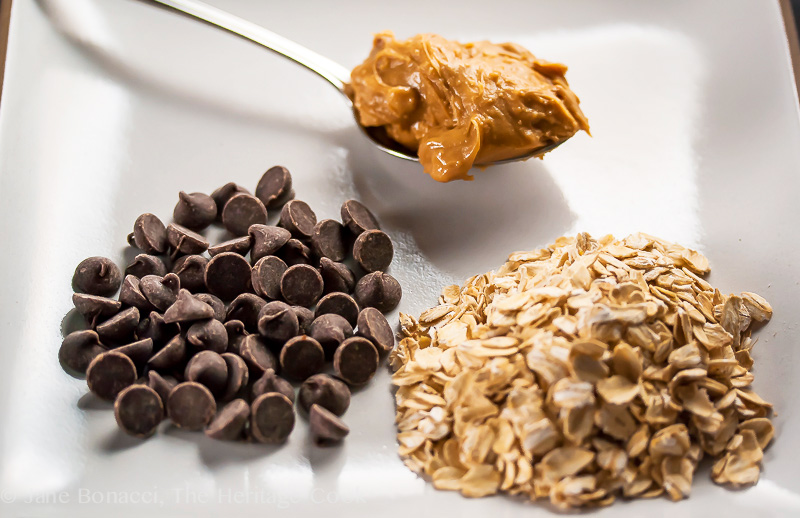
- 1/2 cup creamy or chunky peanut butter (gluten-free if needed)
- 1/2 cup firmly packed dark brown sugar
- 1/3 cup granulated sugar
- 1 large egg
- 1 tsp vanilla
- 1 cup rolled oats (gluten-free if needed)
- 1 cup semisweet chocolate chips (gluten-free if needed)
- Preheat the oven to 350°F. Line two baking sheets with parchment paper or Silpats.
- In a mixing bowl, combine the flour, baking soda, baking powder, and salt. Use a whisk to thoroughly blend and break up any clumps. This takes the place of sifting them together. Set aside.
- In the bowl of your standing mixer, combine the butter, peanut butter, and both sugars. Beat on medium speed until smooth, about 1 to 2 minutes. Add the egg and vanilla, and mix until fully incorporated. With the mixer running on low, gradually add the dry ingredients, Beating until creamy. Add the oats and chocolate chips, beating just until they are evenly distributed.
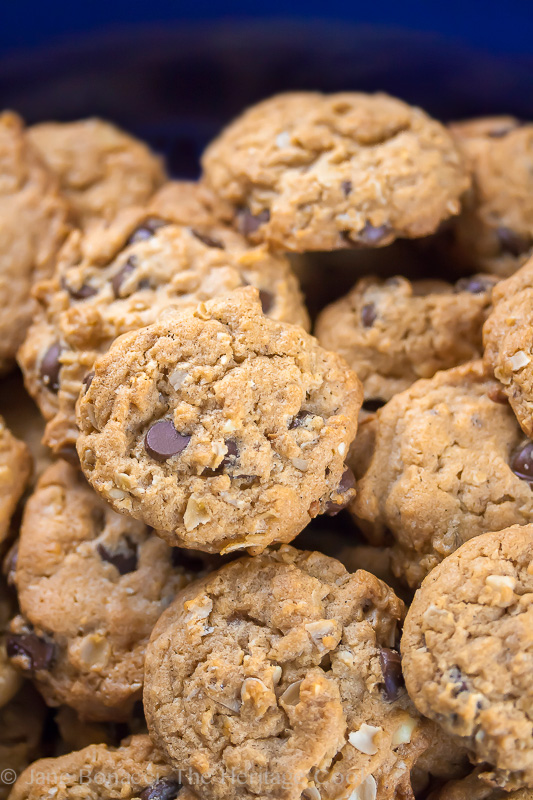
- Use a small spring-loaded ice cream scoop to portion the dough into tablespoon-size balls. Place them on the prepared baking sheets, about 12 to a sheet (4 rows of 3 cookies each). If the dough is particularly sticky (if it is a warm day), pop the bowl in the refrigerator about 15 minutes to firm up. The dough will be much easier to work with. Flatten each one slightly with the bottom of a wet glass to help them bake more evenly. (You can skip the flattening part; I like the look of the regular cookies better, but if you are going to be stacking them, the flattened ones are the way to go.)
- Bake for 10 to 12 minutes, or until the cookies are golden brown and just firm to the touch. Remove from the oven and let sit on the baking sheet for a few minutes before transferring to a wire rack to cool. Continue baking, filling the next baking sheet while another batch is baking, until all the cookies have been baked.
- Store cooled cookies in an airtight tin or container at room temperature. I doubt they will last long enough for you to have to worry about storing them for much longer than a day or two!
- Yield: about 4 dozen 2-inch cookies
Create a New Tradition Today!
This recipe is part of Food Network’s weekly Comfort Food Fest. See the links below for more inspiration and great recipes!
Domesticate Me: Peanut Butter and Banana Overnight Oats (Vegan and Gluten-Free)
Jeanette’s Healthy Living: Gluten-Free Chocolate Peanut Butter Chip Cookies
Virtually Homemade: Mini Nutter Butter Baked Donuts with Chocolate Ganache
Weelicious: World’s Greatest Peanut Butter and Jelly
In Jennie’s Kitchen: Peanut Butter & Chocolate Cinnamon Buns
Red or Green: Peanut Butter and Ginger Cookies
Napa Farmhouse 1885: Thai Red Curry and Peanut Vegetable Slaw
Devour: Most-Comforting Peanut Butter Desserts
Taste With The Eyes: Korean Buckwheat Noodles, Peanut Sauce and Banana
Sensitive Epicure: Peanut Butter Oat Bars (Gluten-Free)
Feed Me Phoebe: Thia Peanut Chia Pudding
FN Dish: 10 Peanut Butter Pairings
Unauthorized use, distribution, and/or duplication of proprietary material from The Heritage Cook without prior approval is prohibited. This includes copying and reprinting content and photographs. If you have any questions or would like permission, I can be contacted via email at theheritagecook (at) comcast (dot) net. Feel free to quote me, just give credit where credit is due, link to the recipe, and please send people to my website, www.theheritagecook.com. Please see the Disclaimers page for additional details.
This site is not intended to provide medical advice. The suggestions here are not intended as dietary advice or as a substitute for consulting a dietician, physician, or other medical professional. It is the reader’s sole responsibility to determine which foods are appropriate and safe for their family to consume. Always consult your doctor. The author makes no claims regarding the presence of food allergens and disclaims all liability in connection with the use of this site.
Thank You!




Debi Koenig
These were DELICIOUS. The first time that I made them they looked just like the picture…wouldn’t change a thing 🙂
diane padoven
these look delicious! and i love the idea of freezing the dough balls so you just have to pop in the oven anytime you “need” fresh, warm cookies! 🙂
Mireya @myhealthyeatinghabits
Hi Jane,
These cookies look too good to be gluten free. I’m looking forward to trying them. Where can I find out about participating in the Food Network weekly comfort food feast?
Jeanette
Love the crunchy peanut butter in these cookies – chocolate and peanut butter are so good. I use oats and oat flour often when I make cookies – great way to up the nutrition in a kid friendly way. Beautiful pictures Jane!
Jane Bonacci
Thank you Jeanette! The oatmeal really made these special with a lot of great chewiness. I love it! I’m going to have to play with oat flour more – I love the concept and adding more nutrition!
Tanya
I’ve been trying to cut out regular flour from my diet. These might be perfect for when I hit a cookie craving. Thanks for the recipe.
Jane Bonacci
Hi Tanya – Alternate flours are a bit tricky in some recipes, but for cookies, they work really well. The alternative GF flour blend recipe that I use regularly is under the Gluten-Free Tab at the top of the page. I hope you love these as much as we do!