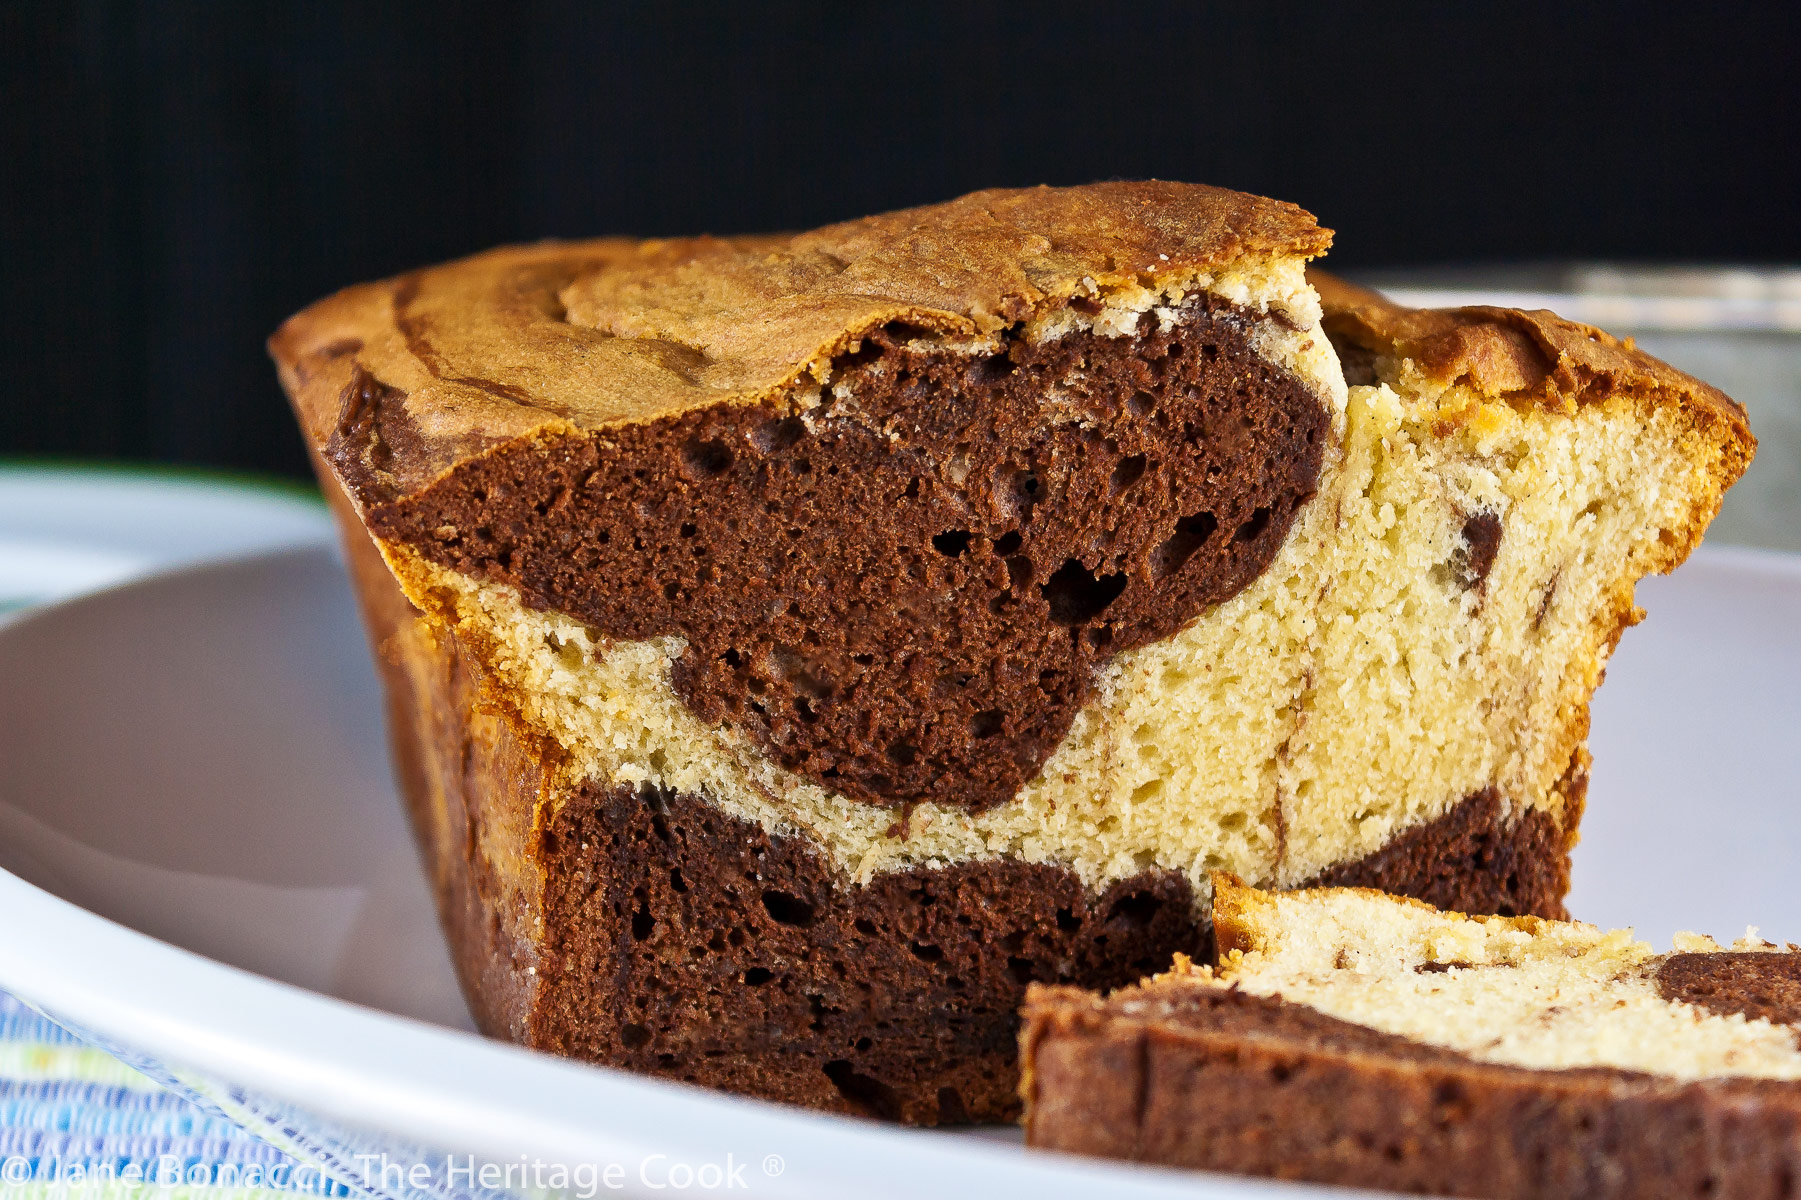
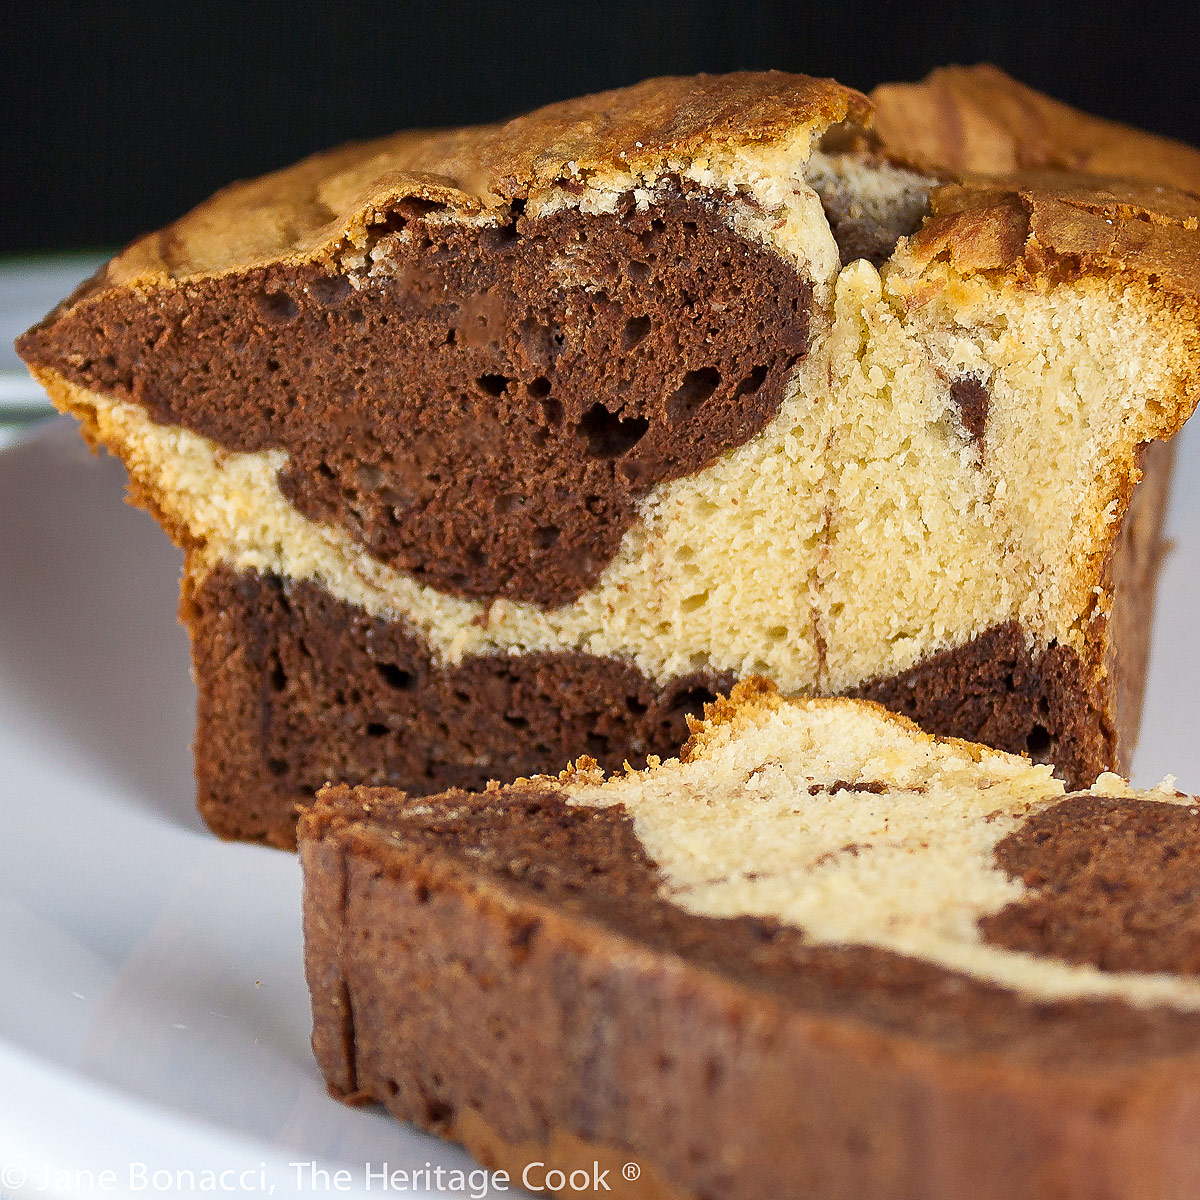
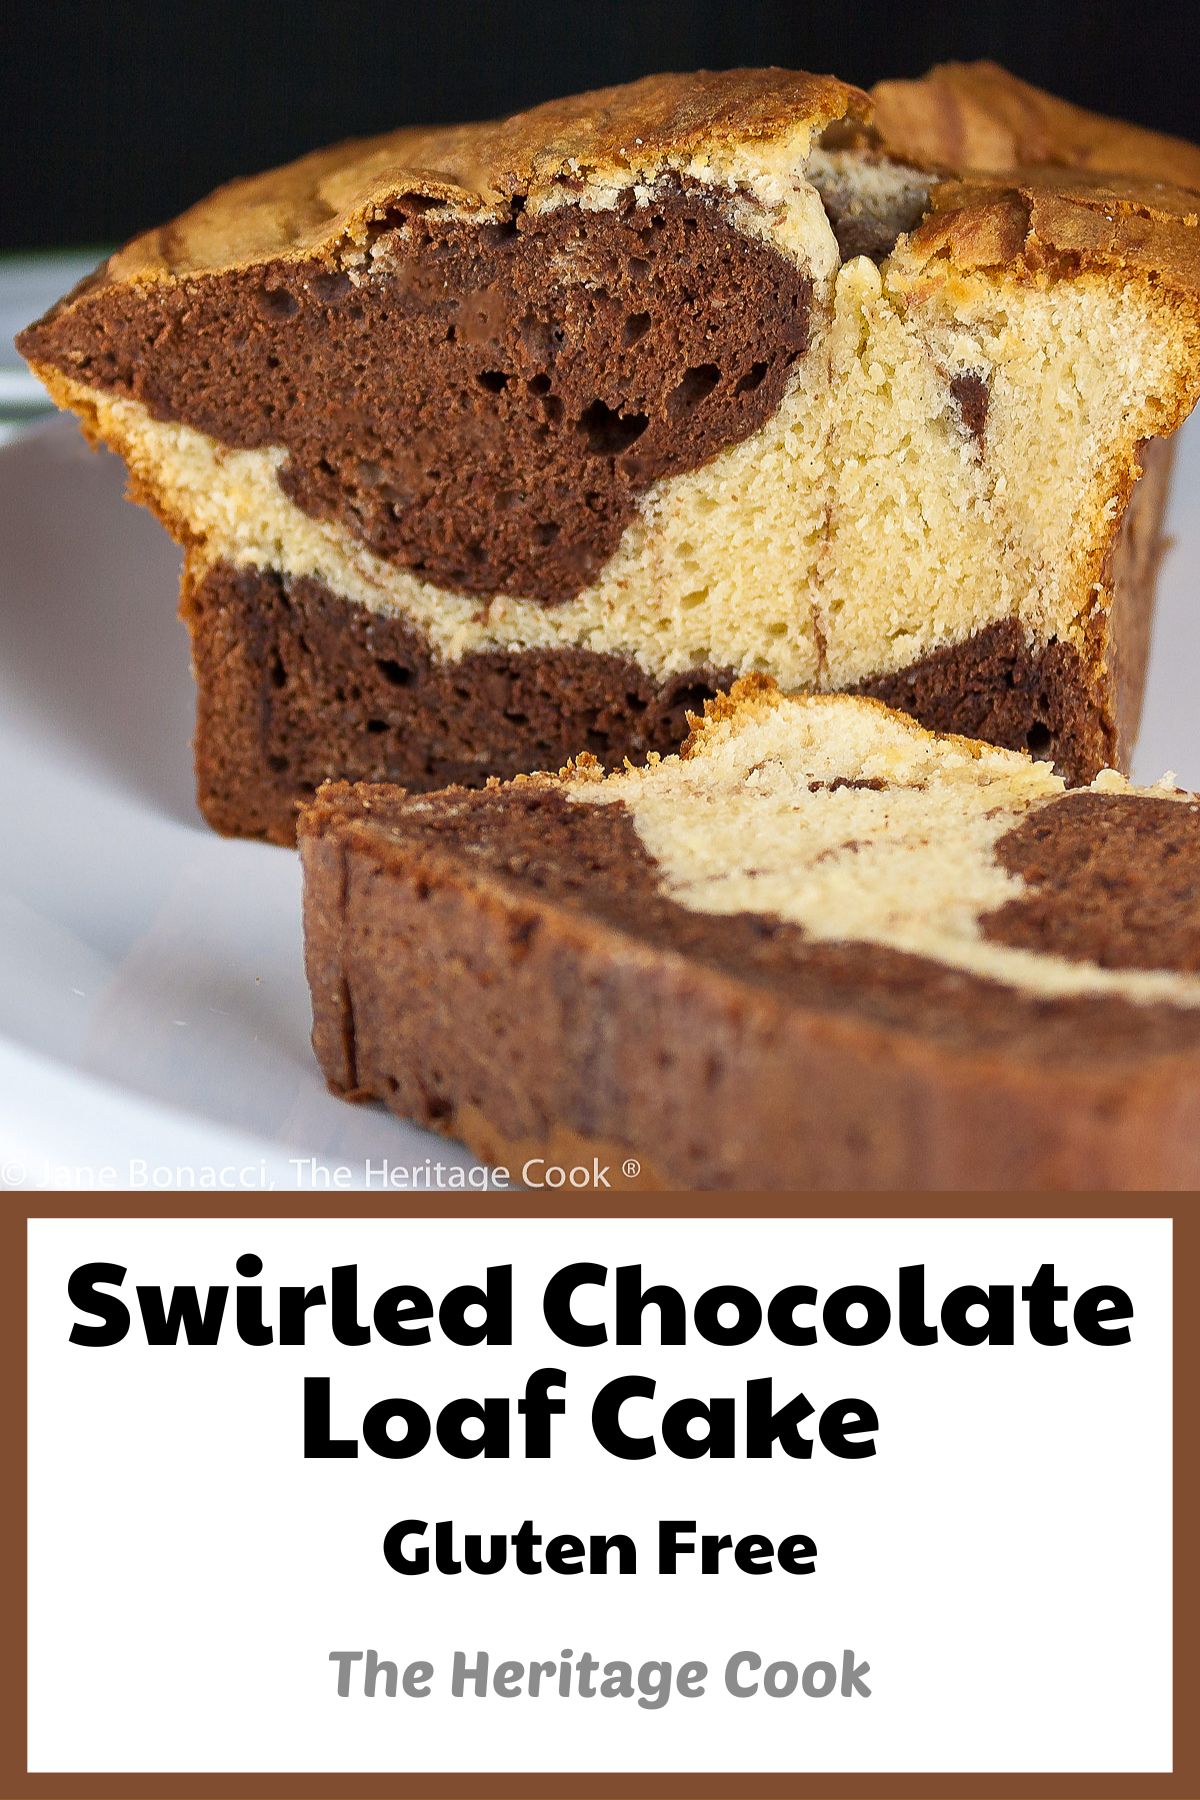
This Swirled Chocolate Loaf Cake has swirls of chocolate and vanilla batters that make a stunning cake. Each slice is different from the one before which makes for a surprise with every piece. Kids love it and so do I!
When he was young, The Artist’s favorite cake, the one he always asked for, was a chocolate marble bundt cake that his mom made with boxed cake mixes and instant pudding. His tastes have changed and he prefers my “from scratch” cakes these days. Better ingredients and fewer additives equals pure deliciousness.
This cake is the ultimate blending of chocolate and vanilla, such a classic flavor combination. You could easily add additional flavorings if you like such as complementary alcohols, flavored oils, or spices. Some ideas that come to mind to blend with the batters would be orange, coconut, peppermint, or raspberry. I love recipes that give me options. You can totally customize this to please your family!
Because the chocolate batter tends to be thicker than the white chocolate batter, feel free to add a little extra milk to thin it out slightly. If the batter is too thick, you won’t get the right marbling. I would have liked a more ‘artistic’ look to my slices. It probably would have benefitted from a little more vigorous dragging of the knife through the batter, but The Artist certainly didn’t complain, LOL!
If you are going to start with a professional recipe, I strongly recommend you use any of Dorie Greenspan’s many cookbooks. She is renown in our industry, as both an incredible talent and also as one of the loveliest people on the planet! Anyone who meets her in person walks away enraptured. And just like everyone else, I love her too! Today’s cake is based on one of Dorie’s recipes so you know it is going to be delicious!
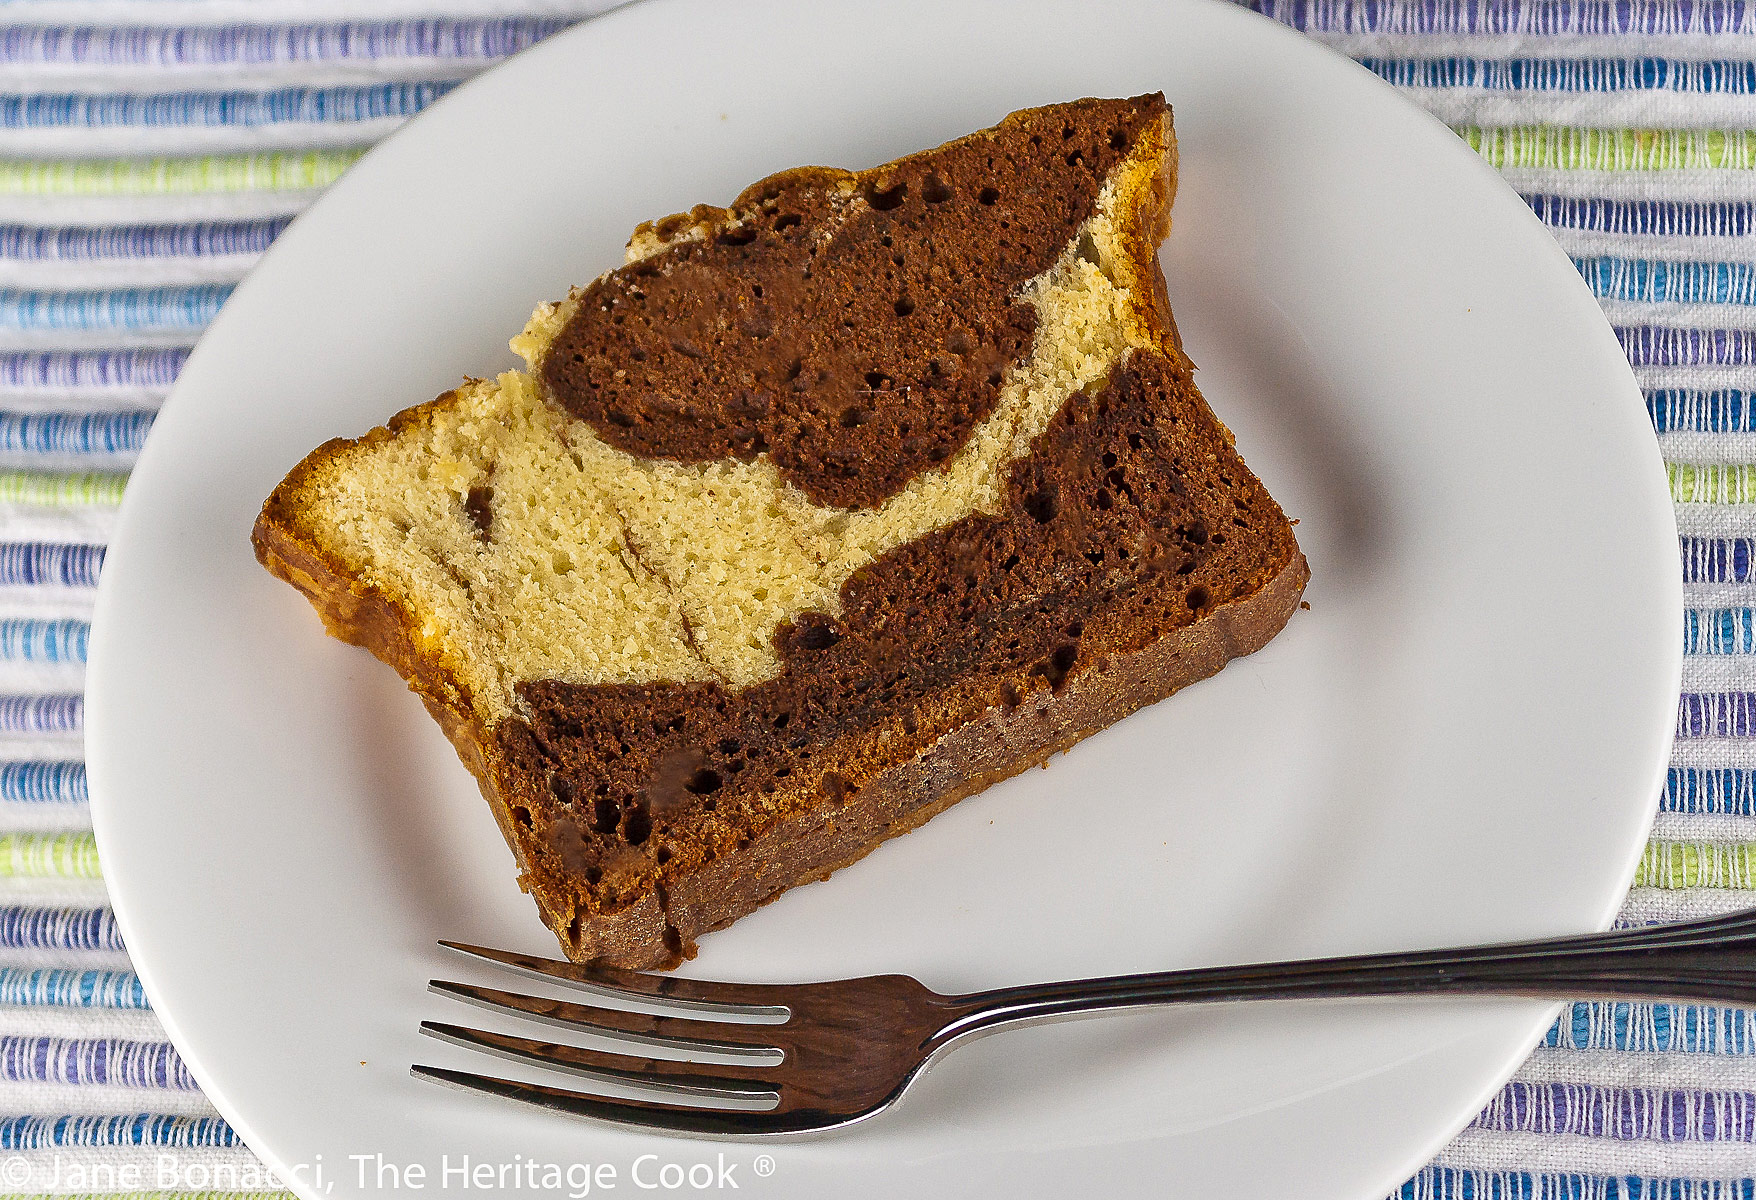
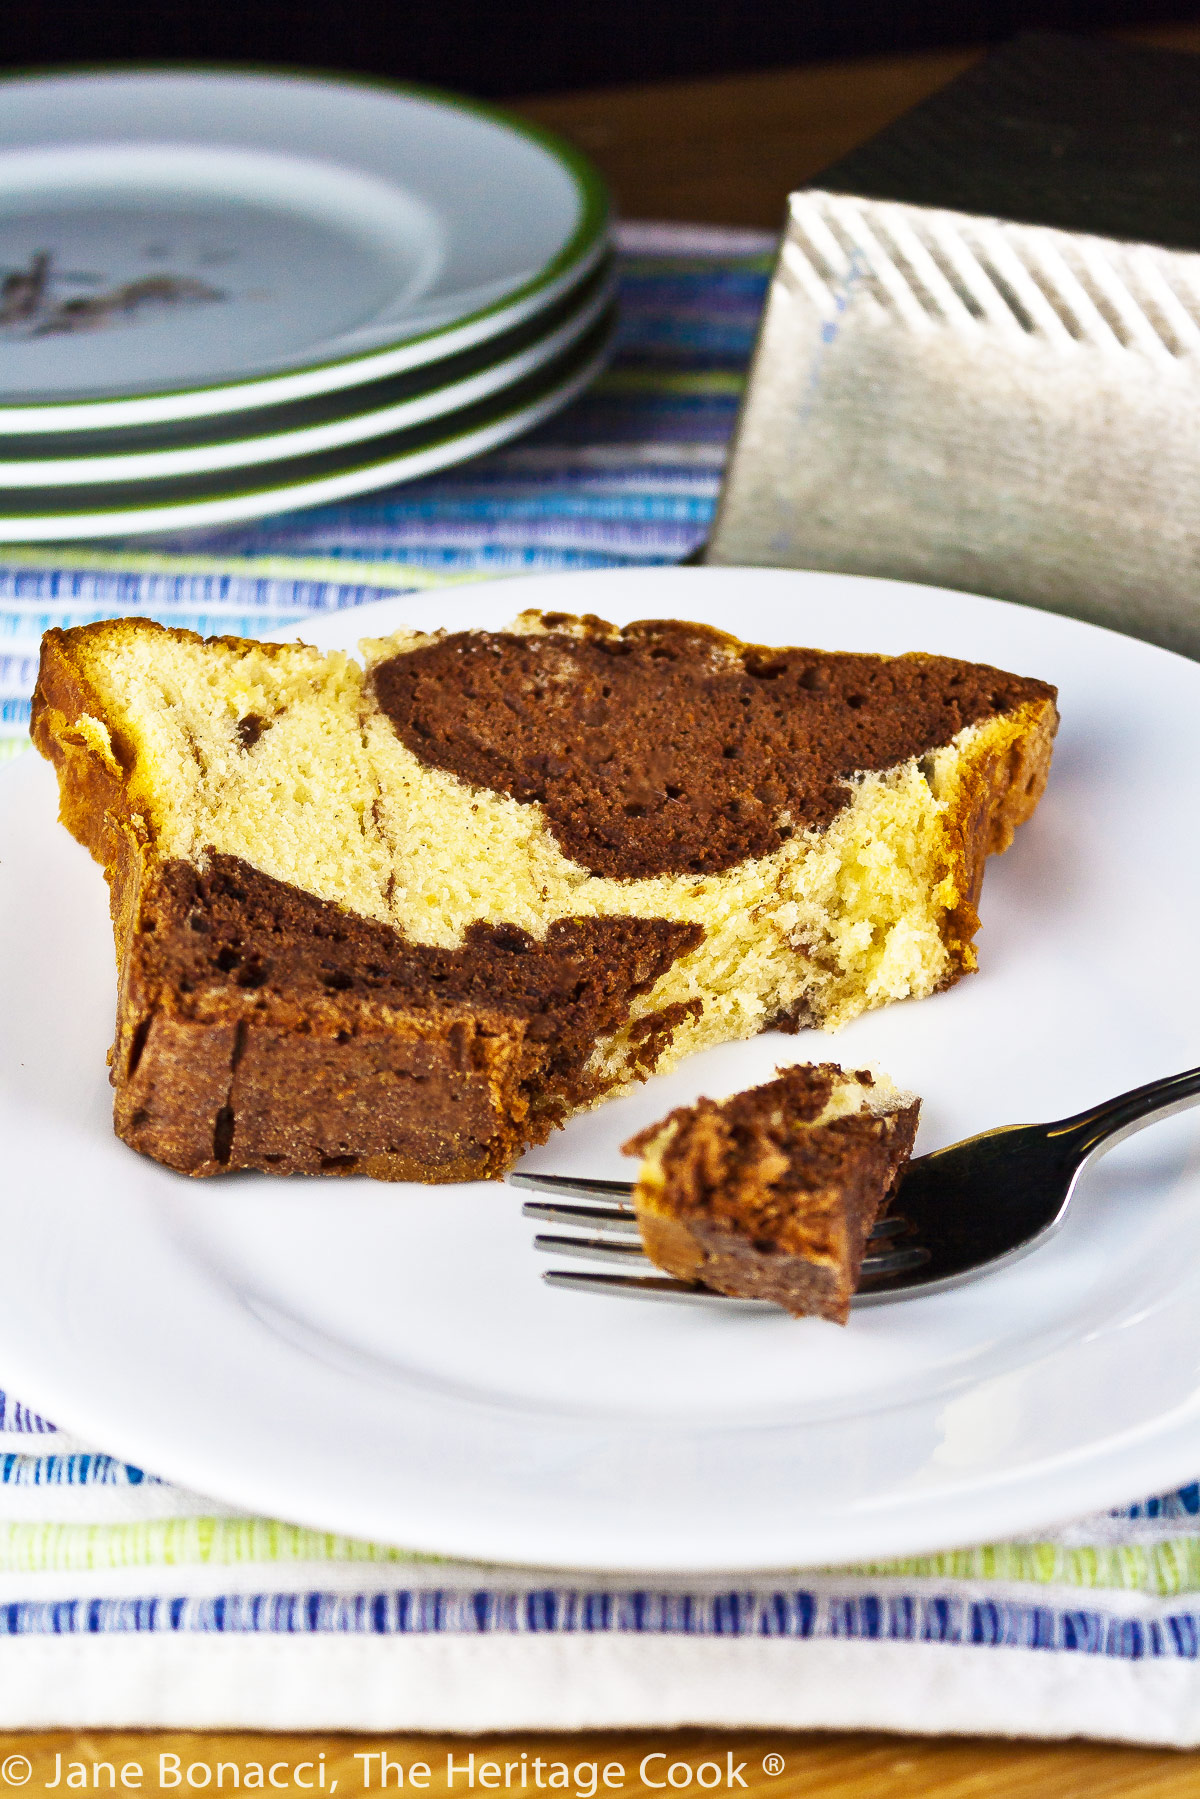
One of the most fun aspects of making a marbled cake is not knowing what it will look like until you cut the first slice. As you can see in the photos, the design changes as you work your way through the cake, some slices with more chocolate and others with more vanilla.
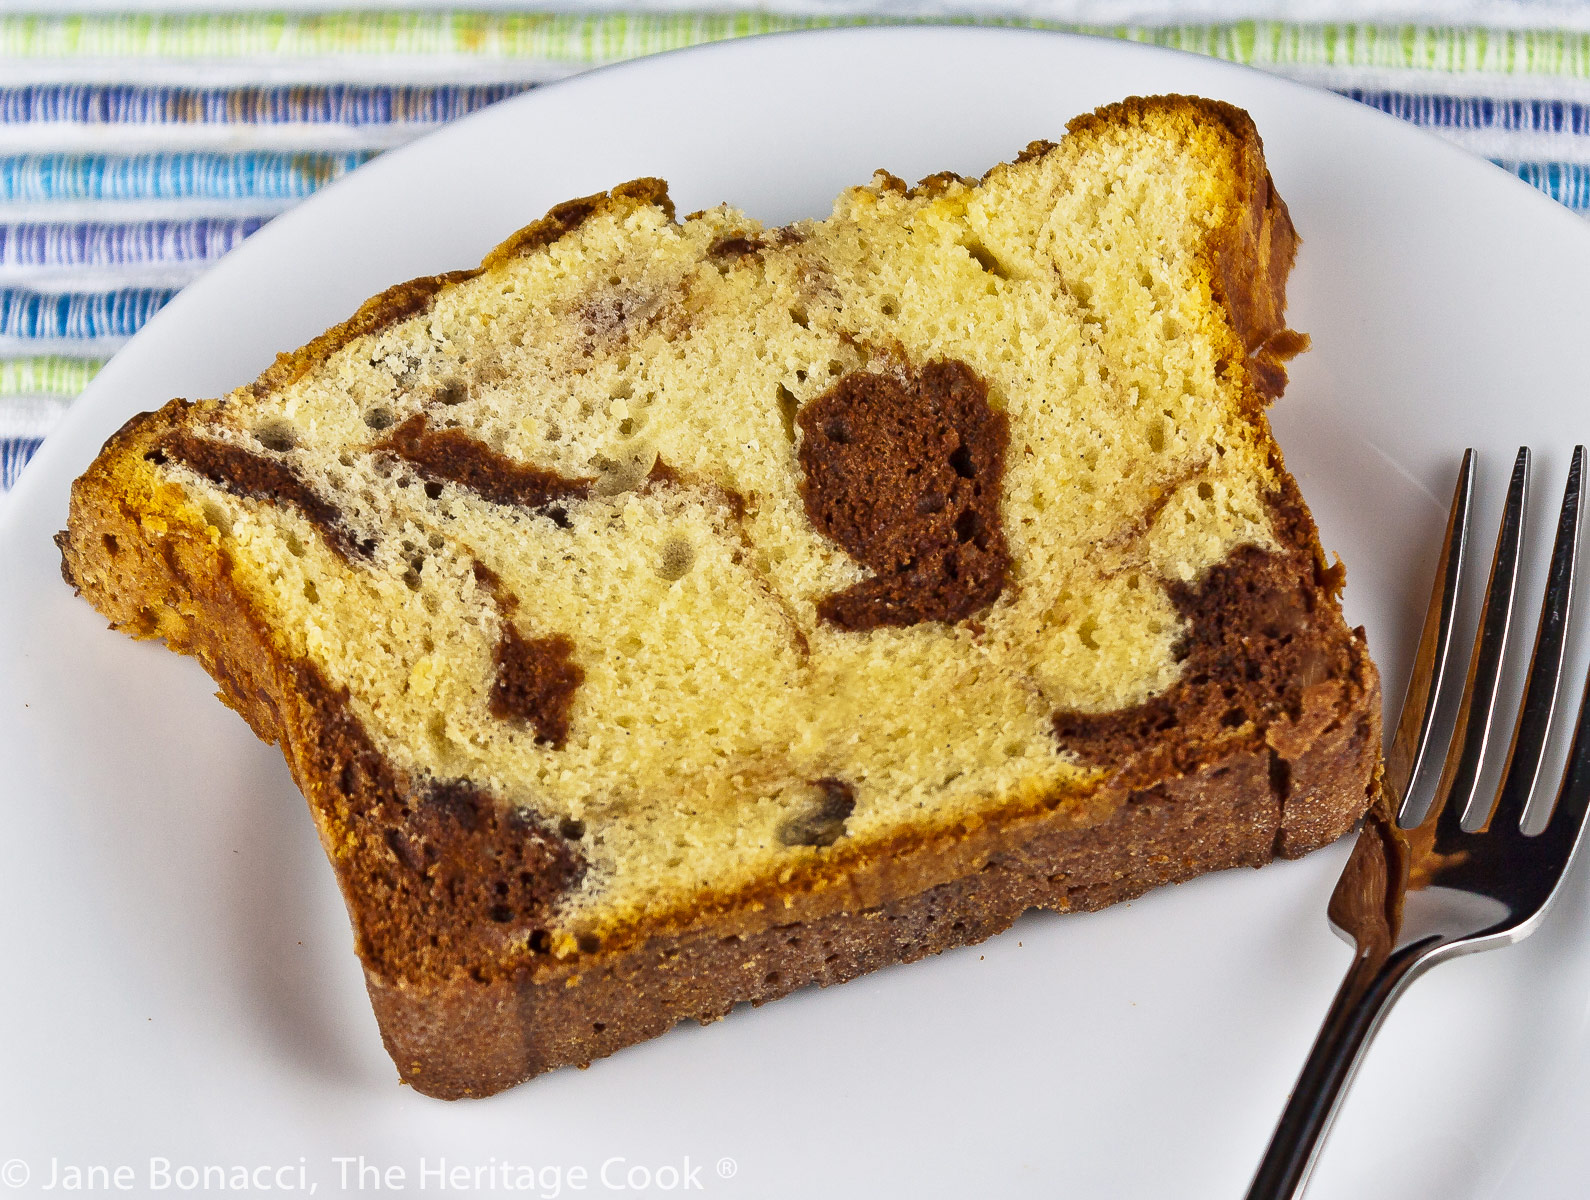
Each slice is different inside!
I used Scharffen-Berger semisweet block chocolate and unsweetened cocoa to get a nice, rich chocolate flavor for the dark batter. And Guittard’s white chocolate plus extra vanilla paste for the light batter gave it a rich and creamy texture with a lovely vanilla flavor.
I loved the cake and was impressed with the texture that I got with my gluten-free flour blend and almond meal. Adding almond or hazelnut flour to your baked goods in place of a portion of the flour gives you a lovely mouthfeel and richness. The nuts lend their own oils to baked goods and really make a big difference. If you want, add some to your next sweet dessert and see what you think. You may fall in love just like I have!
This Swirled Chocolate Loaf Cake travels beautifully and would make a lovely hostess gift or something to take to a party. Also, it is easy to convert to gluten-free and no one would even know or care that it was gluten-free because it is so delicious!
Happy Chocolate Monday my friends!
Did you enjoy this recipe? Let me know in the comments and leave a star rating, I love hearing from you!
Ingredients needed for Swirled Chocolate Loaf Cake:
- Gluten-free flour blend, almond meal, baking powder, salt, eggs,
- Unsalted butter, sugar, milk, semisweet chocolate, vanilla,
- White chocolate, unsweetened cocoa powder
PRO Tip:
When you are swirling the dough, don’t over-do it. I took a class once from Nick Malgieri, one of the country’s greatest bakers and teachers, and that day he make a marble cake. He makes only two sweeps, in opposite directions, through the two batters to blend them! I can never stop at just two, but I try to control myself. And remember, by layering the batters in alternating colors, the cake is already marbled naturally – you’re just adding a little pizzazz.
How to make Swirled Chocolate Loaf Cake:
- Whisk together the flour, baking powder, and salt and set aside; break the eggs into a bowl and add the vanilla
- Beat the butter until smooth, fluffy, and lightened in color, about 3 minutes, then add the sugar and beat another 2 to 3 minutes; melt the two chocolates in the microwave in heatproof bowls on half power in 30 second increments, stirring after each heating
- Add the eggs and vanilla to the sugar, one at a time, beating well after each one, alternately add the flour mixture with the milk, beginning and ending with the dry ingredients; transfer half the batter to another bowl and stir the melted dark chocolate in until smooth and evenly combined
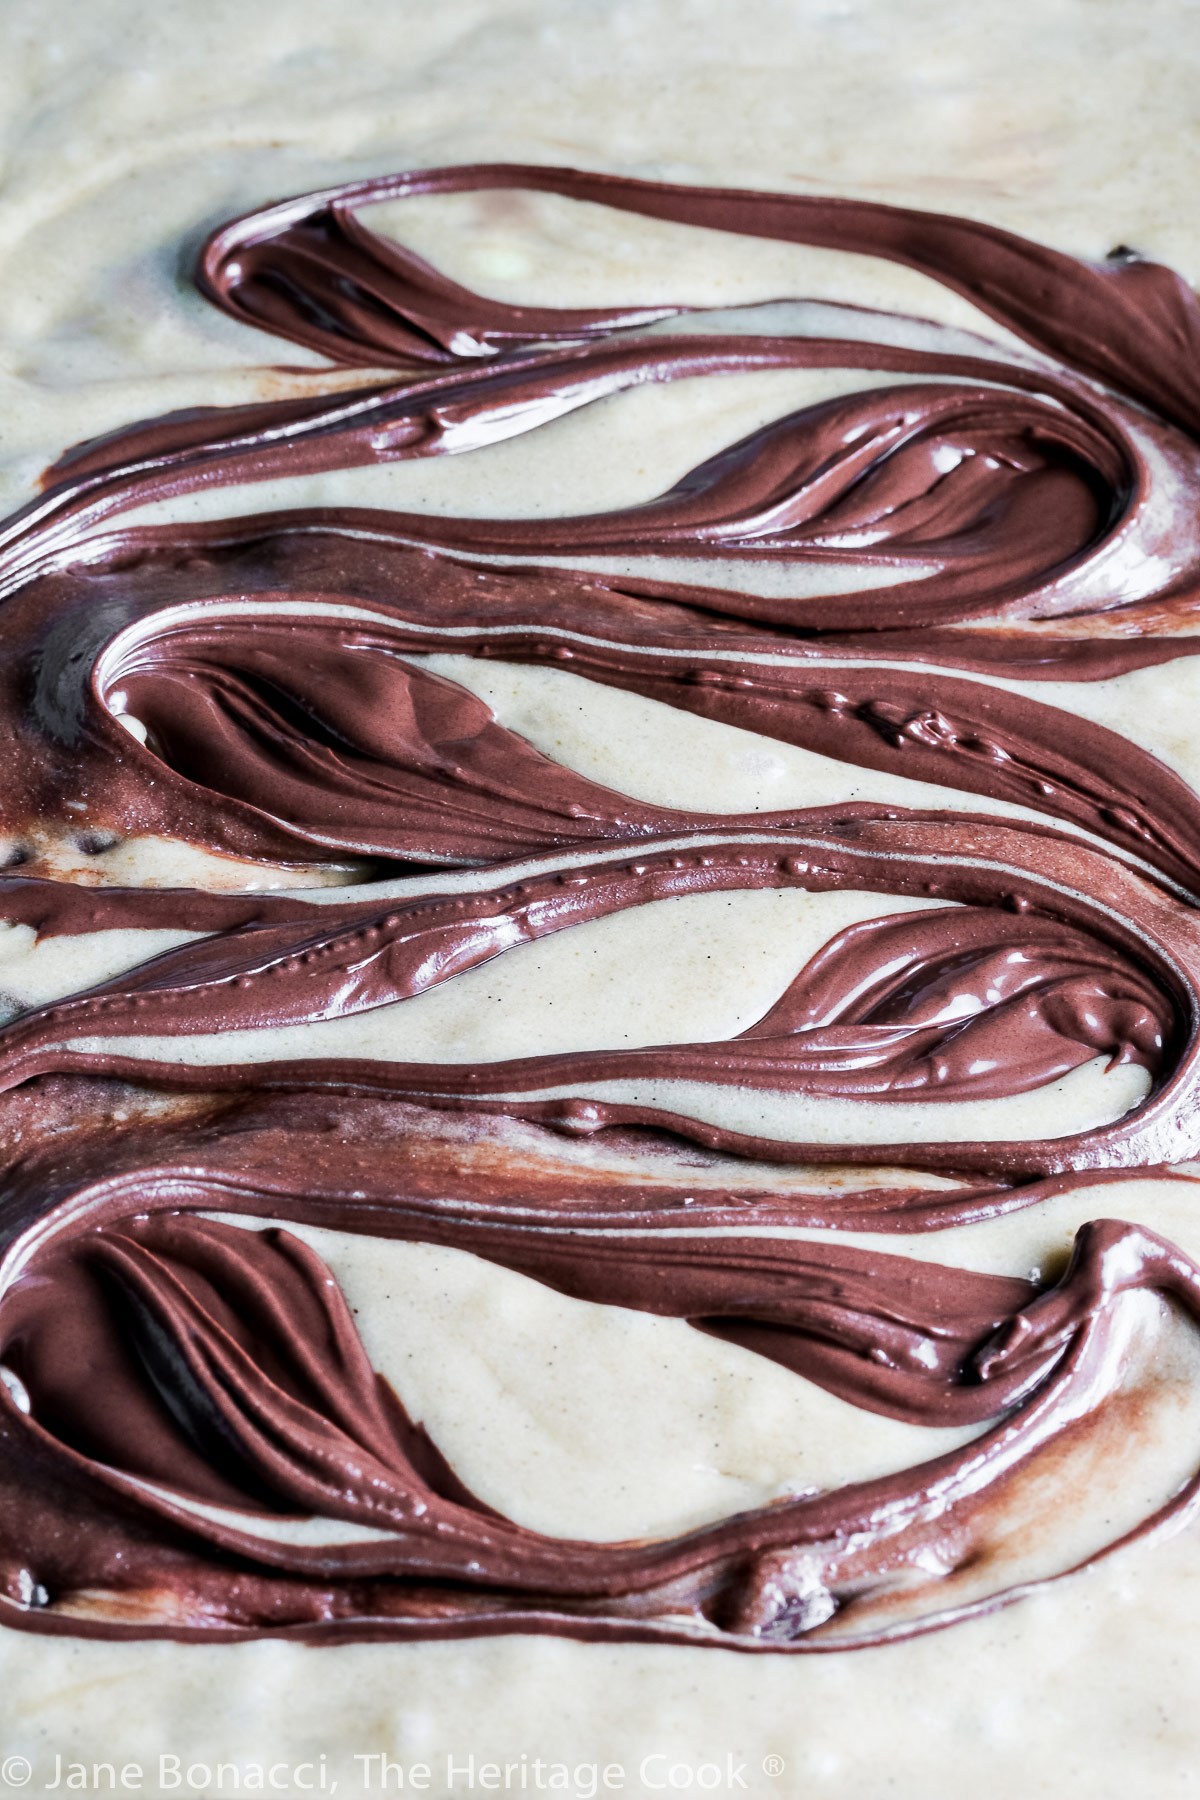
- Add the melted white chocolate to the remaining batter in the mixer bowl, beating until smooth and evenly mixed; drop dollops of each batter into a buttered and floured loaf pan, alternating the batters, then using a table knife, drag it zigging and zagging along the length of the pan, then do the same in the opposite direction once, don’t over mix
- Bake the cake at 325°F, set on a Silpat-lined baking sheet or double stacked baking sheets, for 30 minutes then spin the pans so the front is now facing the back of the oven and continue baking another 30 minutes; check with a toothpick and continue baking if it doesn’t come out clean – it may take up to an additional 20 minutes to finish baking through (test again with a toothpick)
- Transfer the cake to a rack to cool for 15 minutes, then remove it from the pan and set right side up on the rack and cool to room temperature; slice and enjoy!
PRO Tip:
Adding the batters in alternating dollops guarantees an interesting pattern when the cake is baked. The dark chocolate batter is heavier than the white chocolate batter, so if you want, add a splash more milk to the dark to thin it out slightly.
Recommended Tools (affiliate links; no extra cost to you):
- Kitchen scale
- Mixing bowls
- Chef’s knife
- Cutting board
- 9×5-inch loaf pan
- Baking sheets
- Silpat (silicone baking mat)
- Stand mixer or hand mixer
- Wire cooling rack
Gluten-Free Tips:
This recipe adapts beautifully to gluten-free following the adjustments I added to the ingredients list. Make sure that you use gluten-free flour to dust your baking pan and not regular flour!
You can adjust any baking recipe to gluten-free by using 120 grams per cup of my favorite gluten-free flour blend. If you are using another brand of gluten-free flour, whisk the mix, spoon it lightly into a measuring cup until mounded, level off the top with the back of a knife, and weigh the flour left in the cup. Use that weight as your standard per cup of that specific flour. Do this for each flour blend you use. Commercial blends such as Pamela’s All-Purpose Artisan Blend, Bob’s Red Mill 1-to-1, or King Arthur Measure for Measure are all good choices.
All recommended ingredients are gluten-free as of the writing of this article. Always check to be sure the products haven’t changed and are still safe to consume.
Swirled Chocolate Loaf Cake (Gluten-Free)
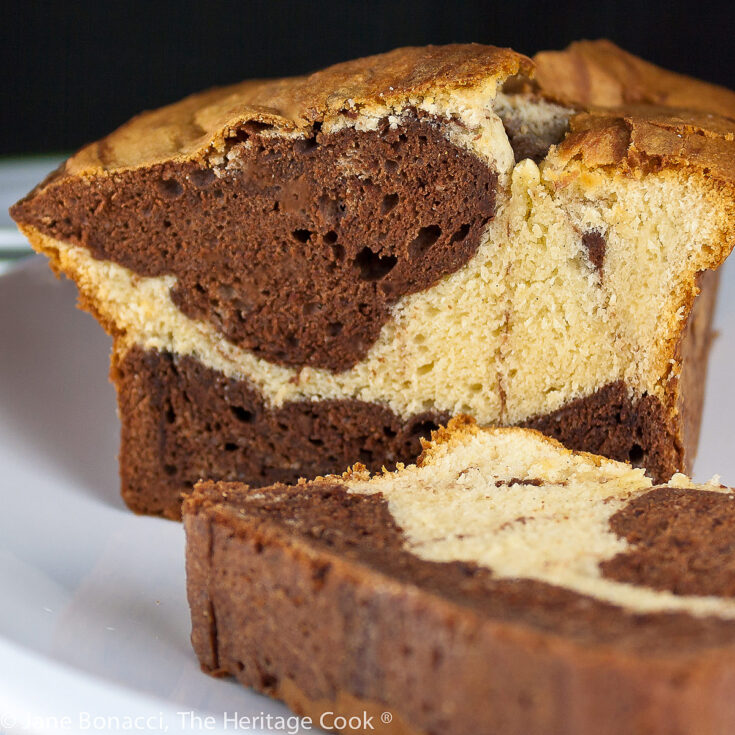
This cake has swirls of chocolate and vanilla batters that make a stunning cake. Each slice is different from the one before which makes for a surprise with every piece. This is a winner of a cake!
Ingredients
Cake Batter
- 1-3/4 cups (210g) gluten-free flour blend plus extra for dusting
- 6 tbsp (42g) almond meal
- 1-1/2 tsp baking powder
- 1/2 tsp kosher salt
- 1/4 tsp xanthan gum (omit if your blend already contains it)
- 5 large eggs (250g)
- 1/2 tsp pure vanilla extract
- 1-1/2 sticks (12 tbsp; 339g) unsalted butter, at room temperature
- 1 cup (198g) granulated sugar
- 1/2 cup (113g) whole milk or evaporated milk (not low-fat)
Chocolate Batter Addition
- 2 oz (290g) semisweet chocolate, chopped finely
- 2 tbsp (28g) butter
- 2 tbsp (11g) unsweetened cocoa powder
- A little extra milk if needed
Vanilla Batter Addition
- 3 oz (85g) white chocolate, chopped
- 1 tbsp (6g) butter
- 2 tsp vanilla bean paste or vanilla extract
Instructions
- Place a rack in center of the oven and preheat to 325°F (163°C). Butter and flour (use GF flour if needed) a 9x5 inch (23x13cm) loaf pan. Place the pan on an insulated baking sheet or a baking sheet with a Silpat. The Silpat helps insulate the cake creating a more even baking environment.
- In a medium bowl, whisk together the flour, baking powder and salt. Set aside. Break the eggs into a small bowl and add the vanilla; set aside.
- In your stand mixer fitted with the paddle attachment (or a hand mixer and a large bowl) beat the butter on medium speed until smooth, fluffy and lightened in color, about 3 minutes. Add the sugar and beat for another 2 to 3 minutes until smooth and creamy.
- While the butter and sugar are creaming, melt the two chocolates. Place the chocolate ingredients in two small microwave-proof bowls, chocolate in one, white chocolate in the other, and set your microwave to half-power. Heat each one individually in 30-second increments, stirring after each heating to help the chocolates melt more evenly. Set bowls aside.
- Add the eggs to the creamed butter and sugar, one at a time, beating well after each addition. Don't be concerned if the batter looks curdled, this is normal. Reduce the mixer speed to low and alternately add the flour mixture and the milk, beginning and ending with the dry ingredients, mixing just until each addition is incorporated.
- Transfer half the batter to a second bowl, preferably glass. Stir and fold the melted dark chocolate mixture into this bowl, making sure that you are getting the batter from the bottom of the bowl to the top. Continue stirring and folding until the batter is smooth and evenly combined. Set aside.
- Add the melted white chocolate mixture to the original batter left in the stand mixer’s bowl; beat with the mixer until smooth.
- Drop dollops of each batter into the prepared pan in a random pattern, alternating the batters. Using a table knife, drag and zigzag it the length of the pan. Wipe off the knife. Repeat, starting at the opposite end. Don’t over mix the batter or you'll lose the marbled effect and end up with a muddy-looking loaf.
- Bake the cake for 30 minutes and spin the pan so the front is now facing the back of the oven. Continue baking for another 30 minutes and then check it with a wooden toothpick. The cake may need up to 20 minutes more to bake, depending on your oven and how dark your baking pan is. If it is getting too brown on top but needs more baking time, tent the top loosely with a piece of foil. The cake is done when a toothpick inserted in the middle comes out clean.
- Transfer the cake pan to a rack to cool for 15 minutes and then remove it from the pan and continue to cool it (right side up) on the rack until it is at room temperature.
Recipe found at www.theheritagecook.com
Notes
Inspired by a recipe in Dorie Greenspan’s “Baking From My Home to Yours”
You can adjust any recipe to gluten-free by using 120 grams per cup of my favorite gluten-free flour blend. If you are using another brand of gluten-free flour, whisk the mix, spoon it lightly into a measuring cup without a spout until mounded, level off the top with the back of a knife, and weigh the flour left in the cup. Use that weight as your standard per cup of that specific flour. Do this for each flour blend you use. Commercial blends such as Pamela's, Bob's Red Mill 1-to-1, or King Arthur Measure for Measure are all good choices.
All recommended ingredients are gluten-free as of the writing of this article. Always check to be sure the products haven’t changed and are still safe to consume.
Nutrition Information:
Yield:
8Serving Size:
1Amount Per Serving: Calories: 362Total Fat: 9gSaturated Fat: 4gTrans Fat: 0gUnsaturated Fat: 4gCholesterol: 130mgSodium: 298mgCarbohydrates: 55gFiber: 2gSugar: 6gProtein: 13g
The nutritional information for recipes on this site is calculated by online tools and is merely an estimate.
If you enjoyed this recipe, be sure to follow me on social media so you never miss a post:
Create a New Tradition Today!
Welcome! The suggestions here are not intended as dietary advice or as a substitute for consulting a dietician, physician, or other medical professional. Please see the Disclaimers/Privacy Policy page for additional details. Unauthorized use, distribution, and/or duplication of proprietary material from The Heritage Cook without prior approval is prohibited. If you have any questions or would like permission, please contact me. We participate in the Amazon Services LLC Associates Program, an affiliate advertising program designed to provide a means for sites to earn advertising fees by advertising and linking to amazon.com. As an Amazon Associate, I earn a small amount from qualifying purchases without any additional cost to you. This page may contain affiliate links. This post was first shared in Nov 2017. The article was updated in 2023.

