Today’s Chocolate Monday is going to be a little different than I usually write. Instead of just sharing a recipe or two with you, I thought it would be helpful to focus on some of the techniques I use when baking and working with chocolate. These tips will help you produce more beautiful, consistent results.
While each of these are lessons I have learned over the years of traditional cooking and baking, they have become even more helpful now that I am gluten-free. The challenges that are inherent in GF baking, are helped and in some cases minimized, by understanding how to do things the best way.
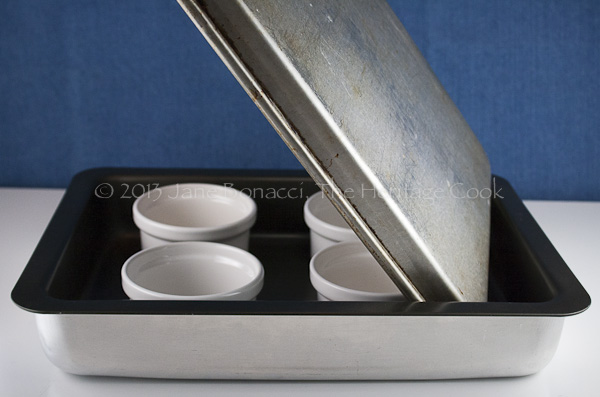
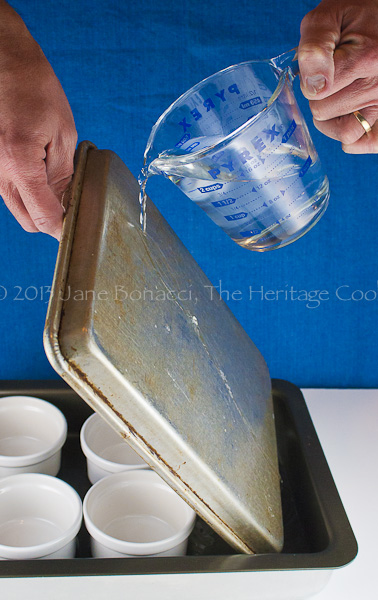
Safe way to fill a water bath
A perfect example of one of these techniques is a trick I learned years ago in a cooking class. Whenever you are baking custards or anything made with an egg base (cheesecakes, puddings, etc.), cooking them in a water bath helps get the dreamy consistency you have become accustomed to at restaurants and bakeries. The only trouble is how do you fill the pan with water without splashing any of it into the item(s) you are baking?
Set your baking dish on the stove and set your ramekins or springform pan in it. Invert a baking sheet and hold it over the baking dish, using it as a shield to protect the ramekins. Slowly pour the hot water onto the back of the baking sheet, letting it cascade slowing into the baking dish until the water comes about halfway up the sides of your ramekins or springform pan. Carefully remove the “shield” and move the baking dish to the oven for baking.
Recipes that can may require a waterbath:
Vanilla Bean Cheesecake with Walnut Crust & Creamy Chocolate Sauce
Chocolate Pot de Crème
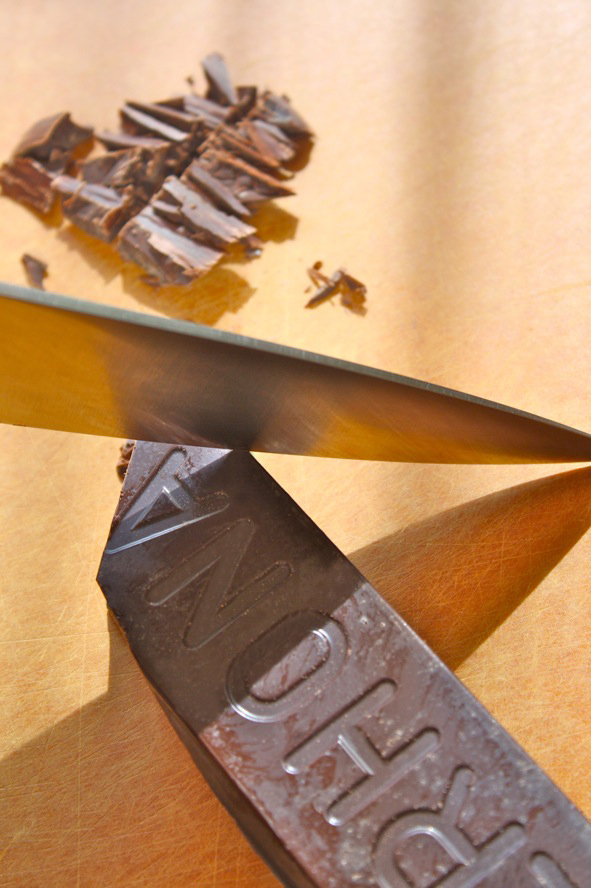
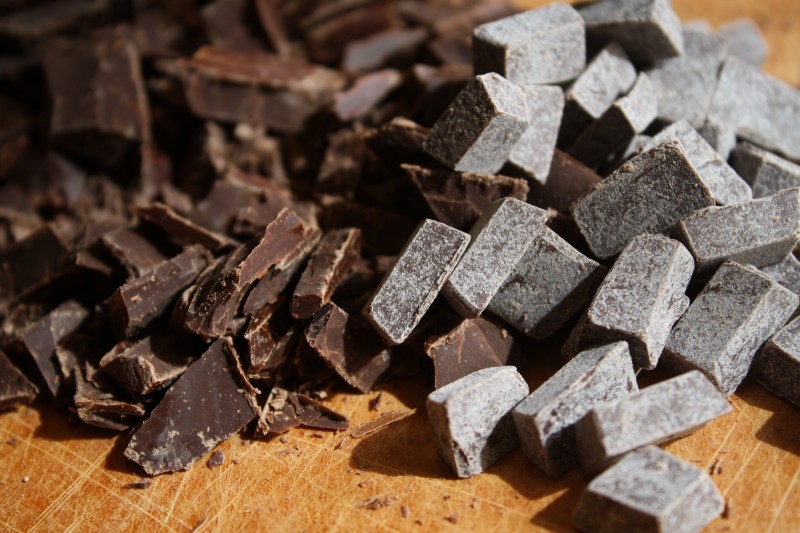
Whenever you are working with a block of chocolate, it can be intimidating and downright hard unless you know how to position your knife. Each block or bar of chocolate has corners. Angling your knife across these corners minimizes the amount of chocolate you have to cut through, increasing your leverage (you can rock the knife back and forth more easily) and allowing you to use a shorter knife if that is all you have to work with.
Always work across one of the corners and make cuts fairly close together to get thinner pieces of chocolate. When the bar starts to get too thick, spin it until you have another narrow corner to work from. Keep spinning and slicing the block until you have the amount of chopped chocolate called for in the recipe.
If I am working with a very large block of chocolate (5 lb or more) I will often take the extra time to cut more than I actually need, making it easier the next time I need chocolate. If the block is really big and well wrapped in plastic, you can also drop it on the floor to start breaking it into large hunks that are easier to work with.
You may wonder why I don’t always use chocolate chips. Chips take longer to melt because of the way they are manufactured. If you are chopping your own chocolate, you can cut it as finely or coarsely as you choose.
Recipes that call for chopped chocolate:
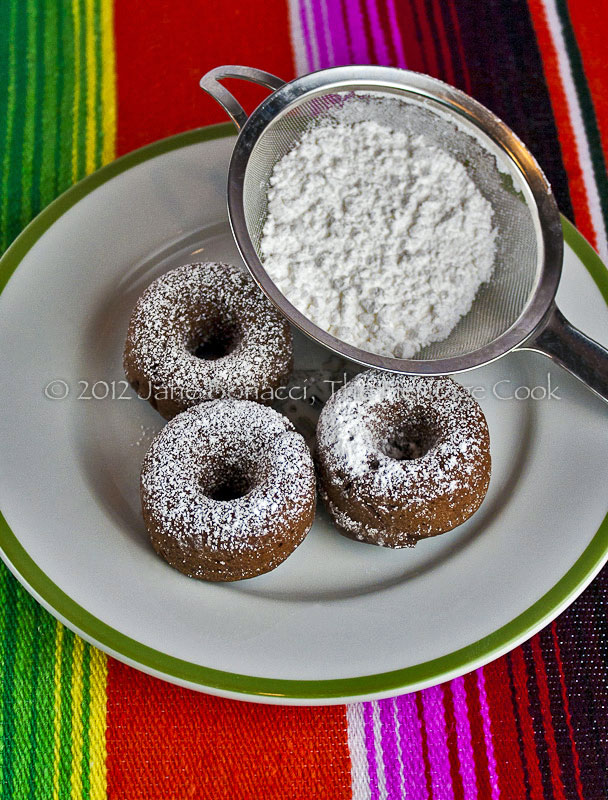
GF Chocolate Dipped Chocolate Baked Donuts
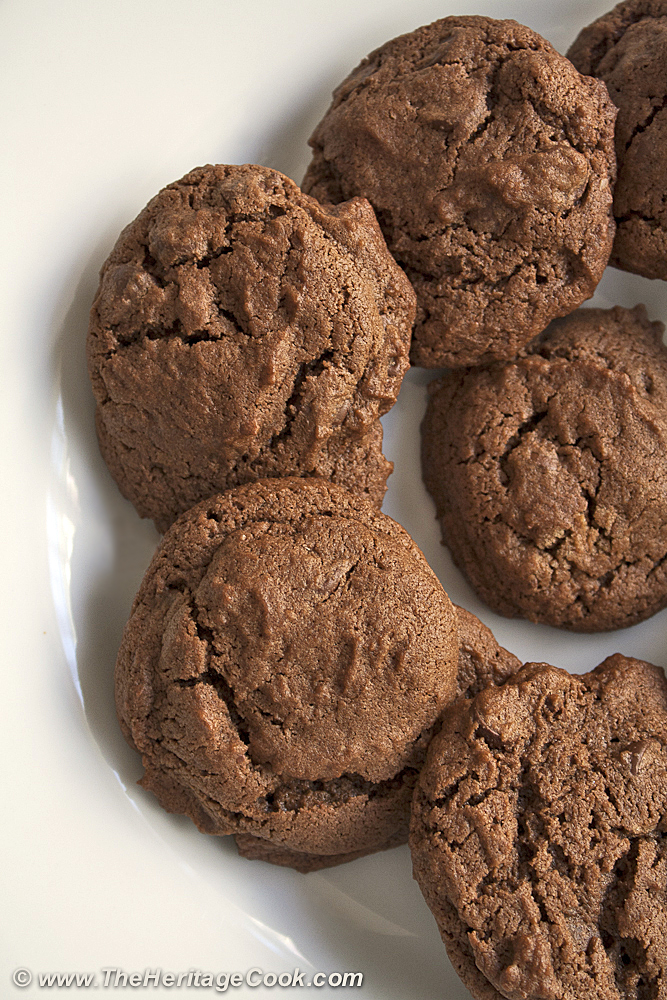
Double Chocolate Chip Cookies GF
If you are like me and am always looking for bargains, especially with expensive ingredients like high quality chocolate, you may wind up with some that has been sitting in your pantry for a while.
Have you ever opened your box of chocolate and found that it had developed an odd looking grey color on the surface? Did you throw it out because you thought it had gone bad? You didn’t need to because that happened when some of the butterfat in the chocolate migrated to the exterior. It is perfectly fine to use, it just isn’t as attractive as fresher chocolate. I use that chocolate in recipes that call for melting it, such as ganache.
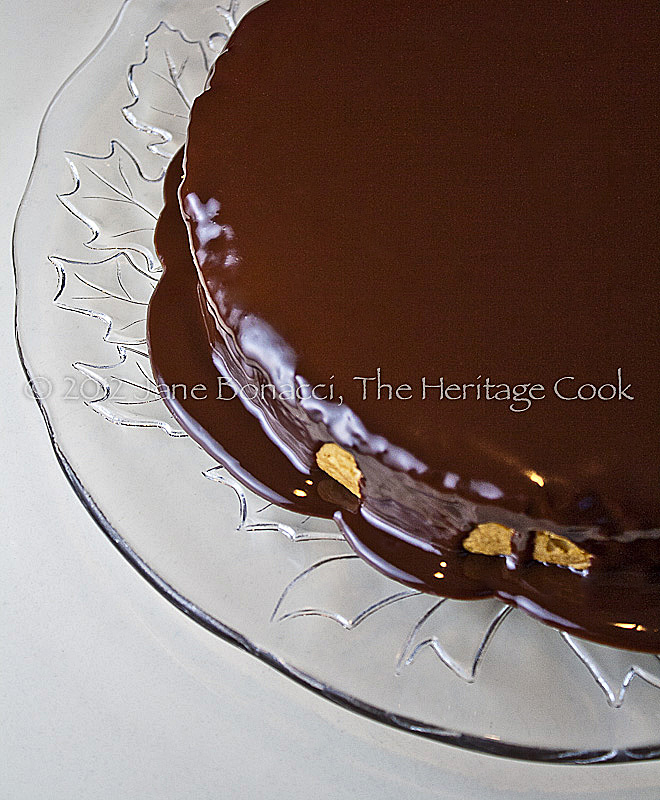
Have you ever wondered how the professionals get that absolutely perfect covering on a cake? It is because instead of using a beaten frosting, they typically use a melted chocolate/ganache, or chocolate glaze and pour it over the top. Besides having it at the right temperature and viscosity, the real trick is to start in the center of your cake and pour without moving, allowing the weight of the chocolate to flow out to the edges. If it meets any resistance, you can give it a little nudge with an offset spatula. And if you wind up with little bubbles (because you poured too quickly), just prick them with you fingertip or a toothpick. If you are careful, you will have a flawless surface that with have your family and friends in awe.
Recipes that call for pouring on a glaze or ganache:
GF Yellow Cake with Chocolate Ganache Frosting
GF Boston Cream Pie
The same concept can be used when pouring a chocolate filling or thicker frosting. An offset spatula lets you work closely without getting your knuckles in the frosting.
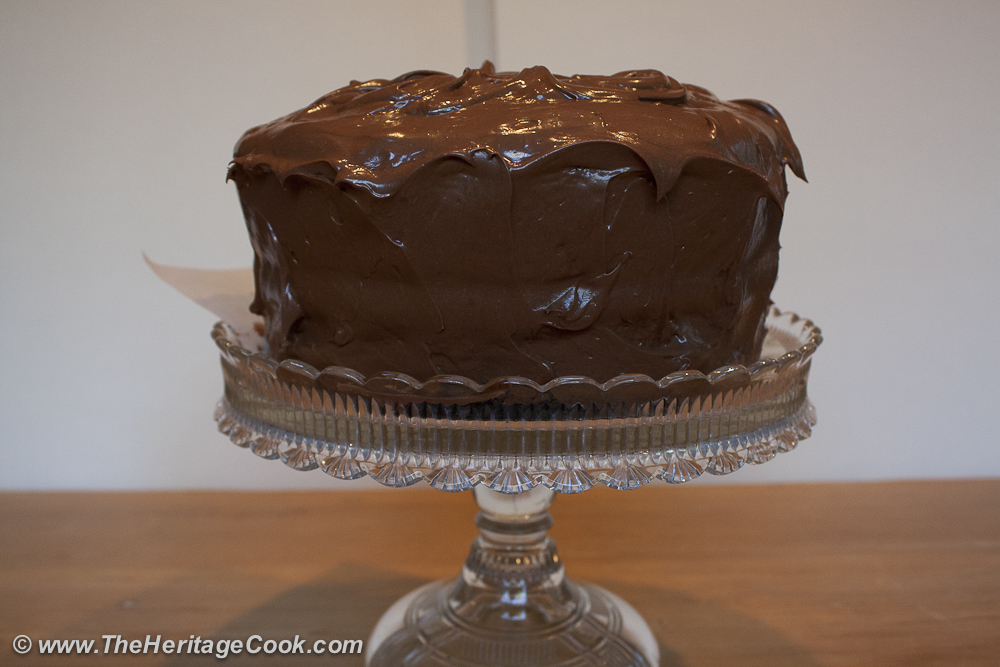
If you are frosting a cake and want to keep your serving plate clean, set some overlapping strips of parchment paper under the bottom layer. Any splatters or excess on the spatula will wind up on the paper and when you are done, just slip them out and your platter will be spotless.
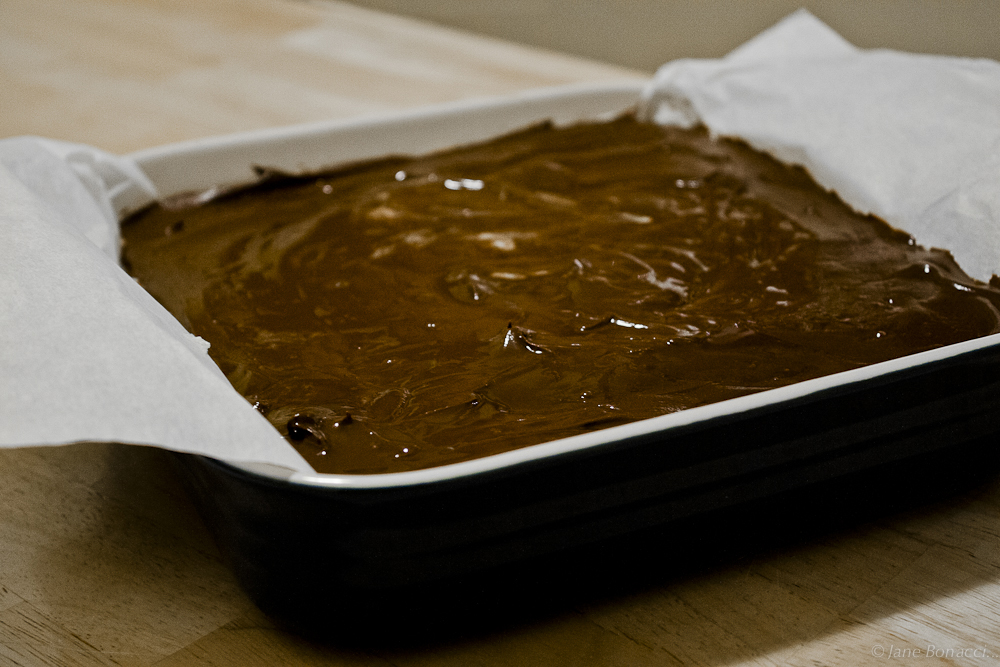
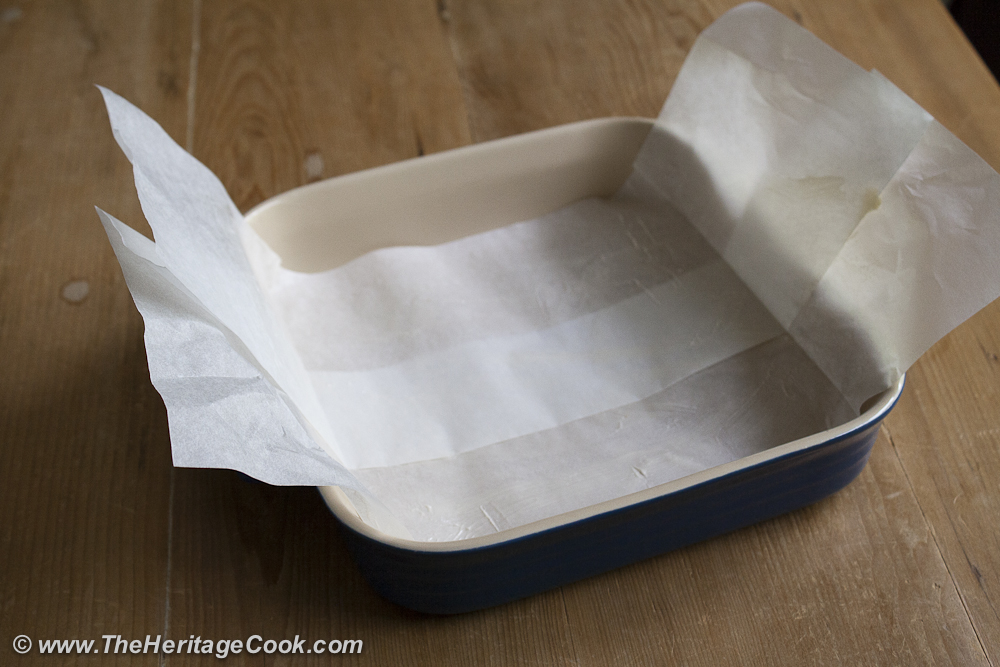
Parchment can also be used to create a “sling” allowing for much easier removal of any baked good from a baking pan. This is especially helpful when you are making frosted brownies. Bake the recipe as usual and when cool enough to handle, lift the parchment handles, picking the entire piece up. Place it on a cutting surface for frosting and/or slicing and serving.
Recipes that utilize parchment paper to keep your serving platter clean and parchment slings to remove the baked goods from their baking pans:
Dark Chocolate Cake with Chocolate Frosting
Chocolate-Caramel Shortbread Bars
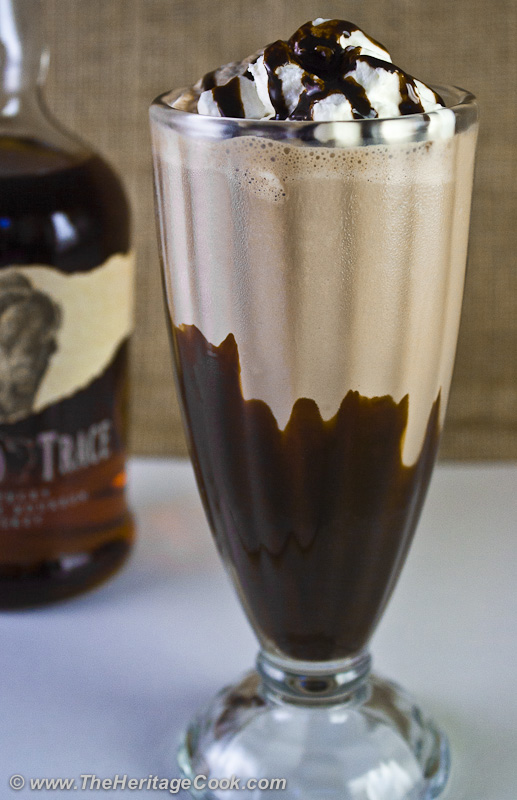
Unless you are serving children or adults with alcohol dependency issues, adding a little wine or hard liquor to your baked goods is absolutely delicious. Bourbon and chocolate is a natural combination and one of my personal favorites. I’ve become so enamored with it that lately I’ve been keeping a bottle of bourbon just for my baking projects and an extra special milkshake occasionally.
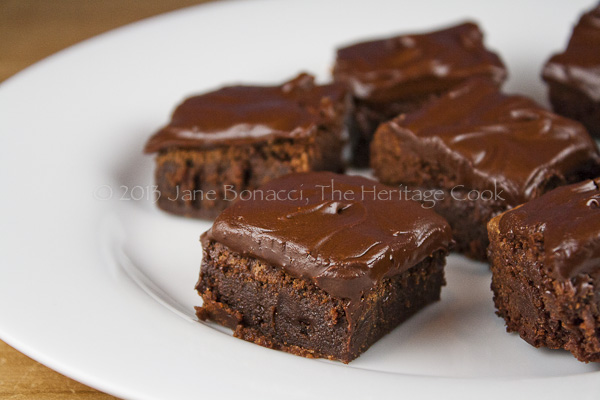
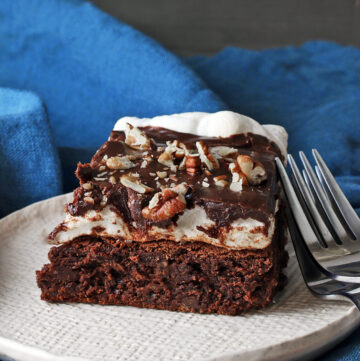
Recently we had a bottle of port open and it dawned on me that it might also be a natural enhancement to chocolate desserts. The next thing I knew I had the most delicious frosting I have ever made. It added a real special quality to the frosting and made those brownies the best ones I’ve ever eaten! However, they now come with a warning. You had better make two batches because one won’t be enough and you will find people sneaking into the kitchen to snitch a few extras. Before you know it, they will be gone!
Recipes that are enhanced with alcohol:
Double Chocolate Bourbon Milkshakes
Merlot Brownies with Choco-Port Frosting
I hope you enjoy these tips and techniques I’ve shared with you today. Practice and pretty soon you will be turning out baked goods that look just as good as the pros!
Happy Chocolate Monday – have a wonderful week!
Create a New Tradition Today!
Unauthorized use, distribution, and/or duplication of proprietary material on The Heritage Cook without prior approval is prohibited. This includes copying and reprinting content and photographs. If you have any questions or would like permission, I can be contacted via email: theheritagecook (at) comcast (dot) net. Feel free to quote me, just give credit where credit is due, link to the recipe, and please send people to my website, www.theheritagecook.com. Please see the Disclaimers page (under the “About” tab above) for additional details.



April @ Angel's Homestead
Great chocolate tips Jane, pinned it. 🙂