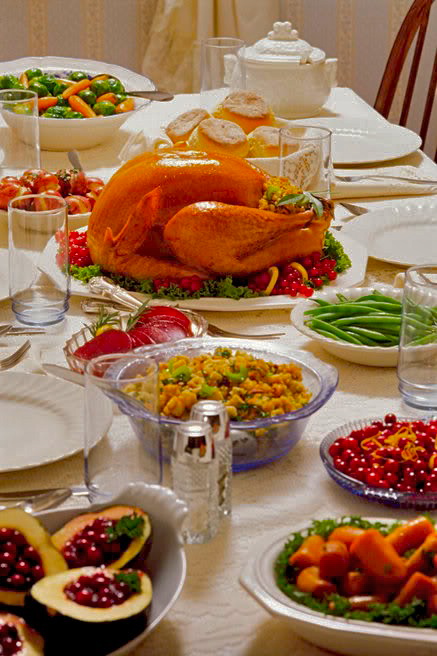
Today’s Recipes: Zuni-Style Dry Brined Turkey and Foolproof Turkey Gravy
There is a restaurant in San Francisco called Zuni Cafe. A meal there is a real experience. It is located in an old building with brick walls, towering ceilings, and a long copper bar that takes up most of one side. As it grew in popularity, it expanded into adjacent buildings, so there are lots of funny twists and turns, small rooms, and lofts. It is warm, welcoming, funky, and so much fun. Co-owner and head chef Judy Rogers is renown in food circles and the author of the Zuni Cafe Cookbook. While their menu is always seasonal, local, and full of endless possibilities, they are nationally known for one dish … the Zuni Roast Chicken.
This dish has become so well known, that it is often considered the best roast chicken in America, and typically lands in the top 5 of just about anyone’s list. In fact, my guess is that if Zuni’s chicken is not on the list, the person probably has not eaten there, because if they had, it would be mentioned. Yes folks, it is just that good. And the technique, while time-consuming, is easy as pie to do. I have taken the chicken recipe, added a few things based on Judy’s recommendations, and have used it for my last few Thanksgivings. They are, by far, the best I have ever made! And I’m sharing that recipe with you!!
The technique calls for rubbing salt on the bird and letting it rest in the refrigerator a few days. Yep, you read that right, 3 days. What happens next is a chemical miracle. The salt initially draws out liquid from the meat, but if you leave it alone, the now salty liquid is reabsorbed and the meat becomes seasoned from the inside out! It is remarkable. The meat is tender, juicy, and incredibly flavorful. If you add seasonings to the salt rub (as Judy suggests) those flavors also get absorbed. Just think, the salt does all the work for you! And no more wrestling with a bucket of brine and a slippery bird. Hallelujah, Thanksgiving just got easier!
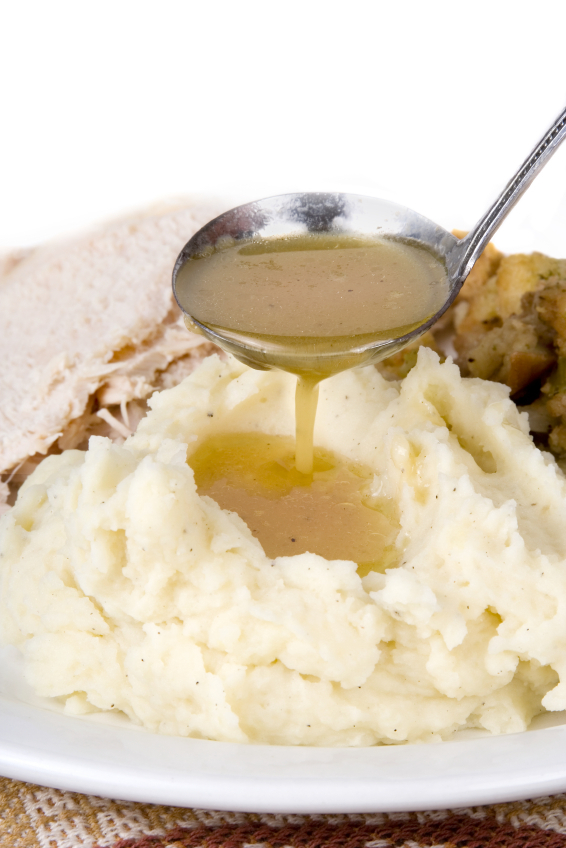
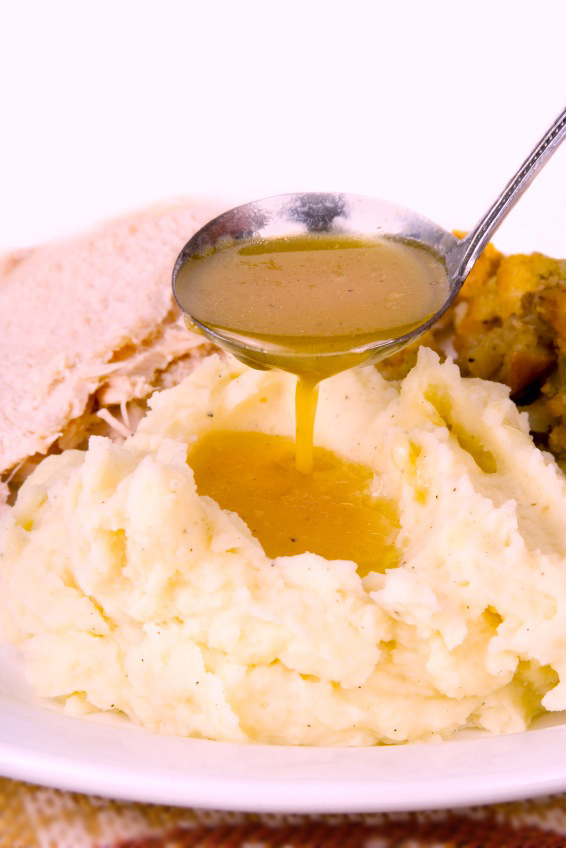
For me, the other main component of Thanksgiving dinner is the gravy. It can be a nightmare or a dream, cause headaches or delight. There are a few tricks to perfect gravy and if you follow them, it will turn out perfectly every time. Start the gravy with a roux made from turkey drippings and flour. Cook until it is golden colored, stirring to make sure there are no lumps. A flat whisk is the best tool for this. Take the pan off the heat, add your liquid, whisking until fully incorporated and smooth. Return to the heat and cook until thick and creamy, stirring constantly. That’s all it takes. A few minutes, a little patience, and you will have award-winning gravy!
All right, are you ready to learn how to make the world’s greatest turkey and gravy? From my house to yours … Zuni Turkey!!


- Sage and Lemon Seasoned Salt
- 1/3 cup Diamond Crystal kosher salt
- 2-1/2 tsp ground sage
- 1/2 tsp onion powder
- 1 tbsp freshly grated lemon zest
- Turkey
- 1 (12 to 15 lb) turkey, preferably fresh and organic (see below if using a frozen bird) or kosher
- 4 large onions plus 3 medium onions, peeled
- 5 carrots, chopped
- 4 stalks celery, chopped
- 2 lemons
- Fresh sage
- Olive oil
- 1 cup dry vermouth, white wine, or water
- 1/2 cup turkey stock or water
- In the bowl of a small food processor, combine the salt, sage, onion powder, and zest. Pulse until thoroughly blended. Measure out 1 tbsp of the salt mixture for every 5 lbs of the turkey’s weight. If you get a 15 lb turkey, you will use 3 tbsp of the salt. Store the remaining mixture in an airtight container for up to two weeks.
- Starting 4 days before you intend to cook the bird (that’s Monday for cooking on Thanksgiving Thursday) remove any giblets or other items from inside the turkey. You can use them for other recipes or discard. Rinse the bird thoroughly, inside and out, in cold water and pat dry. Set on a cutting board.
- Starting on the breast, sprinkle the entire top with about 1 tbsp of the salt mixture. Rub it in with your hands, putting more on the meatiest areas. Turn the turkey on its side and sprinkle with another tablespoon of the salt, concentrating on the thigh. Flip the turkey over and salt the other side. Place the turkey breast-side up in a 2-1/2 to 3 gallon resealable food-safe plastic bag. If you can’t find a zip-top, you can use an oven-roasting bag. Press the air out and seal tightly. If you are using a roasting bag, twisting it tightly and using a rubber band works well.
- Refrigerate the turkey for 3 days, turning occasionally and massaging the salt into the meat (without removing from the bag) at least once a day. You can brine for less time but the bird won’t be as flavorful. Initially you will see a bit of liquid on the skin and in the bag - don’t be concerned, this is part of the process. The salt pulls the liquid out of the meat, but it will eventually be reabsorbed.
- Remove the turkey from the bag and wipe with a paper towel. The skin will be moist with no salt remaining. Place it in an open container - a plate, your roasting pan, etc. - and refrigerate uncovered about 8 hours. This helps with the browning and crisping of the skin during roasting. When ready to cook, let the turkey sit at room temperature for at least an hour before placing in the oven.
- Preheat the oven to 425°F.
- Cut the ends off the large onions and slice horizontally into 1/2-inch thick slices. Place slices in an even layer on the bottom of a large roasting pan, top with the carrots and celery, sprinkle with a little salt and pepper, and drizzle lightly with olive oil. Cut remaining medium onions and the lemons into quarters, and place inside cavity of the turkey along with a handful of the fresh sage. Rub the entire surface of turkey with olive oil, and set breast-side down on the layer of onions. Pour vermouth and stock in pan and carefully transfer to the hot oven.
- Roast for 30 minutes and reduce temperature to 325°F. Roast another 30 minutes then remove turkey from oven and very carefully flip it over, breast-side up. Add a little more vermouth or stock if the pan is getting too dry. Return to the oven and continue roasting until the thigh reaches 165°F. Use an instant read thermometer. The total time will be about 2-1/2 to 2-3/4 hours. (An unstuffed turkey cooks faster than a stuffed one.) If you don’t have a thermometer, wiggle the leg - it should feel loose in the socket. Pierce the thigh and make sure the juices that flow out don’t have any pink in them. If they do, keep cooking for another 15 to 20 minutes and check again.
- When done, remove from the oven and transfer turkey to a cutting board. Be careful, there may be liquid inside the turkey. Use the pan drippings for the gravy and to keep the leftovers moist. Tent with foil and let rest at least 30 minutes. The juices will be reabsorbed into the meat. Carve and serve on a warmed platter.
- For a frozen turkey, you can use the same technique, just rinse the frozen bird under running cold water until you are able to pull the giblet sack out. Pat it dry and follow directions above for salting and brining. The turkey will defrost and brine at the same time.
- Yield: 10 to 14 servings
- You can brine for less time, but it will not be as flavorful. It will need at least 2 days for the dry brine to work. The final drying time can also be shortened if you need to. Pat any extra moisture off with a paper towel before roasting.


- 6 cups turkey broth (can be made well in advance - recipe here)
- 4 tbsp butter
- 6 tbsp all-purpose flour
- Pan juice from roasted turkey, optional
- 1 to 2 packets of liquid turkey broth concentrate from Savory Choice, if needed
- Salt and freshly ground black pepper
- Warm broth in a saucepan over medium heat to just below a simmer. Reduce heat to low.
- In a large saucepan, melt butter over medium-low heat. Using a flat whisk, stir in the flour until smooth with no lumps. Cook, stirring constantly, until golden brown, about 10 minutes.
- Remove the pan from the heat and gradually add the broth. Whisk until completely incorporated and smooth. Return to the heat and cook, stirring constantly, until thickened. If you want you can add in some of the pan juices from the roasted turkey. Taste and add concentrate if the turkey flavor isn’t strong enough. Taste again and add salt and pepper if needed. If there are any lumps, you can pour the gravy through a wire strainer.
- Pour very hot water in your serving container to heat it. When warm, pour out water, dry container, and fill with steaming hot gravy. Keep remaining gravy on warm so refills will be hot.
- Yield: about 6 cups
Thank You!


Jennie Schacht
Thanks so much for sharing this, Jane! I love Zuni (and this is a good reminder to get there — it’s been a few years) and their roasted chicken is nonpareil. This sounds like a terrific and much less messy way to get the turkey brined than in a tank of seasoned water. Happy Thanksgiving!
thanksgiving memories
Your Thanksgiving recipes are just terrific. I love Thanksgiving and I especially love the aroma of spices and remembrances of family Thanksgiving stories. I read that you were greatly inspired by your grandmother which makes me think that you must have some wonderful Thanksgiving cooking stories as well.
Lois Bennett
Carrville, Iowa
Jane Bonacci, The Heritage Cook
Thank you Lois! I was so fortunate to have a wonderful role model in my grandmother. She is the reason for my passion for cooking and baking and the heart of this blog. I am very happy you enjoyed the Thanksgiving recipes. This week I am starting our Holiday recipes – I hope you enjoy them just as much!! Is there anything specific you are looking forward to making this season?
Jim Brett
A breath of fresh air from Saveur!!!!!!! Thank you Jane Bonacci.
I can’t wait to put your words into practice.
Jim
Jane Bonacci, The Heritage Cook
I hope you enjoy my posting Jim! Welcome to The Heritage Cook!! If you have any questions, I’m always happy to help!
Dinetonite
Your site is fast becoming one of my favourites – thanks so much for these great recipes.
Jane Bonacci, The Heritage Cook
I so glad to hear you are enjoying the site! I am happy to share my passion for cooking!!