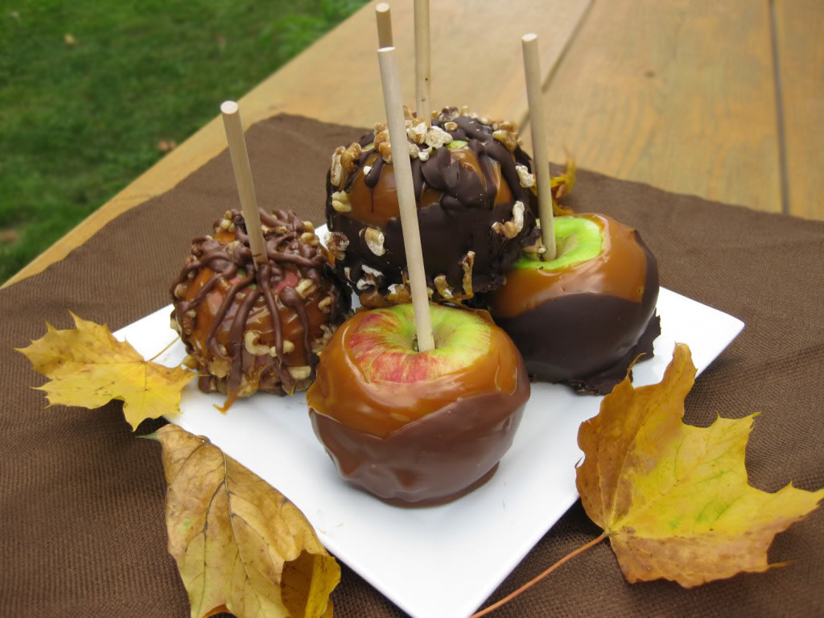
I love autumn! It is my favorite season of the year. Bright sunny days, cool nights, pumpkins, trees changing color, football games & tailgates, the World Series, Halloween, Thanksgiving and luscious, healthy, crunchy apples! With Halloween right around the corner, I know you are going to love today’s fun treats, Chocolate-Dipped Caramel Apples and fantastic Nut Brittle. They are the perfect autumn desserts. You can keep it simple and do all the decorating yourself or you can turn it into a fun project for a party – one where everyone will enjoy the results!
The first recipe today comes from the wonderful Farmers’ Market Desserts cookbook by my friend Jennie Schacht. If you haven’t picked up a copy yet, run out and get one. It is full of mouth-watering recipes that will enchant and thrill you and the photographs will have you reaching into the book for a bite! This makes a fantastic gift for the cooks in your life for birthdays, Hanukkah or for your very own present from Santa waiting under the tree! I am inundated with cookbooks and I have to say that this is one that I keep returning to time after time for inspiration and guidance, and I know you will love it too!
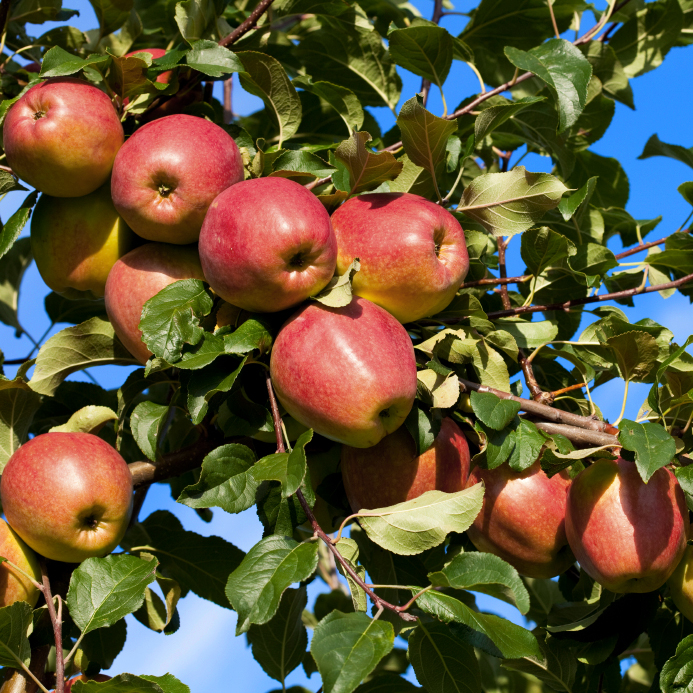
When you are choosing your apples look for very fresh ones that are a little on the tart side. This will balance the sweetness of the caramel and chocolate. The crunchy flesh of the fruit will also offset the soft texture of the candy. Crabapples or other mini apples are adorable and make great table decorations. Remember that if you wouldn’t want to eat them plain, you won’t like them even with their candy coatings. By making your own caramel and using really good chocolate you turn this old-fashioned childhood delight into a sophisticated confection.
For the simplest application, make your caramel and place melted chocolate in heat-proof bowls. Dip the apples first in the caramel, let set up and then dip in chocolate. Keep in the refrigerator. But if you want it to look a little fancier, you can dip them in the caramel and drizzle with the chocolate. You can use a combination of white, milk, and dark chocolates for variety. I also like the idea of serving freshly sliced apples with small bowls of caramel and chocolate and letting your guests dip or drizzle to their heart’s content.
You can create a Caramel Apple “Bar” with bowl of various ingredients that you roll the apples in. Some of my favorites are mini chocolate chips, chopped nuts, mini M&M’s, mini marshmallows, graham cracker crumbs, crushed Oreo cookies, sprinkles, coconut, jimmies, crushed toffee bits, granola, etc. This would be a really fun idea for Halloween or an autumn birthday party.
If you want to have even more fun, you can even “paint” with the chocolate. For example, if you wanted a fun table decoration for Halloween, dip the apples in caramel and then in white chocolate. Using melted dark chocolate, paint on a Jack o’ Lantern eyes, nose, and mouth. You can also use chocolate as “glue” to attach decorations. Can you imagine how fun this could be! You can make these a few days ahead and store in the refrigerator. I would much rather get these decorated apples than to have to dunk for them in a bucket of water!!
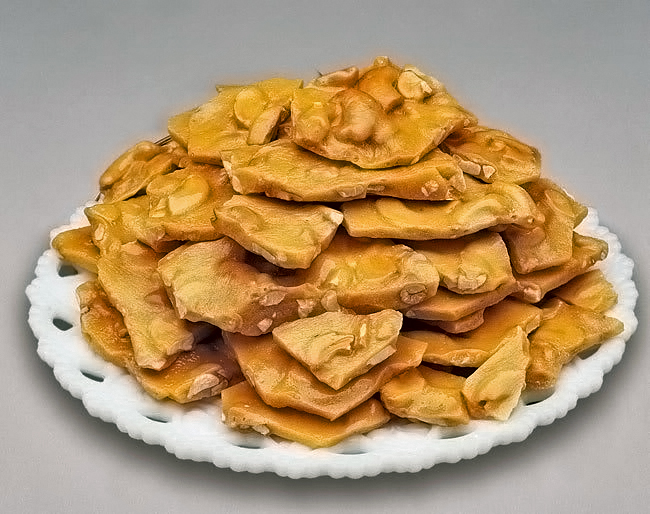
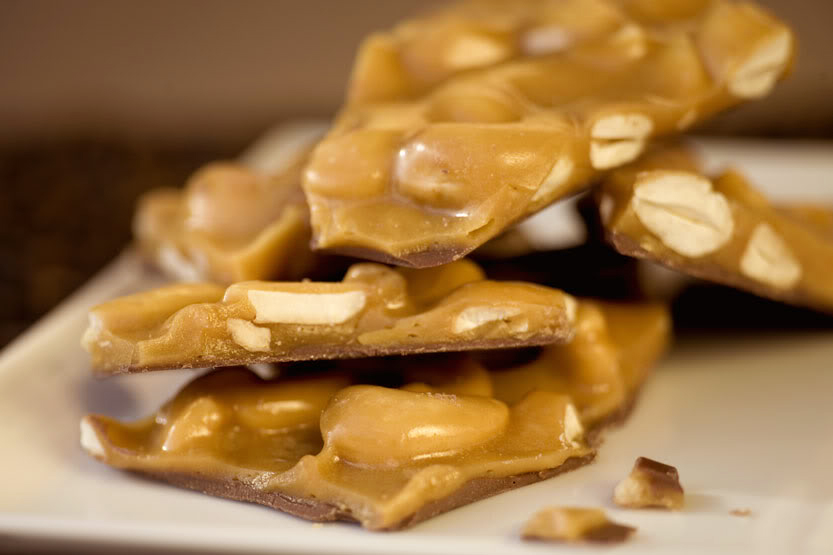
When I was young there was only one kind of brittle, peanut brittle, and it still the most common one sold. But these days you can find brittle made with cashews, almonds, pecans, and of course peanuts. I love the variety and options, but the bottom line is that I just plain love brittle no matter what they put in it!
Brittle is very easy to make – much easier than you think it will be. Don’t be intimidated and give it a try! For me the hardest part is getting the candy transferred from the pot to the baking sheet quickly enough. I am not very tall so wrangling the hot pot, trying to scrape out every last bit of the candy and getting it smoothed out thinly is my biggest challenge. Over the years I have figured out a few tricks to make it easier for me and hopefully for you too.
First of all, if you have someone to help you by holding the pot, that is the best of all worlds. Let them figure out how to hold the pot steady and let you worry about getting the candy onto the pan. If that isn’t possible, set another pot upside down next to the baking sheet. You can rest the hot pot on the bottom of the other one, giving you a more stable surface to work from, at least until most of the candy is out and the pot is light enough to hold easily.
Another problem was always sticking and today’s Silpats have made that issue disappear. You’ve heard me sing their praises before, but when you are making candy, they are an absolute godsend. No matter how sticky or tacky the candy is, it peel right off. Make sure the smooth side is up and there is no need to grease or butter it. One try and you will be hooked!
By the way, the best way to store silicone mats is flat with sheets of paper towel in between them to absorb any excess moisture. I lay mine in a stack between two of my baking sheets, right below the one holding my sheets of parchment paper. Don’t you love efficiency!
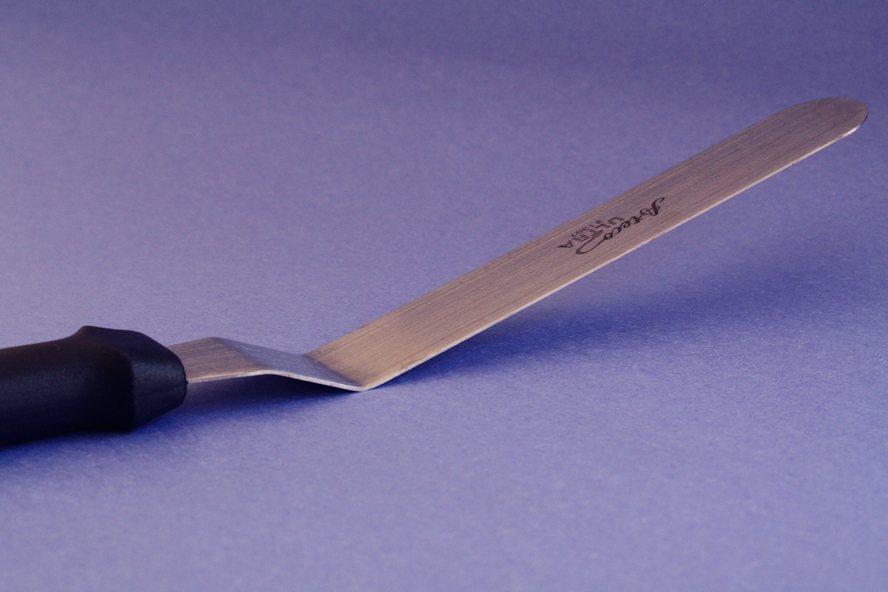
The best tool to use to spread out the brittle is an offset spatula. It is lightweight, flexible and gives you great control without the risk of your hand touching the molten sugar. If you don’t already own one, go buy one. You will use it all the time for frosting cakes, spreading mayonnaise on bread, making peanut butter and jelly sandwiches or any of a myriad of tasks.
Because you are cooking the sugar to the crack stage, it hardens almost immediately when hitting the cold surface. I found a way to extend the time you have to spread it out on the sheet. Keep the sheet, lined with a Silpat, in a slow oven (around 200°F) until about halfway through the candy cooking. Pull it out and place it on top of the stove next to the pot with the hot candy. It will still be hot when you pour out the brittle, making it fluid long enough to get it spread out to the perfect thin layer that is easiest to eat and that shows off the nuts the best. One Warning … keep a hot pad on the edge of the baking sheet so you don’t burn yourself by grabbing it barehanded!
Whenever I am making candy I keep a small bowl of ice water next to the sink. Then if any of the sugar gets on me, I can immediately get my hand into the water to stop the burning. This is especially important if you will have children with you at the stove. Ice water is the best for burns and nothing beats it!
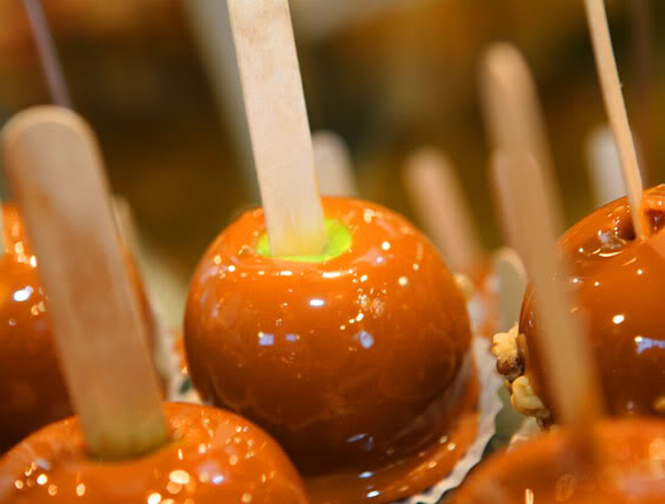
For both of these delectable confections, the best way to wrap them is in clear or colored cellophane. You can buy celo bags, insert the apples or brittle, and wrap them with colorful ribbons or raffia. Nothing shows off your creations better or keeps them fresh longer. You can have all the bags made up ahead of time and sitting on a tray next to your front door. When your Trick or Treaters arrive or your guests get ready to leave for the night, they can grab one easily.
Have a spooky, ghastly and horrifically festive Halloween. BOO!!
Jane’s Tips and Hints:
Two of the most versatile and useful utensils in the kitchen are heat-resistant silicone spatulas and good old-fashioned wooden spoons. I use both all the time and they are always on my counter in a large container so I can grab them quickly. Having different shapes and sizes gives me options that fit every situation I come across.
Kitchen Skill: Keeping Caramel Smooth
When you are making homemade candy, your arch nemesis is sugar crystals! Once you have melted the sugar completely, if you reintroduce even a couple of grains of sugar (sugar crystals), the entire batch of candy will re-crystallize.
To keep this from happening, recipes tell you to “wash down the sides of the pan” with a wet pastry brush or paper towel. I prefer the brush because you have more control with it and there is less chance of burning yourself with the steam from the pan. Keep a bowl of water beside the stove and occasionally wipe the sides of the pan, just above the boiling candy, with the pastry brush dipped in water. If you happen to get any of the boiling sugar on the brush, wash it thoroughly, dry, and re-wet it before continuing.

- Salted Caramel
- 1-1/2 cups granulated sugar
- 1/4 cup apple cider or apple juice
- 1/4 cup dark corn syrup
- 1/2 cup heavy cream, at room temperature
- 1/2 tsp pure vanilla extract
- 1/4 tsp sea salt, such as gray salt, Fleur de Sel, or Maldon sea salt
- 12 crisp, tart apples, about 2 inches in diameter, at room temperature
- Optional Toppings
- 1/2 cup walnuts, pecans, peanuts, or pistachios
- Pinch of salt
- 4 oz bittersweet chocolate
- You will need:
- 12 (4 inch) squares of waxed paper
- Vegetable oil cooking spray
- 12 lollipop sticks
- Lay out the waxed paper squares on a flat surface and spray them lightly with cooking spray. Insert lollipop sticks into the stem ends of the apples.
- To make the caramel, stir together the sugar, cider, and corn syrup in a heavy, 2-1/2 quart saucepan. Cook over medium heat, without stirring, until the mixture comes to a boil. Reduce to low heat, cover, and simmer until the sugar is completely melted (mixture will go from cloudy to clear), about 3 minutes longer.
- Remove the cover, raise heat to medium, and boil without stirring (swirl as needed for even cooking) until the caramel turns a deep amber color, about 10 minutes longer.
- Remove from the heat and, standing back a bit, carefully pour in the cream; the caramel will bubble furiously and some pieces may harden. When the fury subsides, return the pan to medium heat and stir with a wooden spoon until the mixture reaches 245°F to 250°F on a candy thermometer. (It will form a soft ball when dropped into ice water and allowed to cool.)
- Remove from the heat and stir in the vanilla and salt. Pour into a heatproof bowl, set into a bowl of ice water and stir, being careful not to slosh water into the caramel, until the caramel is 220°F to 230°F. Remove from the ice water.
- Working quickly, swirl an apple in the caramel, using a spoon to help coat the top and sides. Draw the bottom of the apple across the edge of the bowl to remove excess caramel. Hold the apple upside-down for a moment to let it drip toward the top, then place the apple on a waxed paper square. Repeat with remaining apples. Leave at room temperature to set, at least 1 hour.
- To prepare the optional toppings, heat the nuts in a dry skillet over medium heat, shaking or stirring until toasted and fragrant, about 5 minutes. Transfer to a cutting board. When cool enough to handle, chop medium-fine. Transfer to a small bowl and add a pinch of salt.
- Melt the chocolate in a double boiler over, but not touching, simmering water, or in the microwave, until you can stir it smooth.
- To finish, remove an apple from its paper and dip the bottom third into the melted chocolate. Press nuts onto the chocolate around the sides (not on the bottom) and return the apple to its paper square. Repeat until you have coated half of the apples in chocolate and nuts.
- Serve the apples on plates with forks and knives, or with plenty of napkins to enjoy kid-style.
- Yield: 6 to 8 servings.
- Petite Salted Caramel Apples: Face it—when you get to the end of the caramel on a caramel apple, the fun is over. This recipe assures you won’t bite off the outer layer and toss the rest of the apple. I like to leave half of the apples with caramel only for the purists, and dip the rest in melted chocolate and coat in chopped, toasted nuts. But do make them the way you like them best. Use a light-colored saucepan to easily observe the color of the caramel as it darkens. The caramel will adhere best if the apples are completely dry and at room temperature. If you suspect the apples may be waxed, scrub them well under hot water and dry thoroughly.
- Farm Journal: The small apples that may be more difficult for the farmer to sell are perfect for these. Look for crisp, tart varieties. Windrose Farm in Paso Robles, California, helped me to select spicy Smokehouse apples originally grown in Lancaster County, Pennsylvania, Ashmead’s Kernel—a russeted apple with deep flavor and a dense texture, and tiny Red Vein Crabapples. Each delighted us with its own charms.
- Season to Taste: Pears and caramel are another great combination. Look for the diminutive, sweet seckel pear, or other small varieties of European or Asian apple pears.

- 2 cups sugar
- 1/2 cup water
- 1 stick unsalted butter
- 1/3 cup light corn syrup
- 1/2 tsp baking soda
- 12 oz roasted salted peanuts, cashews, pistachios, and/or pecans
- Fleur de sel or crushed Maldon sea salt, optional
- Grease a large rimmed baking sheet or line it with a Silpat. Oil the back of a large spoon or offset spatula.
- In a large saucepan, combine the sugar, water, butter, and corn syrup and bring to a boil. Cook over moderately high heat, stirring occasionally, until the caramel is light brown and registers 300°F on a candy thermometer, about 10 minutes.
- Remove from the heat and carefully stir in the baking soda. The mixture will bubble. Stir in the nuts, then immediately scrape the brittle onto the prepared baking sheet.
- Using the back of a large oiled spoon, quickly spread the brittle into a thin, even layer. Sprinkle lightly with salt.
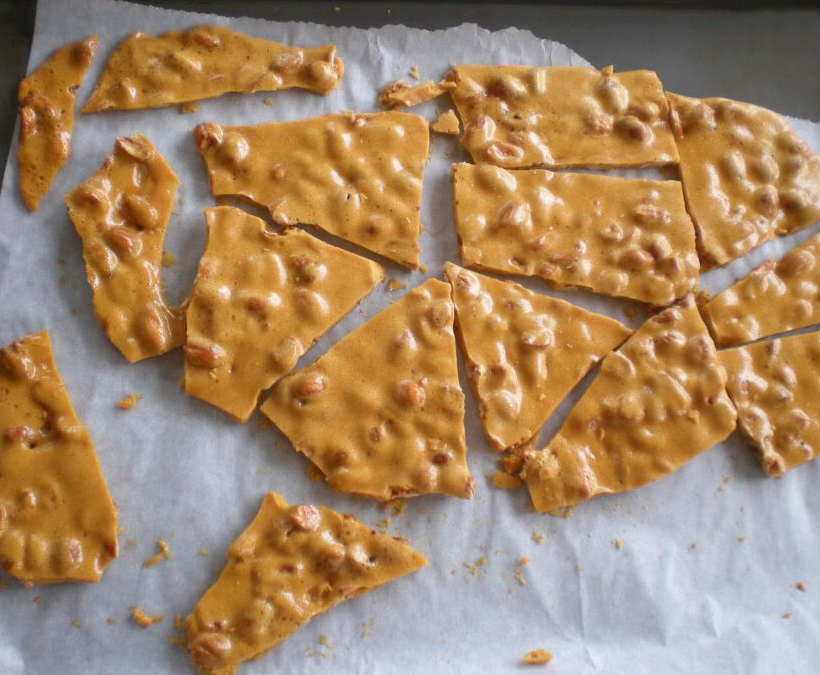
- Let cool completely, about 30 minutes. Break the brittle into large shards.
- Yield: 2 pounds of candy
Thank You!






Katrina
Mmm, those apples look great. I’ve been wanting to make some with the
kids, but we haven’t done it yet.
And I love brittle, but I end up eating too much of it–especially if I don’t give it all away!
Terry at Blue Kitchen
Fall is my favorite season of the year too, Jane. And I could totally go for some of that peanut brittle right now. Yum!
Jane Bonacci, The Heritage Cook
Thanks Terry. Good thing I made a huge batch, there is plenty for everyone to share, LOL!