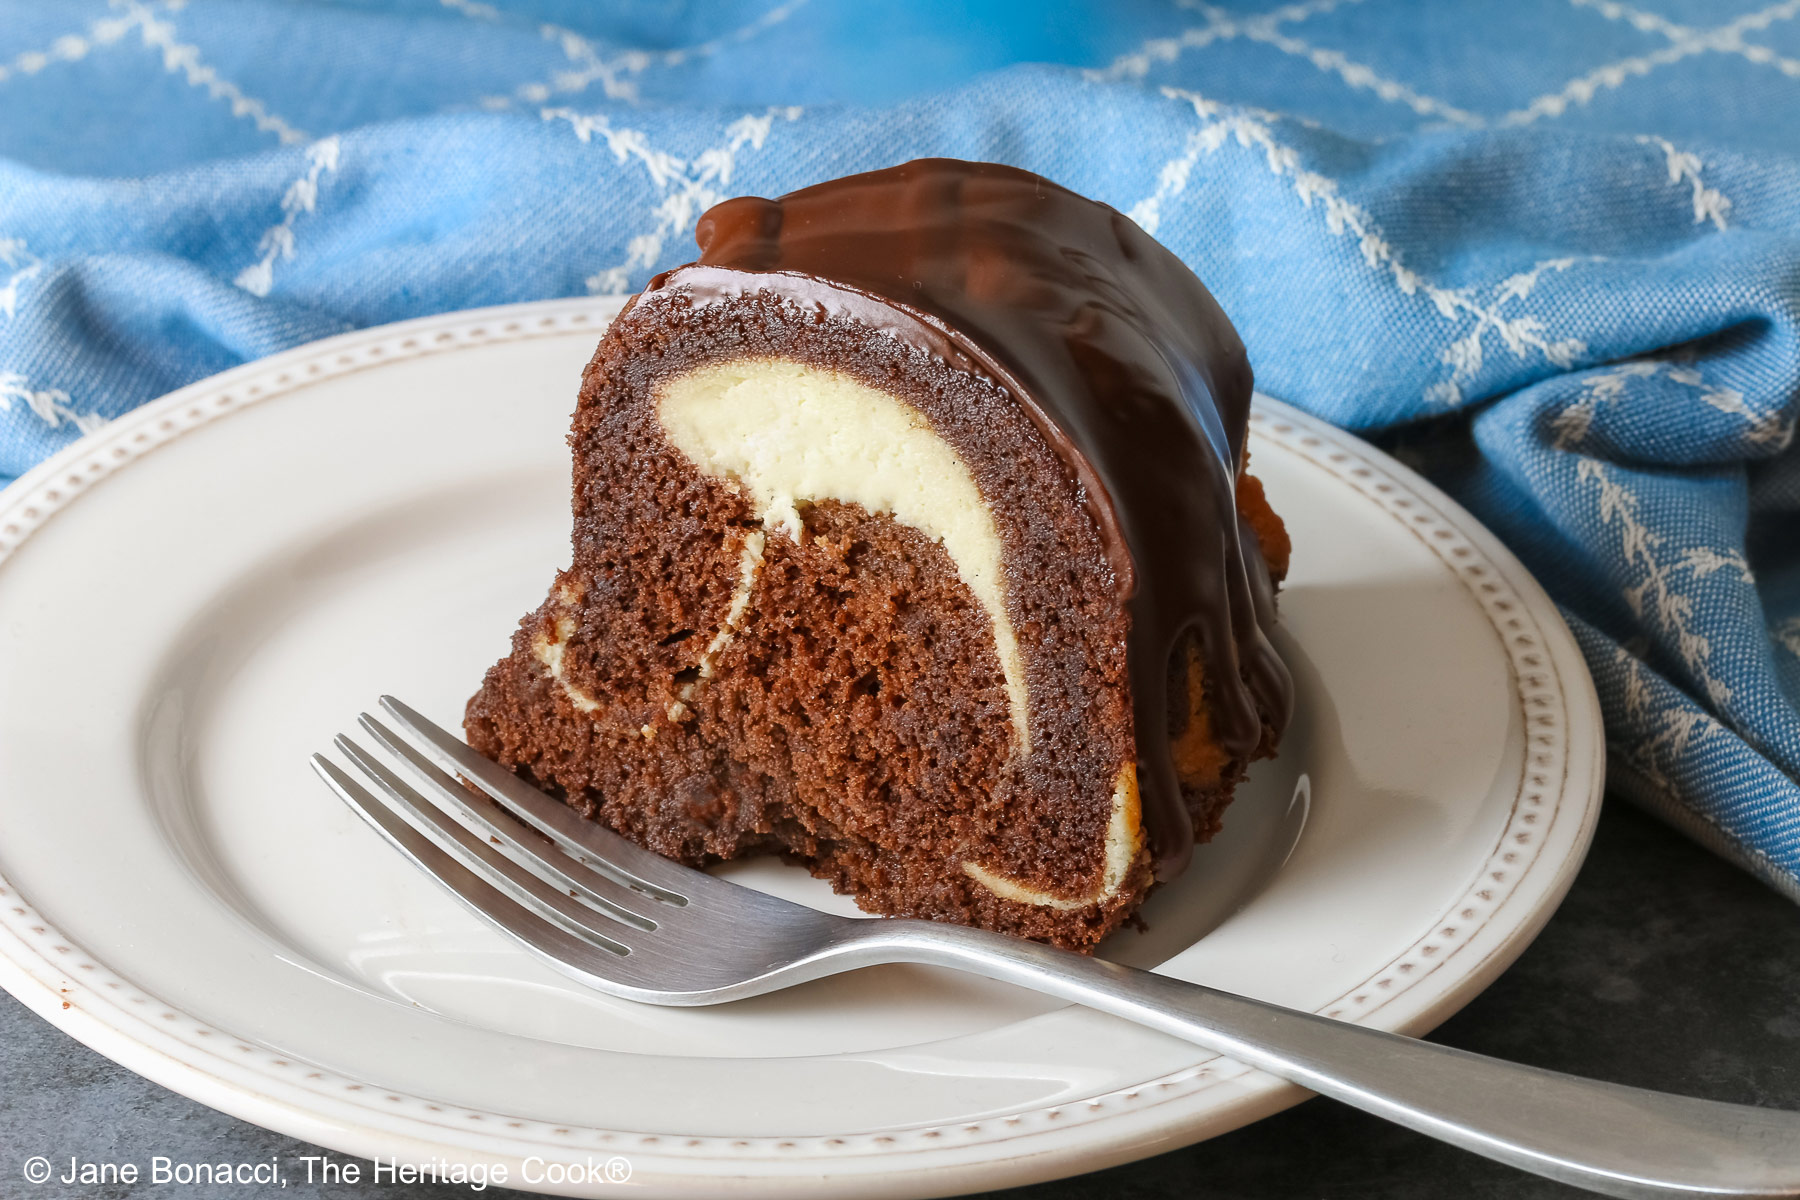
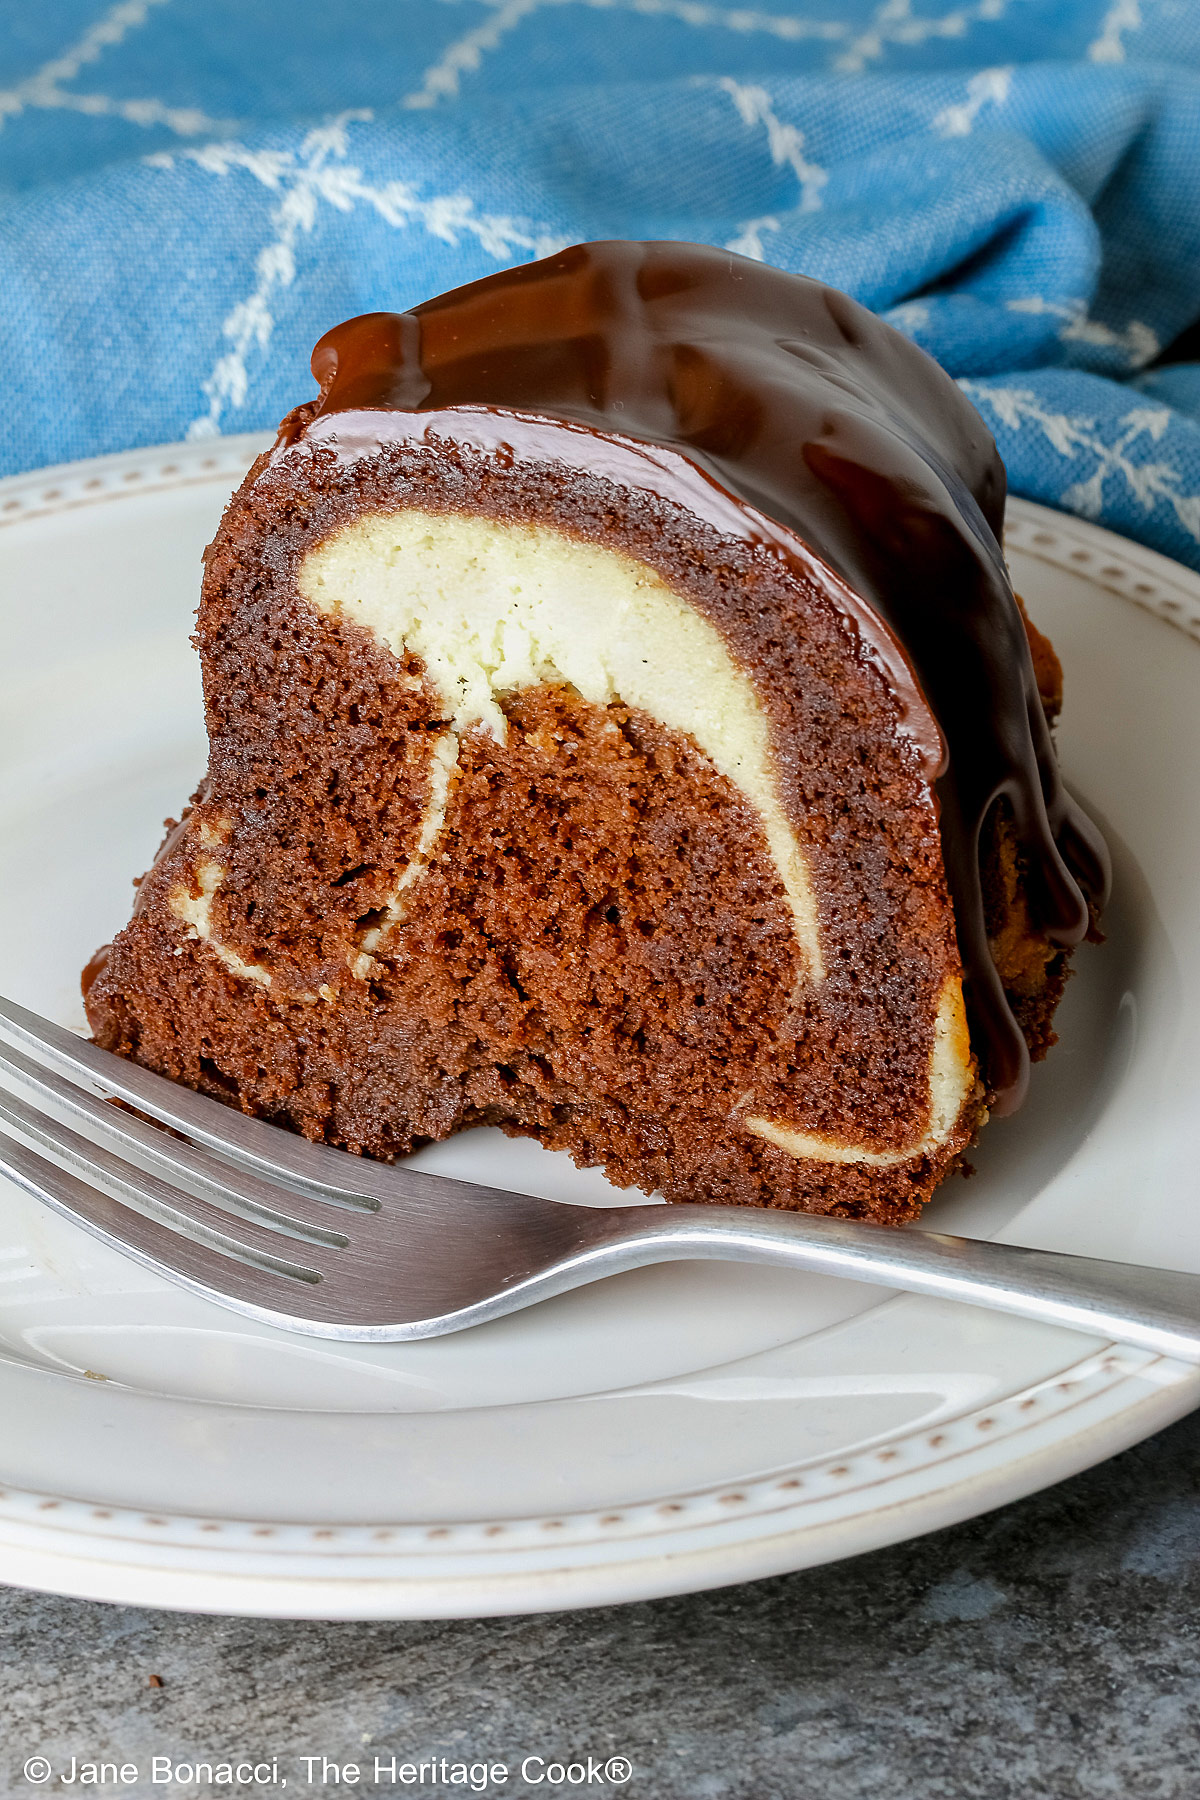
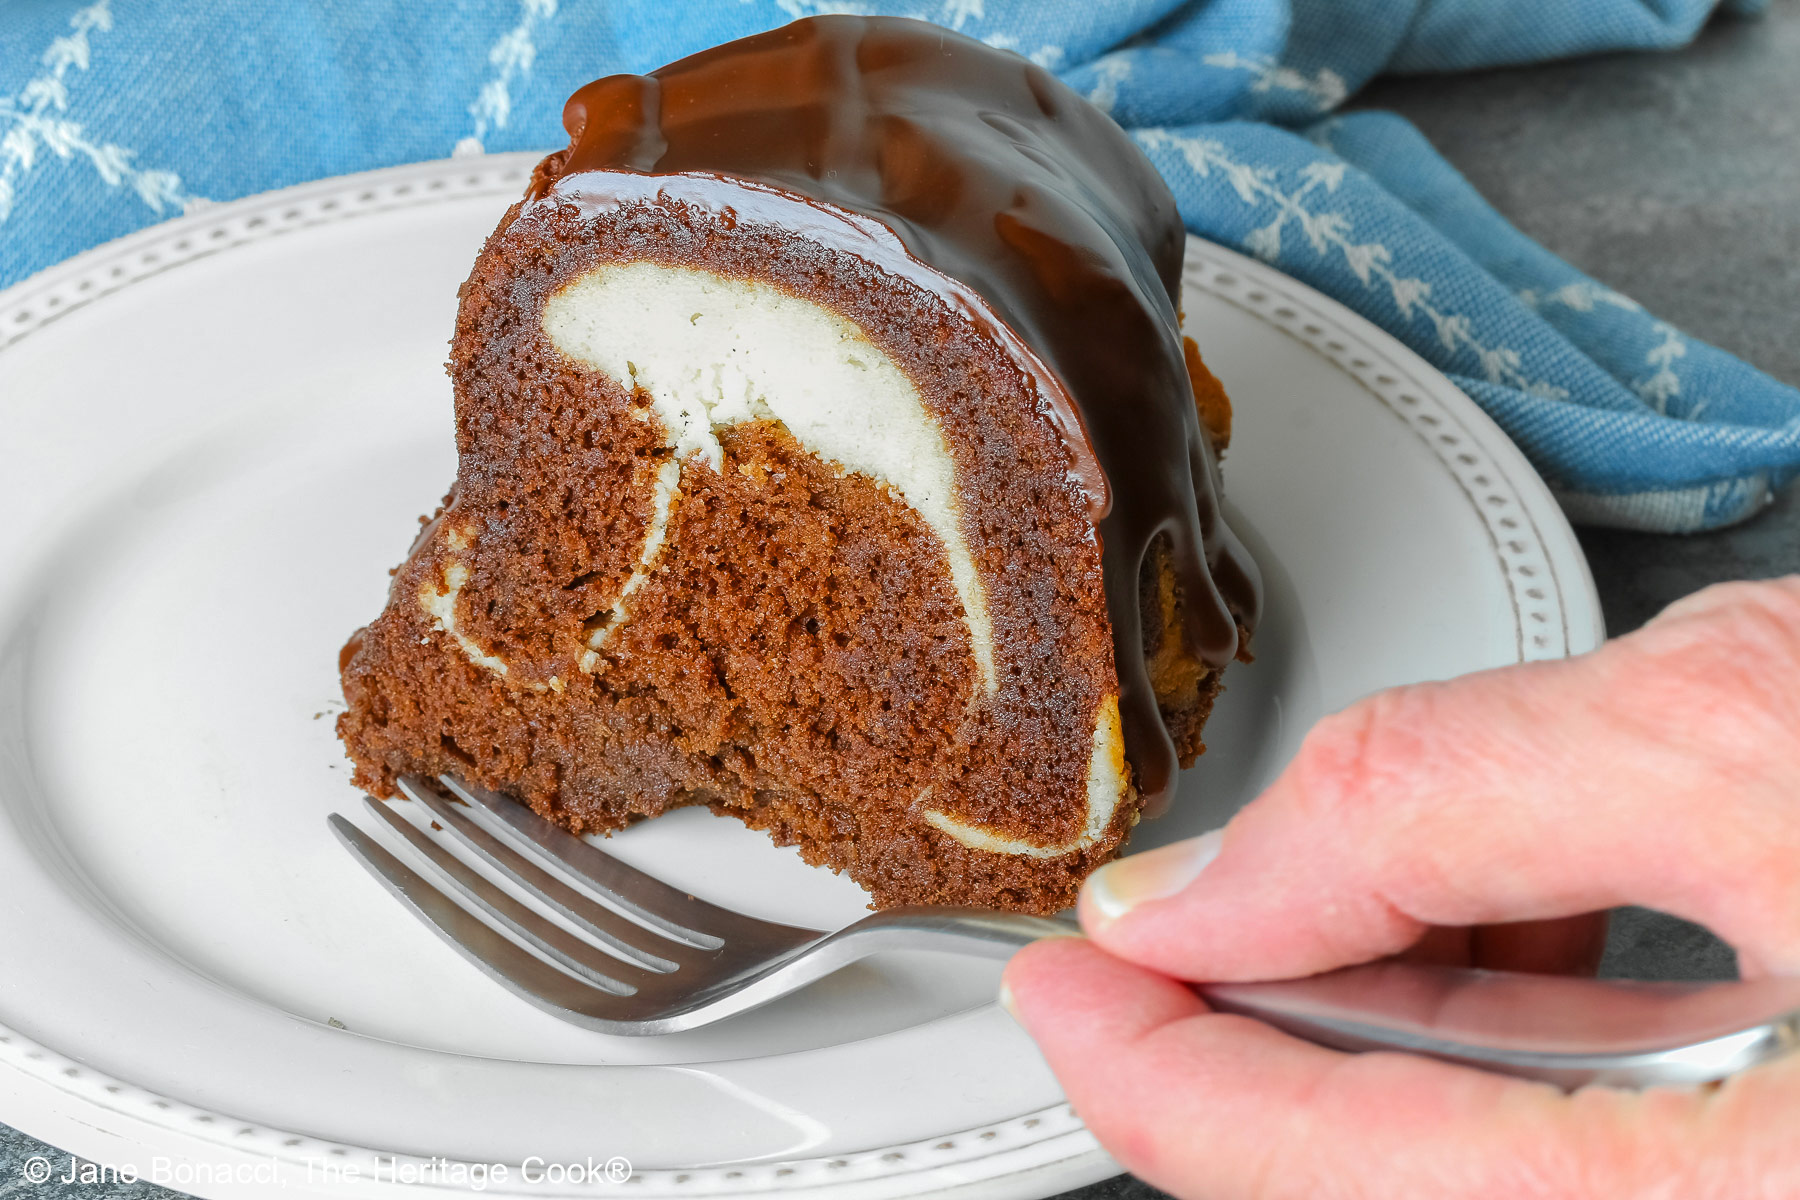
 If you crave chocolate and cheesecake, this tender Chocolate Bundt Cake with Cheesecake Filling is the cake for you! Luscious and chocolatey with creamy filling throughout, what’s not to love?! This is a show-stopper dessert with natural beauty thanks to the bundt pan you choose. The more details, the fancier it looks.
Bundt cakes are among my favorites because they are easy to make, firm yet moist, with natural decorative designs. They are a snap to make look good, taking away any trepidations of decorating for events.

The more ornate your design in the pan, the more careful you need to be to get every surface covered liberally with butter. You don’t want any part of the design ruined by the cake sticking.
This is a recipe that takes a lot of dishes to prepare. One thing that really helps is having an extra bowl for your stand mixer. This lets you hold the cheesecake mixture in the bowl while you make the cake batter in a second bowl.
I bought a second bowl for my Kitchenaid mixer shortly after I got it in anticipation of Thanksgiving where I always seem short of equipment to get everything made and on the table. That second bowl saved my bacon that year and it often comes in handy when I am baking – like today’s cake!
This recipe makes a lot of batter so be sure to use your largest bundt pan and butter it very well. Don’t fill more than about 3/4 full leaving enough room for expanding and rising in the oven. If you have leftover batter, you can bake it in small baking dishes like au gratins or ramekins for individual servings.
We have a really fun special day coming up on July 30th, it is National Cheesecake Day! I thought I would share some of my favorite cheesecake or cheesecake bars recipes with you. It is a one-stop shopping day today at The Heritage Cook, LOL!
Sampling of Cheesecake Recipes for National Cheesecake Day!
Red, White, and Blue New York Cheesecake (GF)
Classic Cheesecake with Almond Crust (GF)
Coconut Cheesecake with Chocolate Sauce (GF)
Cheesecake Bars with Chocolate Crusts (GF)
Cheesecake Bars with Chocolate Chip Cookie Crust (GF)
Blueberry Swirl Cheesecake Bars (GF)
Individual Black Forest Cheesecakes (GF)
Vanilla Bean Cheesecake with Walnut Crust and Creamy Chocolate Sauce (GF)
Lemon Cheesecake with Fresh Berry Sauce (GF)
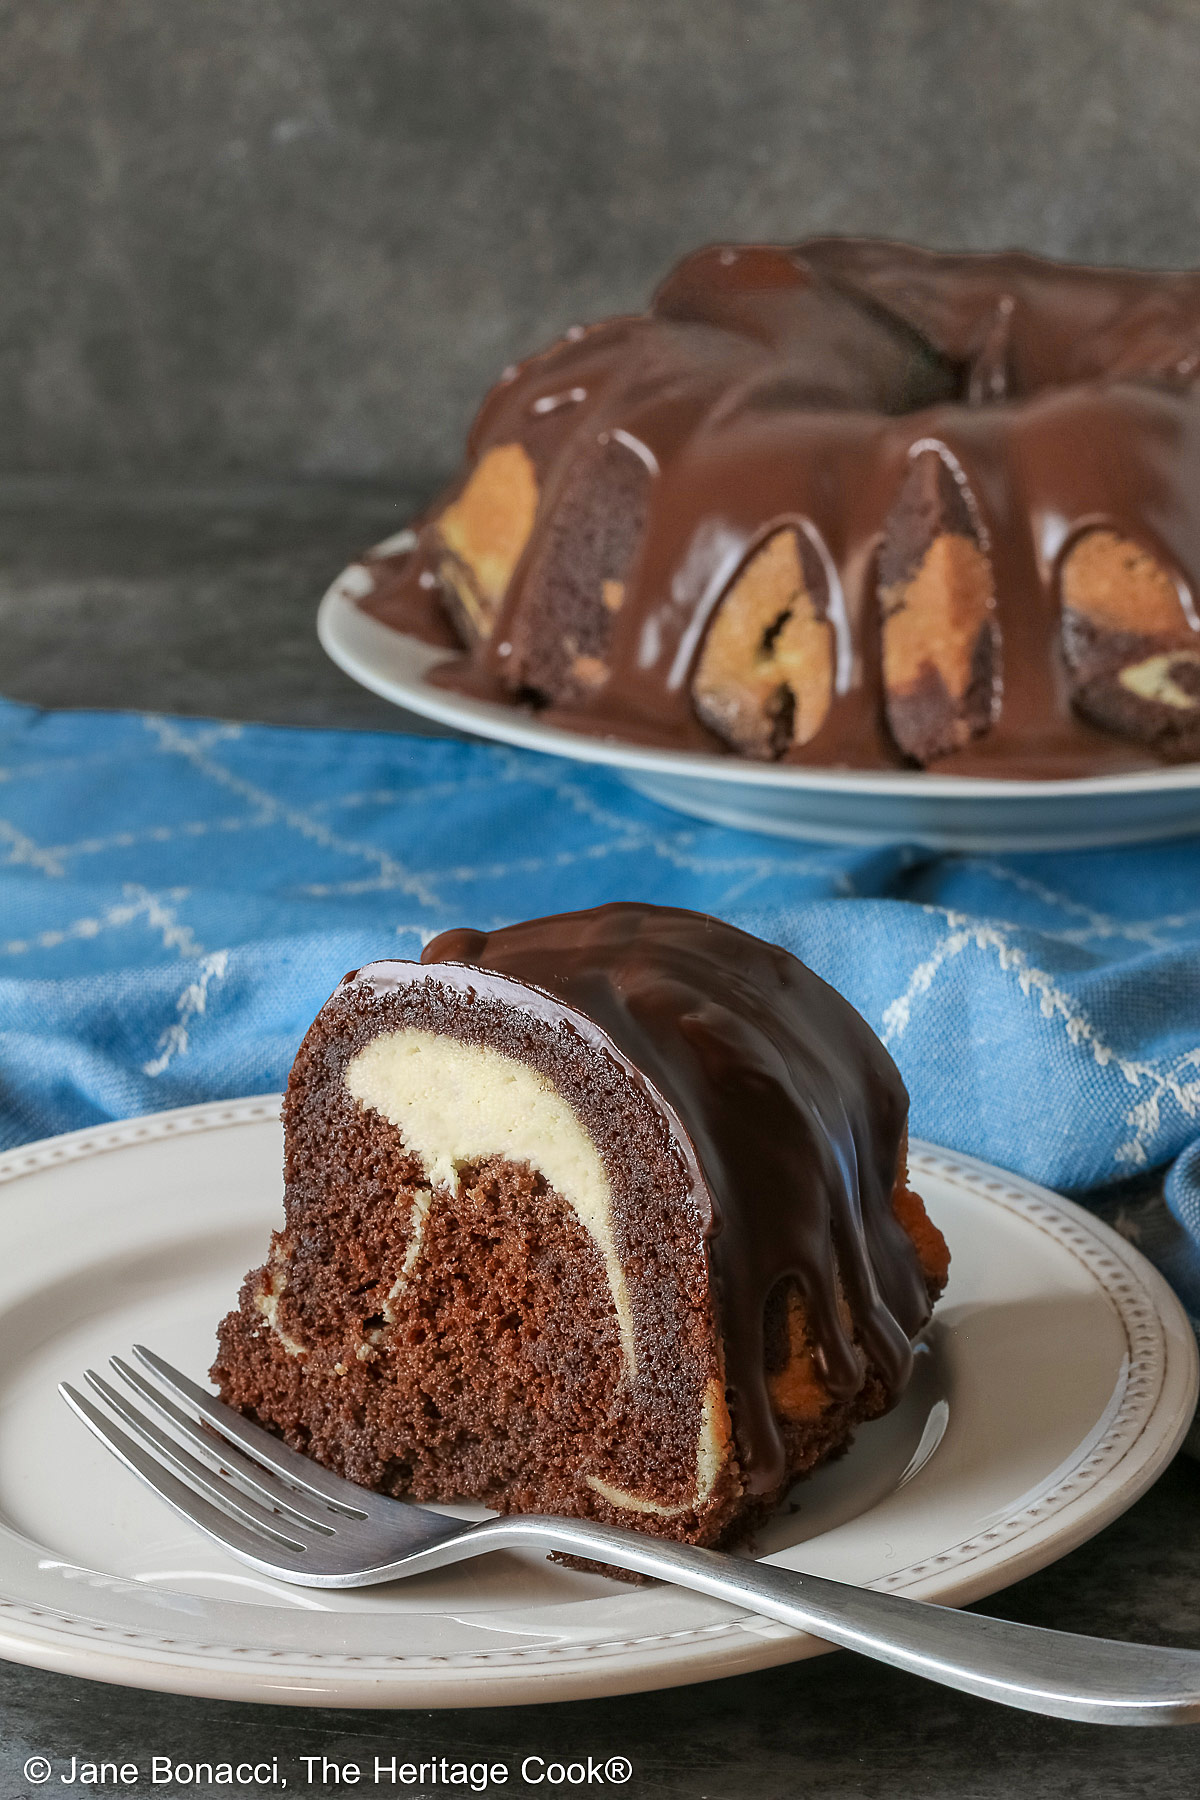 If you are looking for a special occasion dessert, this bundt cake is the one for you. A little time consuming to assemble, but worth every moment when you slice into it and take your first bite!
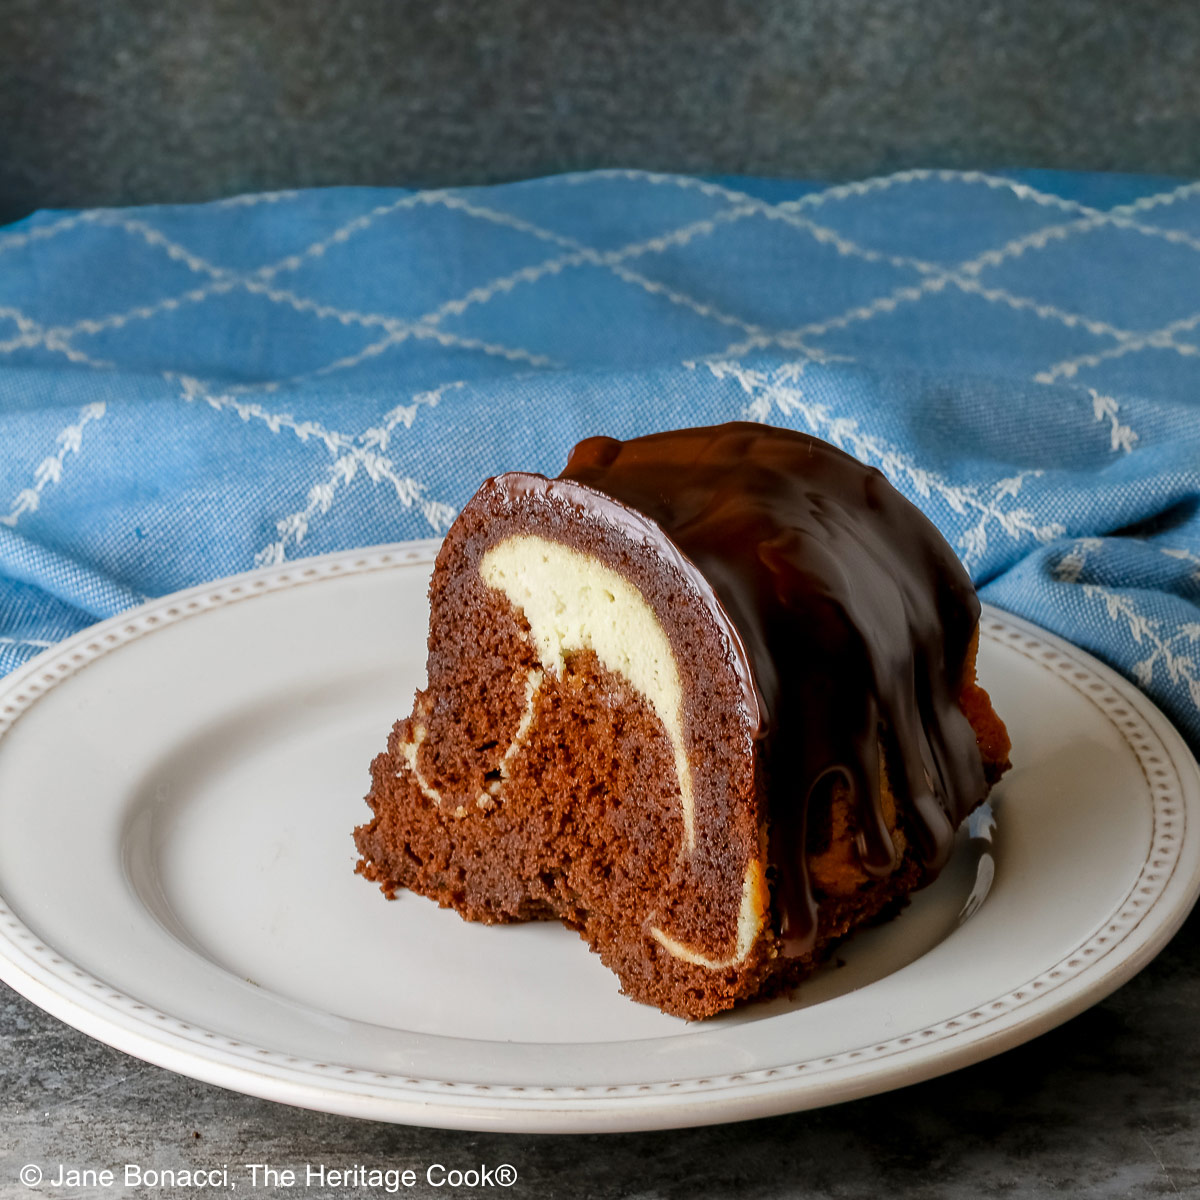
Cheesecake is my favorite special treat and when it is combined with chocolate I am guaranteed to swoon. Today’s Chocolate Bundt Cake with Cheesecake Filling is a dreamy dessert. Rich, lovely, and decadent, everyone will want a second slice!
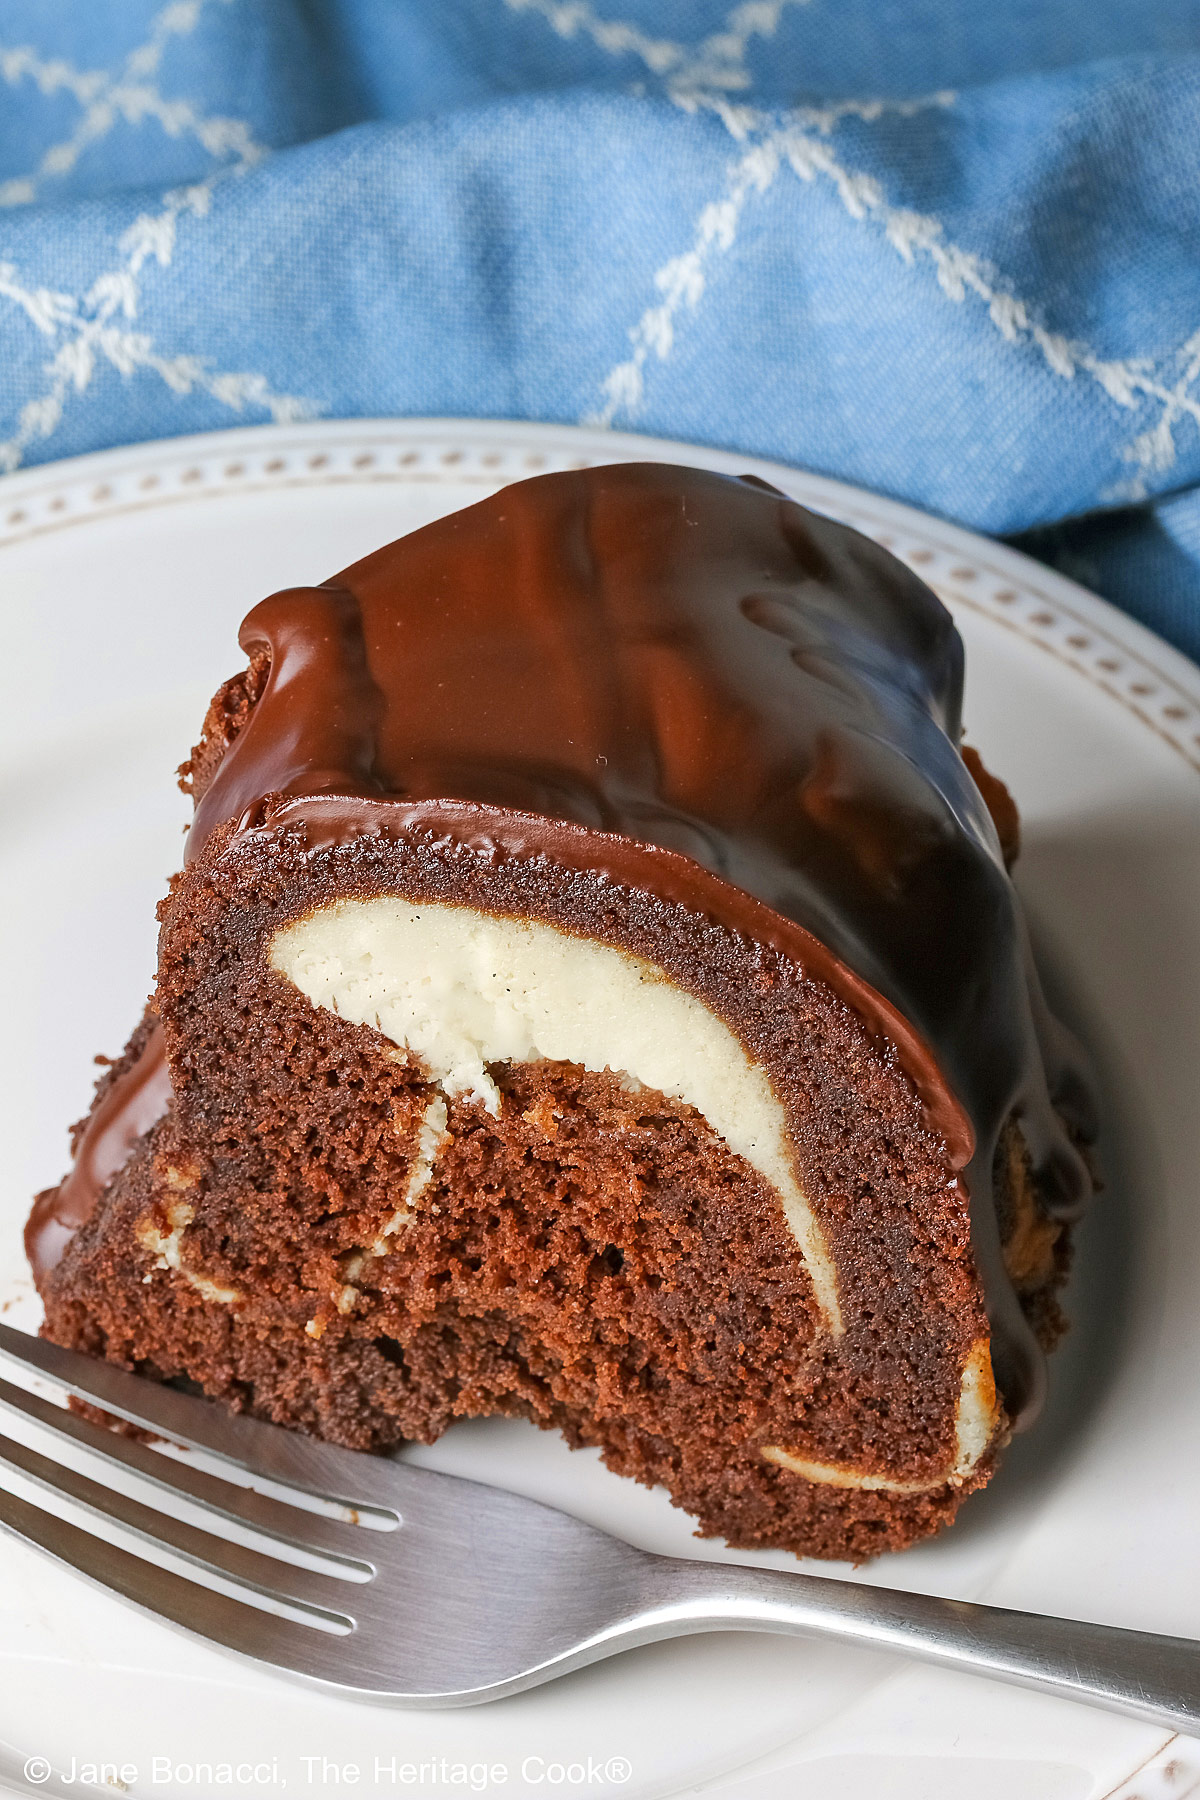
I hope you have a wonderful week and I will see you back here on Friday for another fun summertime recipe for these hot weather evenings!
If you try this recipe, let me know! Please leave a star rating in the recipe card, comment below, and don’t forget to snap a pic and tag it @theheritagecook on Instagram! Seeing your creations makes my day and I love hearing from you!
Ingredients needed for Chocolate Bundt Cake with Cheesecake Filling:
- Cheesecake Filling: cream cheese, egg, confectioners’ sugar, vanilla
- Cake: unsweetened cocoa powder, semisweet chocolate, water, sour cream, flour, salt, baking soda, butter, brown sugar, vanilla, eggs
- Ganache Frosting: semisweet chocolate chips, butter, light corn syrup
PRO Tip:
Use a measuring cup or large spoon to dollop the cake batter into the prepared bundt cake pan. This will give you more control over how much you add and place the thick batter to cover the areas that need it. Be sure to smooth the top when you are done and do not fill the pan more than 3/4 full!
PRO Tip:
After you dollop about 1/2 of the batter into the prepared bundt pan, drag a spoon or spatula into the top of the batter to create a shallow channel. This will help you keep the filling contained and away from the sides of the pan. You probably will not need to use all the filling. Use enough to fill the channel without over flowing.
How to make Chocolate Bundt Cake with Cheesecake Filling:
- The Filling: Beat the cream cheese then mix in rest of the ingredients. Set aside. Butter a 10-inch (25 cm) bundt pan. Break the eggs into a measuring cup with a spout.
- The Cake: Melt the cocoa and chocolate in a bowl with boiling water. Whisk until smooth and cool to room temperature. Whisk in the sour cream.
- Beat the butter, sugar, and vanilla until creamy. Mix in the eggs, one at a time. Scrape the sides and bottom of the bowl.
- Whisk together the flour, salt, and baking soda. Add the dry ingredients alternating with the chocolate mixture, beginning and ending with the dry ingredients. Scraped the bowl well.
- Pour about 1/2 the batter in the buttered pan. Use a spoon or spatula to draw a channel through the batter, creating a place for the filling to sit. Once filled, top with remaining batter and smooth the top.
- Bake the Cake: Bake at 350°F (180°C) for 45 to 50 minutes until a toothpick comes out with a few crumbs. Remove from the oven and cool in the pan on a wire rack for about 20 minutes. Invert onto a serving plate and cool completely. Feel in the center indentation for any residual heat before adding the ganache.
- The Ganache: Place a heatproof bowl over a saucepan with 2 inches (5 cm) of water in the bottom. Bring to a simmer and add the chocolate, butter, and corn syrup to the bowl. Stir often until most of the chocolate is melted and only a few pieces remain. Remove from the heat and place on a towel. Starting in the center, whisk in concentric circles moving out to the edges until fully incorporated, glossy, and smooth.
- Pour the ganache over the cake while still warm but it has begun to thicken a bit. Reheat if it thickens too much as you work.
PRO Tip:
This cake takes a while to make and get fully assembled. You may want to allow two days to make and finish it. I baked it on day one, let it cool thoroughly, then on day two made the ganache, let it cool and thicken before pouring it over the top of the cake. Then waited until it firmed up enough to cut cleanly.
PRO Tip:
The best way to get clean, pristine slices is to heat the sharp knife under very hot water and wipe dry before and after each cut. It will help cleanly slice through the ganache and cheesecake before going through the cake itself. You will get picture-perfect slices every time!
Recommended Tools (affiliate links; no extra cost to you):
- Kitchen scale
- Paring knife and chef’s knife
- Citrus reamer
- Stand mixer or hand mixer
- 10-inch (25 cm) bundt pan
- Mixing bowls
- Saucepan
Gluten-Free Tips:
* You can adjust any baking recipe to gluten-free by using 120 grams per cup of my favorite gluten-free flour blend. If you are using another brand of flour or regular flour, whisk it, spoon it lightly into a measuring cup until mounded, level off the top with a knife, and weigh the flour left in the cup. Use that weight as your standard per cup of that specific flour. Do this for each flour blend you use. Commercial gluten-free blends such as Pamela’s All-Purpose Artisan Blend, Bob’s Red Mill 1-to-1, or King Arthur Measure for Measure are all good gluten-free choices.
** My preferred brand of kosher salt is from Diamond Crystal. If you use Morton’s, another brand, or table salt, you will not need as much because they are saltier.
You will get the best and most consistent results by using a digital kitchen scale and weighing your ingredients, especially when you are baking. Use grams, they are much more accurate than pounds and ounces.
All recommended ingredients are gluten-free as of the writing of this article. Always check to be sure the products haven’t changed and are still safe to consume.
Chocolate Bundt Cake with Cheesecake Filling (GF)

If you crave chocolate and cheesecake, this tender Chocolate Bundt Cake with Cheesecake Filling is the cake for you! Luscious and chocolatey with creamy filling throughout, what’s not to love?! This is a show-stopper dessert with natural beauty thanks to the bundt pan you choose.
Ingredients
Cheesecake Filling
- 1-1/2 bricks (12 oz; 339g) full fat cream cheese, at room temp
- 1 large egg, at room temperature
- 3/4 to 1 cup (85g to 113g) confectioners’ sugar
- 1 tsp pure vanilla extract
Cake
- 3/4 cup (63g) natural unsweetened cocoa powder, such as Hershey’s brand (do Not use “dark” or “Dutched” cocoa!)
- 6 oz (1 cup; 170g) semisweet chocolate chips (I used Guittard)
- 3/4 cup (170g) boiling water
- 1-3/4 cups (210g *) gluten-free all-purpose flour * or regular all-purpose flour such as Gold Medal brand
- 1 tsp kosher salt **
- 1 tsp baking soda
- 1 cup (227g) sour cream
- 12 tbsp (1-1/2 sticks; 170g) butter, at room temperature
- 2 cups (426g) firmly packed brown sugar
- 1 tbsp vanilla paste or pure extract (this is not a typo!)
- 5 large eggs (250g)
Chocolate Ganache
- 1/2 cup (1 stick; 113g) butter, sliced thinly
- 1 cup (170g) semisweet chocolate chips
- 1 tbsp light corn syrup or Golden Syrup
Instructions
1. Bring everything out of the refrigerator that needs to be at room temperature, measure each one, and let them sit on the counter for about 30 minutes to warm up.
2. Prepare the Filling: Using a handheld or stand mixer fitted with a paddle or whisk attachment, beat the cream cheese on high speed until no lumps remain. Beat in the egg, sugar, and vanilla on medium speed until combined. Start with the lower amount of sugar and add more if needed until it thickens but still spreadable. Set aside.
3. Preheat the oven to 350°F (180°C). Butter a 10-inch (25 cm) bundt pan thoroughly covering all the crevices completely. Break the eggs into a measuring cup with a spout; set aside.
4. Make the Cake: Place the cocoa and chocolate in a heatproof bowl. Add the boiling water and cover for 5 minutes. Whisk until smooth and let cool to room temperature. Once cool, whisk in the sour cream.
5. Meanwhile, in a mixer, beat the butter, sugar, and vanilla until fluffy. Add the eggs one at a time. Scrape the bowl sides and bottom thoroughly.
6. In another bowl, whisk together the flour, salt, and baking soda. Add the dry ingredients alternating with the chocolate mixture to the mixer. Start and end with the dry mixture, beating after each addition. Scrape down the sides and bottom of the bowl fully.
7. Fill the Pan: Dollop about 1/2 of the cake batter into the prepared bundt pan, make a shallow channel in the center around the ring (use the back of a spoon or a spatula), scoop the cream cheese filling in the center of the batter in the channel without letting it touch the outside of the pan if possible. Only use as much filling as you need – you may have some leftover. Smooth the filling into the channel. Then top with the remaining cake batter and smooth the top.
8. Bake the Cake: Bake for 45 to 50 minutes, or until a toothpick inserted in the center of the cake comes out with a few moist crumbs or clean. Cool in the cake pan for 20 minutes. Then invert the cake onto a serving plate and let it cool completely (about an hour or two on a wire rack). Feel in the center for any residual warmth before adding the ganache.
9. Make the Chocolate Ganache: Add two inches (5 cm) of water to a medium saucepan. Bring it to a simmer over medium heat. Top with a heatproof bowl that fits into the pot without the bottom touching the water, and place the butter, chocolate, and corn syrup in the bowl.
10. With the heat on medium, stir the chocolate often to avoid scorching, until it is almost fully melted, then remove from the heat and place on a kitchen towel. Wipe the sides of the bowl dry. Whisk, starting in the center and moving outward in concentric circles, until the chocolate is completely melted, all the butter has been incorporated, and the mixture is glossy and smooth. Set aside to cool until thickened a bit.
11. Using a small ladle or large spoon, pour the ganache over the cake while the chocolate is still warm, but has begun to thicken. Reheat if it thickens too much as you work.
12. Store any leftover ganache in the refrigerator. Reheat to use as chocolate sauce over ice cream or pour more over slices of the cake. Enjoy!
Recipe found at www.theheritagecook.com
Notes
* You can adjust any recipe to gluten-free by using 120 grams per cup of my favorite gluten-free flour blend. If you are using another brand of gluten-free flour, whisk the mix, spoon it lightly into a measuring cup without a spout until mounded, level off the top with the back of a knife, and weigh the flour left in the cup. Use that weight as your standard per cup of that specific flour. Do this for each flour blend you use. Commercial blends such as Pamela's, Bob's Red Mill 1-to-1, or King Arthur Measure for Measure are all good gluten-free choices.
** My preferred brand of kosher salt is from Diamond Crystal. If you use Morton’s or another brand you will likely not need as much because they are saltier.
You will get the best and most consistent results by using a digital kitchen scale and weighing your ingredients, especially when you are baking. Use grams, they are much more accurate than pounds and ounces.
All recommended ingredients are gluten-free as of the writing of this article. Always check to be sure the products haven’t changed and are still safe to consume.
Adapted from Liz of That Skinny Chick Can Bake
Nutrition Information:
Yield:
12Serving Size:
1Amount Per Serving: Calories: 656Total Fat: 38gSaturated Fat: 22gUnsaturated Fat: 16gCholesterol: 159mgSodium: 532mgCarbohydrates: 76gFiber: 5gSugar: 62gProtein: 8g
The nutritional information for recipes on this site is calculated by online tools and is merely an estimate. If you need nutritional calculations for medical reasons, please use a source that you trust.
If you enjoyed this recipe, be sure to follow me on social media so you never miss a post:
| Facebook | Pinterest | Instagram | Threads | Bluesky |

Create a New Tradition Today!
Welcome! The suggestions here are not intended as dietary advice or as a substitute for consulting a dietician, physician, or other medical professional. Please see the Disclaimers/Privacy Policy page for additional details. Unauthorized use, distribution, and/or duplication of proprietary material from The Heritage Cook without prior approval is prohibited. If you have any questions or would like permission, please contact me. We participate in the Amazon Services LLC Associates Program, an affiliate advertising program designed to provide a means for sites to earn advertising fees by advertising and linking to amazon.com. As an Amazon Associate, I earn a small amount from qualifying purchases without any additional cost to you. This page may contain affiliate links. The author makes no claims regarding the presence of food allergens and disclaims all liability in connection with the use of this site.