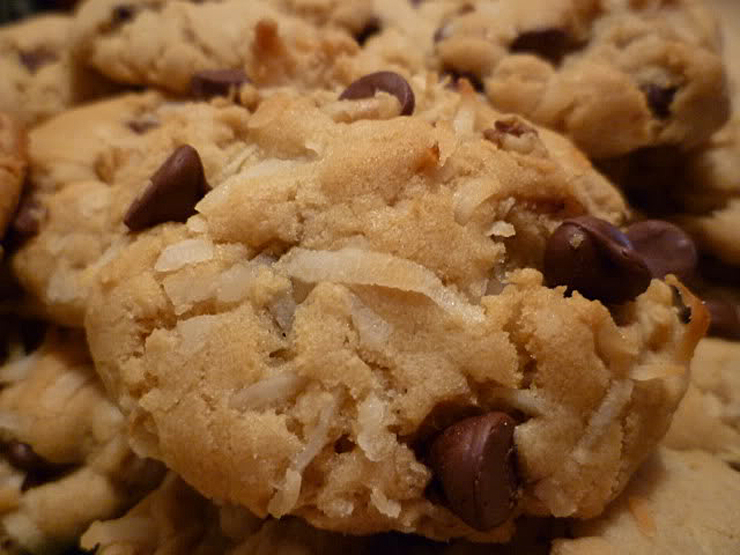
Cookies. The perfect snack, treat and gift. I love cookies and so does The Artist. They are his favorite dessert and he will order them every time he sees them on the menu. He loves all Italian cookies, but I am an American gal through and through. Give me a great chocolate chip cookie and I am in heaven. This one is full of all kinds of goodies that take them over the top.
Today’s recipe is from one of this country’s most highly esteemed establishments, the wonderful Flour Bakery and Café in Boston. I own Joanne Chang’s beautiful cookbook and as I walk through the pages, lusting after each and every recipe, it makes me feel as though I am talking to her in person. She has a very engaging style of writing that makes everyone feel like a friend. The headnotes are full of information on how the recipe was created, childhood memories, and other tidbits about a day in the life of the team at Flour.
In addition to her headnotes, Joanne has sidebars on many of the recipes. Called “Baker’s Bites” they give you extra information to guarantee your success when you make her recipes. I love sidebars in cookbooks and always look for them. In my opinion, headnotes and sidebars can take a cookbook from mundane to superb. If the author has gone to the trouble of writing sidebars, chances are they have spent a lot of time and energy making sure the recipes are fully tested and work in a home kitchen.
Joanne became a national sensation in the summer of 2007 when she starred in a episode of the Food Network’s show Throwdown with Bobby Flay. The premise of the show is that Bobby Flay, a renown chef in New York City and one of the stars of the Food Network, arrives unannounced to challenge a local favorite chef to a head-to-head cooking competition. In this case it was Flour’s infamous Sticky Buns that caught his eye. The result? No surprise to her legion of fans, Joanne and Flour’s Sticky, Sticky Buns won the day and she took home the bragging rights.
Because I don’t live in Boston, I have to rely on someone else’s photographs to show you Flour’s baked goods. One of my food blogging friends, the fabulous Brian Samuelson, a gifted cook and baker and one of the most talented photographers I know, has some stunning photos of the bakery and it’s products on his blog, A Thought for Food. Make sure you check out all of his work. By the way, he is available for hire as a writer and photographer and could probably be convinced to cater a party too. The man is a rock star!
I know you will love these cookies and they may very well become the standard by which you judge all chocolate chip cookies. When the team at Flour was creating the recipe, the bakers each made suggestions for their favorite ingredients and they were all incorporated into this amazing treat. The recipe came together fairly easily, but naming it was a real challenge. So they held a contest inviting their customers to submit their suggestions with the winner getting two-dozen cookies of their choice. The entries varied from humorous to practical but the one that made all of them laugh was Chunky Lola. To this day they have no idea who Lola might be, but the cookies have gone on to become one of their most popular sellers.
One of Joanne’s secrets is to make the dough one day and bake it off the next. This gives the flour a chance to fully absorb all the liquid from the eggs and butter, and improves both the flavor and texture of the cookies. The other way you can make your cookies (or any baked goods) soar high above the norm is to use the highest quality ingredients that you can afford. Buying your chocolate chips from a high-end store or online instead of settling for what is available in most regular grocery stores will make a huge difference. Try a side-by-side comparison sometime. Make the exact same recipe except swap out one or two ingredients for high quality ones and see what you think. If you are like me, there will be no going back!
Visiting Flour is very high on my bucket list, but since I live 3000 miles away, it may be awhile before I get there. You can rest assured that the next time I get within 100 miles of Boston I will be making a beeline straight for the bakery. I’ll bet Brian will meet me there and we will spend many hours eating our way through the whole menu and rolling out the door at the end of the day, LOL.
During the cold days of winter, these cookies can transport you to the warmth of the tropics. Enjoy and Happy Chocolate Monday!
Jane’s Tips and Hints:
Use a spring-loaded ice cream scoop to portion out the dough quickly and into equally sized pieces.

- 1/2 cup plus 3 tbsp (1-3/8 stick or 156 grams) unsalted butter, at room temperature
- 2/3 cup (140 grams) granulated sugar
- 2/3 cup (150 grams) packed light brown sugar
- 2 eggs
- 1 tsp vanilla extract
- 1-1/4 cups (175 grams) unbleached all-purpose flour
- 2/3 cup (70 grams) old-fashioned rolled oats (not instant or quick cooking varieties)
- 1 tsp baking soda
- 1/2 tsp kosher salt
- 9 oz (255 grams) bittersweet chocolate (62% to 70% cacao), chopped into 1/2-inch pieces
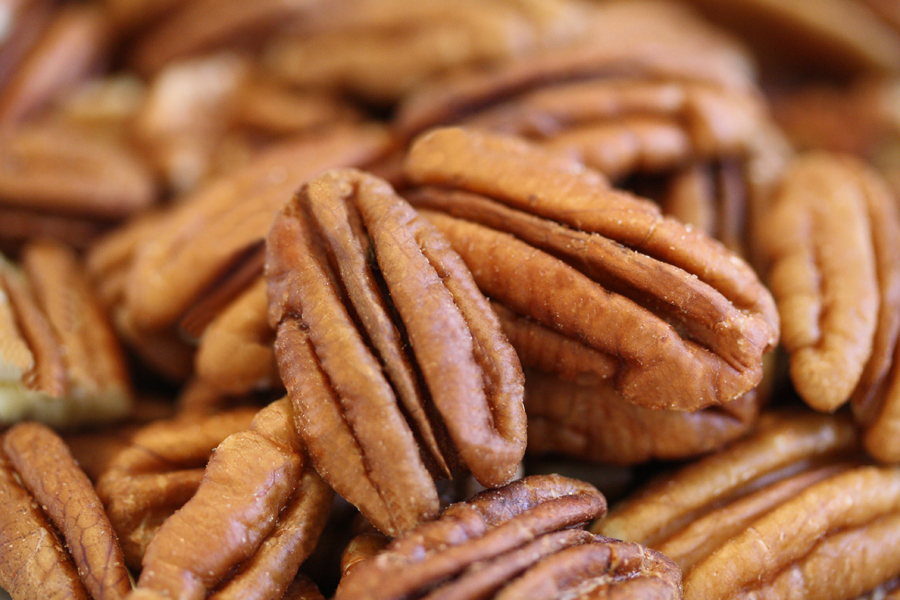
- 1-1/4 cups (125 grams) pecan halves, toasted and chopped
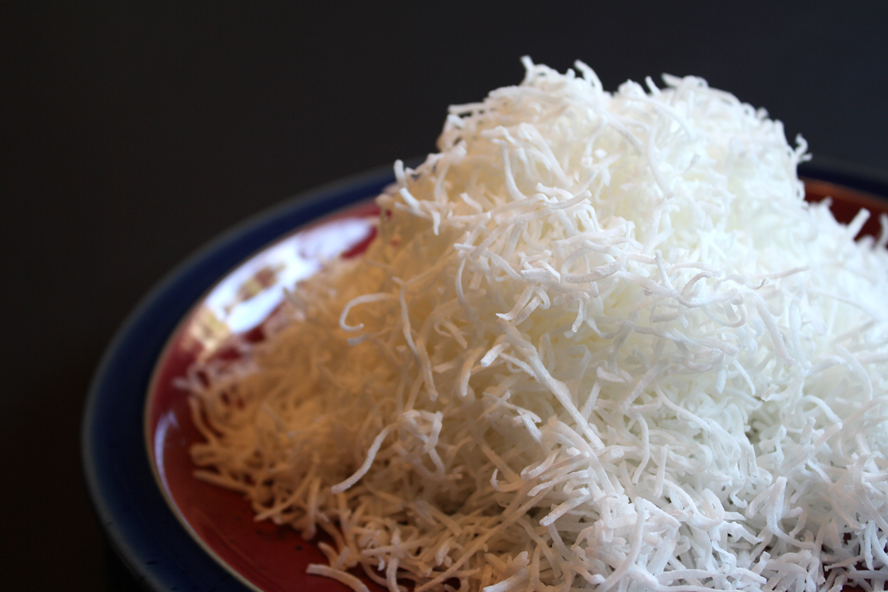
- 1 cup (120 grams) sweetened shredded coconut
- Using a stand mixer fitted with the paddle attachment (or a handheld mixer or wooden spoon), cream together the butter, granulated sugar, and brown sugar on medium speed for about 5 minutes, or until mixture is light and fluffy. (This step will take about 10 minutes if using a handheld mixer or spoon.) Stop the mixer a few times and use a rubber spatula to scrape the sides and bottom of the bowl and the paddle to release any clinging butter or sugar.
- Beat in the eggs and vanilla on medium speed for 2 to 3 minutes, or until thoroughly combined. Scrape the bowl and the paddle again to make sure the eggs are thoroughly incorporated.
- In a medium bowl, stir together the flour, oats, baking soda and salt. Add the chocolate, pecans, and coconut and toss to combine. On low speed (or with the wooden spoon), slowly add the flour mixture to the butter-sugar mixture and then mix just until the flour mixture is totally incorporated and the dough is evenly mixed.
- For the best results, scrape the dough into an airtight container and let it rest in the refrigerator overnight (or for at least 3 to 4 hours) before baking.
- When ready to bake, position a rack in the center of the oven, and heat the oven to 350°F.
- Drop the dough in 1/4-cup balls onto a baking sheet, spacing them about 2 inches apart. Flatten each ball slightly with the palm of your hand.
- Bake for 20 to 22 minutes or until the cookies are golden brown on the edges and slightly soft in the center. Let the cookies cool on the baking sheet on a wire rack for 15 to 20 minutes, or until they are cool enough to remove with a spatula. Then transfer the cookies to the wire rack to cool completely, or enjoy them warm.
- The cookies can be stored in an airtight container at room temperature for up to 2 days. The unbaked dough may be stored in an airtight container in the refrigerator for up to 1 week.
- Yield: about 18 cookies
Thank You!



Dana at Cooking At Cafe D
Thank you Lola – whoever you might be.
Looks like a nice recipe – and I’ll picture laying on a beach while munching them.
Jane Bonacci, The Heritage Cook
Dana, you are so cute. I want to thank Lola too, and don’t look now, but I’m on the next chaise lounge over, LOL!