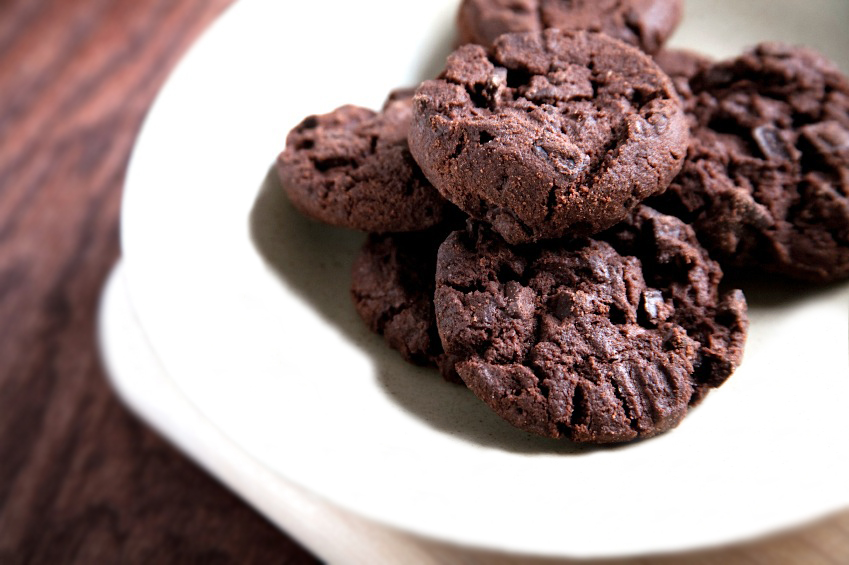
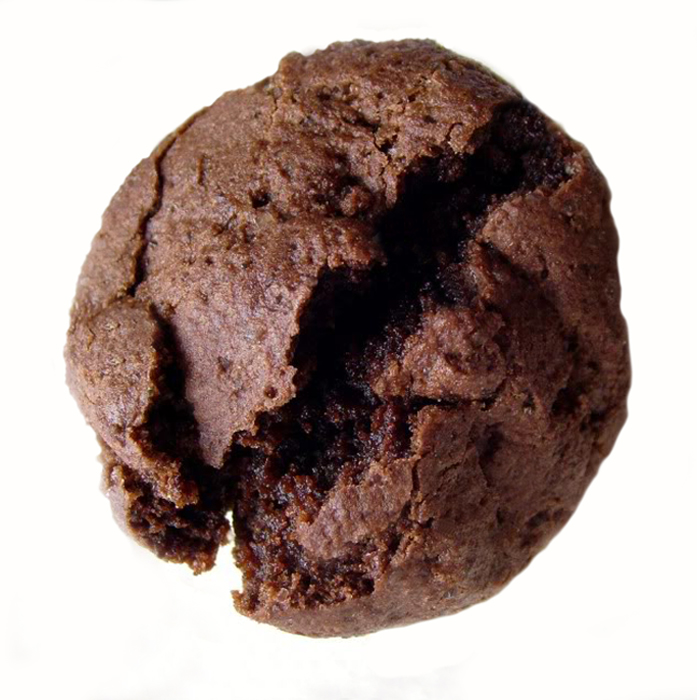
Is there anything in this world better than a chocolate cookie, hot out of the oven? I doubt it and I know The Artist would adamantly vote for chocolate cookies, any day of the week. As a matter of fact, I have known him to drive many miles out of his way just to get fantastic cookies. And of all the cookies that he loves, chocolate are by far his favorites. And Oh My, how wonderful the house smells when they are baking! Whenever I am making cookies, I always double the recipe. I roll the extra dough into logs, wrap them with parchment and then plastic wrap, and freeze them. Then, whenever he “needs” cookies, he can pull out the log, slice them into discs, and bake them. He loves having them available and I appreciate not having to make them every time he has a craving.
These sensational cookies are from the brilliant bakers at Tartine Bakery in San Francisco. The husband and wife team of Elisabeth Prueitt and Chad Robertson, both graduates of the Culinary Institute of America in New York, met while in school there. Elisabeth grew up in upstate New York, in a family that grew most of what they cooked and ate. Chad grew up in West Texas where he developed his love of cooking, especially bread baking. Elisabeth and Chad met at the CIA and completed both the culinary arts program and were early graduates of the new Baking and Pastry program. After marrying, they spent a year in France working at two bakeries that specialized in wood-fired baking using natural fermentation in their breads as well as regional pastries and desserts.
When they returned to America, they settled in the bucolic community of Point Reyes Station, north of San Francisco in West Marin County. Drawing on her childhood of utilizing local ingredients, Elisabeth became known for creating elegant pastries, while Chad was lauded for his remarkable bread baked in a wood-fired brick oven. He even caught the attention of Alain Ducasse, one of the finest chefs in the world. In 2002 Elisabeth and Chad moved to San Francisco and opened Tartine. Since then they have received multiple awards and numerous accolades, including James Beard Award nominations in 2006 and 2007 for Outstanding Pastry Chef and Baker, National, with an eventual win in 2008.
You can tell where Tartine is by the line snaking around the block. If you get there early enough in the morning, you can have your choice of quiche, scones, croissants, eclairs, morning buns and a variety of tarts in addition to other pastries. Their breads are baked during the day and come out of the ovens around 5pm. Located in the Mission District of San Francisco, they are truly a destination bakery and one of the most popular sites in the City.
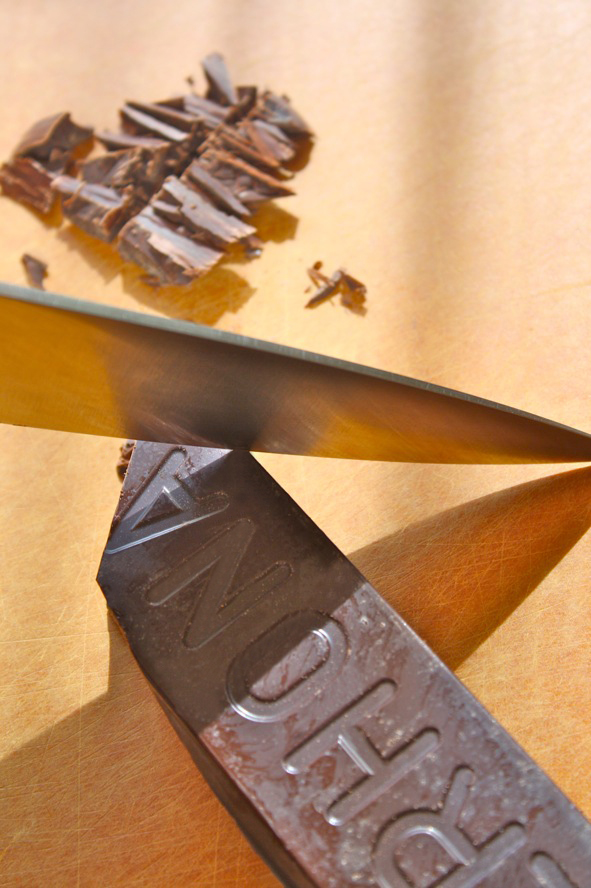
When you make a recipe with so few ingredients, the quality of those ingredients becomes even more important to the taste of the final product. Because of the high percentage of chocolate, it more than pays to use a great one. Scharffen Berger, Valrhona, Guittard, and Callebaut are all good choices. Rather than focusing on the type of chocolate, if it is indicated, make sure you use one with a cacao higher than 60%. This can sometimes be labeled semisweet or bittersweet. If no percentage is indicated, buy bittersweet. It is important because the sugar has been calculated for a high percentage chocolate. If you try to substitute a sweeter version, the cookies will not turn out.
If you want an even bigger hit of chocolate, you can add chocolate chunks to the batter just before portioning them out. This is absolutely not required, but some people prefer to have the texture of softly melted chunks in their cookies. Try them as written first and then if you think they need them, you can add chunks the next time you make them.
As with most chocolate recipes, this calls for melting it over a pot of simmering water. If you are going to be making chocolate recipes regularly, it will pay you to figure out which bowl you own that fits inside a medium saucepan. For me it is my medium-sized stainless steel bowl or the bowl from my KitchenAid mixer. Both fit inside my saucepan without touching the bottom. This leaves enough room for me to heat water and melt chocolate when I need it.
Some equipment that you will need if you make cookies regularly:
Ice Cream Scoops: These come in various sizes and can be used for a variety of tasks. Look for the ones that have a spring-loaded handle that moves a sweet across the bottom of the scoop. These release the most easily. Using a scoop will give you uniform shape and size as well as greatly increase your speed in making cookies.
Baking Sheets: Good quality, heavy baking sheets are indispensible tools in the kitchen. Used for thousands of tasks, they are especially important in baking cookies. The size you want are commonly called Half Sheet Pans, and are half the size of the ones used in commercial kitchens. They have sides that are about 1/2-inch high.
Silpats: Made of silicone, these rubbery mats are literally non-stick and can be used for any sticky substance. They are especially helpful when making candy and caramels as anything will release without trouble. When used on a baking sheet, they take the place of parchment paper or buttering the pan. Remember that they do add a layer of insulation, so cookies will brown more evenly.
Rubber Spatulas: These days they are seldom made of rubber, and are the flexible spatula used to scrape the sides of bowls and for use with non-stick pans. Look for the ones that are heat-resistant so that they won’t melt if you leave them in a hot pan. They come in several sizes and shapes, each appropriate for specific tasks. I always want some that are very flexible and others that are stiffer. Spoonulas are a newer shape that is half spatula and half spoon. They are very handy in the kitchen.
Metal Spatulas: As the name implies, these are made of metal, usually stainless steel. These are what you will reach for when you need to transfer foods from one area to another, including moving cookies from hot baking sheets to wire racks to cool.
Cooling Racks: Made of stainless steel, these racks raise foods up off the counter or plate, allowing air to circulate around them, cooling them much more quickly. The most common have bars running one direction only. If you can find them in your local stores (or order online), buy the ones with bars running both directions creating a crosshatch design. Nothing will fall through and they won’t leave as distinct a pattern on the bottom of cakes and other baked goods.
Good Knives: Probably the single most important tool in the kitchen, high quality knives will become your favorite as soon as you try them. A dull knife is the most dangerous tool and the one most likely to cause harm. When dull, a knife requires a lot of pressure to cut through foods. The more pressure you place on a knife, the more likely it is to slip and cut you. Buy the highest quality knives you can afford and keep them razor sharp. I bought mine one at a time and now have a wonderful collection of shapes and sizes for different tasks. It is only necessary to have your knives professionally sharpened occasionally if you use a steel regularly – most professionals use a steel every time they use their knives.
Cutting Boards: There is a lot of debate these days about which material is the safest to use as a cutting board. While there are advantages to any material, glass is the most dangerous as your knives will slip the most often on it and it also dulls the blades with every stroke. Plastic and wood are both good for protecting your knives, and each has their advocates. Both are perfectly safe as long as you clean them thoroughly after each use. I prefer the newer materials and highly recommend the boards from Epicurean. Reasonably priced, they will be useful for many years to come. I own two sizes, a medium-sized board, and a large board. The large board has a groove around all sides creating a moat for liquids. I use the grooved side for all raw meats and the opposite side for vegetables, bread, nuts, etc.
Food Processor: A food processor is a piece of equipment that will be used mostly when you are making copious quantities of food. While I use my knives for most small tasks, when I am cooking for a party (or if I had a large family to feed) my food process makes very quick work of slicing cheeses, chopping onions, grinding nuts, and even making pizza or pie dough. Once you own a food processor you will wonder how you ever got along without one!
Standing Mixer: Last but certainly not least, investing when you can in a heavy-duty mixer such as a KitchenAid will save you hours and hours of labor in the kitchen. They make easy work of even the stiffest batters and can be used to make and knead bread dough. Your mashed potatoes will be heavenly light and whipping cream will take a minute or two instead of ten. Select a color you love because they last for many, many years. Mine is still going strong after over 15 years of hard use.
I know that once you taste these cookies, they will haunt your dreams. Double the recipe as I usually do and keep some in the freezer for emergency cravings. Your family will thank you, and if you are lucky, they’ll bake you some like The Artist does for me!
Happy Chocolate Monday!!
Jane’s Tips and Hints:
When you are making a dough or batter and need to scrape the bowl, use a rubber spatula. Always stop the motor and if you are using a standing mixer, drop the bowl and take off paddle to make sure you reach the entire bottom and sides of the bowl. With the indent in the bottom center of the mixer’s bowls, unmixed ingredients can easily get caught there. Make sure you carefully scrape that area of the bowl as well as the sides to incorporate all the ingredients thoroughly.


- 8 oz bittersweet chocolate, (minimum of 60% cacao) chopped
- 1 cup + 1 tbsp (5-1/2 oz) all-purpose flour
- 1/2 cup + 2 tbsp (1-3/4 oz) cocoa powder
- 2 tsp baking powder
- 1/2 cup (4 oz or 1 stick) unsalted butter, at room temperature
- 1 cup + 2 tbsp (8 oz) granulated sugar
- 2 large eggs
- 1/4 tsp salt
- 1 tsp vanilla extract
- 1/3 cup whole milk
- Preheat oven to 350°F. Line a baking sheet with parchment paper or Silpat.
- Fill a saucepan with about 2-inches of water and bring to a simmer over medium heat. Select a glass or stainless steel bowl that rests securely in the rim of the pan and place it over, but not touching, the water. Wipe the interior of the bowl completely dry and then add the chopped chocolate. Any moisture that gets into the chocolate will cause it to seize (get lumpy.) Heat, stirring occasionally, just until the chocolate melts and is smooth. Remove from the heat and let cool.
- In a large bowl, stir together the flour, cocoa powder, and baking powder. Set aside.
- Using a stand mixer, fitted with the paddle attachment, beat the butter on medium-high speed until creamy. Slowly add the sugar and beat until the mixture is completely smooth and soft. Stop the mixer and scrape down the sides of the bowl with a rubber spatula as needed.
- Add the eggs, one at a time, mixing well after each addition until fully incorporated before adding the next egg. Beat in the salt and vanilla, and then add the melted chocolate. Beat until smooth. Add the milk and beat until combined. Finally, add the flour mixture and beat on low until incorporated.
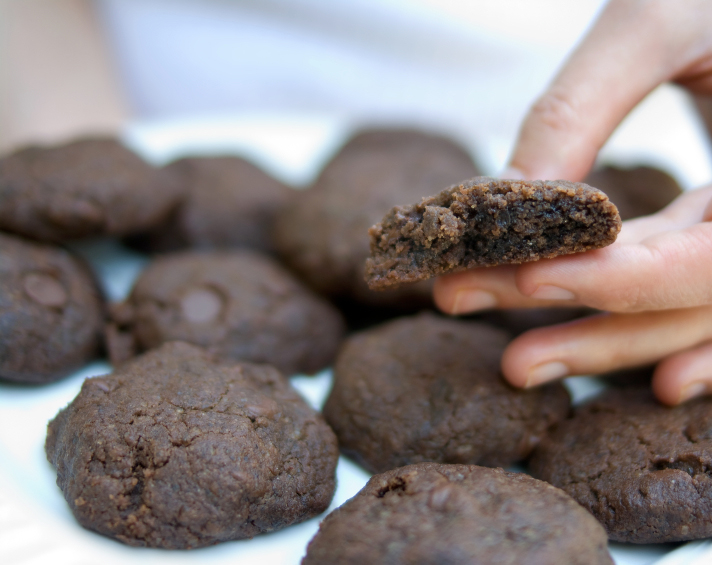
- Drop the dough by heaping tablespoonfuls onto the prepared baking sheet, spacing them about 1-inch apart. Bake the cookies until they are just barely firm on top when lightly touched, but are still very soft underneath, about 7 minutes. They will get firmer when they cool.
- Transfer the cookies to a wire rack and let cool. The will keep in an airtight container at room temperature for several days.
- If you want an extra special cookie for celebrations or the holidays, you can sandwich two of these with chocolate ganache. Talk about taking them over the top!!
- Yield: about 3 dozen cookies
- 2 cups heavy cream
- 16 oz good-quality chocolate, finely chopped
- Heat cream in a saucepan or the microwave until hot and just about to boil. There will be small bubbles forming around the edges of the pan.
- Meanwhile, place chocolate in a heat-proof bowl. Pour the hot cream over it and set aside for 1 to 2 minutes to start the melting process. Then stir with a wooden spoon until completely smooth. You don’t want to use a whisk because you don’t want to introduce any more air than necessary.
- To use as an icing or glaze, pour immediately over a completely cooled cake or petit fours, or use as a dip for fresh fruit.
- To use as a filling, chill to a thick spreading consistency, about 4 hours or overnight. Stir before using.
- To use for truffles, chill thoroughly overnight and then use a scoop to form small balls of the ganache. These can be dipped in melted chocolate or rolled in other ingredients.
- To use for hot chocolate, add to hot milk and stir until smooth. Add sugar if desired and top with whipped cream.
- To use as a sauce, heat in a saucepan or microwave. Add more cream, alcohol, or water to thin it slightly. Use this to top ice cream, drizzle over cake slices or cookies.
- Yield: about 3-1/2 cups
Thank You!


Elizabeth
These look soooo tasty. I’ve been hunting for an unexpected cookie recipe–thanks!
Jane Bonacci, The Heritage Cook
Hi Elizabeth! I am happy you will try these, they are fabulous! Join us every Monday for our weekly celebration of Chocolate … Chocolate Mondays!!
The Food Hound
I am such a fan of Chocolate Monday 🙂 These look awesome– I’m a Callebaut girl, for sure!
Jane Bonacci, The Heritage Cook
I am so happy to have you join us every Monday! I love Callebaut too, but my favorite to bake with is our local Guittard. We are incredibly lucky to have them so nearby! Have a wonderful week!!
Feast on the Cheap
Chocolate Monday? I’m in!
Jane Bonacci, The Heritage Cook
Glad to have you with us. Chocolate Monday is a fun way to start the week with a smile!!