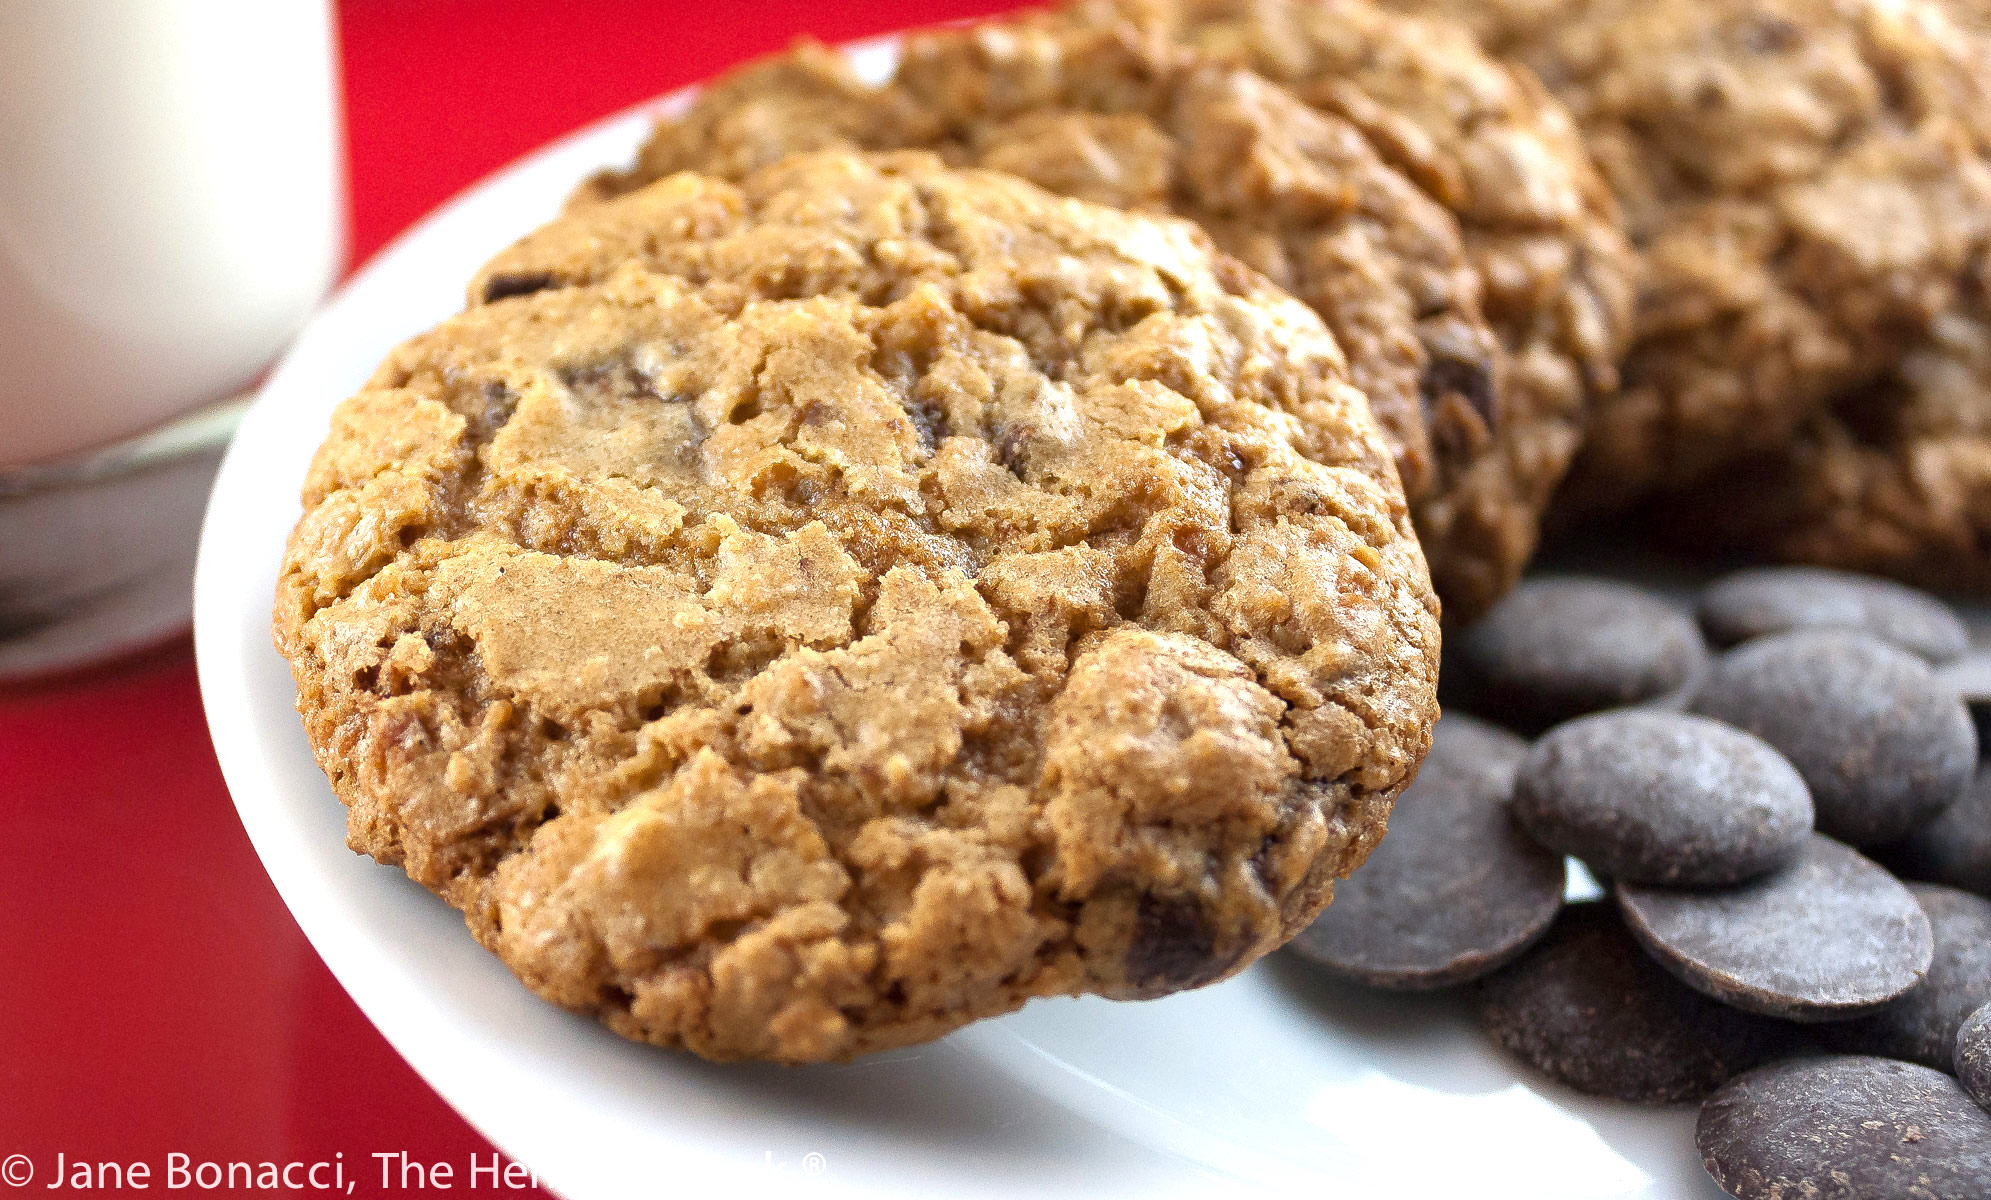
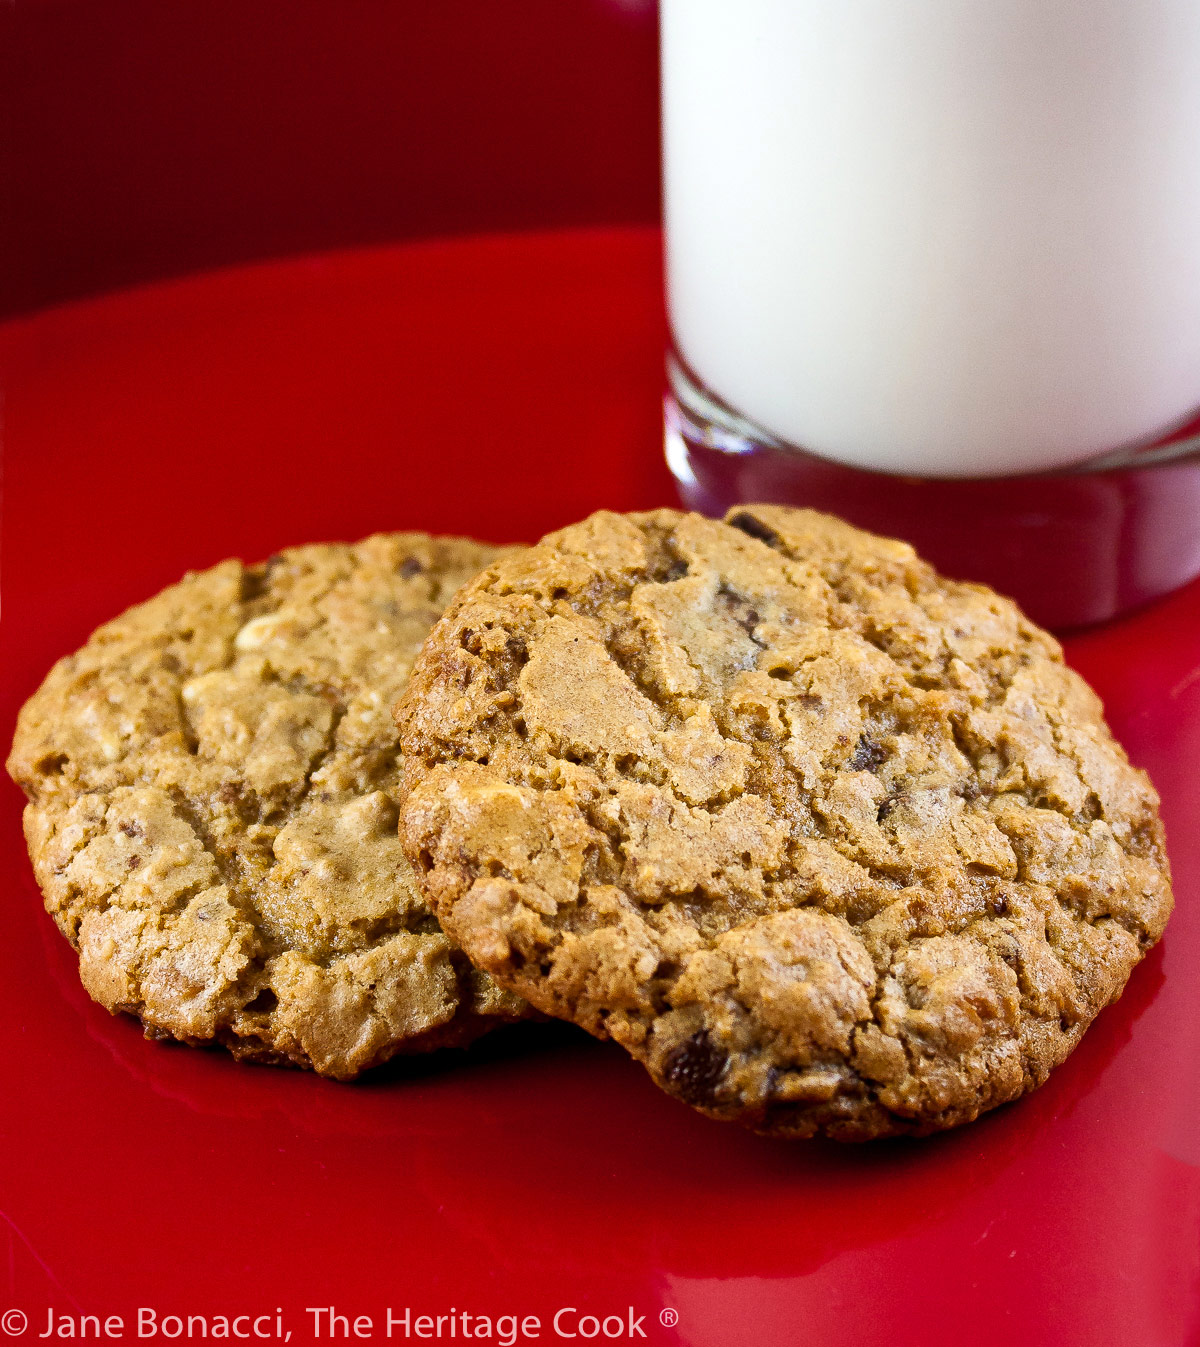
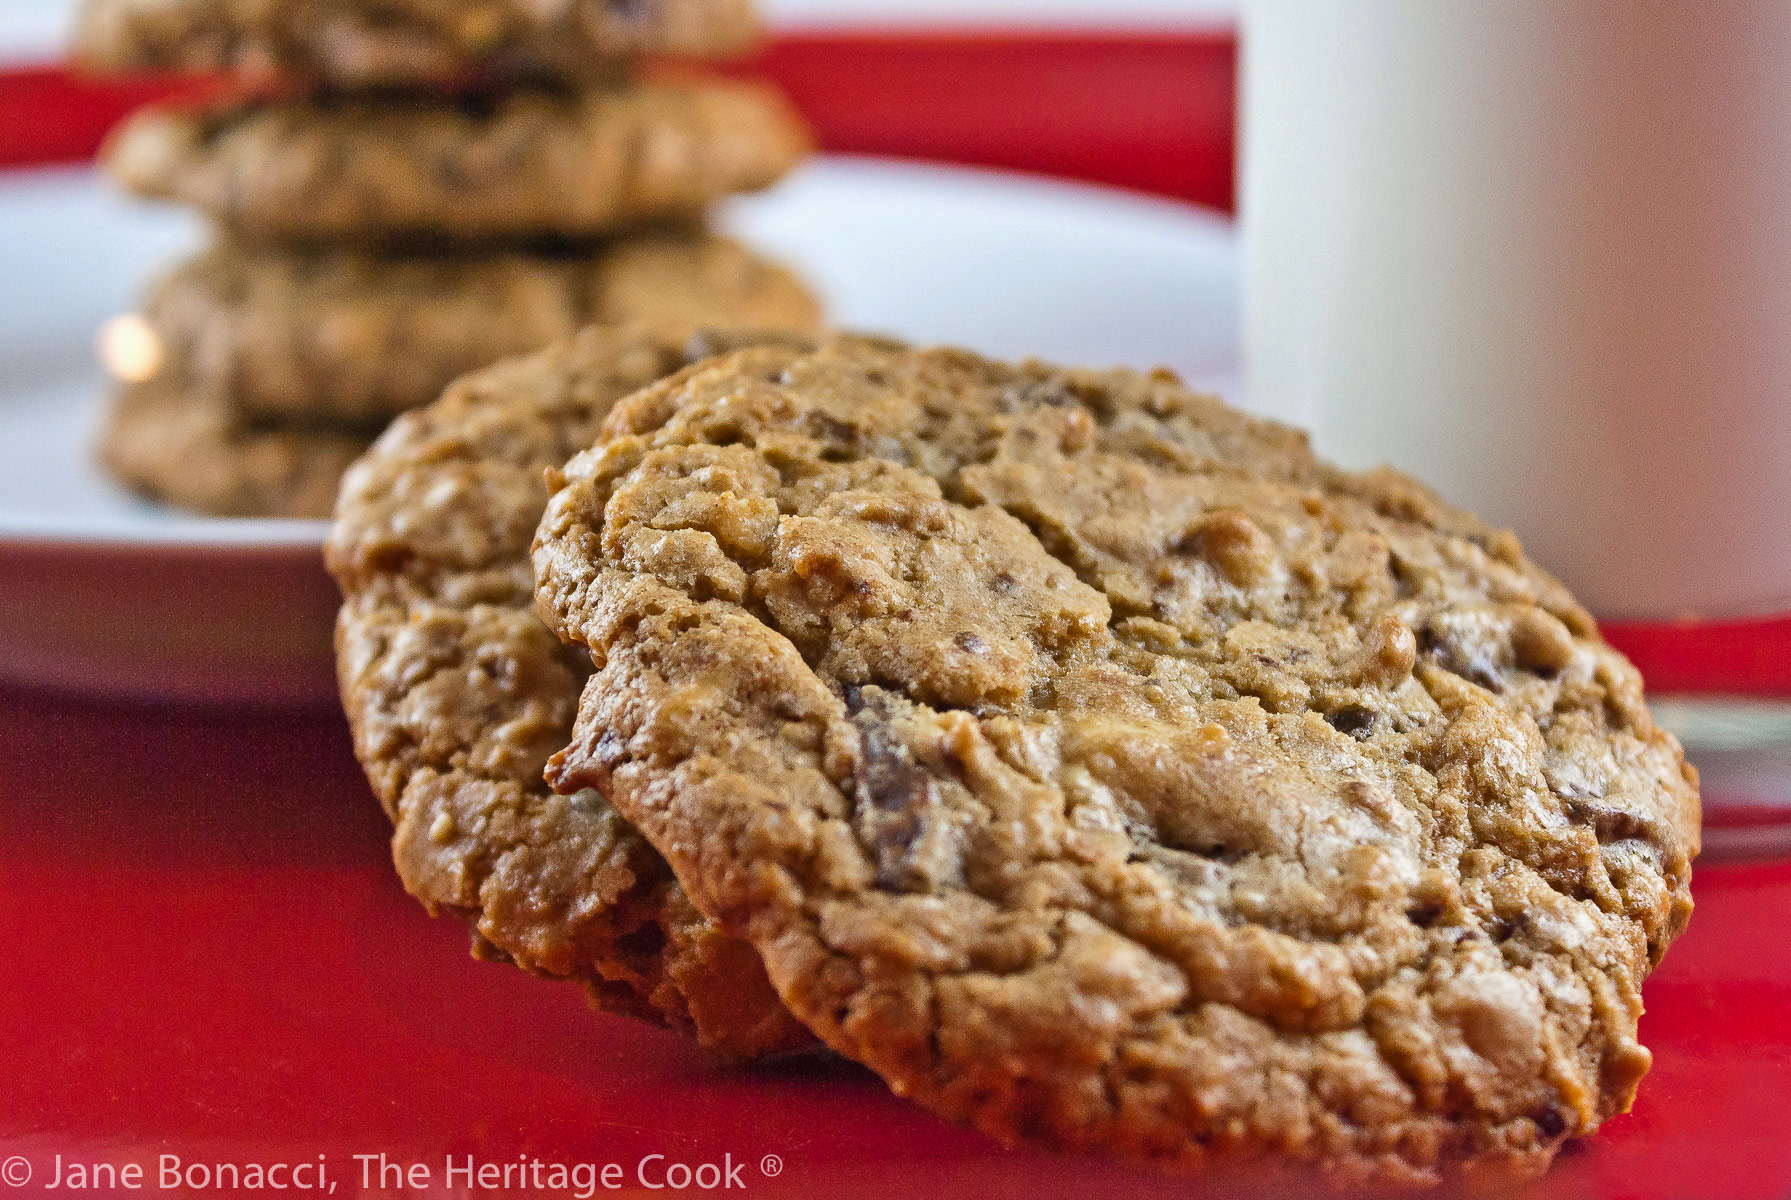
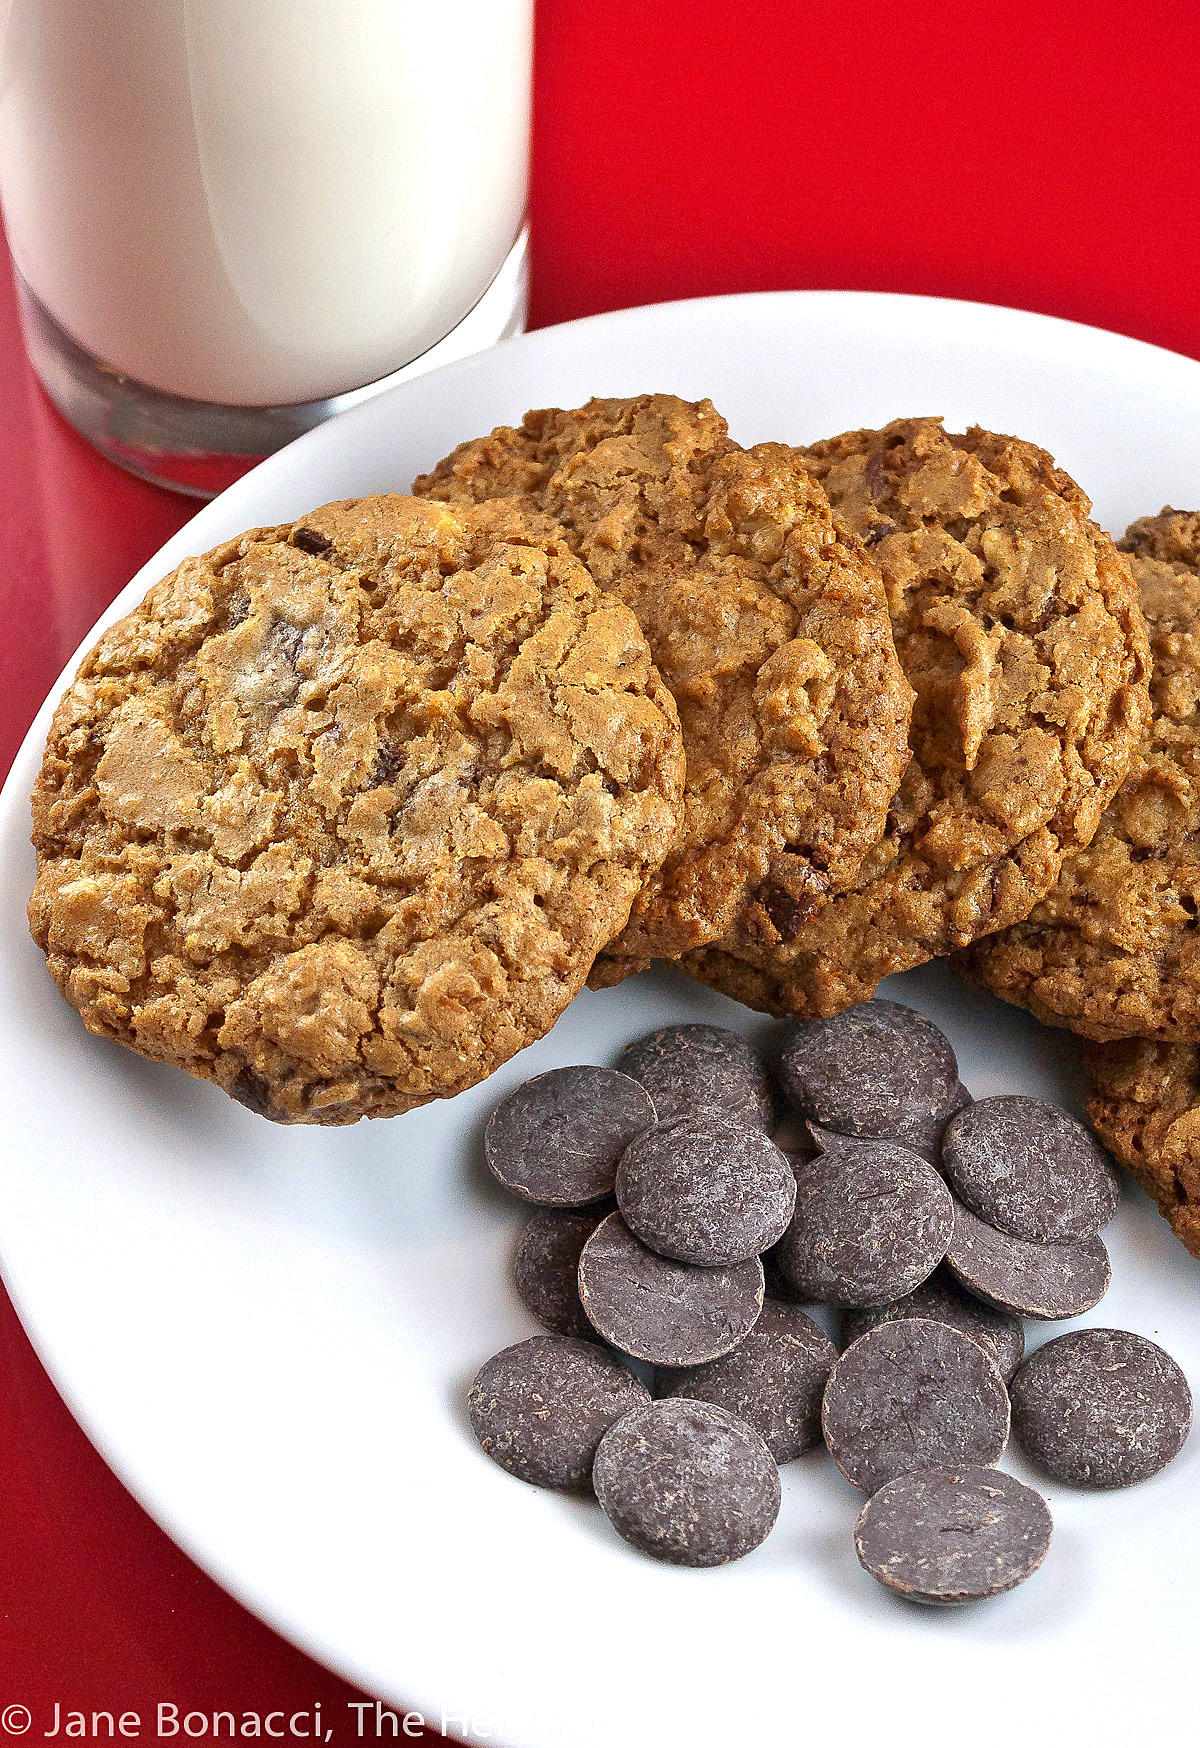
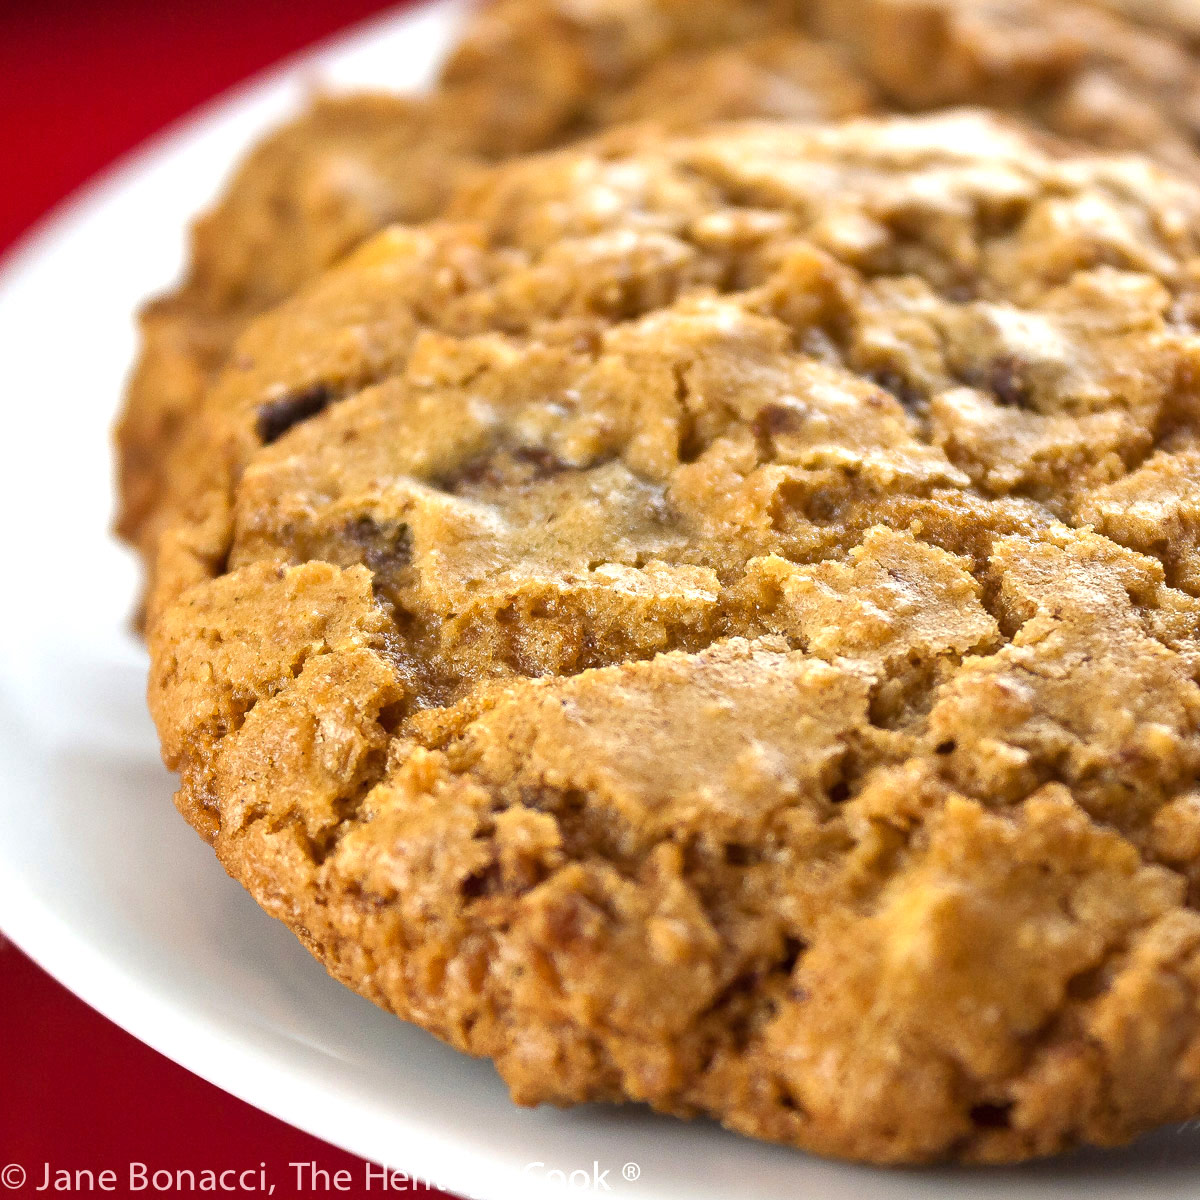
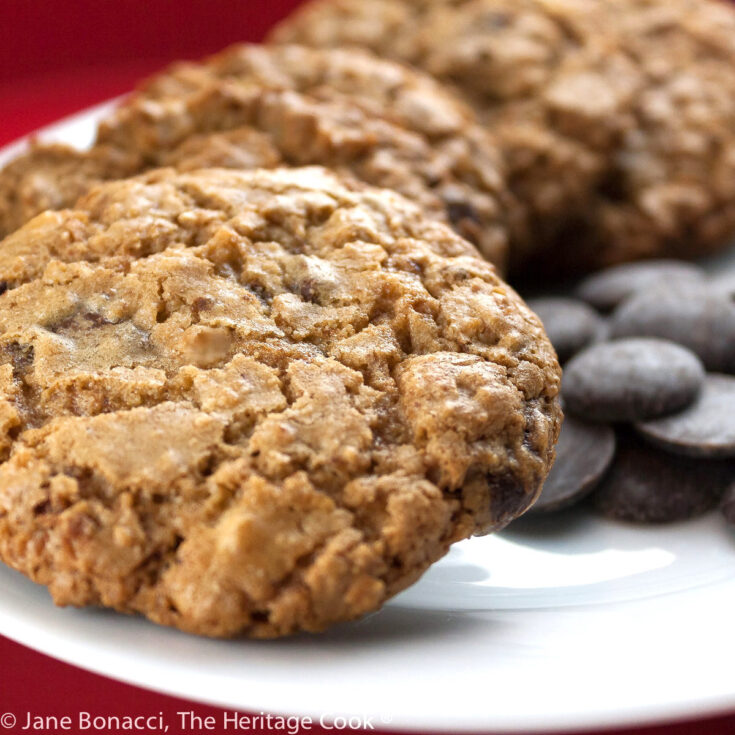
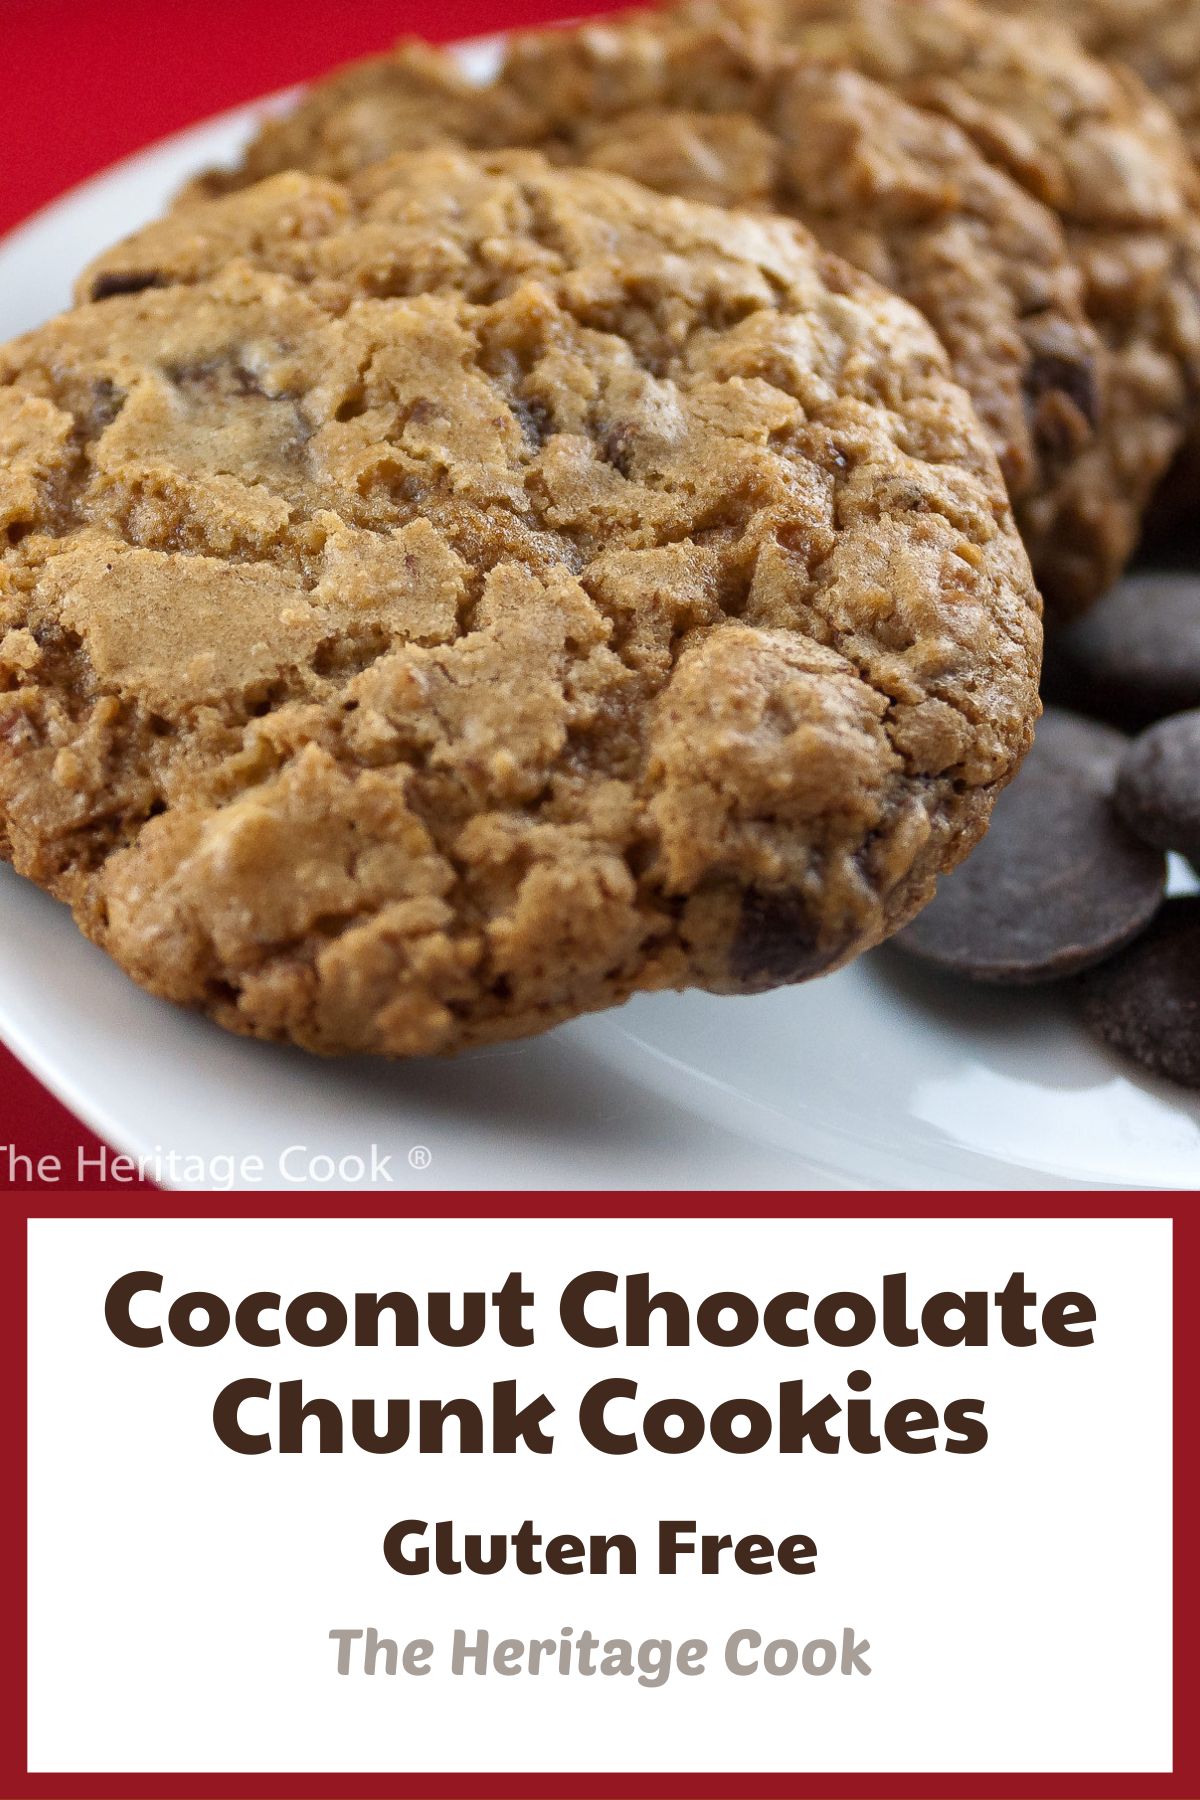
These Coconut Double Chocolate Chunk Cookies are truly delightful. A beautiful blend of flavors and textures with a slight nuttiness that complements the combination of chocolates and coconut. This may be my new favorite cookie and might just become yours too!
It is a really nice blend of flavors without the grittiness that often accompanies gluten-free baked goods. I use Authentic Foods finely ground rice flours and it makes a huge difference in the final products.
There is a sense of oatmeal even though there isn’t any in here so if you or your children have issues with oats, this would be a good substitute for oatmeal cookies. The combination of flours and coconut make these closer to an ANZAC cookie than a traditional chocolate chip and I love the combination!
As a lifelong baker, it is amazing that it took so long for me to bite the bullet and get a kitchen scale for weighing ingredients. Now that I am gluten-free, it is even more important.
Many GF recipes call for flours in weights instead of volume. The reason is that unlike standardized all-purpose flour, the different GF flours needed to approximate the gluten-properties found in wheat flour all vary in weights. So 1 cup of white rice flour is not the same as 1 cup of sorghum flour. I have included approximate volume measurements in my recipe, but I strongly encourage you to get a kitchen scale for accuracy.
A kitchen scale also makes creating your own version of an all-purpose blend really easy. Most scales offer the option of measuring in ounces or grams and come with what is called a zero feature. This allows you to place a bowl on the scale and hit the zero button, erasing the weight of the bowl itself, allowing you to weigh just the ingredients without a lot of math!
The other benefit of this is that once you measure in one flour, hit the zero button and add the next one without having to empty the bowl. See, now a kitchen scale is definitely on your wish list, LOL!
If you don’t want to buy a lot of different gluten-free flours, you can easily replace them with a gluten-free all-purpose blend. I would recommend you consider King Arthur Flour’s measure-to-measure, Bob’s Red Mill’s 1-to-1 baking flour, or Cup4Cup (if you can have dairy). I stay with the more neutral flavored blends for sweet or delicately flavored baking projects.
If you do not need to watch gluten, you can make this with your favorite wheat flour too. Just use regular all-purpose flour, which in many cases weighs about 120 grams per cup.
Please enjoy these luscious Coconut Double Chocolate Chunk Cookies. I hope you love them as much as The Artist and I do. Happy Chocolate Monday!!
Did you enjoy this recipe? Let me know in the comments and leave a star rating, I love hearing from you!

Ingredients needed for Coconut Double Chocolate Chunk Cookies:
- Coconut, flour or gluten-free blend + xanthan gum
- Baking powder, baking soda, salt, vanilla, brown sugar, butter
- Eggs & extra yolk, dark chocolate, white chocolate
PRO Tip:
When you are measuring ingredients for a recipe, place each ingredient in a different area of the bowl. Then if you are slightly over the weight, you can easily make adjustments to the correct ingredient. And don’t forget to zero out the weight before adding the next ingredient!
PRO Tip:
Nut flours should be stored in the freezer. If you forget to take the almond flour out of the freezer early, quickly microwave the package to soften it. Start with 10 seconds, stir to break up clumps and put back in for another 10 seconds. Break up any remaining clumps and measure out.
How to make Coconut Double Chocolate Chunk Cookies:
- Toast the coconut on a baking sheet in a 350°F (177°C) oven; set aside to cool
- Mix together the dry ingredients, whisking until thoroughly blended. Cream the sugar and butter together, add the egg and extra yolk and vanilla, beating until creamy and smooth. Increase speed and beat until light and fluffy.
- Add the dry ingredients, beating at low speed until just combined, scraping the bowl and beater and then beat another 30 seconds. Stir in the coconut and chocolates. Set aside for 20 minutes to rest.
- Scoop balls about 2 tablespoons in size portioning the dough and drop about 2 inches apart on parchment-lined baking sheets. Bake about 8 minutes then spin the baking sheet and bake another 8 to 10 minutes until the edges begin to brown and the center is fairly firm when touched gently.
- Remove from the oven and leave on the baking sheet for 1 minute to set up then transfer to wire racks to cool completely. Repeat with remaining dough.
PRO Tip:
If you are baking more than one sheet of cookies at a time, oven racks should be arranged in the top and lower third of the oven. In addition to spinning the sheets front to back halfway through baking, also switch racks. Place those that started on the bottom on the top rack and move those that began on the top to the bottom. Finish baking as directed.
PRO Tip:
Letting the dough rest for about 20 minutes gives the flours time to fully absorb the liquids, to become fully hydrated. This will help improve your final cookies. It is a good idea in general but especially important when you are working with gluten-free flours.
Recommended Tools (affiliate links; no extra cost to you):
- Kitchen scale
- Mixing bowls
- Chef’s knife
- Cutting board
- Baking sheets
- Parchment paper
- Stand mixer or hand mixer
- Spring-loaded cookie scoop
- Wire cooling racks
Gluten-Free Tips:
You can adjust any baking recipe to gluten-free by using 120 grams per cup of my favorite gluten-free flour blend. If you are using another brand of gluten-free flour, whisk the mix, spoon it lightly into a measuring cup until mounded, level off the top with the back of a knife, and weigh the flour left in the cup. Use that weight as your standard per cup of that specific flour. Do this for each flour blend you use. Commercial blends such as Pamela’s All-Purpose Artisan Blend, Bob’s Red Mill 1-to-1, or King Arthur Measure for Measure are all good choices.
All recommended ingredients are gluten-free as of the writing of this article. Always check to be sure the products haven’t changed and are still safe to consume.
Coconut Double Chocolate Chunk Cookies (GF)
These Coconut Double Chocolate Chunk Cookies are truly delightful. A beautiful blend of flavors and textures with a slight nuttiness that complements the combination of coconut and chocolates. This may be my new favorite cookie and might just become yours too!
Ingredients
- 170g (1 cup) flaked coconut
- 240g (2 cups) all-purpose flour or Gluten Free flour blend
- 1/2 tsp xanthan gum (only if your GF flour doesn't contain it already)
- 1 tsp baking powder
- 1/2 tsp baking soda
- 1/4 tsp salt
- 2 tsp vanilla extract
- 320g (1-1/2 cups) firmly packed brown sugar
- 113g (1/2 cup) butter, at cool room temperature
- 114g (2) large eggs + 1 egg yolk, lightly beaten
- 170g (1 cup) chopped dark chocolate (65% to 70% cacao)
- 4 oz (1 cup) chopped white chocolate
Instructions
- Preheat oven to 350°F (177°C). Line two half baking sheets with parchment paper; set aside.
- Arrange coconut in a single layer in a small quarter baking sheet or ovenproof pan. Bake in the preheated oven for 7 to 9 minutes or until lightly toasted, stirring once. Watch carefully so it doesn’t burn. Set aside to cool.
- Combine flour with the baking powder, baking soda, and salt in a medium bowl. Mix in the xanthan if using. Whisk until thoroughly blended. Set aside.
- Place sugar and butter in the bowl of a stand mixer. Beat at medium speed until thoroughly incorporated and clumpy. Add the whole egg and extra yolk and vanilla extract. Beat until creamy and smooth. Increase speed to medium and beat until light and fluffy. Add flour mixture, beating at low speed just until combined; scrape sides of bowl and beat another 30 seconds. Remove from the mixer and stir in toasted coconut and chocolate.
- Set bowl of dough aside to rest for 15 to 20 minutes. (This gives the flours time to absorb more of the moisture.)
- Use a 1 to 2 tbsp spring-loaded scoop to portion the dough and drop dough about 2 inches apart onto prepared baking sheets.
- Bake the cookies (one sheet at a time for best results) in preheated oven for 7 to 8 minutes, spin the baking sheet so those in front are now at the back of the oven and continue baking another 8 to 10 minutes, or until edges begin to brown and center is fairly firm when touched lightly with your fingertip.
- Remove from the oven and leave on the baking sheet for 1 minute to let cookies firm slightly. Transfer to wire racks to cool completely. Repeat with remaining dough.
Recipe found at www.theheritagecook.com
Notes
You can adjust any recipe to gluten-free by using 120 grams per cup of my favorite gluten-free flour blend. If you are using another brand of gluten-free flour, whisk the mix, spoon it lightly into a measuring cup without a spout until mounded, level off the top with the back of a knife, and weigh the flour left in the cup. Use that weight as your standard per cup of that specific flour. Do this for each flour blend you use. Commercial blends such as Pamela's, Bob's Red Mill 1-to-1, or King Arthur Measure for Measure are all good choices.
All recommended ingredients are gluten-free as of the writing of this article. Always check to be sure the products haven’t changed and are still safe to consume.
Nutrition Information:
Yield:
36Serving Size:
1Amount Per Serving: Calories: 108Total Fat: 4gSaturated Fat: 3gTrans Fat: 0gUnsaturated Fat: 1gCholesterol: 12mgSodium: 66mgCarbohydrates: 16gFiber: 0gSugar: 10gProtein: 2g
The nutritional information for recipes on this site is calculated by online tools and is merely an estimate.
If you enjoyed this recipe, be sure to follow me on social media so you never miss a post:
Create a New Tradition Today!
Welcome! The suggestions here are not intended as dietary advice or as a substitute for consulting a dietician, physician, or other medical professional. Please see the Disclaimers/Privacy Policy page for additional details. Unauthorized use, distribution, and/or duplication of proprietary material from The Heritage Cook without prior approval is prohibited. If you have any questions or would like permission, please contact me. We participate in the Amazon Services LLC Associates Program, an affiliate advertising program designed to provide a means for sites to earn advertising fees by advertising and linking to amazon.com. As an Amazon Associate, I earn a small amount from qualifying purchases without any additional cost to you. This page may contain affiliate links. This post was first shared in Sept 2013. The article was updated in 2023.