Have you ever bitten into a luscious, velvety, luxurious eclair or cream puff? Your teeth break through the crispy pastry crust and then sink into an airy cream that fills your mouth with pure heavenly bliss. Have you ever wondered if that same pastry could be made into savory bites? Well you are in luck because it can!
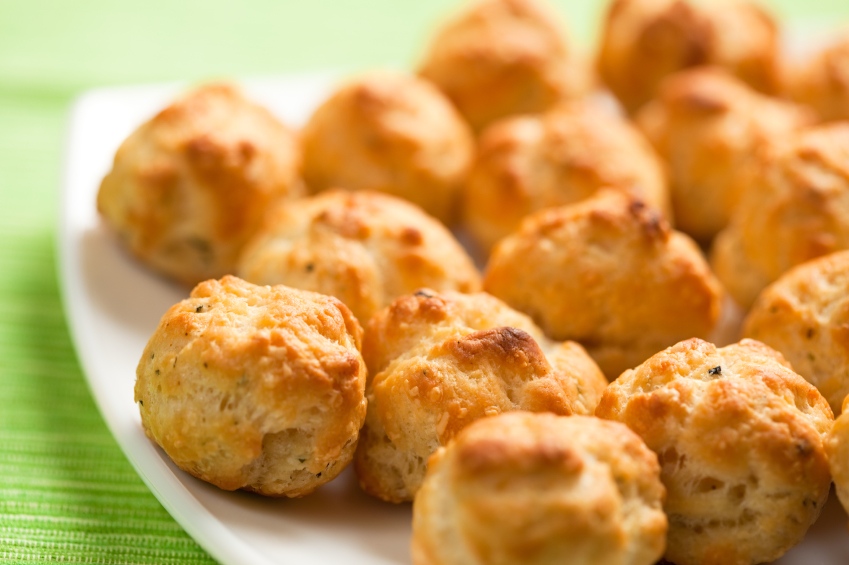
Pate a Choux (pot-ah-shoe) is a fancy French term for a light pastry dough, the same dough that you use for profiteroles, cream puffs, beignets and eclairs. The only difference between all of those sweet desserts and gougeres (goo-jair) is cheese. The traditional cheese used is Gruyere, but you can use just about anything that you like.
The first time I ever made pate a choux I was a young girl working in a kitchenware store. They brought in a chef to do a demo and I was to assist her. I can imagine how huge my eyes must have been because I was so intimidated, not just by the chef but by what we were making. It was just before Christmas and we were making a croquembouche, the French dessert made by piling miniature cream puffs on top of one another to create a tree-like shape. Puff pastry is intimidating enough, but to make them and assemble a croquembouche … I was speechless.
I was captivated by how hard she had to beat the dough with every addition of an egg. The woman had an arm like a quarterback! I am so grateful for the powerful stand mixers we have today so I don’t have to break my arm and shoulder to make these!
Everything went fairly well until she needed to caramelize the sugar for the topping. She cooked and cooked the sugar but it wouldn’t caramelize. That day I learned that you shouldn’t try to make candy, especially anything with caramel in it, on a rainy winter day! Eventually she gave up and just used the syrup the way it was and everyone was thrilled anyway.
Beyond the shoulder breaking beating that used to be required when making them, the other challenge (at least for me) was how hard I had to work to pipe them. It takes a lot of pressure, much more than I was expecting. That’s why I like the secondary method listed in Maria’s recipe. I would use a tiny ice cream scoop to portion these out onto baking sheets for appetizers, and a larger scoop for cream puffs.
If you take the same dough that the chef used that day to make the cream puffs and add some cheese and herbs to it, it becomes the basis for one of the most popular appetizers to ever hit my table. My guests stand by the stove waiting for these to come out of the oven and the house smells amazing as they are baking.
There is another benefit to these delightful bites of cheesy goodness. You can make them ahead of time and freeze them. Then on the day of your party, pop them in the oven and bake them off with no hassle. These are the kinds of appetizers I look for when I am doing large events. I don’t want to spend the entire night in the kitchen when I can be out enjoying my guests.
Once baked you can serve these as is (my choice most of the time) or you can stuff them with your choice of creamed fillings or split them and use them to make mini sandwiches like they do at Zuni Cafe.
With the holidays right around the corner (they will sneak up on you faster than you think!), your need for fun, delicious, and fancy appetizers will be at an all time high. My recommendation is to practice making these once or twice so that you are an old hand at them when the pressure is on for your parties.
Once you try these, you will be making up parties and guest lists just to have an excuse to make them again. But don’t wait for your next party. These are so easy to make ahead that you can enjoy them anytime you have a hankering for delectable little cheese puffs!

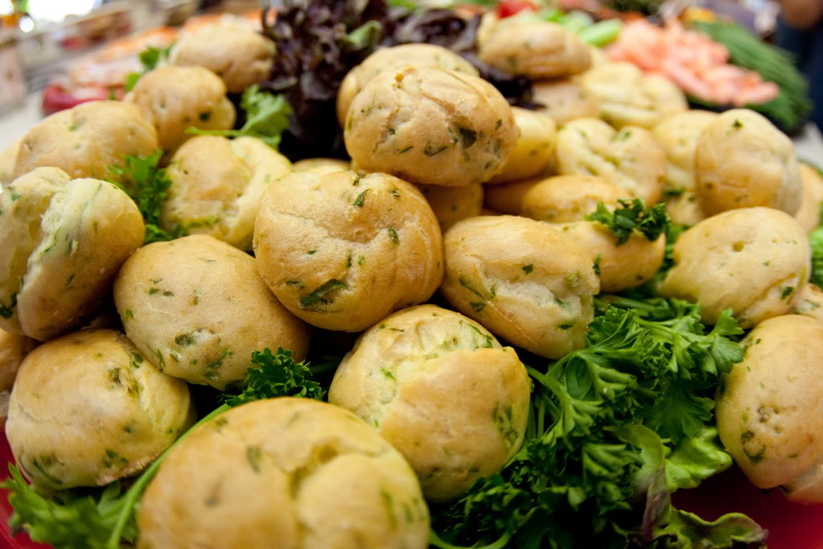
Platter of Herb Gougeres
Jane’s Tips and Hints:
If you are going to pipe these, use plastic disposable piping bags. They are easy to fill and best of all don’t have to be cleaned when you are done. Just remove the tips and throw them away. Now you’re talking my kind of clean up!
Kitchen Skill: The Importance of Preheating Your Oven
It may seem like a waste of energy and money to preheat your oven when baking, but trust me when I say that if you don’t you will waste more time and energy by having to remake your failures. If your oven isn’t at full temperature, your baked goods won’t get that initial blast of hot air that causes the leaveners to react. I usually let the oven preheat at least 15 to 20 minutes before baking anything. If an oven is properly preheated, your baked goods will rise exponentially higher, brown more evenly, and bake in the time indicated in recipes.


- 1-1/2 cups water
- 6 oz (1-1/2 sticks) unsalted butter
- 1 tbsp kosher salt
- 1-3/4 cups all-purpose flour (sift to remove lumps)
- 6 large eggs
- 1 tsp chopped fresh rosemary
- 2 tsp chopped fresh thyme leaves
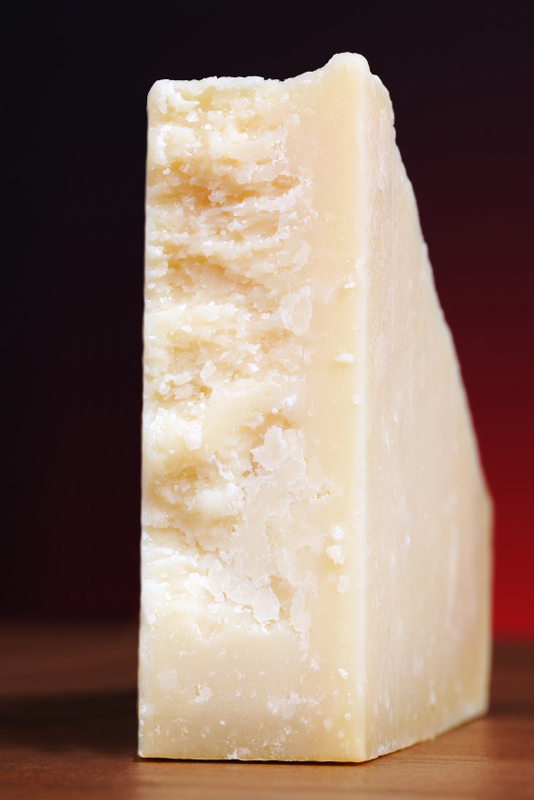
- 2 cups grated cheese, such as a blend of Gruyere and Parmesan
- Bring the water, butter and salt to a boil in a medium saucepan. Remove the pan from the heat and add the flour. Return the pan to medium-high heat and stir until batter pulls away from the sides of the pan. Scrape into the bowl of a standing mixer. Turn the mixer on and allow the paddle to cool the dough slightly for about a minute.
- On low speed add the eggs, one at a time. (Do not add next egg until the first one is completely incorporated.) After each egg is added increase the speed to medium and beat until the egg is incorporated. The eggs may also be beaten in by hand. Beat well after all eggs have been added.
- Note: Don’t be surprised if the dough doesn’t look like it will absorb each egg, just keep beating it and it will come together.
- Add the herbs and the cheese blend. Beat until well incorporated.
- On a parchment-lined sheet pan, using a pastry bag, pipe the batter into half dollar sized rounds. The batter may also be scooped into mounds with a tablespoon. Freeze for later use or bake immediately.
- To bake the puffs immediately: Preheat oven to 450°F.
- In a small bowl whisk 1 egg with 2 tsp cold water until smooth. Brush the puffs with the egg wash and place in the oven.
- Bake for 10 minutes until the puffs begin to brown. Reduce the oven heat to 400°F and continue to bake for 15 to 20 minutes until the puffs are puffed and golden.
- Note: To check doneness, remove 1 gougere from the oven and pull it open. The interior strands of dough should be tender and moist, but not mushy. If they are not done, return the gougere to the oven and continue baking for another few minutes. If they are getting too dark, turn the oven off and let them finish baking in the residual heat.
- To bake frozen puffs: Preheat oven to 450°F. Egg wash the puffs straight from freezer. Bake for 20 minutes and then reduce the heat to 400°F and bake until puffed and golden, about 20 minutes. Serve warm.
- You can serve these straight from the oven or split and fill with any number of fillings.
- Yield: about 30 pieces
Thank You!


Lana @ Never Enough Thyme
Lovely, gougeres, Jane! I’ve never tried them but I think it’s time. Maybe tomorrow even.
Jane Bonacci, The Heritage Cook
You will love them Lana. Let us know if you make them!!