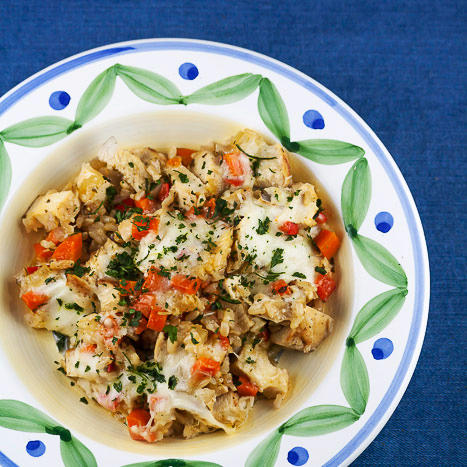
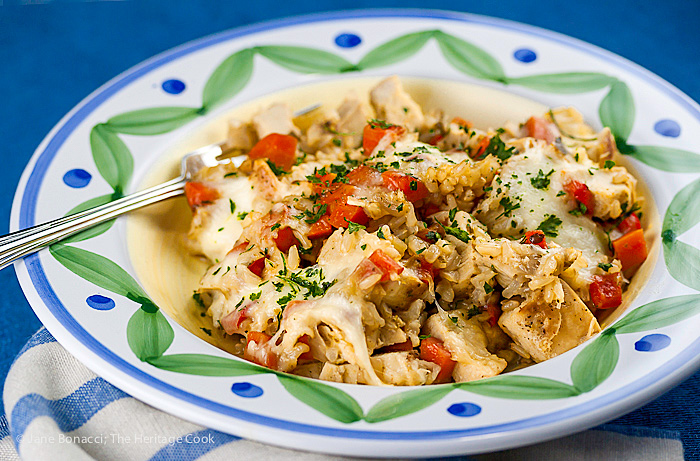
With this Oven Baked Chicken Risotto you get all the flavor and creaminess of traditional risotto with none of the hassle of stirring at the stove. Throw everything into a baking dish and pop it in the oven. No muss, no fuss and best yet, no stirring!
I love risotto. Rich, creamy, and absolutely luscious. But all too often at restaurants it arrives at the table and quickly becomes glue as it cools. Then I’m left to slog my way through the rest of the bowl, wishing I could slip in the back and use the microwave to reheat my dish!
The traditional way to make risotto taste creamy without adding any dairy is to cook it slowly, adding broth or water in small increments, stirring often to release the starches from the grains. Short grain rice like arborio, carnaroli, or other rice labeled for use in risotto have the most starch and are the perfect choice.
If I have an extra half hour to spend stirring at the stove, making risotto can be meditative and relaxing. But most of the time I’m charging with a dozen things going at once and needing six more hands. So, finding this hands-off technique was a life saver!
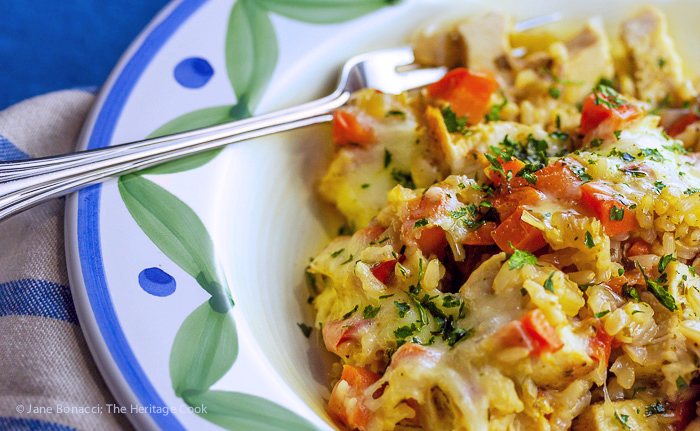
And it is easy to make this dairy-free by leaving out the cheese or using a non-dairy substitute and replacing the butter with oil. This Oven Baked Chicken Risotto is great for both the gluten-free and dairy-free eaters in your family. Best of all, no one will feel deprived of anything!
It is easy to make this dairy-free, just use olive oil and leave the cheese off.
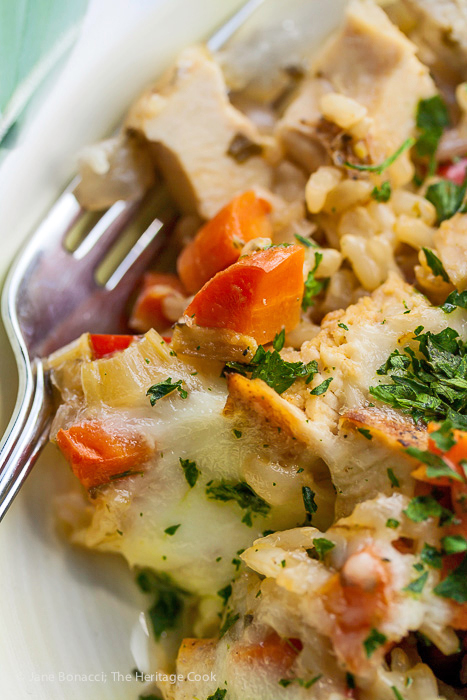
This was easy to make, delicious, and gave us leftovers for the next day. The Artist was actually happy to raid the refrigerator! Not his normal reaction, LOL. I had everything I needed to put this on the table quickly – and time to work on the rest of the meal while the risotto was baking instead of having to babysit it on the stove.
This is a winner any way you slice it. Change out the seasonings, replace the chicken with mushrooms and other vegetables for vegetarian, or try adding shrimp, pork, or turkey which would all be delicious. Use the ingredients you have on hand and enjoy a whole new variety each time you make this – the sky is the limit once you know the technique!
While we’re staying home and everyone is craving comfort foods, make this wonderful risotto and your whole family will be clamoring for more. In fact, you can double the recipe (use 2 pans) and make sure you have plenty for second helpings and leftovers.
Have a delicious long weekend everyone! I hope you love this Oven Baked Chicken Risotto and make it soon. I’ll see you next week for Chocolate Monday!
Key Ingredients for Oven Baked Chicken Risotto:
- Butter or olive oil
- Onion, carrots, celery, and bell pepper
- Basil and oregano
- Arborio rice (or any short-grain or risotto-style rice)
- Chicken broth
- Dry white wine or dry vermouth
- Boneless chicken breasts or thighs
- Mozzarella and Parmesan cheese
- Parsley
What types of rice can I use?
Arborio is the most common rice used for risotto in the U.S. I also like Bomba and Carnaroli, both work well in risotto, giving you lovely, creamy rice. Bomba is from Spain and is used primarily in paella recipes. Carnaroli is a lesser known Italian rice that makes beautiful risotto.
Is there a shortcut I can take to make this even easier?
If you want to make it even easier, use a rotisserie chicken from the grocery store, take the meat off the bone and cut into bite-sized chunks. If you’re gluten-free, check with the store to make sure they don’t have any gluten ingredients in the marinade or sauces they use to prepare the chickens.
PRO Tip:
This dish is even better the second day, so make it in advance and refrigerate, covered, overnight. Reheat in the oven, microwave, or in a skillet until hot and the cheese is melted.
How to make Oven Baked Chicken Risotto:
- Preheat oven to 400°F; sauté the vegetables then add the herbs and cook until onions are translucent
- In the bottom of a 9×13-inch pan stir together the rice, broth, and wine
- Add the sautéed vegetables; evenly distribute the rice and vegetables in the pan; season to taste with salt and pepper
- Cover tightly and bake 35 to 45 minutes until liquid is absorbed and rice is tender
- While rice is baking, sauté the chicken and cook until golden and just done; cut into 1/2-inch cubes
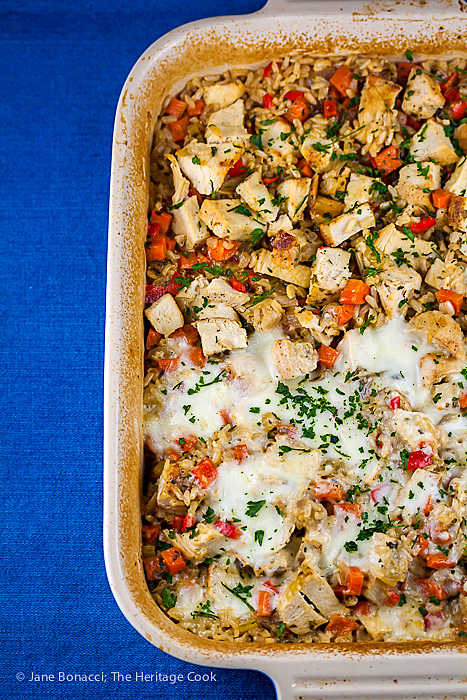
- Fluff the rice, stir in the chicken cubes, scatter mozzarella over top and sprinkle with the Parmesan; return to the hot oven and bake until chicken is warmed through and cheeses are melted
- Sprinkle with chopped parsley and serve
Kitchen Tools I Use to Make This Recipe (affiliate links):
Other Risotto Recipes You May Enjoy:
- Saffron Risotto with Fava Beans
- Dilled Shrimp and Rice
- Creamy, Cheesy Risotto
- Creamy White Chocolate Risotto (dessert)
- Asparagus and Pea Risotto (Instant Pot)
Gluten-Free Tips:
Watch the chicken broth you use and be sure it is gluten free. If you have homemade stock, that’s even better because you have complete control over the ingredients!
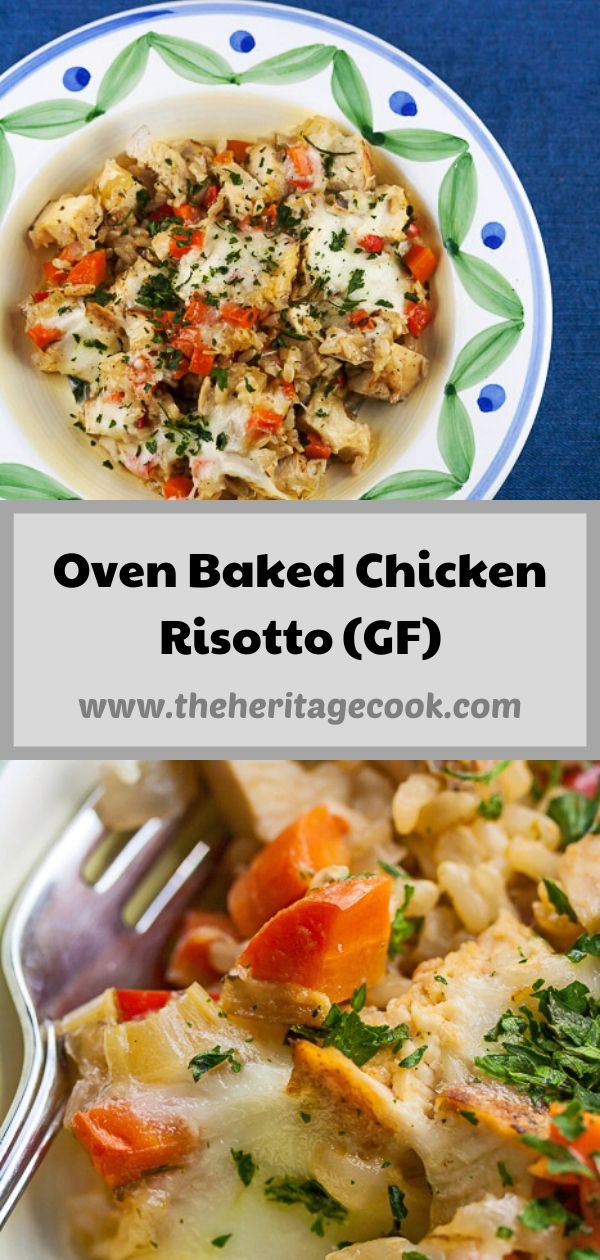
Oven Baked Chicken Risotto (Gluten Free)
With this oven baked version, you get all the flavor and creaminess of traditional risotto with none of the hassle of stirring at the stove. Throw everything into a baking dish and pop it in the oven. No muss, no fuss!
Ingredients
- 3 tablespoons butter or olive oil
- 1/2 onion, chopped
- 4 carrots, chopped
- 2 stalks celery, chopped
- 1 red bell pepper, chopped
- 2 tbsp minced basil
- 2 tbsp oregano
- 1-1/2 cups arborio rice (short-grain or risotto-style rice)
- 2 cups chicken broth, gluten-free if needed
- 1 cup dry white wine, dry vermouth, or more broth
- Kosher or sea salt and freshly ground black pepper to taste
- 2 tbsp organic olive oil
- 2 large boneless skinless chicken breasts or 8 boneless thighs
- 3 oz fresh mozzarella cheese, drained and cut into 1/2-inch cubes
- 1/2 cup grated Parmesan cheese
- Chopped parsley, for garnish
Instructions
- Set a rack in the center of the oven and preheat to 400°F.
- Place butter in a large skillet and melt over medium-high heat. Add the onions, carrots, celery, and peppers. Cook, stirring occasionally for about 5 minutes. Add the herbs, stir them in, and continue cooking until the onions are translucent.
- In a 9 x 13-inch baking dish, stir together the rice, broth, and wine. Evenly distribute the rice over the bottom of the pan. Add the sautéed vegetables, scraping the skillet to get all the delicious juices and butter. Gently move the vegetables to evenly distribute them over the rice. Make sure the rice is submerged under the liquid. Sprinkle the mixture with salt and pepper to taste.
- Cover tightly with an ovenproof lid or aluminum foil. Place in the hot oven. Bake 35 to 45 minutes or until the liquid is absorbed and the rice is tender. Very carefully open the lid, avoiding the steam. Depending on the type of rice you use, the timing may vary. If all the liquid has been absorbed but the rice isn’t tender, add a little more chicken broth and return to the oven and continue cooking, covered, until done.
- While the rice is baking, prepare the chicken. In the same skillet you used for the vegetables, heat the oil over medium-high heat. Season the chicken with salt and pepper to taste and when the oil is shimmering, add chicken to the pan. Cook until golden brown, flip over with tongs and cook until chicken is just barely done, with a hint of pink in the center, and an instant read thermometer registers about 160°F when inserted into the thickest portion.
- Transfer the chicken to a cutting board and let rest 5 minutes. Cut into 1/2-inch cubes.
- When the rice is done, fluff it with a fork. Stir in the cubed chicken. Scatter the mozzarella pieces over the top and sprinkle with the Parmesan. Place the pan back in the oven for 3 to 5 minutes to melt the cheeses and warm the chicken. When hot, scoop into bowls, sprinkle the tops with parsley, and serve immediately.
Nutrition Information:
Yield:
6Serving Size:
1Amount Per Serving: Calories: 791Total Fat: 44gSaturated Fat: 16gTrans Fat: 0gUnsaturated Fat: 27gCholesterol: 292mgSodium: 1063mgCarbohydrates: 29gFiber: 2gSugar: 4gProtein: 62g
If you love this recipe, be sure to follow me on social media so you never miss a post:
| Facebook | Pinterest | Instagram | Twitter |
Create a New Tradition Today!
This post was first shared in Feb 2015. The article was updated in 2020.
Welcome! The suggestions here are not intended as dietary advice or as a substitute for consulting a dietician, physician, or other medical professional. Please see the Disclaimers/Privacy Policy page for additional details. Unauthorized use, distribution, and/or duplication of proprietary material from The Heritage Cook without prior approval is prohibited. If you have any questions or would like permission, please contact me. We participate in the Amazon Services LLC Associates Program, an affiliate advertising program designed to provide a means for sites to earn advertising fees by advertising and linking to amazon.com. This page may contain affiliate links.


Gina Zarcadoolas
What a lovely recipe Jane, and so easy to make!!
Jane Bonacci
Thank you darling Gina! I love the ease of making this and the hands-off baking. So simple and incredibly tasty! 🙂