It is hard to believe, but it is time for back-to-school again. Parents are breathing a sigh of relief while the kids are vacillating between glum and excited. When kids head back to school, it is hectic getting everything ready, finding all the required supplies, buying new clothes. And once school starts, everyone has to get settled into the daily routine again. I was always nervous about the first day of school, even though every year I was in classes with all the same kids I grew up with. It seems silly now, but at the time it was quite traumatic. 🙂 I needed comforting foods to help me ease back into the school year schedule and Sloppy Joes were one of my favorites.
When I was little, we would start back to school right after Labor Day and then have a long weekend immediately following because California Day (the date the state joined the Union) was in early September. It always made me laugh that right after we started school we already had a holiday. But it was a great way to ease us back into the routine of getting up each morning and heading to the bus stop.
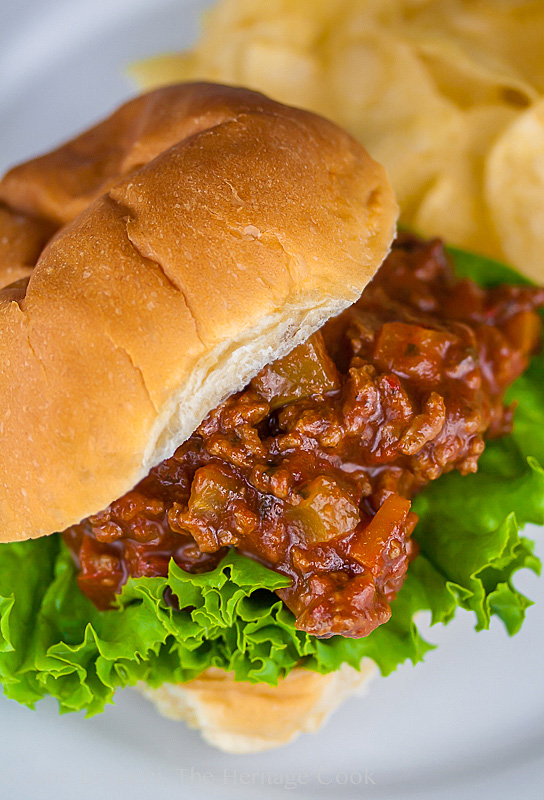
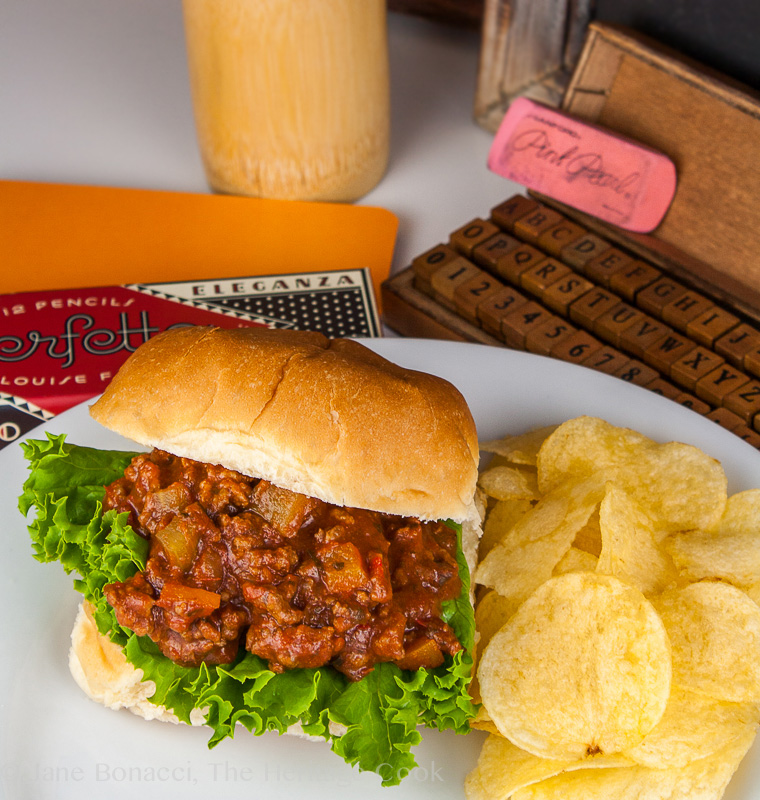
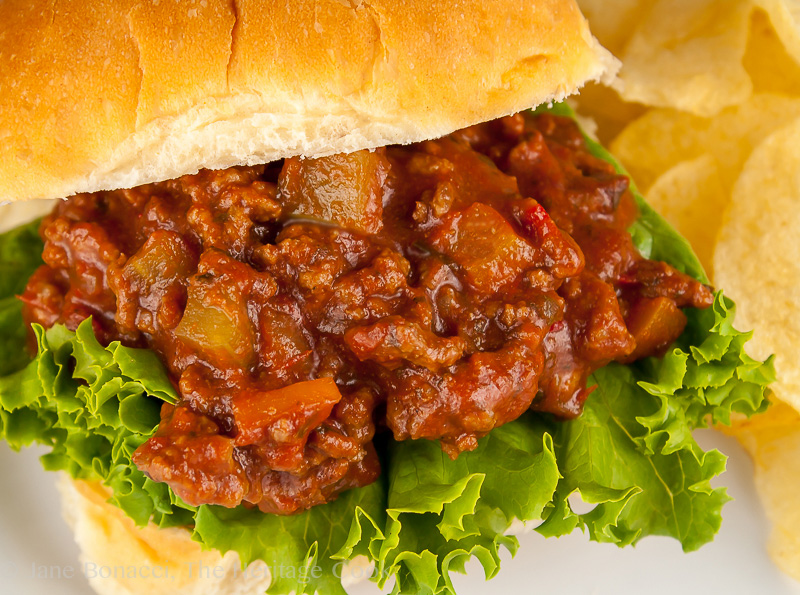
When Gourmet Garden’s Chef Shannon and I were kicking around ideas for fun new recipes to make with their products, we wanted something that would be perfect for easy weeknight meals. I mentioned Sloppy Joe’s. Then we both said, “how about a Mexican version?” and the Sloppy José was born!
Sloppy Joes have been a staple in our home for my entire life. Quick and easy to make and packed with protein that helps keep hungry growing kids full, they were one of my mom’s go-to meals. By the time I joined my brothers at the dinner table (I am the youngest), the boys already knew how delicious they were and begged Mom to make them. It didn’t take me long to learn that anything they wanted, I wanted too! 🙂
The origin of the first Sloppy Joe is hotly debated, but in the early twentieth century housewives were looking for easy, healthy ways to feed their families. In post-World War II era America ground beef or “hamburger” rapidly gained popularity as an economical source of protein that kids clamored for. Moms readily found ways to incorporate it into their weeknight meals, appreciating how fast it cooked and saving them hours in the kitchen. From hamburger patties to chili and spaghetti sauce, ground beef became a mainstay of the American kitchen.
The original Sloppy Joe sandwiches were little more than browned ground beef with ketchup, salt and pepper. By the time I got my turn at the stove, I was a little more adventurous and a wonderful product from H.K. Heinz in Pittsburgh had been created called Chili Sauce (it is gluten-free!). A slightly spicier version of ketchup, it was the perfect tomato-based sauce to add to ground meat.
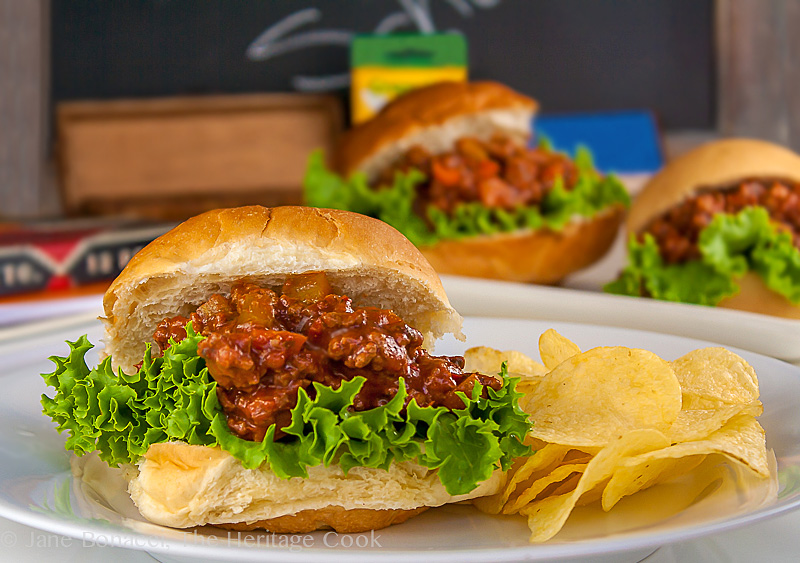
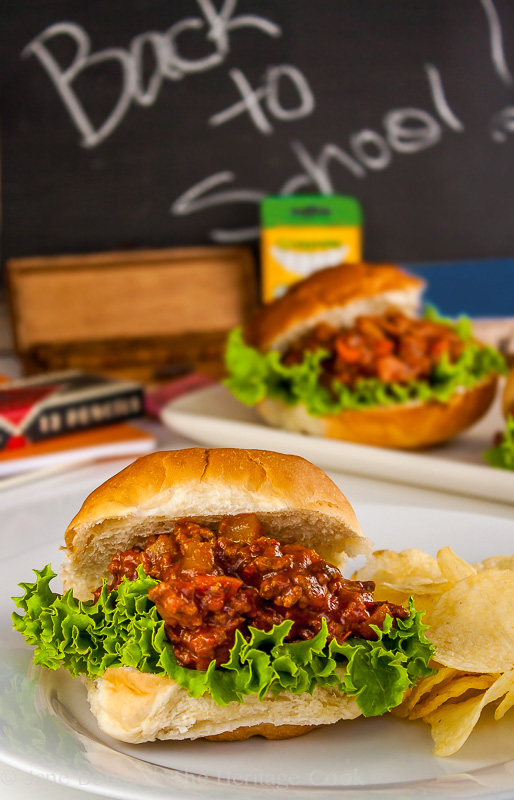
Sandwich in the front is on a regular bun, the one on the far right in the back is on a gluten-free bun!
Over the years I have added more vegetables to my homemade versions, with onions, bell peppers, celery, and carrots regularly making appearances. It depends on what I have in the refrigerator when I decide to make them. Adding extra vegetables is simple and enhances the flavor even more. It is easy to make these healthier without your pickiest eaters even noticing!
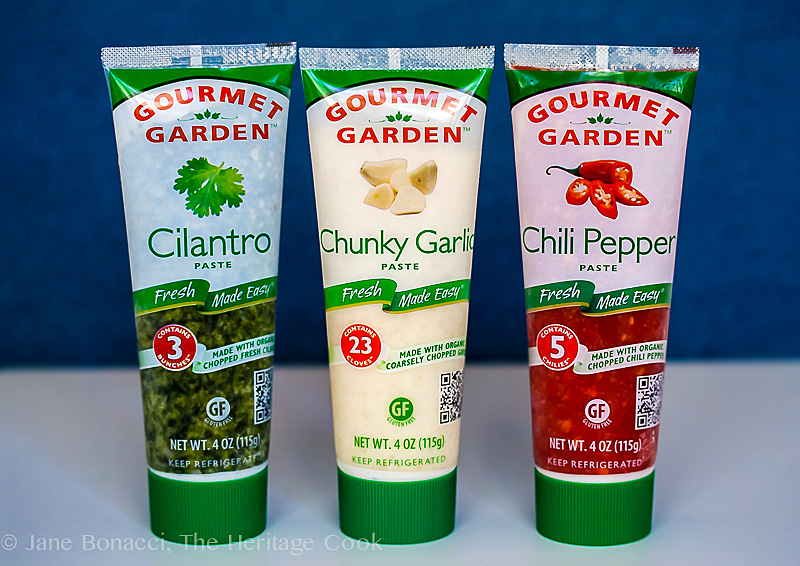
Taking my traditional Sloppy Joe recipe in a Mexican direction is really simple with Gourmet Garden herbs and seasonings. I love that I can keep the tubes in my freezer and pull them out to add fresh herb flavor to dishes all year long. Squeeze in some of their Chili Pepper, Cilantro, and Chunky Garlic and suddenly you have a whole new take on the childhood favorite!
For smaller appetites and those who want a tidier meal, serve these open-faced to be eaten with a knife and fork. If someone doesn’t like the flavor of cilantro (scientists have discovered a gene that makes some people sense the flavor of cilantro differently than most) you can use Gourmet Garden’s Parsley instead.
When you are short on time and need a healthy meal to put on the table quickly, try these Mexican-flavored Sloppy Josés. Add some chips and maybe a green salad or coleslaw and you’ve got a nutritious dinner. Sit down and enjoy the stories your children share about their day in school and let them “teach” you everything they learned. 🙂 I’ll bet your little ones (and the not so little ones) will be clamoring for more to eat just like I did and still do!
Jane’s Tips and Hints:
Like many sauce-based meals, this tastes better on the second or third day. The ingredients have had time to meld together and get richer. Make the filling in advance and then dinner will be even faster to get on the table! For even more heat you can add some slices of Pepper Jack cheese and melt them over the top of the meat in the oven before serving.
Gluten-Free Tips:
All Gourmet Garden products are Gluten-Free! Double check all the labels to be sure there are no hidden sources of gluten in your other ingredients. Use gluten-free hamburger buns. Lining the bottom bun with a lettuce leaf helps keep the bun drier and firm, especially helpful with gluten-free buns that sometimes can fall apart easily.
Kitchen Skill: How to Chop a Bell Pepper
The first time you have to chop a bell pepper for a recipe can be a little confusing. Just how do you break it down? Start by slicing around the “shoulder” of the pepper to release the stem and seedpod. Once the cut is made, twist the top and the body in opposite directions. The seeds should come out attached to the stem. If they don’t, just run your fingers along the sides and pull the seedpod out. (See photo below for the steps.) Tap the bell pepper to shake out any remaining loose seeds.
Set the pepper upright with the cut side up, and using a sharp knife, slice down using the white ribs as guides, running your knife between two of the ribs. Move to the next section and slice down, repeating until all the sections have been removed. This separates the meat of the pepper, leaving the ribs standing upright still attached to the bottom.
Stack the pieces of pepper with the inside surface facing up. Slice them all lengthwise into 1/4-inch strips. Holding the stack together with your fingers, cut the opposite direction in 1/4-inch slices to create a perfect dice (little cubes).
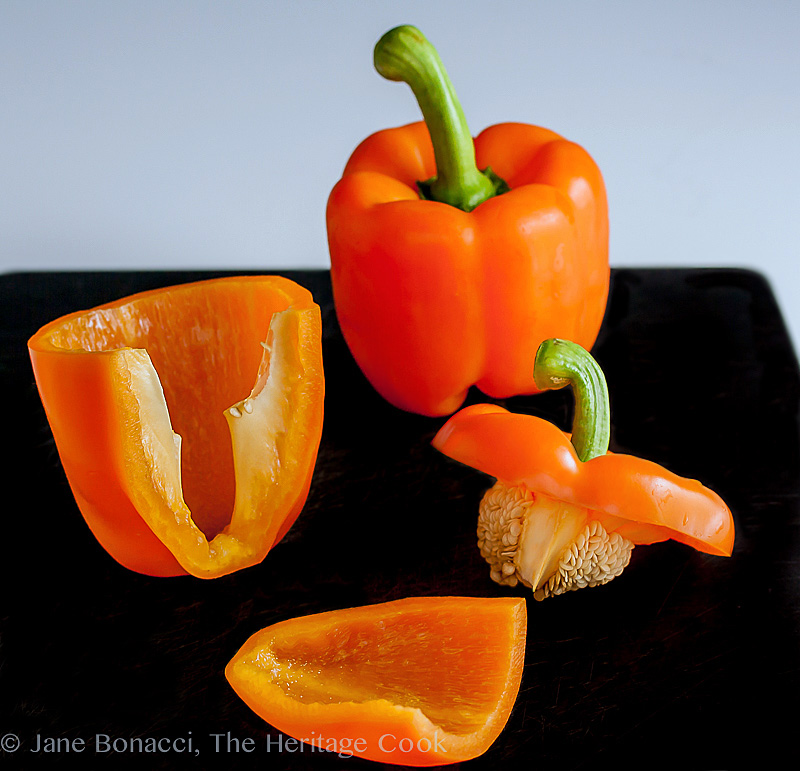
The steps to cutting a bell pepper


- 3/4 cup prepared chili sauce (such as gluten-free Heinz brand)
- 1 (15 oz) can tomato sauce
- 2 tbsp tomato paste
- 2 to 3 tbsp Worcestershire sauce (Lea & Perrin’s is gluten-free)
- 2 tsp ground cumin, or more to taste
- 2 tsp Gourmet Garden Cilantro or Gourmet Garden Parsley
- 1 tsp Gourmet Garden Chili Pepper, or to taste
- 1/2 tsp Gourmet Gourmet Garden Chunky Garlic
- 1-1/2 lb low fat ground beef, crumbled
- 1 lg onion, peeled and finely chopped
- 2 stalks celery, trimmed and finely chopped
- 2 carrots, trimmed, peeled and finely chopped or grated
- 1 red bell pepper, stem and seeds discarded, finely diced
- Salt and pepper, to taste
- Water, if needed
- 4 to 8 large whole hamburger buns or hoagie rolls, split and lightly toasted (gluten-free if needed)
- Lettuce leaves
- In a medium bowl, combine tomato sauce, tomato paste, chili sauce, chili pepper, garlic, oregano, Worcestershire, and cumin. Whisk until smooth. If needed, add a little water to thin slightly. Set aside.
- In a large heavy skillet, heat oil over medium-high heat. Add the ground beef and break it up with a spatula or spoon as it browns. Add the onions, celery, and bell peppers. Cook, stirring often, until onion is translucent.
- Stir in the sauce, mixing until thoroughly combined. Taste and add salt and pepper as desired. Reduce the heat to medium-low and cook until flavors have blended, about 15 to 20 minutes. Taste and adjust seasonings. Add a little water if needed to thin the sauce. (If you cook it too long most of the liquid will evaporate and you’ll need some water to make it saucy again.)
- Split buns or rolls, lightly toast, and place on serving plates. Place a lettuce leaf on the bottom half of each bun. Divide the beef mixture evenly between plates, spooning it over the lettuce. Prop the tops of the buns on the meat. Serve one sandwich for a regular portion or two sandwiches for your big eaters.
- This tastes better the second day, so make it ahead and store in an airtight container in the refrigerator. Meat mixture will hold in the refrigerator, covered, up to 3 days. Freeze for longer storage. Store bread separately. Reheat meat sauce before serving.
Create a New Tradition Today!
Disclosure: This is a sponsored post. I received compensation to write it and products for recipe development. Click Here to find all my recipes using Gourmet Garden products.
Let’s connect! If you love The Heritage Cook, you can follow me on Pinterest, Twitter, or Facebook. If you ever need any entertaining or cooking advice, need to alter a recipe for gluten-free, or want recipe suggestions, don’t hesitate to email me. ([email protected]). Thanks for reading!
Unauthorized use, distribution, and/or duplication of proprietary material from The Heritage Cook without prior approval is prohibited. This includes copying and reprinting content and photographs. If you have any questions or would like permission, I can be contacted via email ([email protected]). Feel free to quote me, just give credit where credit is due, link to the recipe, and please send people to my website, The Heritage Cook. Please see the Disclaimers page for additional details.
This site is not intended to provide medical advice. The suggestions here are not intended as dietary advice or as a substitute for consulting a dietician, physician, or other medical professional. It is the reader’s sole responsibility to determine which foods are appropriate and safe for their family to consume. Always consult your doctor. The author makes no claims regarding the presence of food allergens and disclaims all liability in connection with the use of this site.
Thank You!



Chris
It is hard to take a pretty picture of a sloppy joe or jose but you did it. Great setting in that first shot. I don’t use Garden Gourmet much during the summer but as soon as that first cool night kills my basil, the Garden Gourmet comes out until late spring. Love that stuff, it’s the best alternative to fresh.
Jane Bonacci
You are so sweet Chris, thank you. It was a fun vignette to set up. All I’m missing is a lunch box, LOL. The trick for photography on this kind of sandwich is to cook it long enough so it isn’t too “soupy” – much easier to control. 😉 I keep Gourmet Garden tubes in the freezer and use them all year long. I love the convenience!
Thalia @ butter and brioche
These sandwiches look seriously amazing and jam packed with delicious flavours.. definitely craving a bite of one right now!
Jane Bonacci
Thanks Thalia, we really enjoyed these sandwiches and then used the filling the next day to make a taco salad!