Two of my favorite desserts are cheesecake and brownies. When I saw this recipe combining the two together, I knew I had to make it and share it with you for Chocolate Monday. And boy am I glad I did, because this one is a Home Run!
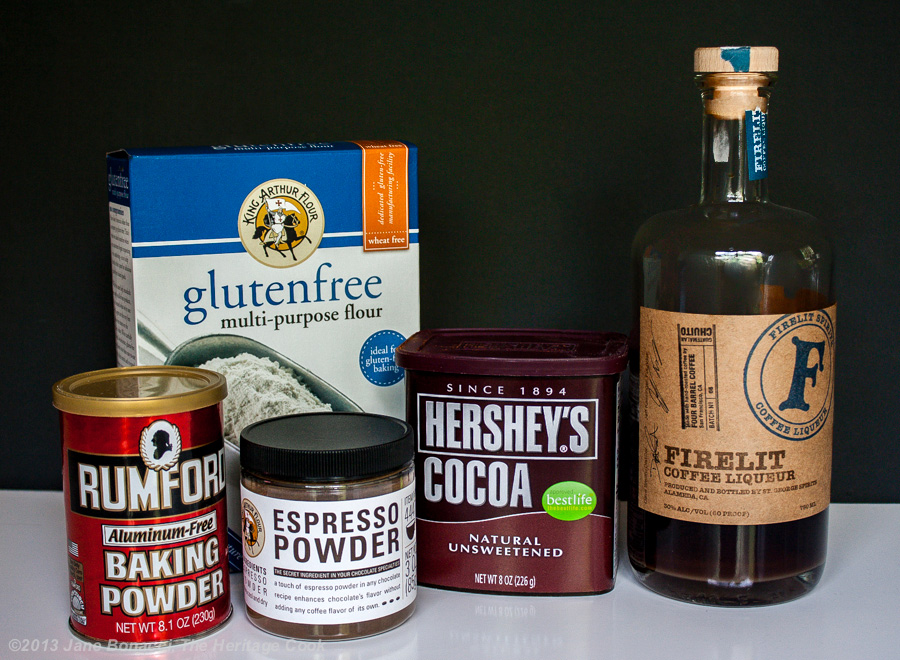
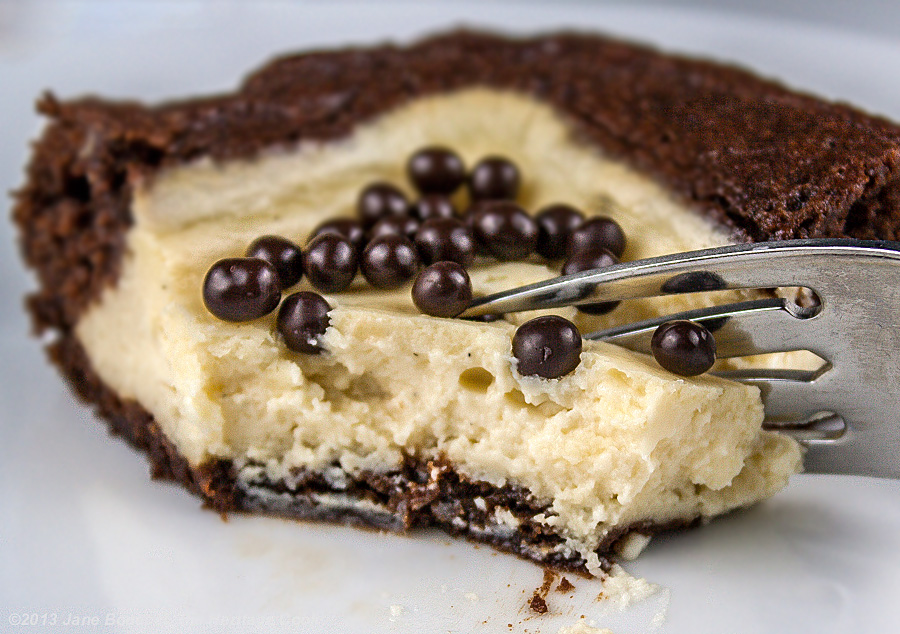
The bars have a base layer that is somewhere between a brownie and chocolate cake. It has cinnamon and nutmeg in it as well as espresso powder, giving it a slightly spicy, coffee flavor. This is covered with a layer of sweetened cream cheese that has been spiked with coffee liqueur. Mocha isn’t my favorite flavor because I don’t like coffee, but I have to tell you I was blown away by this combination of flavors and textures.
This dessert is surprisingly light and airy, perfect for hot summer nights or any time of the year. And not only is it light and addicting, it is also very easy to make and travels beautifully. You could easily make this a day or two in advance, cover it tightly and store it in the refrigerator. You just want to let it warm up about 30 minutes before serving.
I am going to a food photography session tonight and will be taking the leftovers with me for the potluck supper. The Artist has already been “negotiating” with me to see how much I can leave behind for him to eat, LOL! Lucky for him I cut it into smaller size pieces so we will have some to enjoy tomorrow too.
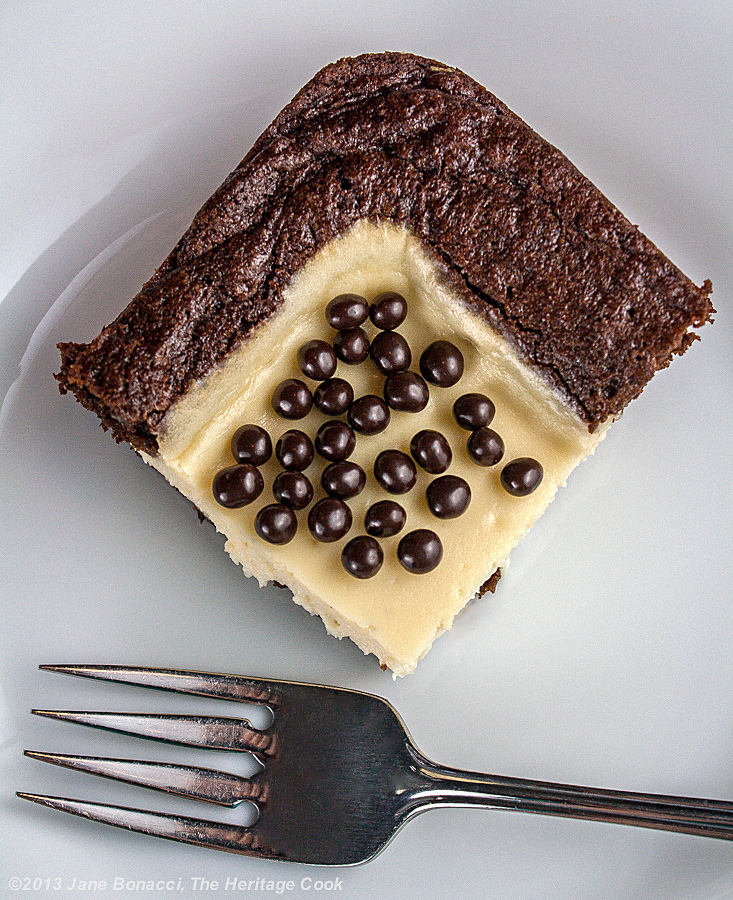
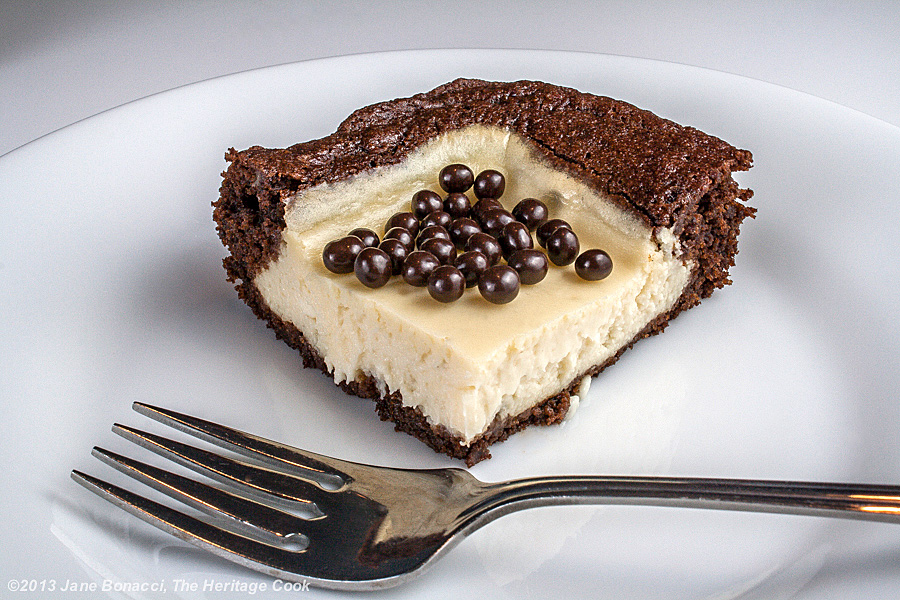
The chocolate drops I found today give this a nice little unexpected crunch
If you look closely at the photos and compare them to the directions in the recipe, you will notice they don’t quite match. I have been baking gluten-free for about a year now and have learned that GF flours often take longer to bake than wheat. I was concerned that the brownie layer wouldn’t rise properly with the cream cheese on top so after I spread the brownie batter in the pan and while I was making the cheesecake layer, I put the pan in the oven to get a head-start on baking.
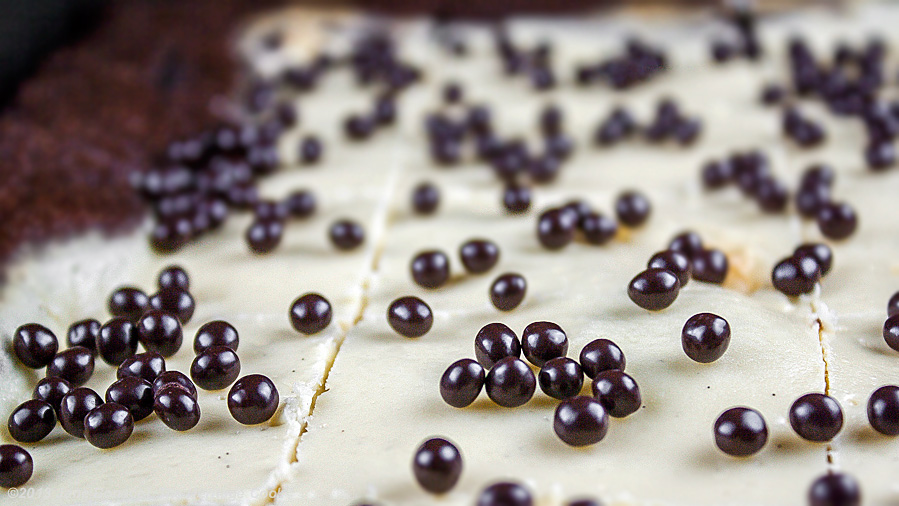
The bars are cut and ready to serve straight from the baking pan!
It was rising beautifully in the oven (thanks to the extra baking powder I added), but when I poured the second layer on it, it sank a little in the center. The sides rose a bit higher and created an interesting border around the filling. I think if I had followed the original directions it would have been perfect. If the cheesecake layer hadn’t puddled in the center, but been spread all the way to the edges, it wouldn’t have weighed enough to inhibit the leavening of the brownies. The next time I make this I will wait until both layers are in the pan before I put it in the oven.
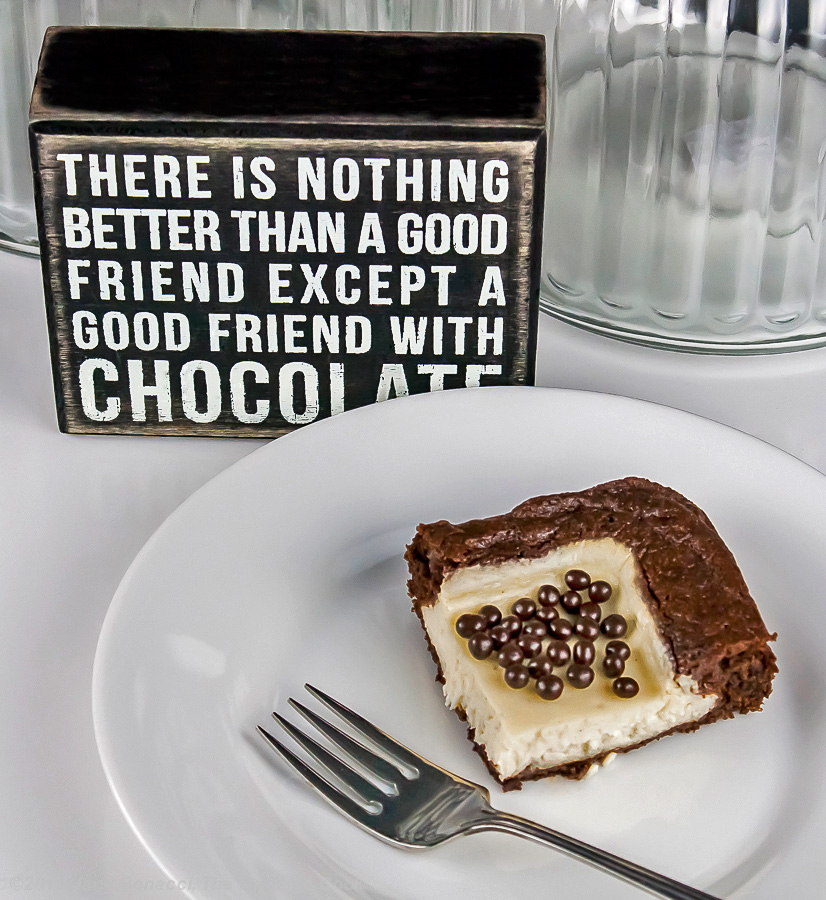
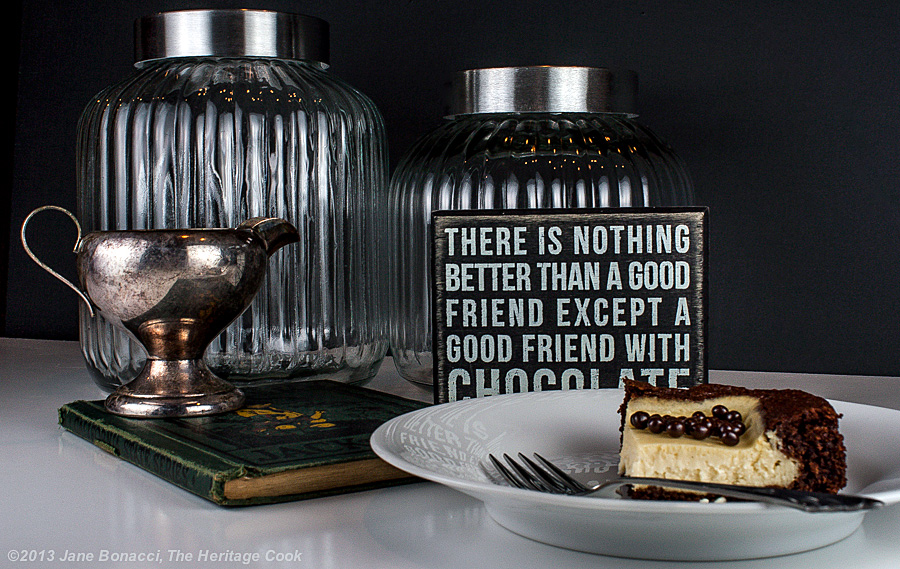
There never was a truer statement, LOL!
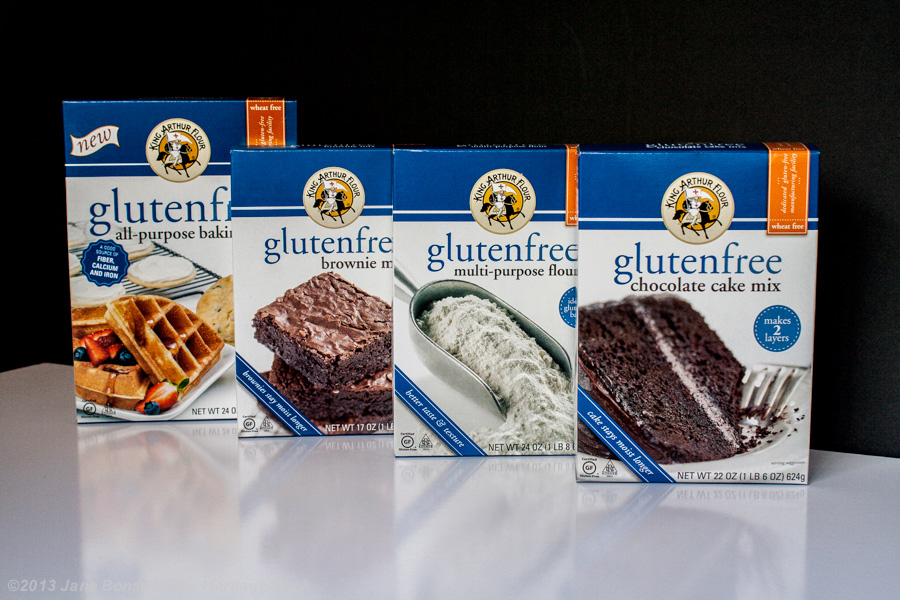
A little while ago the folks at King Arthur Flour sent me some of their gluten-free products to try and today I used their multi-purpose flour blend. It worked perfectly in this recipe and created a smooth, non-gritty texture that I loved. If you wanted to make this recipe even easier, you could substitute a box of their gluten-free brownie mix as a shortcut and I’m sure it would be just as good. I can’t wait to try the rest of their products!
One thing I did differently from the original recipe was that I substituted Neufchatel cheese, a lower fat version of cream cheese for half the amount called for. This lightened the texture considerably and lowered the calories a little. This is by no means a low-calorie dessert, but by using the Neufchatel, you get a lighter consistency. I do this with all of my cheesecakes and everyone loves them.
Neufchatel has 1/3 less fat than normal cream cheese. If you can’t find it at your local grocers, you could use low-fat American-style cream cheese as well. But please do not use non-fat. It is full of chemicals to make it seem like the original. Reduced fat is fine, but non-fat is really unhealthy.
I’m already thinking ahead to the holidays and will probably alter this to have a pumpkin cheesecake filling and ginger-spiked brownie layer. A chocolate and peppermint combo would be fantastic too. You could take this in so many directions that it might just show up several times a year in different disguises, LOL.
I hope you give this recipe a try and let me know how it turns out for you.
Have a wonderful week and Happy Chocolate Monday!

- Brownie Layer
- 1-1/4 cups all-purpose flour or gluten-free all-purpose flour blend
- 3/4 cup sugar
- 1/4 cup unsweetened cocoa powder
- 2 tbsp instant espresso powder
- 1 tsp baking powder (use 1-1/2 tsp if using gluten-free flour blend)
- 1/4 tsp xanthan gum (add only if using GF flour and your blend doesn’t already contain it)
- 1/2 tsp ground cinnamon
- 1/2 tsp baking soda (gluten-free if needed)
- 1/2 tsp table salt or 1 tsp kosher salt
- 1/2 tsp ground nutmeg
- 4 tbsp (1 stick) butter, melted and cooled slightly
- 1/2 cup buttermilk
- 1/2 tsp pure vanilla extract or vanilla paste
- 1 large egg, beaten
- Cheesecake Layer
- 2 (8 oz) pkg cream cheese (or 1 regular & 1 low-fat or Neufchatel for a lighter texture) softened to room temperature
- 1/2 cup sugar
- 2 large eggs
- 1/4 cup coffee-flavored liqueur (such as Kahlua)
- 1/2 tsp pure vanilla extract or vanilla paste
- 1 cup chopped chocolate-covered coffee beans, grated chocolate, jimmies or chocolate beads
- Preheat oven to 350°F. Lightly butter a 7x11-inch or 9x13-inch baking dish; set aside. If you use the 7x11-inch pan you won’t get as many bars, but they will be thicker. Just cut them a bit smaller to get the same yield.
- Make the Brownie Layer: In the bowl of your standing mixer, whisk together flour, sugar, cocoa, espresso powder, baking powder, cinnamon, baking soda, salt and nutmeg.
- In a small bowl, melt the butter in the microwave. Set aside to cool slightly.
- Pour the buttermilk into a glass measuring cup. Add the egg and vanilla and whisk until smooth. Pour the buttermilk mixture and melted butter into the dry ingredients and beat on low speed until smooth.
- Spread the brownie mixture evenly into the prepared pan, using an offset spatula to create an even layer and pushing it gently into the corners of the pan. If you are using wheat flour, it will be even heavier which may necessitate you using your wet hands to pat it down and spread it into an even layer.
- Prepare the Cheesecake Layer: Using the paddle attachment in your standing mixer, beat cream cheese and sugar together on medium speed until combined. Add eggs, vanilla and liqueur, beating until creamy and smooth, about 3 to 5 minutes. Scrape down the sides of the bowl and beater a couple of times during the mixing and be sure to scrape the sides down before you pour it over the brownie layer.
- Bake 25 to 30 minutes or until set and cheesecake layer only jiggles a little in the center. Remove pan from oven, place on a wire cooling rack and set aside.
- When it has cooled to room temperature, cut into squares or rectangles and sprinkle the top with whatever decoration you choose before serving. Store any leftovers, covered, in the refrigerator.
- Yield: about 10 to 12 servings
Create a New Tradition Today!
Unauthorized use, distribution, and/or duplication of proprietary material from The Heritage Cook without prior approval is prohibited. This includes copying and reprinting content and photographs. If you have any questions or would like permission, I can be contacted via email at theheritagecook (at) comcast (dot) net. Feel free to quote me, just give credit where credit is due, link to the recipe, and please send people to my website, www.theheritagecook.com. Please see the Disclaimers page for additional details.
Thank You!


