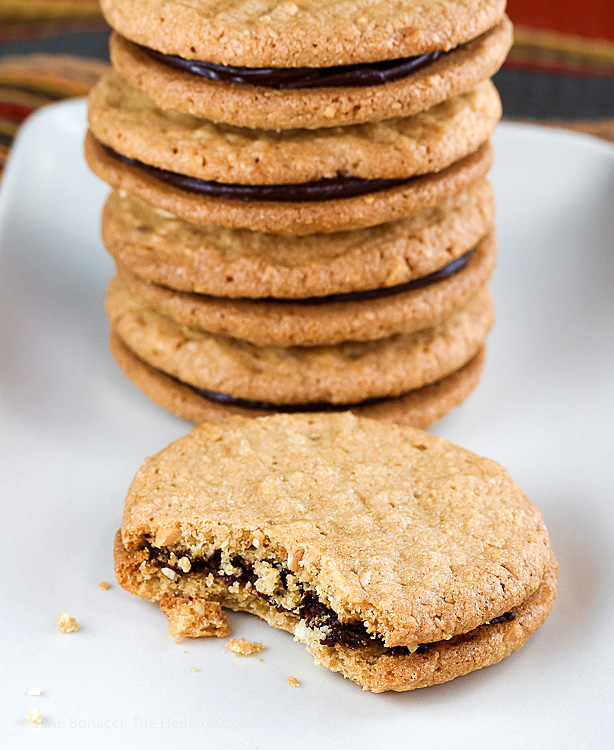
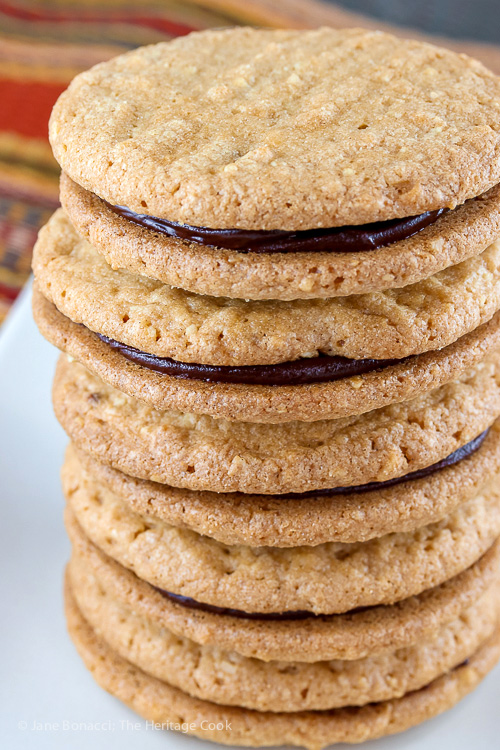
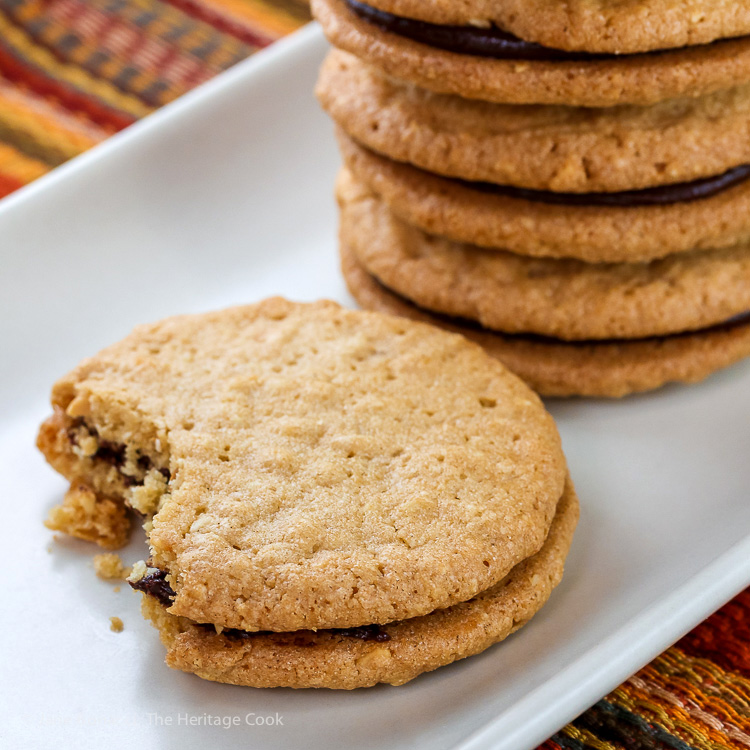
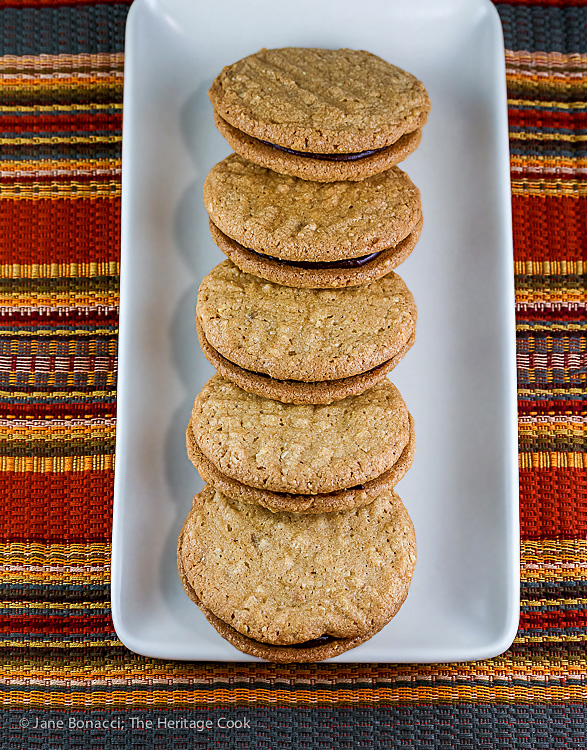
Peanut butter and chocolate. Is there any better flavor combination? These Peanut Butter Ganache Sandwich Cookies really deliver! I remember the early commercials for Reese’s peanut butter cups when a guy holding a chocolate bar would accidentally bump into someone else with a jar of peanut butter. Those commercials always made me laugh.
Today’s cookies are no laughing matter though. They are seriously good. No, let’s make that outstanding. Yep, that’s the word. The original recipe came from Cook’s Illustrated and I only made a couple of small changes, why mess with perfection! They are wonderful eaten as plain cookies, but when you add the chocolate, ooh la la!
The first time I made them was for an event for one of my neighbors and to this day she tells me they were the best cookies she’s ever eaten. I didn’t bake off all the cookies this time and I’m going to surprise her with the rest of the dough so she can make her own fresh-from-the-oven cookies!
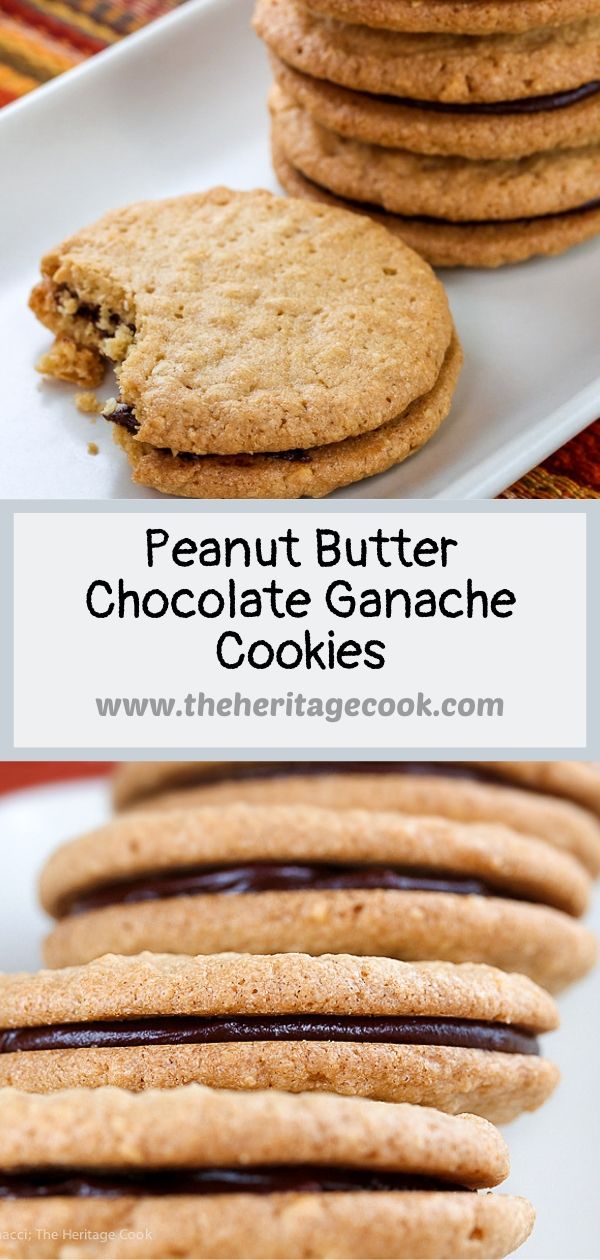
They are rich, buttery, packed with nutty goodness, and the addition of the extra finely chopped nuts adds a beautiful texture. Crunchy with a slight chewiness in the center.
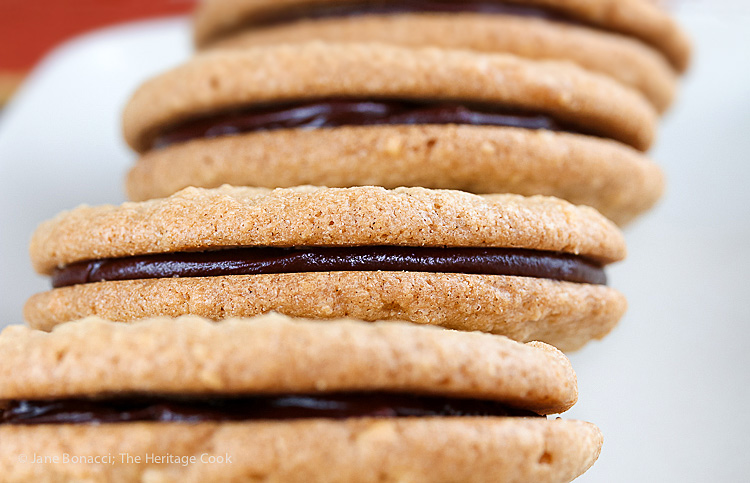
Today I decided to turn them into sandwich cookies using ganache as the filling. I have used this ganache recipe before (like with these addictive almond cookies) and always return to it because it is so simple to make. It is absolutely the best tasting ganache.
This is one place where you want to splurge a little on high quality chocolate. With only chocolate and cream, the quality of the products shines through. Guittard is my go-to chocolate because if the consistent quality and it is made here in the Bay Area, but I also love Callebaut, Valrhona, and Cacao Barry. What you want to do is buy the best chocolate you can afford when possible – it really does make a difference. Here is an excellent article from Bon Appetit on the best chocolates to bake with.
OK, enough chit chat, let’s get in the kitchen and make these Peanut Butter Ganache Sandwich Cookies. You will thank me! LOL
Happy Chocolate Monday my friends!
How to make Peanut Butter Chocolate Ganache Cookies:
- Whisk the dry ingredients together
- Cream the sugars and butter together then beat in the eggs, peanut butter, and vanilla
- Mix in the dry ingredients and ground peanuts
- Portion the dough into 2-inch balls and press each with a dinner fork
- Bake cookies until golden then cool
- Place the chocolate in a heatproof bowl and top with hot cream
- Mix together until smooth; set aside to thicken as it cools
- Pipe a dollop on the flat bottoms of half the cookies and press a second cookie on top to make sandwich cookies
PRO Tip:
Filling a piping bag is easy once you know a couple of tricks. First fold the top of the bag down to create a large cuff at the top. With your hand under the cuff of the bag, pour in half the ganache and press it into one corner of the plastic bag. Twist the top of the bag to force the ganache down into the bag. Snip off a small portion of the corner to form a hole. Hold and squeeze the bag with one hand and use your other hand to guide the tip. This will allow you to pipe the dollops of ganache very quickly and easily.
Key Ingredients for this Recipe
- All-purpose flour or gluten-free flour blend
- Baking soda, baking powder, and salt
- Unsalted butter
- Brown sugar and granulated sugar
- Peanut butter or another type of nut butter you prefer
- Eggs and vanilla
- Dry-roasted salted peanuts or other nut of choice
- Chocolate
- Heavy cream
Kitchen Tools I Use to Make This Recipe
Other Cookie Recipes You May Enjoy:
- Sugar Coated Chocolate Studded Ginger Cookies (GF)
- Oatmeal, Cranberry, and White Chocolate Cookies (GF)
- Big Fat Snicker’s Cookies (GF)
- White Chocolate Sugar Cookie Squares (GF)
- Gluten Free White Chocolate Snickerdoodles
Gluten-Free Tips:
Use an all-purpose gluten free flour blend in this recipe, either a store-bought version such as Bob’s Red Mill 1-to-1, King Arthur, or Pamela’s, or you can save money and make your own blend.
Peanut Butter Ganache Sandwich Cookies (Gluten Free)
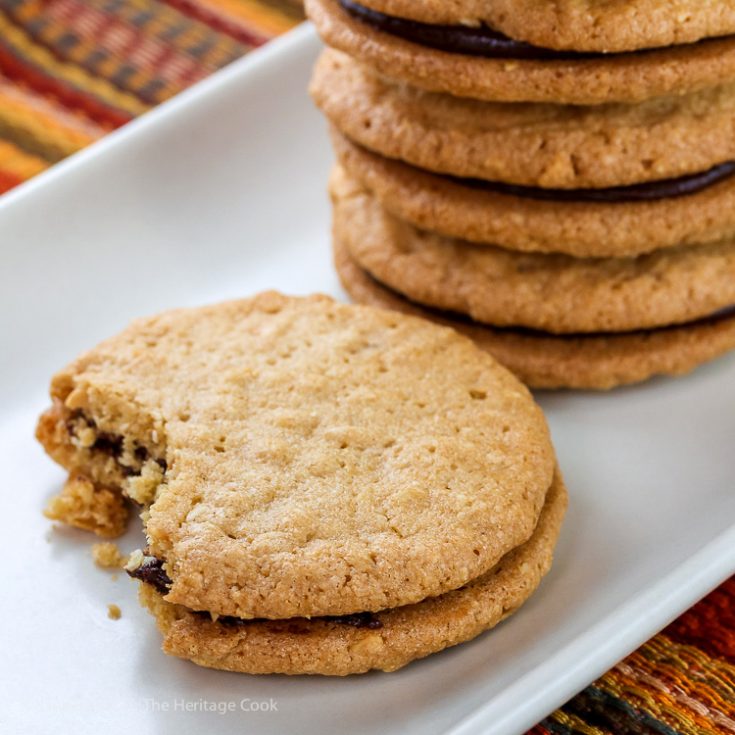
These cookies have a double hit of peanut flavor from the crunchy peanut butter and roasted peanuts that are ground in a food processor before being worked into the dough. Just say Yes!
Ingredients
Peanut Butter Cookies
- 2-1/2 cups (300g) all-purpose flour or gluten-free flour blend
- 1/2 tsp baking soda
- 1/2 tsp baking powder
- 1 tsp kosher or fine sea salt
- 2 sticks (220g) unsalted butter, softened but still cool
- 1 cup (200g) firmly packed light brown sugar
- 1 cup (200g) granulated sugar
- 1 cup (250g) peanut butter (can use almond or other type of "nut butter")
- 2 large eggs
- 2 tsp vanilla extract
- 1 cup (about 100g) dry-roasted salted peanuts (or any other nut of choice) ground in a food processor until they resemble breadcrumbs
Chocolate Ganache Filling
- 318g (11 oz) chocolate, chopped
- 6 tbsp heavy cream
Instructions
- Prepare the Peanut Butter Cookies: Adjust the oven racks to the upper and lower-middle positions and preheat to 350°F. Line 2 large baking sheets with parchment paper.
- Whisk the flour, baking soda, baking powder, and salt together in a medium bowl; set aside.
- In your standing mixer, beat the butter until creamy. Add both sugars and beat until creamed, about 3 minutes, stopping to scrape down the sides as necessary. Beat in the eggs until light and fluffy, then add the peanut butter and the vanilla. Add half the dry ingredients to the peanut butter mixture and beat until smooth, then repeat with the remaining dry ingredients. Add the ground peanuts and mix just until incorporated.
- Using a spring-loaded ice cream scoop, portion the dough into 2-inch balls. Place the balls on the prepared baking sheets, spacing them 2 inches apart. (I got 8 per baking sheet.) Firmly press the top of each ball with a dinner fork dipped in cold water and then go back and press again in the opposite direction to make a crisscross design. Re-wet the fork as need to help with sticking.
- Bake until the cookies are puffed and lightly golden, 10 to 13 minutes,* rotating the baking sheets from front to back and top to bottom halfway through the baking time. Cool the cookies on the baking sheets a couple of minutes before transferring them to a wire rack with a metal spatula to cool completely.
- Make the Chocolate Ganache Filling: Place the chocolate in a heatproof bowl and set next to the stove. This makes enough for a fairly thin layer because the chocolate is so intense, but if you love more, go for it! Feel free to double or triple the amount of chocolate and cream (in equal proportions) if you want a really thick filling.
- Pour the cream into a medium saucepan and over medium-high heat bring to a low boil (bubbles will break the surface, but not to a full rolling boil). Remove from the heat and pour the hot cream over the chocolate. Let it sit for about 3 minutes to start the chocolate melting. Then gently stir, starting in the middle and working your way out to the edges, until all the chocolate has melted and the texture is smooth.
- Set the bowl aside to cool and thicken. Once the ganache has firmed up, (it will still be warm) transfer to a plastic bag (press the ganache into one corner and snip off the tip) or a piping bag fitted with a round tip.
- Assemble Cookie Sandwiches: Match up cookies into sets of two similar size. Turn half of them upside down and pipe a large dollop onto the flat surface. Gently press the second cookie on top, flat side down, until the ganache spreads nearly to the edge. Set each cookie sandwich onto a wire rack to let the ganache set.
- Store in an airtight container in the refrigerator.
- * If you are serving these cookies without the chocolate filling, you may want to bake them on the low side of the time range, around 10 minutes. The moisture in the ganache softens the cookies so baking them an extra minute or two helps them stand up to the added moisture.
Nutrition Information:
Yield:
36Serving Size:
1Amount Per Serving: Calories: 75Total Fat: 2gSaturated Fat: 1gTrans Fat: 0gUnsaturated Fat: 1gCholesterol: 16mgSodium: 108mgCarbohydrates: 12gFiber: 0gSugar: 3gProtein: 2g
If you love this recipe, be sure to follow me on social media so you never miss a post:
| Facebook | Pinterest | Instagram | Twitter |
Create a New Tradition Today!
First Published: 27 Mar 2017
Last Updated: 28 Oct 2019
Welcome! The suggestions here are not intended as dietary advice or as a substitute for consulting a dietician, physician, or other medical professional. Please see the Disclaimers/Privacy Policy page for additional details. Unauthorized use, distribution, and/or duplication of proprietary material from The Heritage Cook without prior approval is prohibited. If you have any questions or would like permission, please contact me. We participate in the Amazon Services LLC Associates Program, an affiliate advertising program designed to provide a means for sites to earn advertising fees by advertising and linking to amazon.com. This page may contain affiliate links.

