With summer coming soon, I thought it would be fun to share an ice cream sandwich recipe with you today. A couple of years ago I created a recipe for a client. They liked my Port Brownies Ice Cream Sandwiches, but they didn’t want the booze in it. So I modified it, took out the port, and they loved it. Today I am sharing my original recipe complete with port!
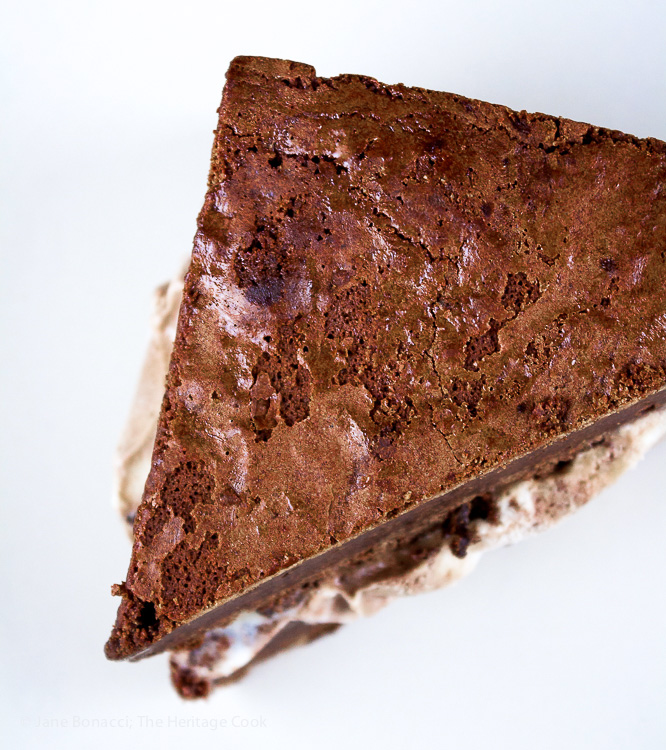
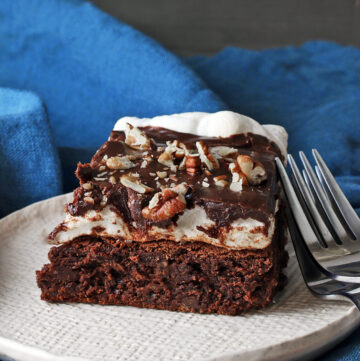
Unadorned brownie sandwich ready for decorating
If you are like my client and want a non-alcoholic, kid-friendly version, just replace the port with espresso. Both are equally delightful.
Regular ice cream sandwiches often depend on cookies for support, but what if I made luscious brownies and used those instead? Bingo! We have a winner!
You can make these with any favorite ice cream you love – think cherry, chocolate chip, cookies and cream, mocha, caramel (like I used), even chocolate for a full-on chocolate dessert. This is the ultimate personalized treat! And you can customize for specific holidays by changing the ice cream and dipping candies you offer. So flexible!
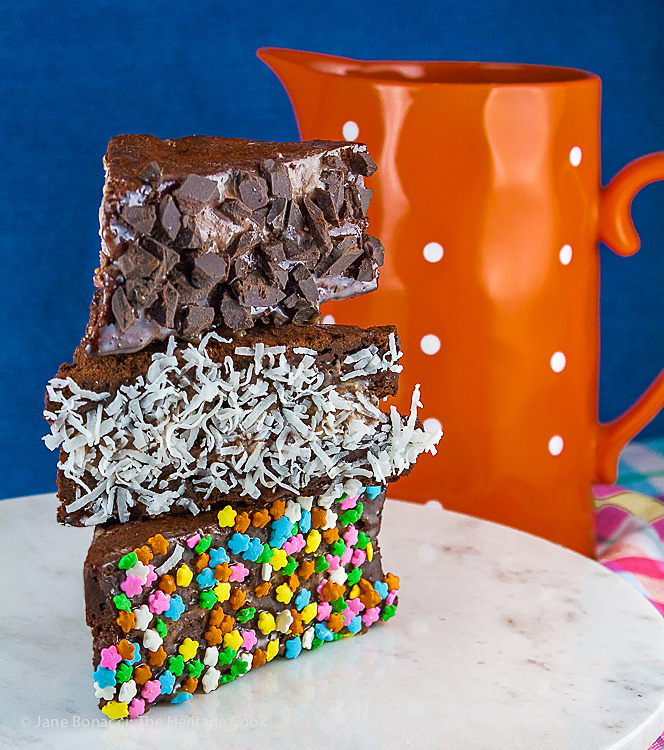
To give your guests even more options, set out a selection of sweet condiments to add even more fun to your festivities. I offered coconut, sliced almonds, chocolate chunks (or use chips), chopped chocolate covered toffee candies, and colorful sprinkles. Something for everyone.
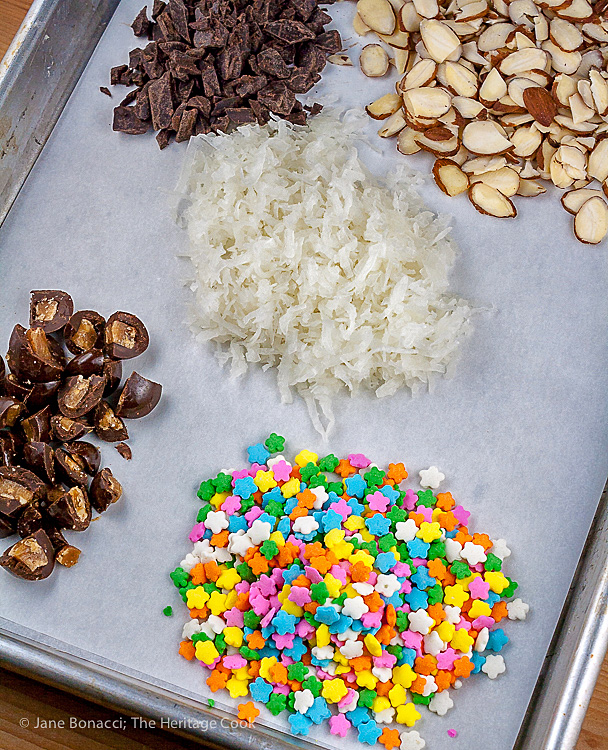
For more fun serve with a variety of items for dipping
To make it easy, I used two 8-inch square baking pans. No splitting layers or other fussy requirements. Just cut each “cake” into quarters and each square in half diagonally to make 8 triangles. They are very rich so I think next time I will cut the triangles in half to make 16 smaller sandwiches.
Just be sure to re-freeze between each step for the neatest sandwiches and cleanest little hands and faces, LOL.
Happy Chocolate Monday!
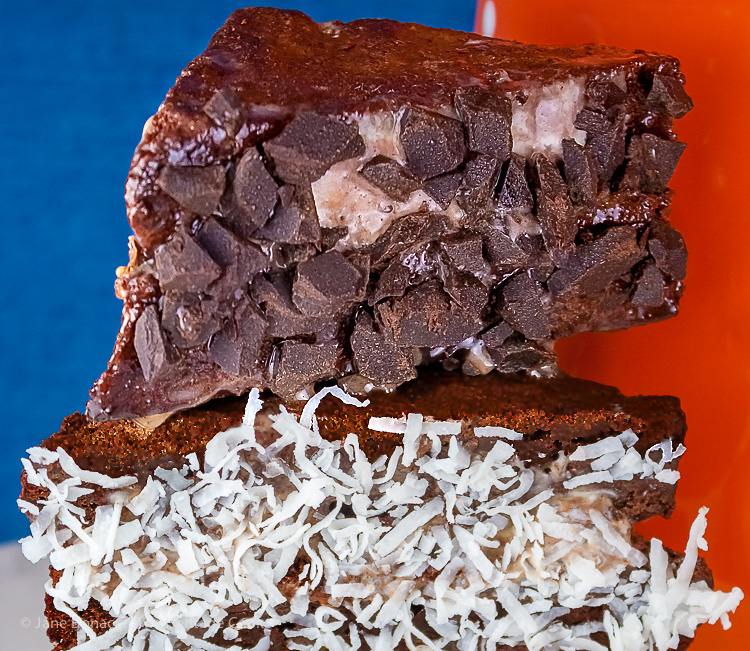
Chopped chocolate candies and coconut-dipped sides
Gluten-Free Tips:
Keeping a gluten-free flour blend (like my favorite) on hand makes it easy to whip up spur of the moment treats for yourself, your friends, and family.

- Brownies
- 2 cups granulated sugar
- 1 tablespoon unsweetened cocoa powder (gluten-free if needed)
- 1/2 teaspoon kosher or sea salt
- 1 cup (2 sticks) cool butter, cut into small cubes
- 14 ounces bittersweet chocolate, chopped coarsely
- 2 tablespoons port wine or heavy cream
- 1 teaspoon pure vanilla extract
- 4 large eggs
- 1 cup all-purpose flour or gluten-free flour blend
- Ice Cream and Decorations
- 1 pint ice cream of your choice, such as mocha, cookies and cream, caramel swirl, cherry, etc.
- Assorted decorations such as jimmies, coconut, candy sprinkles, chocolate shavings, etc. (optional)
- Make the Brownies: Set oven rack in center and preheat oven to 375°F. Lightly butter two 8-inch square baking pans. Line both pans with parchment paper long enough that it drapes over two edges creating handles you will use later to lift the brownies out of the pan. Butter the parchment.
- In a medium bowl, whisk together the sugar, cocoa powder and salt. Set aside.
- Set another bowl over a saucepan of barely simmering water, making sure that the water doesn’t touch the bottom of the bowl. Note: I use the metal bowl from my KitchenAid mixer, saving one step. Add the butter, chocolate, port wine and vanilla to the bowl and melt together, stirring regularly with a heatproof spatula. When the chocolate is mostly melted, using hot pads, carefully move the bowl off the saucepan and set on a dishtowel.
- Whisk the chocolate mixture until completely melted and smooth. Transfer to the bowl of your standing mixer (or place on the mixer if you used your mixer bowl to melt the chocolate). Add the sugar mixture and, using the paddle attachment, beat on medium until smooth and you can comfortably hold the bottom of the pan in your hand. Note: If the mixture is too hot, the eggs will scramble when you add them.
- Reduce the speed to low and add the eggs, one at a time, incorporating fully before adding the next one. Turn mixer up to medium and beat until lightened in color and fluffy. Stop the mixer, add the flour, and beat on low just until you no longer see any white streaks. Do not overbeat.
- Remove the bowl from the stand mixer and using a flexible spatula, scrape the beater and sides of the bowl, making sure that there are now dry ingredients that haven’t been mixed in. Pay special attention to the bottom of the bowl – that is where unmixed ingredients tend to hide!
- Pour the batter into the prepared pans. Tap each pan on the counter a few times to dislodge any trapped air bubbles. Smooth the tops with an offset spatula. Transfer to the hot oven and bake 15 minutes. Spin the pans so the front is now facing the back of the oven. Continue baking until the brownies start to pull away from the sides of the pans and a toothpick inserted in the center comes out with moist crumbs clinging to it, about 15 to 20 more minutes. Note: In my oven they took 5 to 8 minutes longer to be done; bake as long as needed for your oven. Remove from the oven and set onto a wire rack to cool.
- When the brownies are completely cooled, remove them from the pan using the parchment slings to lift them. Place the parchment back into the pans. Move the ice cream down to the refrigerator to soften slightly.
- Set the brownie layers on a cutting board, and working with one layer at a time, cut into quarters. Then cut each quarter into two triangles (cut point to point). Reassemble the brownie and set it back into the parchment lined baking pan. Repeat with the second layer.
- Place both pans in the freezer and freeze for 15 minutes.
- Assemble the Sandwiches: Remove the pans of baked brownies from the freezer. Using a small ice cream scoop, place a small scoop of ice cream on each triangle in one of the pans. Top with matching triangles from the other pan and very gently press down to spread the ice cream out to the edges. Wrap each sandwich in small squares of plastic wrap and return to the freezer to firm up.
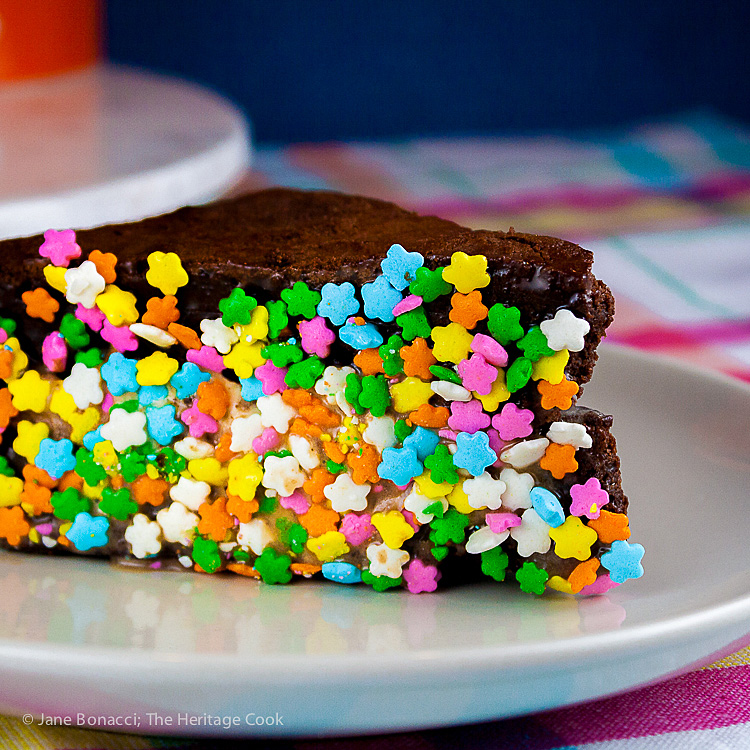
- Press one or more of the sides of each triangle in the decorations if desired. Or you can set out bowls and let the kids choose which sweet treat they want to dip the edges of the sandwiches into.
- Rewrap each triangle with plastic and place them on a baking sheet. Wrapping them individually helps them retain their shape and makes serving really easy. Return them to the freezer to firm up. Keep in the freezer until about 20 minutes before serving.
- Yield: 8 to 16 servings
Create a New Tradition Today!
Welcome! If you ever need any entertaining or cooking advice, need to alter a recipe for gluten-free, or want recipe suggestions, don’t hesitate to ask. Unauthorized use, distribution, and/or duplication of proprietary material from The Heritage Cook without prior approval is prohibited. If you have any questions or would like permission, please contact me. The suggestions here are not intended as dietary advice or as a substitute for consulting a dietician, physician, or other medical professional. Please see the Disclaimers page for additional details. Thanks for visiting The Heritage Cook!




jamiemid
These look delicious. I know what I’ll be making this week. Chocolate recipes on a Monday get the week off to a really good start. Eating them on Friday will be a great way to end the week. Bless you! 🙂
Jane Bonacci
These are so much fun to make and even better to eat, LOL. I love starting the week off with Chocolate Mondays, it brightens everyone’s day! Have a wonderful week Jamie!