Gingersnaps. The very name conjures images of my childhood. Smelling the spicy cookies baking in the oven. Burning my fingers and tongue because I couldn’t wait for them to cool before biting into them. Knowing that the cookie jar would be filled to the rim for at least a week and that I would find them in my lunchbox every day.
Gingersnaps or Ginger Biscuits are a centuries-old cookie dating back at least to the Middle Ages. They probably originated in Germany, but England also has produced spicy cookies for centuries. Sweetened with honey or molasses and spiced with ginger, cinnamon, allspice, and cloves, they are the perfect accompaniment to a scoop of ice cream, a slice of cheesecake, or simply enjoyed with a cup of tea.
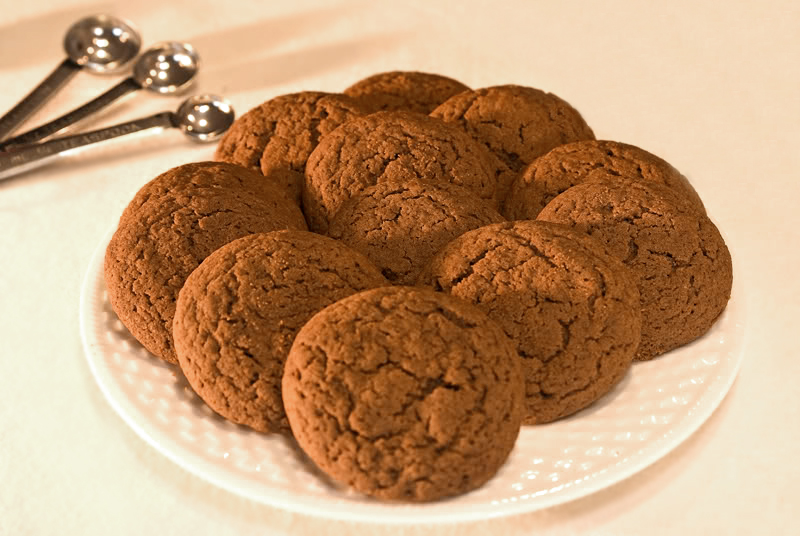
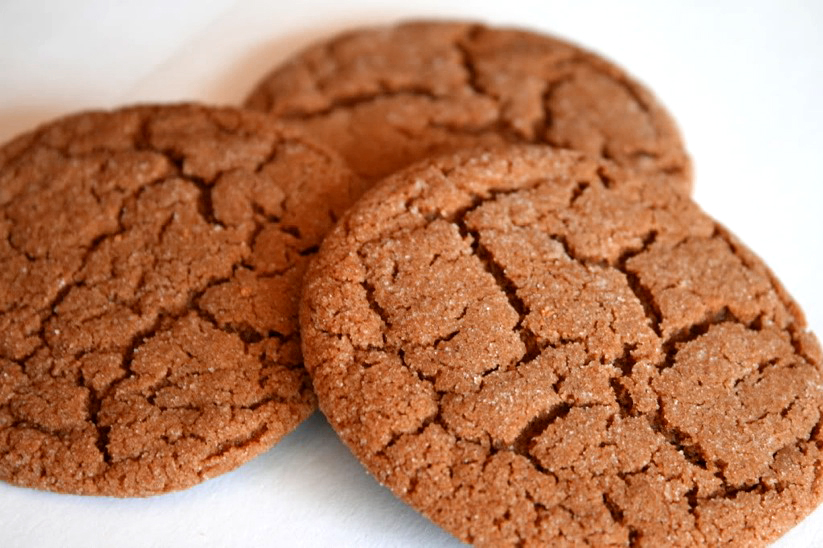
Many people confuse gingersnaps with gingerbread cookies. Gingersnaps are most often formed into small balls, rolled in coarse sugar and baked into a sparkling golden brown circle. Gingerbread cookies are most often rolled out and cut with cookie cutters into various shapes, the most popular being the traditional gingerbread men made for the holiday season.
There is some debate about the origin of the name “snap.” Some believe that it comes from the sharp noise made when you bite into a cookie, and others think it was named that because they are a snap to make. I tend to lean toward the second because there are so many different kinds of ginger cookies, most of them soft and chewy.
The use of ginger root goes back at least 5000 years when it was considered a tonic for ailments in India and China. At the height of the Roman Empire it was imported from India. It was introduced to the Caribbean and Africa and today is grown throughout the tropics. It is a warm spice in the same family as cardamom and turmeric, with almost a peppery heat. As a matter of fact, many recipes include ground pepper to enhance this characteristic.
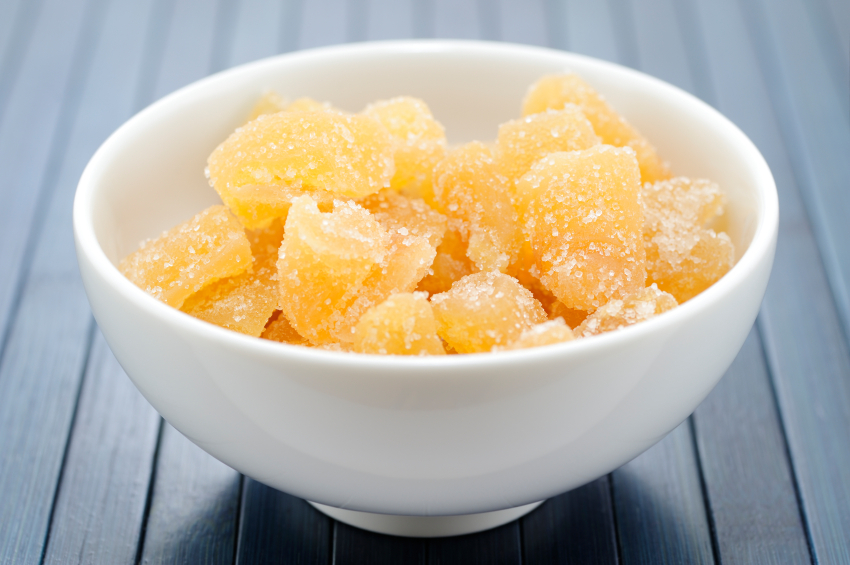
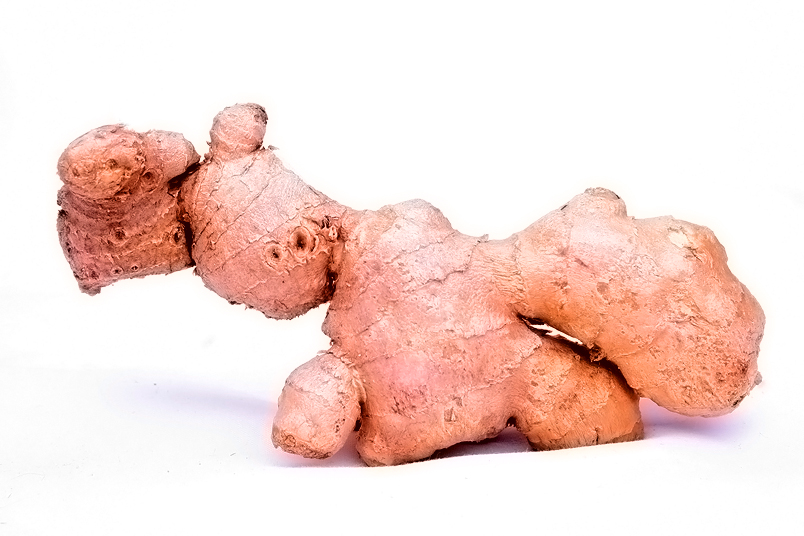
It comes in a variety of forms; the root we see in the produce section of the grocery store, dried and ground, candied with coarse sugar, and even in juice form. I like to add chopped candied ginger to these cookies for an extra hit of heat and flavor. Ginger is well known for aiding digestion and is used to help control nausea, dizziness, and motion sickness. It easily crosses the boundary between sweet and savory. Try it in your marinades and you will be surprised at the depth it gives to your final dish.
When you buy it in root form in the grocery store, don’t be afraid to break off just what you will need. You do not have to buy the entire “hand”! It is very fibrous and I have found that the rasp-style of graters work the best to give you a delicate grated ginger. You need to peel it before grating and this is easily done with the edge of a regular spoon. To make it easier, I trim off the nubs first with a sharp knife.

Crystallized or Candied Ginger
I have several gingersnap recipes that I like, and I am sharing two of them with you today. The first is from Fine Cooking magazine and was developed by the amazing Abigail Johnson Dodge. A former pastry chef, Abby is a widely respected and revered baking expert. She is the author of seven cookbooks, including the IACP Award finalist “The Weekend Baker.” She is a regular contributor to Fine Cooking magazine, founded the magazine’s test kitchen, and is considered their baking guru. When you see a recipe with Abby’s name on it, you know it has been thoroughly tested and will turn out exactly the same way each time you make it. If you have a baking question, you can post it on her blog – it is like having a master chef in your back pocket!
The second recipe is an updated version of a James Beard classic. Along with Julia Child, James Beard helped get American cuisine recognized worldwide. A native of Portland, Oregon, he explored the entire country, relishing the unique cooking styles he found, eventually winding up living in New York City. His home there is now the site of the James Beard House, where the foundation hosts incredible meals prepared by the country’s finest chefs. As with Abby’s recipes, anything from James Beard will also be well researched and tested.
With the children home, this is a wonderful time to have them help you bake in the kitchen. As my grandmother and mother did with me, start them out with easy tasks and help them conquer any fears of cooking and baking. They will grow up to be confident in the kitchen and able to create anything they desire!
Jane’s Tips and Hints:
You can store fresh ginger, wrapped very well, in the freezer for up to several months. It is much better than having it get moldy in the refrigerator!
Kitchen Skill: How to Measure Flour
You want to avoid compacting flour which will throw off your measurements. Use a whisk or spoon to fluff up the flour first, then use a cup to scoop the flour up and pour it into your measuring cup. Then use a knife or other straight edge to level off the top of the cup. This may sound tedious, but it is remarkable what a difference can occur in your final products by varying the way you measure your flour.
By far the most exact method is with a kitchen scale, utilizing weight rather than volume. It took me many, many years to purchase a scale, but now that I own one I use it all the time. I think it is one of those tools that are often overlooked, but should be considered required in any well-stocked kitchen.


- 7-1/2 oz (1-2/3 cups) unbleached all-purpose flour
- 1-1/2 tsp ground ginger
- 1 tsp ground cinnamon
- 1/2 tsp baking soda
- 1/4 tsp table salt
- 1/4 tsp ground nutmeg
- 1/4 tsp freshly ground black pepper
- 1/4 lb (1/2 cup or 1 stick) unsalted butter, completely softened at room temperature
- 3/4 cup packed dark brown sugar
- 1 large egg yolk
- 3 tbsp molasses
- In a medium bowl, whisk the flour, ginger, cinnamon, baking soda, salt, nutmeg, and pepper.
- In a large bowl, beat the butter and brown sugar with a stand mixer fitted with the paddle attachment on medium speed until light and fluffy, about 3 min. Add the egg yolk and molasses and mix until well blended, about 1 minute. Add the flour mixture and mix on medium-low speed until the dough is well blended and forms moist pebbles, 30 to 60 seconds.
- Dump the dough onto an unfloured work surface; gently knead until it comes together. Shape into an 8-inch-long log about 1-1/2 inches in diameter and wrap in plastic. Refrigerate until firm, about 3 hours.
- Position a rack in the center of the oven and heat the oven to 350°F. Line two large cookie sheets with parchment or nonstick baking liners.
- Unwrap the dough and use a thin, sharp knife to cut the log into 3/16-inch slices. Arrange the slices about 1 inch apart on the sheets. Bake one sheet at a time until the cookies are slightly darker brown on the bottoms and around the edges, 10 to 12 min. Set the sheet on a rack to cool for 15 minutes. Transfer the cookies to a rack and let cool completely. When cool, store in airtight containers.
- Ginger flavor intensifies with time, making these cookies excellent candidates for long keeping. When stored in an airtight container, the cookies remain impressively delicious for up to five days from baking. Well wrapped, the cookies will keep for several weeks in the freezer.
- Yield: about 40 cookies.
- For the best results, measure your flour by weight instead of volume. (1 cup of all-purpose flour equals 4-1/2 oz) If you don’t have a scale, be sure to use the proper techniquewhen filling your measuring cups (see above).


- 1 cup molasses or dark corn syrup
- 1 cup sugar
- 3/4 cup butter or lard
- 4-1/2 cups sifted all-purpose flour
- 3/4 tsp salt
- 1 tsp baking soda
- 1 tbsp ginger
- 2 tsp cinnamon (optional)
- 1 tsp nutmeg (optional)
- 1/2 tsp cloves
- 1/3 cup water
- Preheat oven to 375ºF.
- Bring the molasses or corn syrup, sugar, and butter just to the boil in a 3-quart saucepan. Cool slightly. Add the flour sifted with the salt, soda, and spices. It is necessary, of course, to use the ginger, but the remaining spices may be omitted, if desired. Add the water and stir until well blended.
- Chill the dough, and then roll out on a lightly floured board. Cut with a floured cutter into rounds and place on a greased baking sheet or pan. Leave about 1 inch between the cookies. Alternatively, form the dough into rolls 1 to 1-1/2 inches in diameter, wrap in waxed paper or aluminum foil, and chill or freeze until firm.
- Slice with a thin sharp knife into cookies 1/8 to 1/4 inch thick. Bake for 8 to 10 minutes, depending upon the size and thickness of the cookies. Remove from the pan while still slightly warm and cool on a rack.
Thank You!


Kelsey
These recipes look great. I’m craving a crunchy gingersnap – are these recipes for crunchy or softer cookies? Thanks!