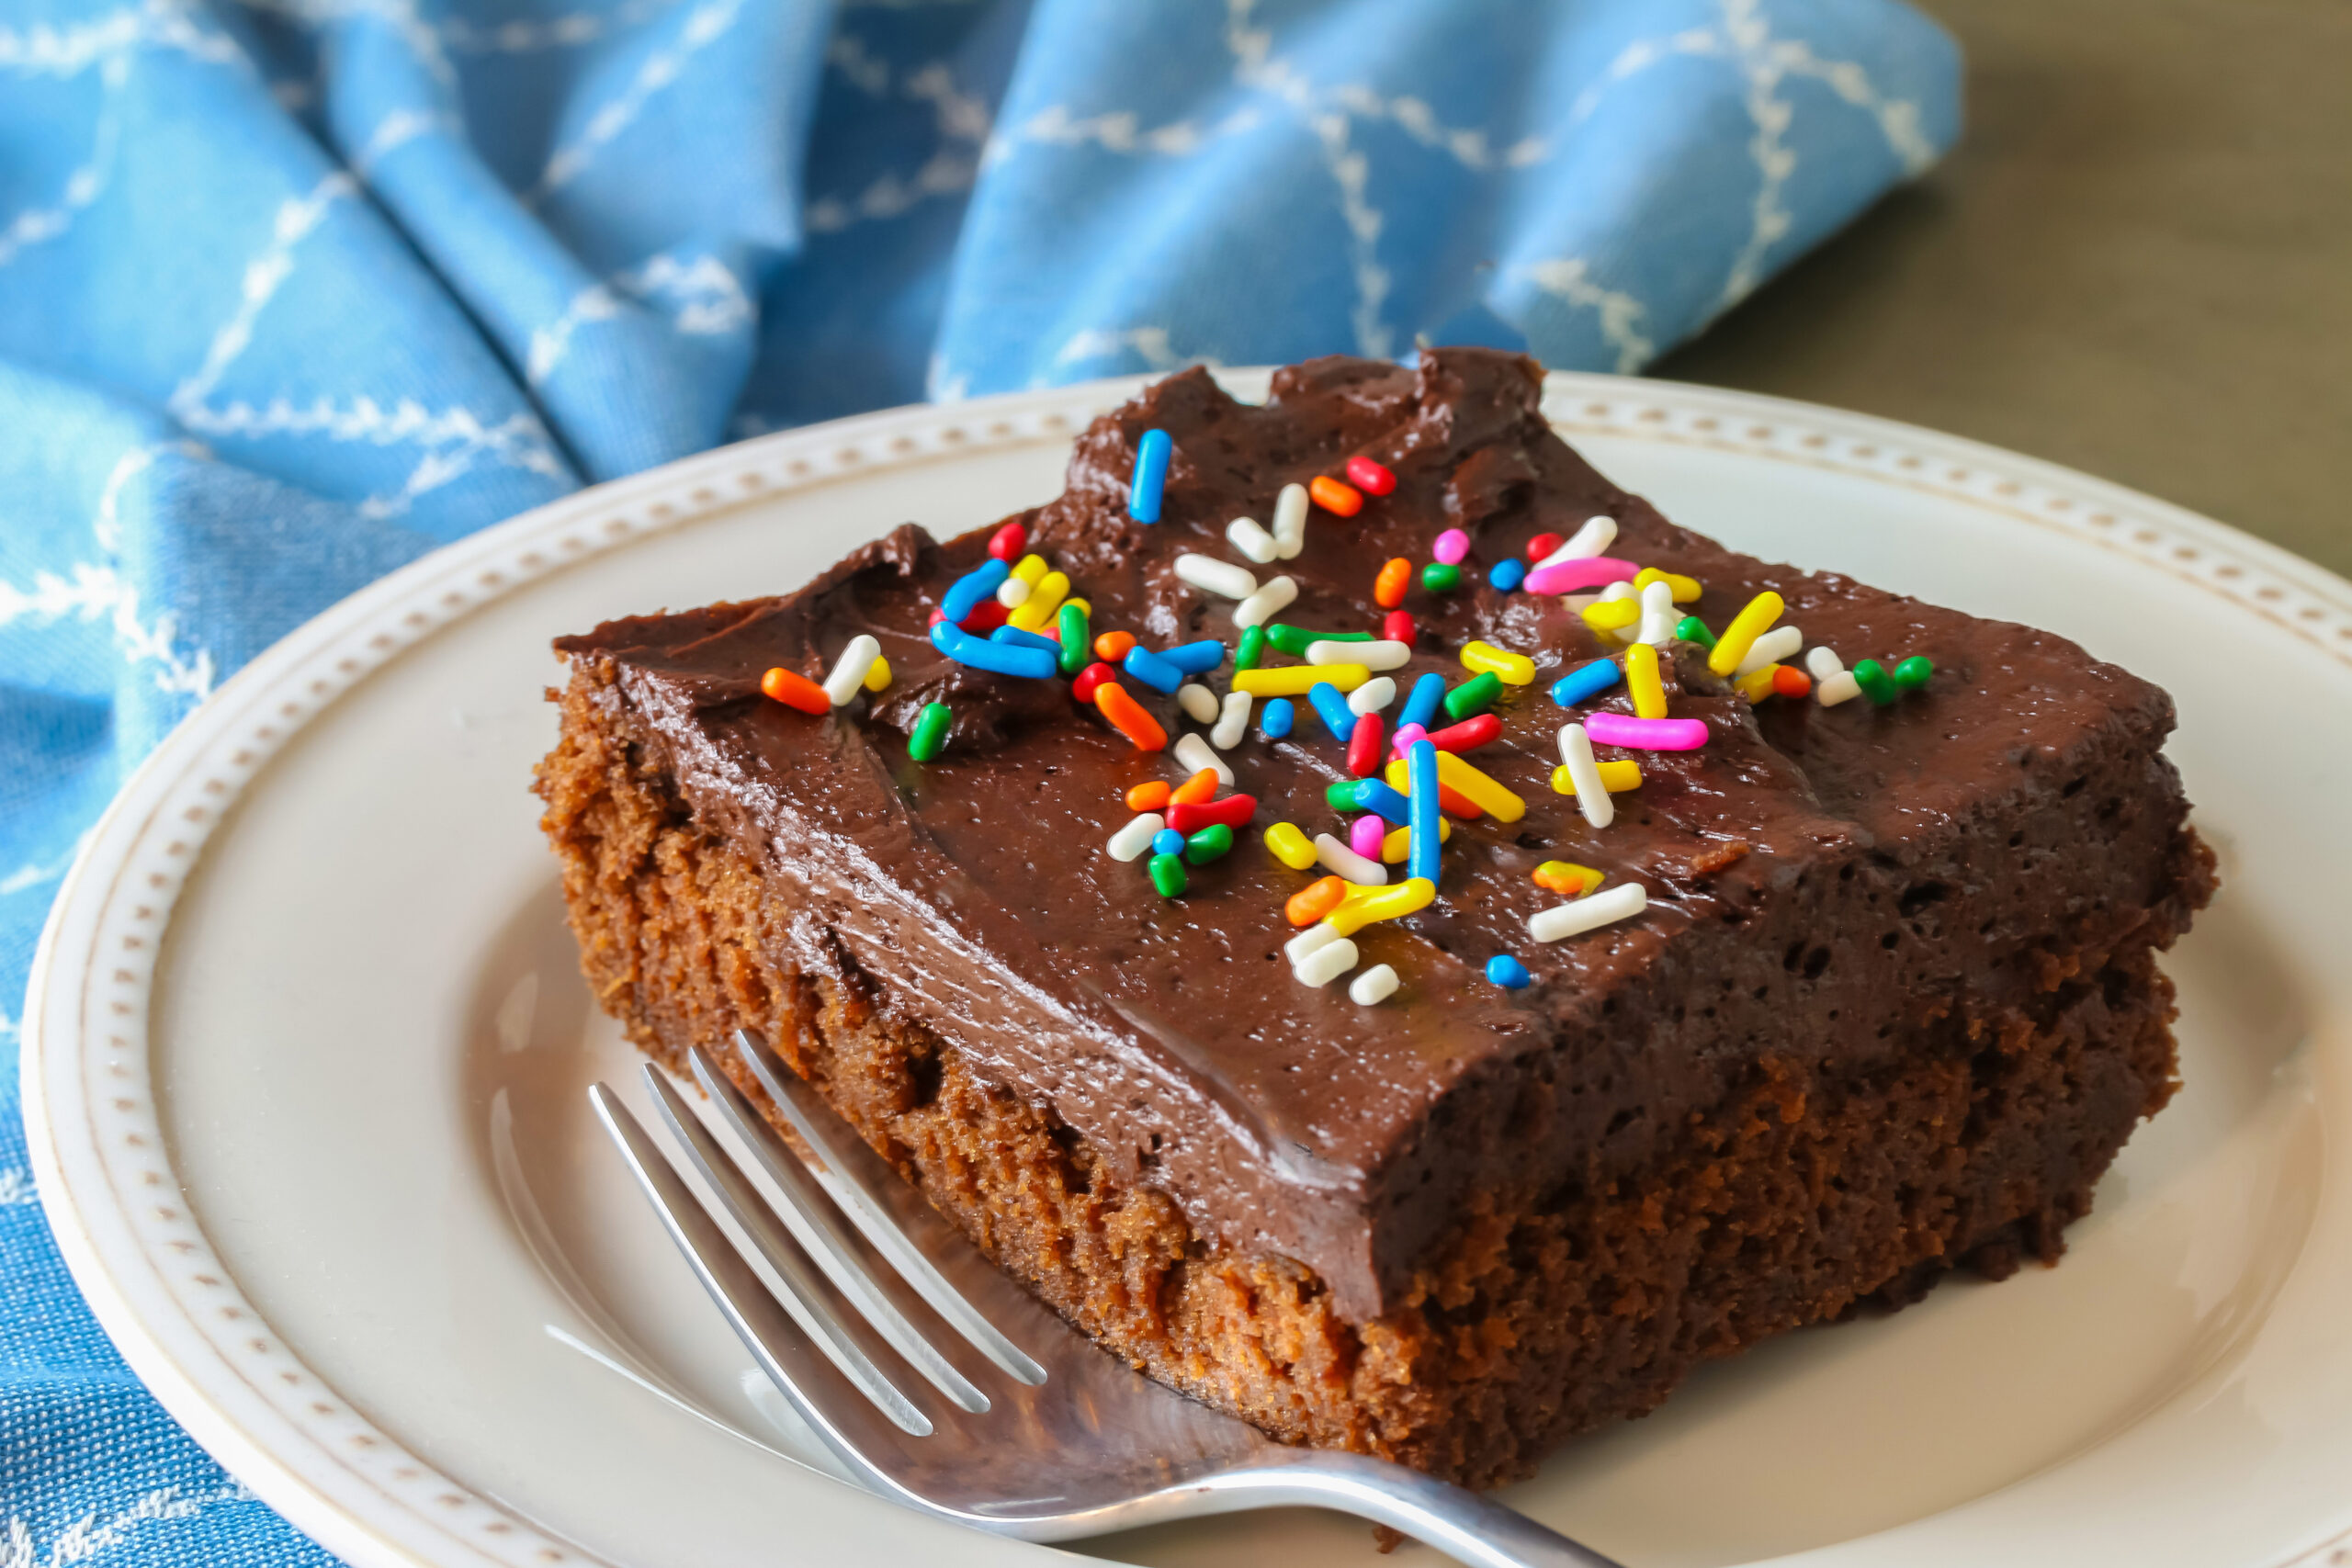
Everyone loves chocolate. I always seem to be on the hunt for the “best” chocolate cake recipe. Endless trials, to the delight of my family and friends, have led me to what I believe truly is the ultimate chocolate cake recipe. And I want to share it with you.
One of the finest bakers in this country wasn’t a celebrity and never had a show on the Food Network. Her name is Flo Braker and she was a baking master. When you open any of her cookbooks you enter her classroom. Her recipes may seem intimidatingly long to beginning bakers, but that is because she gives you all the information you need to get the same results she has perfected over the years of testing and practice.
When you see a recipe with a lot of steps, your first impulse may be to turn the page to a “simpler” one. The truth is, when a recipe writer has taken the time and effort to write out detailed directions, it is so you can get excellent results the very first time you make it and every time after that.
Never be afraid of long recipes. Look at them as another way of taking a class or learning new information that will give you lighter cakes, more consistently roasted chicken, or the perfect pie crust.
Every time I make one of Flo’s recipes I learn something new; a new technique, a reason why something reacts the way it does, or why you need certain ingredients combined in a special order or method. It is always worth any extra effort or time because the final product is meltingly tender, full of flavor, and by far the best thing you have ever baked!
If you prep all of your ingredients ahead of time (known as mise en place), you won’t have to stop to reach for ingredients in the middle of mixing the batter. If you forgot to butter the pans and have to do it after you’ve mixed the batter, your cake won’t rise quite as high as it would if you poured it straight into the prepared pans and placed them immediately into the hot oven.
Cake flour is very important in this recipe to give you the tenderness of a professionally baked cake. It is a highly specialized type of wheat flour with much lower protein/gluten content. The good news is that because gluten-free flours do not have the gluten protein in them, in most cases it’s like you are baking with cake flour all the time.
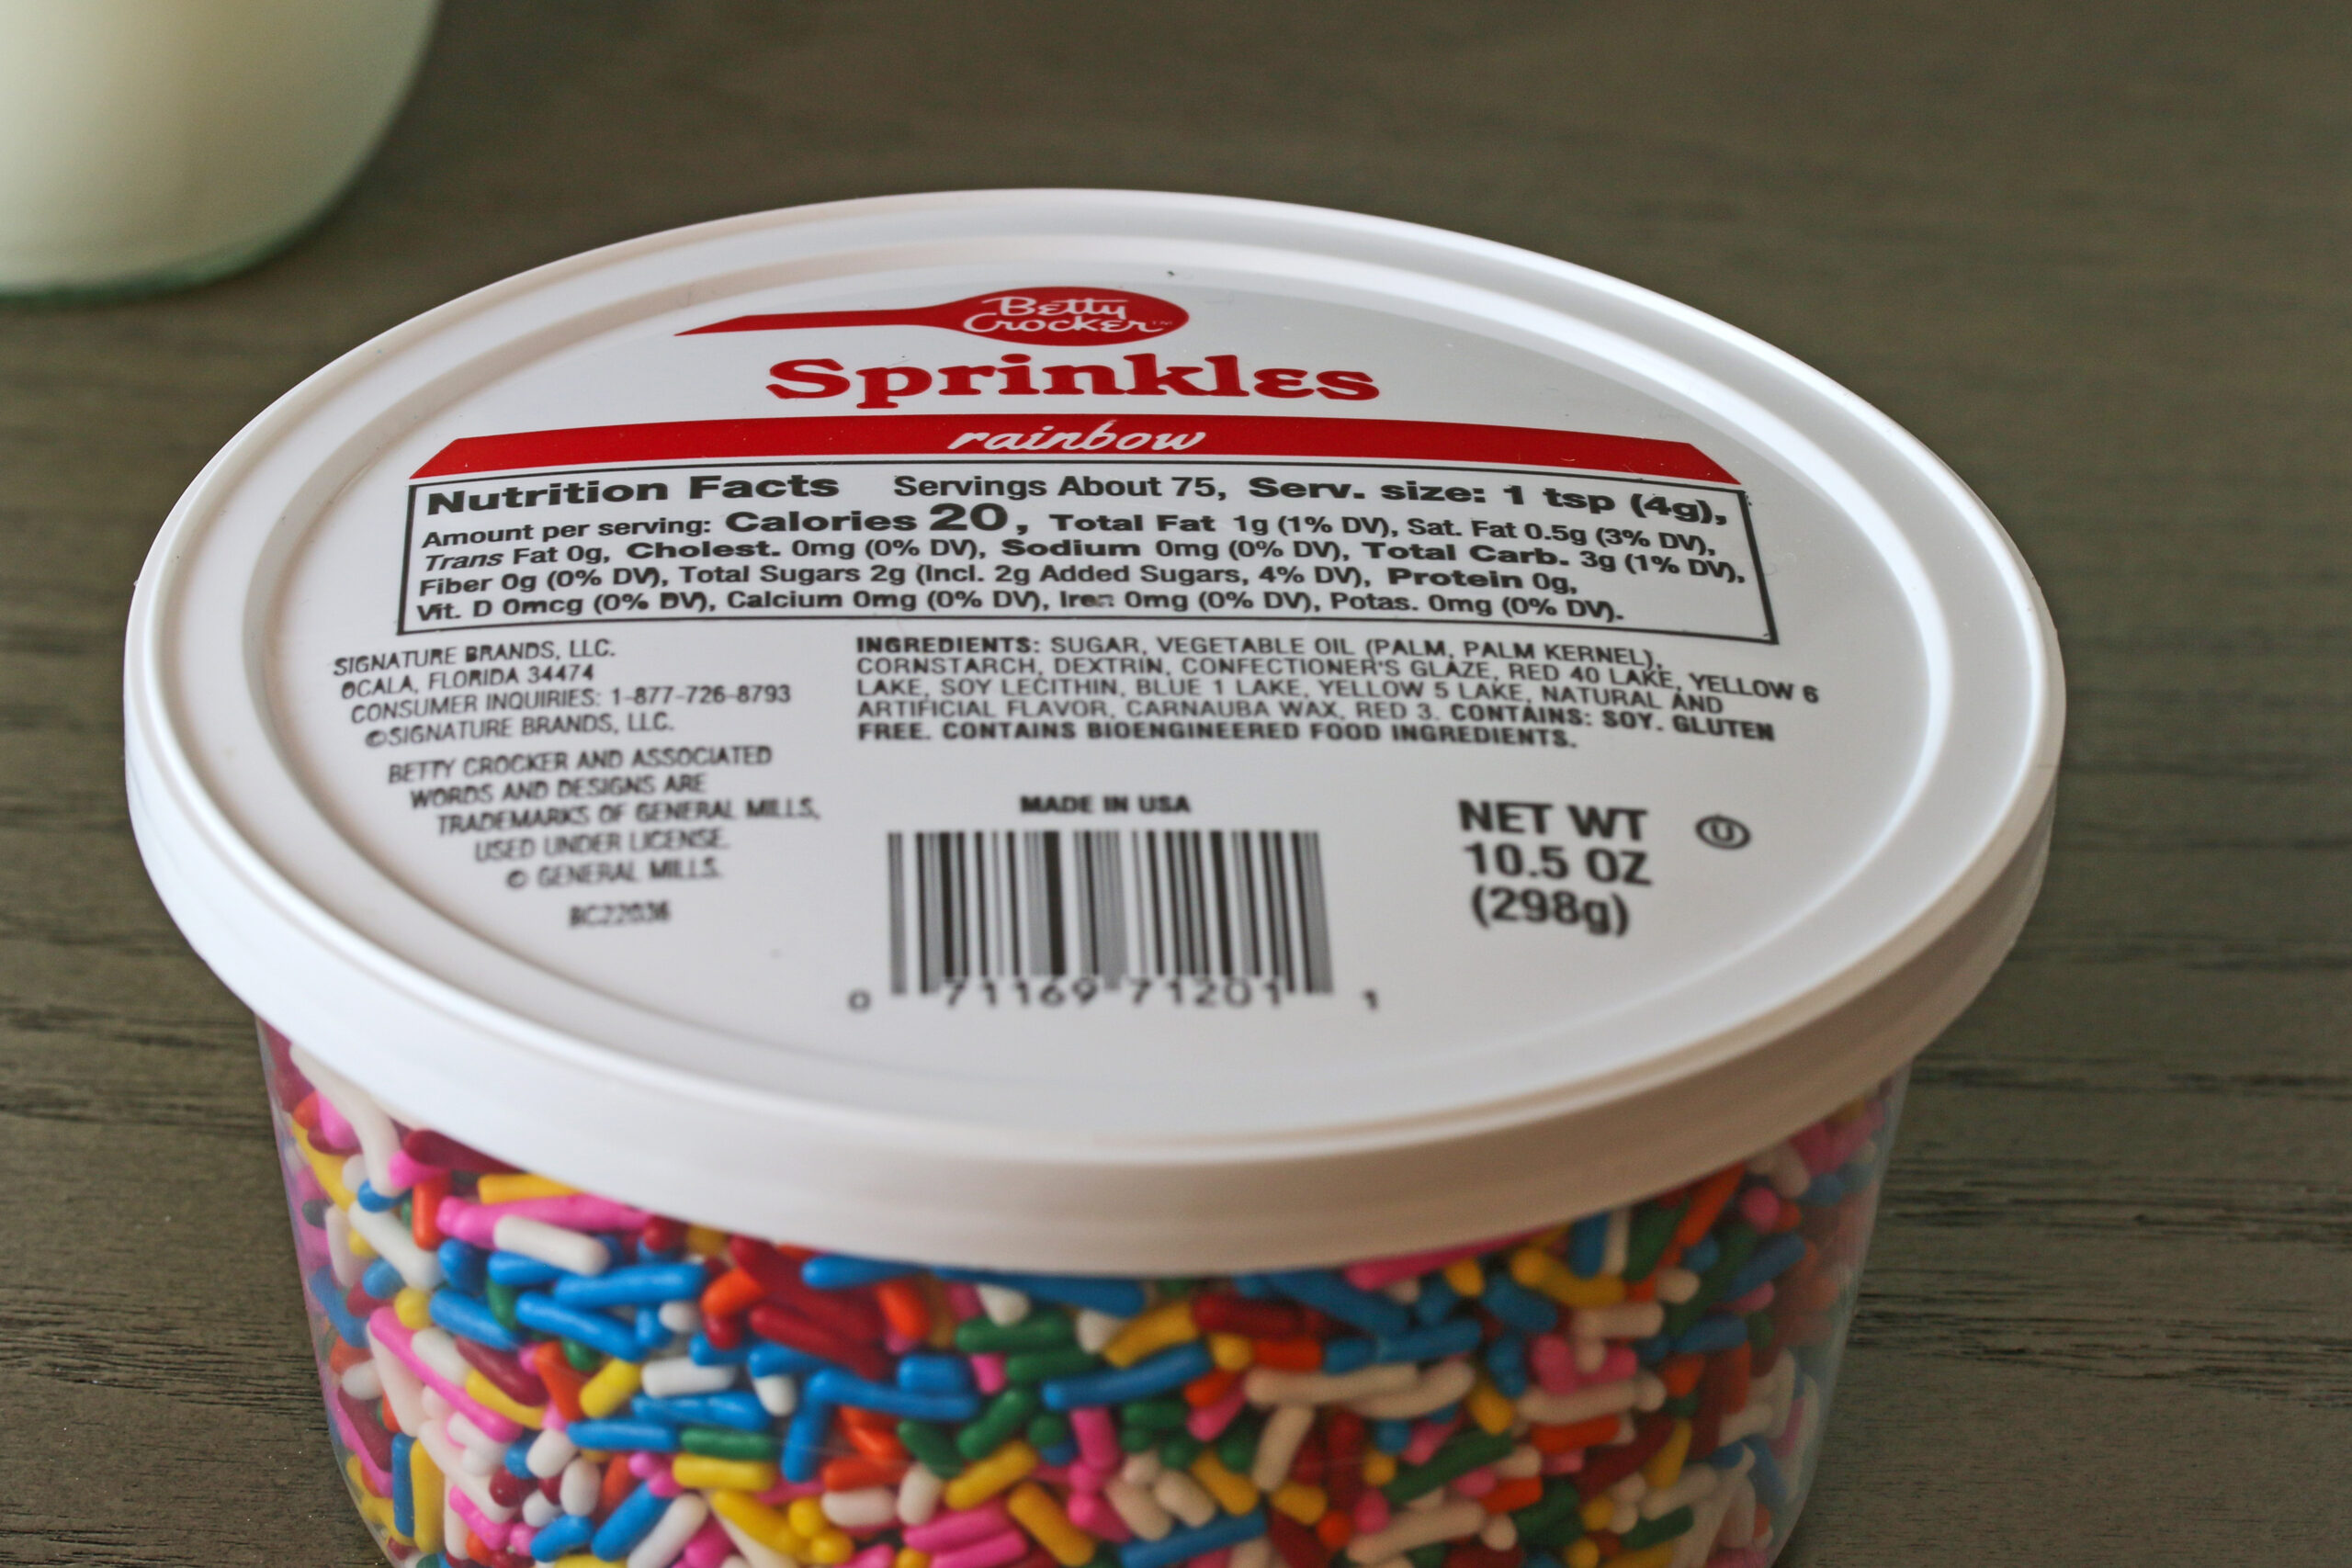
Gluten Free Sprinkles to top desserts!
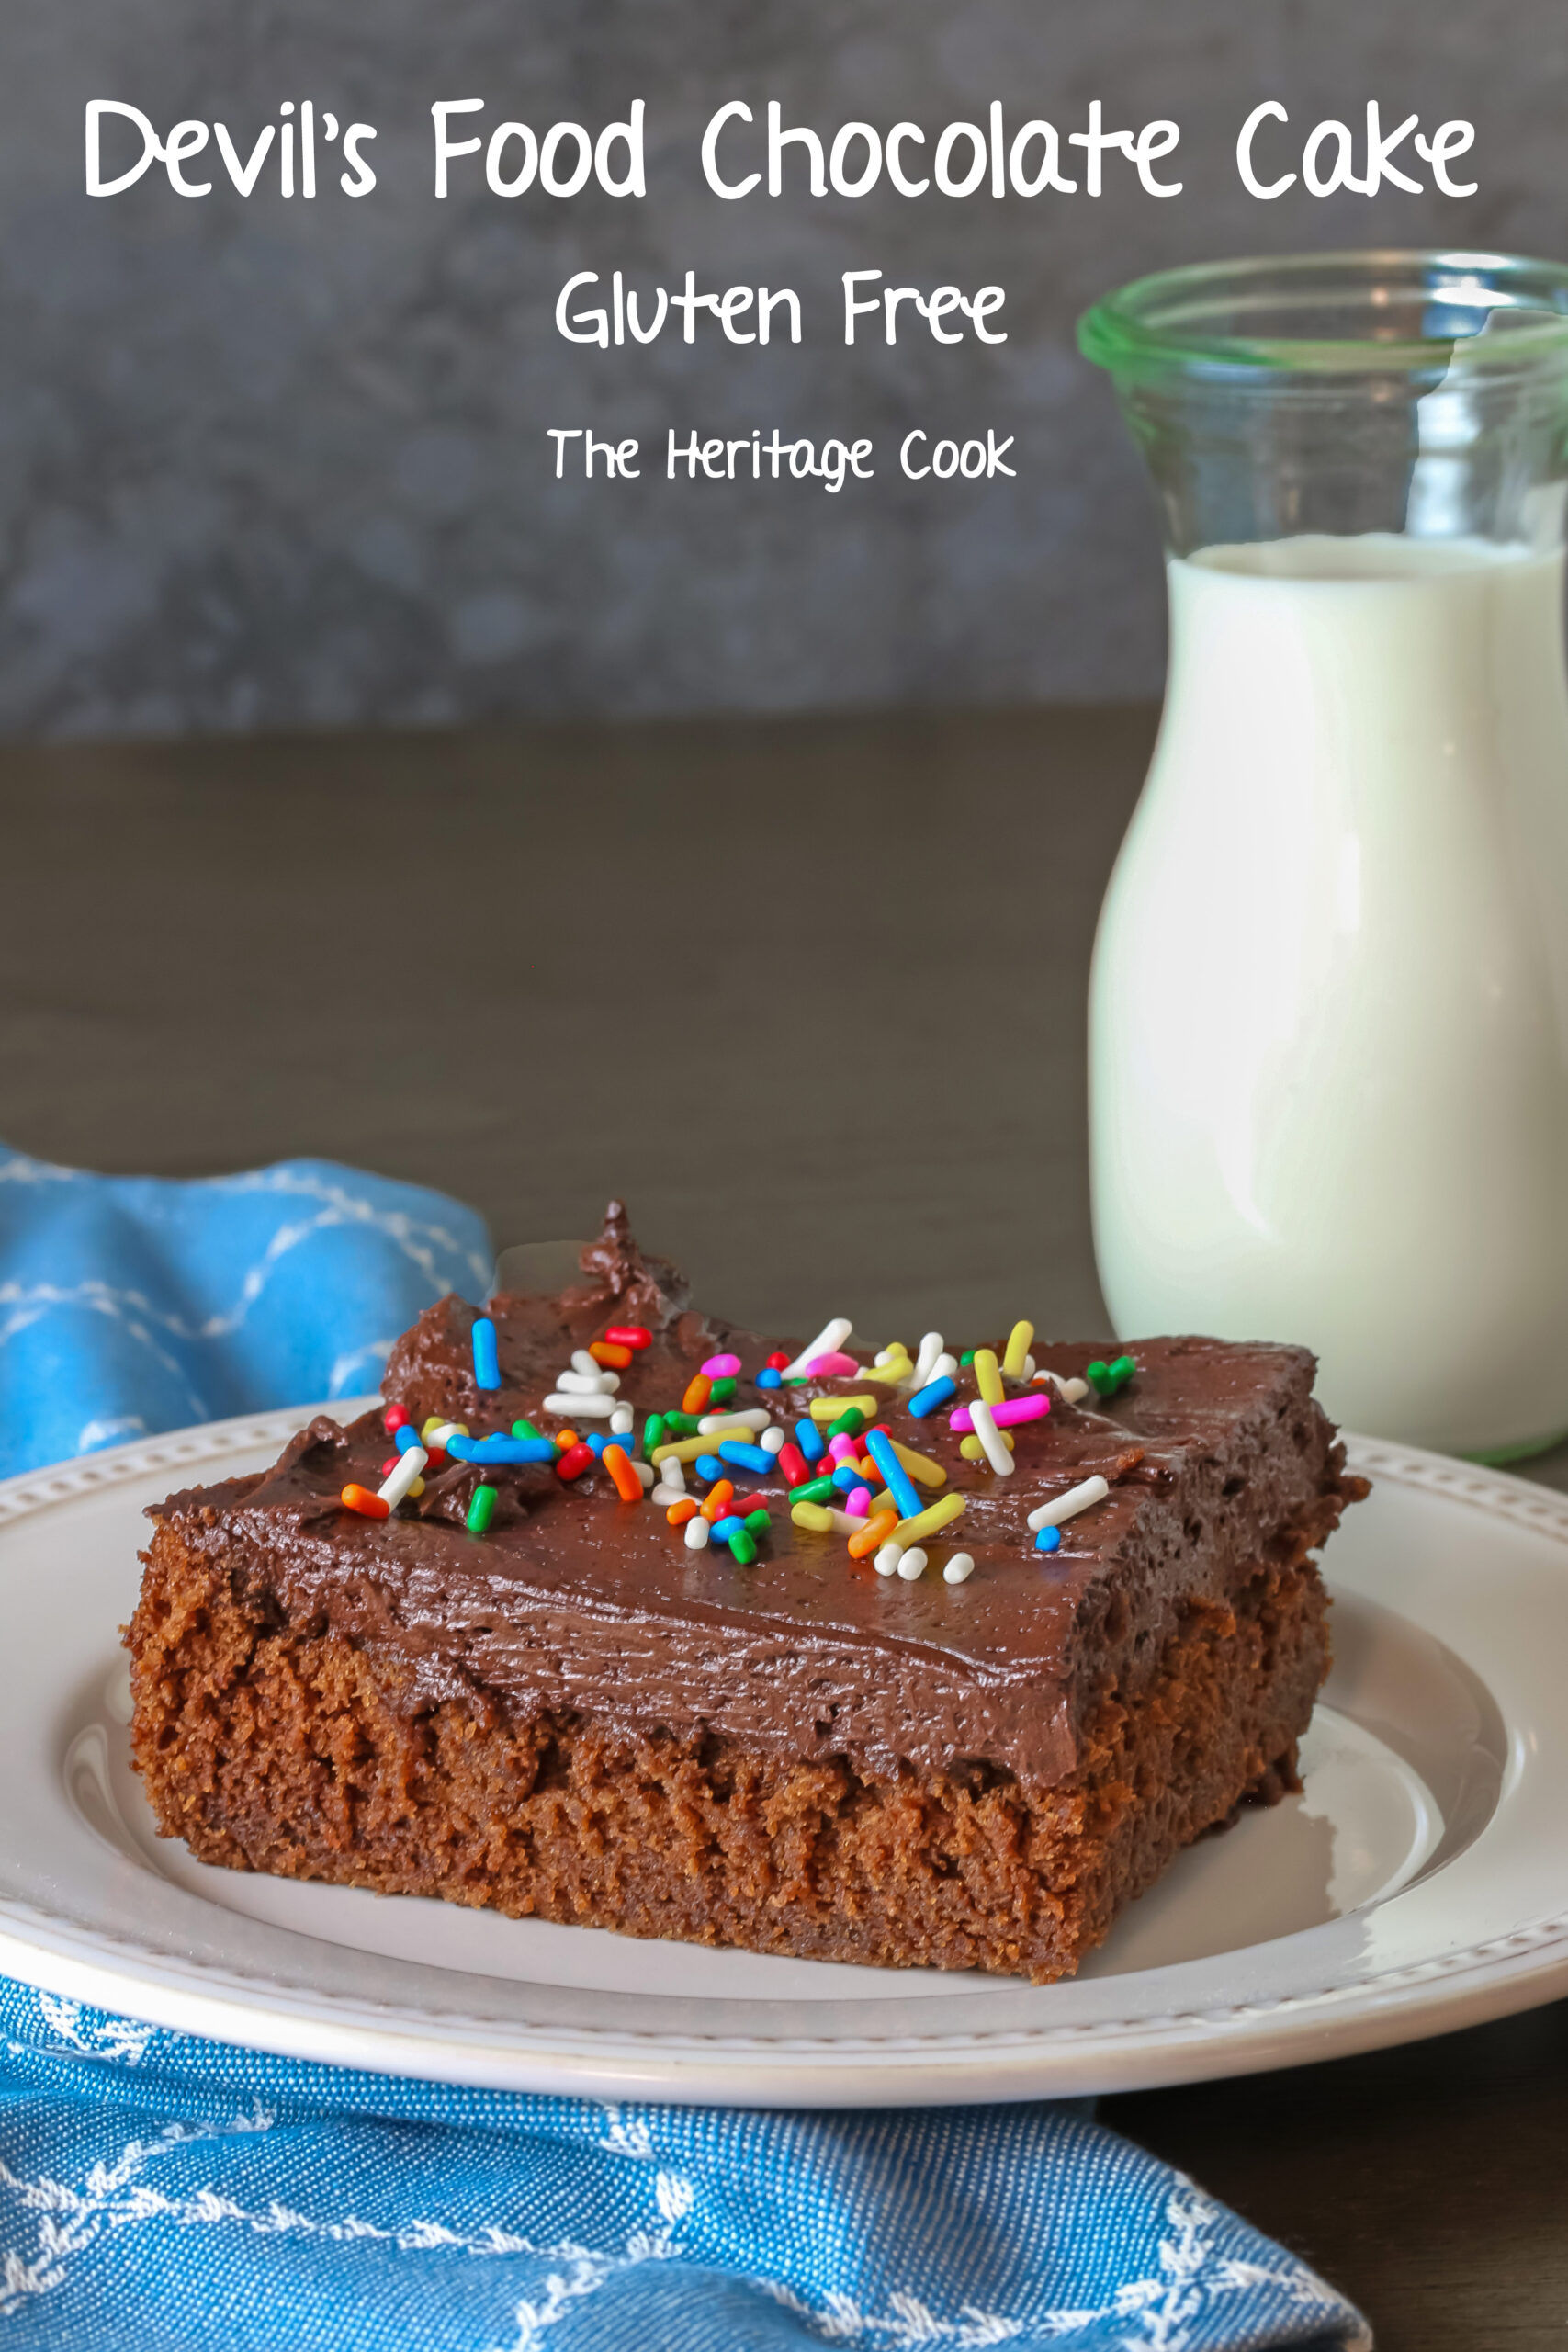
Instead of being left out and missing all the deliciousness of dessert, your gluten-free family and friends will be ecstatic to be able to indulge in this beautiful Frosted Devils Food Chocolate Cake.
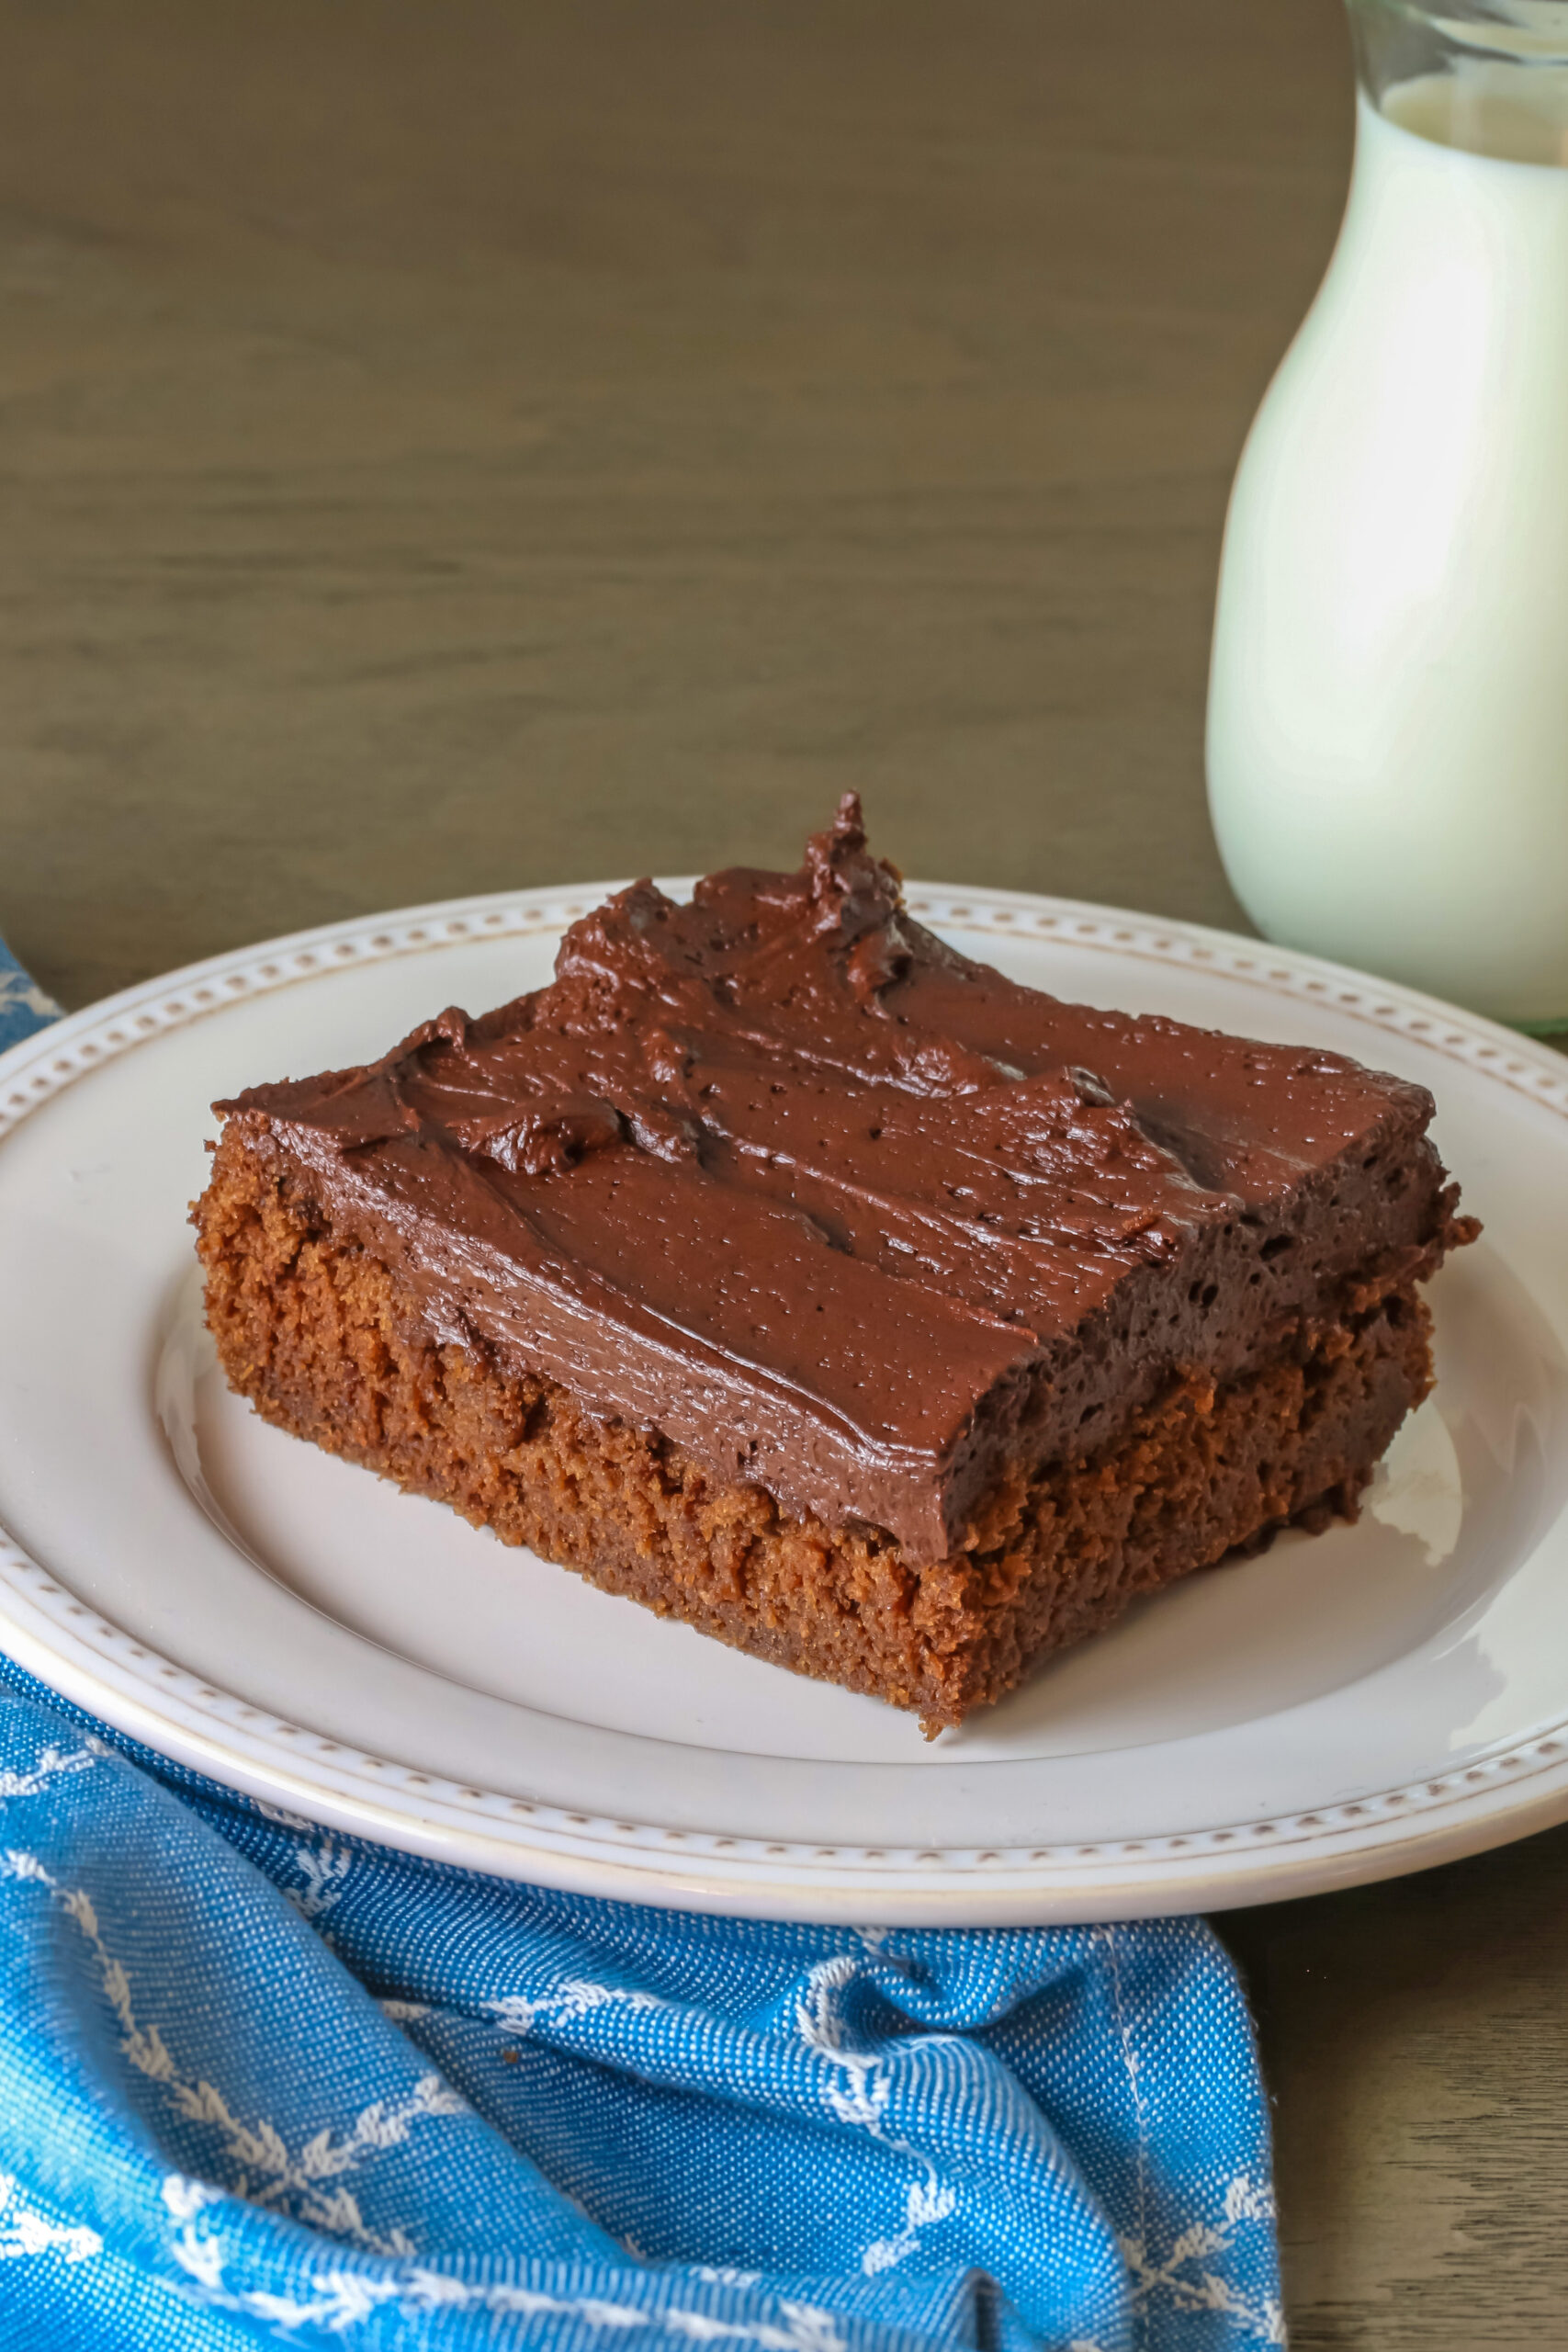
You can use either natural or Dutch cocoa in the frosting – the Dutch will give you a darker color like in the photos. But do NOT use Dutch cocoa in the cake. It doesn’t play well with baking soda! To learn more about when to use which cocoa, check out this article from King Arthur Flour!
If you prefer to make this recipe into cupcakes, they travel well and are always a welcome treat or dessert. Make the frosting on the firmer side (less milk) so you can pipe the frosting onto the cupcakes and have it hold the design. This recipe will make 20 to 24 cupcakes.
If you want to be the hit of the party and the one person everyone asks to bake their birthday cake for them, make this Devil’s Food Chocolate Cake and share it. It is so good and chocolatey, even the most ardent chocoholics will be satiated.
Happy Chocolate Monday!
If you try this recipe, let me know. Please leave a star rating in the recipe card, comment below, and don’t forget to snap a pic and tag it @theheritagecook on Instagram! Seeing your creations makes my day and I love hearing from you!
Ingredients needed for Frosted Devil’s Food Chocolate Cake:
- Cake: cake flour, salt, cocoa, water, buttermilk, vanilla
- Eggs, unsalted butter, sugar, brown sugar
- Frosting: butter, confectioners’ sugar, cocoa, sour cream, milk
PRO Tip: How to Warm Eggs to Room Temperature Quickly
If you forgot to take the eggs out in advance or prefer not to leave them out on the counter, you can warm them with hot water. Place the eggs in a large bowl and fill with very hot tap water. Let sit for 10 minutes then drain and pat dry before using them in the recipe.
How to Make Frosted Devil’s Food Chocolate Cake:
- Sift the flour, baking soda, and salt together and set aside. In a small bowl, whisk together the cocoa and lukewarm water until combined; set aside to cool.
- In a measuring cup combine the buttermilk, water, and vanilla. In another small bowl, crack the eggs and whisk until blended.
- Make the Cake Batter: Cream the butter for a minute. With the mixer on low, slowly pour in both the sugars in a steady stream. When fully incorporated, scrape the bowl and beater. Increase the speed and beat on medium speed until light and fluffy, 5 to 7 minutes.
- Reduce speed to low and slowly pour in the beaten eggs. Cream on medium speed until fluffy and velvety. Scrape the bowl at least once. Stop the mixer and spoon in the chocolate mixture; slowly increase speed to medium and mix just until the chocolate is incorporated.
- Alternating dry and liquid, mix in 1/4 of the flour mixture, then 1/3 of the buttermilk. Continue adding, alternating between them beginning and ending with the dry ingredients, never adding more liquid if there is any flour showing!
- Bake the Cake: Pour the batter into two buttered 8-inch round pans or a 9×13-inch (23×33 cm) baking pan (also buttered), smoothing the top with an offset spatula. Bake at 350°F (177°C) for 22 to 25 minutes for the round pans or 25 to 30 for the 9×13-inch pan, until a toothpick comes out clean and the cake has pulled away from the sides of the pan.
- Cool the rectangular pan on a wire rack until completely cool. For the rounds, cool 5 to 10 minutes then loosen and turn them out onto the wire rack to fully cool.
- Prepare the Frosting: Using a mixer, beat the butter until smooth. Mix in the sugar, one cup at a time, until smooth. Mix in the cocoa powder until fully incorporated. Add 1 tbsp milk to loosen it slightly. Mix in the sour cream and scrape the bowl well. Mix in another 1 to 2 tbsp of milk if the frosting is too thick.
- Assemble the Cakes: Once completely cooled, you can frost the 9×13-inch cake in the pan and set to the side; you will cut and serve directly from the pan. For the round cake layers, trim off the rounded tops if needed. Spread about 1/2-inch of the frosting on top of one of the round layers. Set the second layer on top and press down gently to spread the frosting to the edges.
- Spread a very thin coating of the frosting over the entire cake. This is called a crumb coat that helps keep errant crumbs from getting into the final coat of frosting. Chill the cake for 30 minutes to set the layers and crumb coat. Once chilled, spread the remaining frosting over the entire cake and decorate as desired. Cut and serve.
PRO Tip: How to Make Your Own Cake Flour
Measure out one cup of flour and remove 2 tbsp. Replace that with 2 tbsp of cornstarch and whisk together to blend. Sift twice to be sure the cornstarch is evenly distributed. Do this for each cup of flour called for in the recipe. Note in the Recipe Tips below how to properly measure flours.
Recommended Tools (affiliate links; no extra cost to you):
- Kitchen scale
- Two 8-inch (20 cm) round cake pans or a 9×13-inch (23×33 cm) baking pan
- Sieve for sifting the flour
- Heavy-duty stand mixer
- Off-set spatulas
Recipe Tips:
*You can adjust any baking recipe to gluten-free by using 120 grams per cup of my favorite gluten-free flour blend. If you are using another brand of gluten-free flour, whisk the mix, spoon it lightly into a measuring cup until mounded, level off the top with the back of a knife, and weigh the flour left in the cup. Use that weight as your standard per cup of that specific flour. Do this for each flour blend you use. Commercial blends such as Pamela’s All-Purpose Artisan Blend, Bob’s Red Mill 1-to-1, or King Arthur Measure for Measure are all good choices.
**If you don’t want to leave the eggs out to warm up or forgot to set them out, place the whole eggs (in their shells) in a bowl of very hot water and set aside for about 10 minutes. Pat the eggs dry before breaking them into a bowl and using them in the recipe.
You will get the best results by using a digital kitchen scale and weighing your ingredients, especially when you are baking.
All recommended ingredients are gluten-free as of the writing of this article. Always check to be sure the products haven’t changed and are still safe to consume.
Frosted Devil's Food Chocolate Cake (Gluten Free)
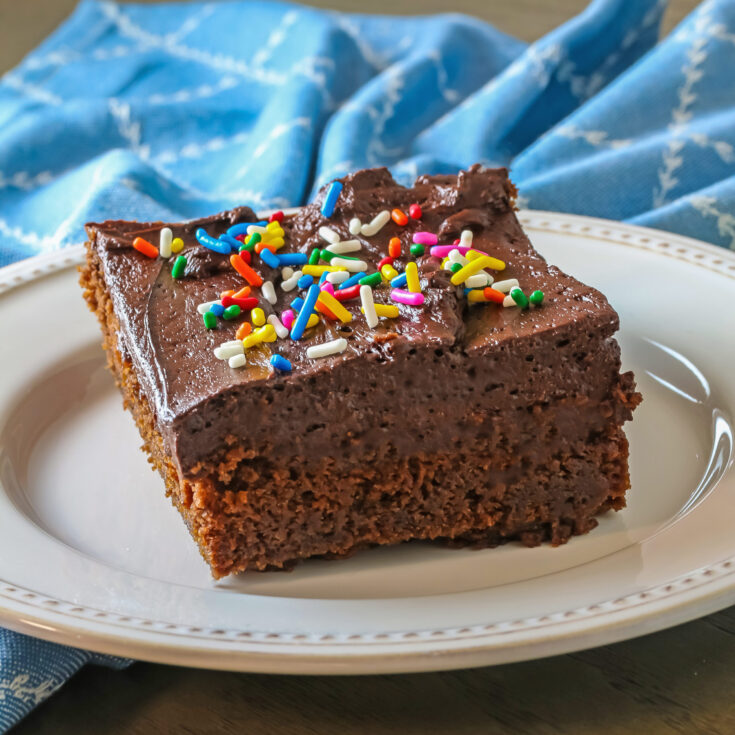
Rich, chocolatey, and decadent, this is a cake you will crave all year long. This is worth every step it takes to make for the perfect chocolate cake that will wow a crowd!
Ingredients
Devil’s Food Chocolate Cake
- 2 cups (240g*) sifted cake flour or gluten-free all-purpose flour blend*
- 1 tsp baking soda
- 1/4 tsp salt
- 1/2 cup (42g) unsweetened natural cocoa powder
- 1/2 cup (113g) lukewarm water
- 1/2 cup buttermilk (113g), at room temperature
- 1/2 cup (113g) water
- 2 tsp vanilla
- 2 large eggs (100g), at room temperature**
- 4 oz (1 stick; 113g) unsalted butter, at room temperature
- 1 cup (198g) granulated sugar
- 1 cup (213g) firmly packed light brown sugar
Chocolate Sour Cream Frosting
- 1-1/2 cups (3 sticks; 340g) unsalted butter, at room temperature
- 2 cups (227g) confectioners’ sugar
- Pinch salt
- 1 cup (84g) unsweetened Dutch process cocoa powder
- 1/4 cup (65g) sour cream
- 2 to 4 tbsp milk
Instructions
- Set a rack in the lower third of oven. Preheat the oven to 350°F (177°C). Butter and flour two 8-inch (20 cm) round cake pans or a 9x13-inch (23x33 cm) pan; line the bottom(s) with parchment. Be sure to use gluten free flour if needed! Set aside.
- Make the Cake Components: You are first going to assemble all the components of the cake. Sift the flour, baking soda, and salt into a bowl and set aside.
- Place the cocoa in a small bowl. Add the 1/2 cup (113g) lukewarm water, whisk to combine and set aside to cool.
- Pour the buttermilk, 1/2 cup water (113g), and the vanilla into a liquid measuring cup (with a spout). Crack the eggs** into another small bowl, and whisk by hand together to blend.
- Mix the Cake Batter: Place the butter in the bowl of a heavy-duty mixer, fitted with a flat beater. Cream the butter on medium speed until the butter is smooth and lighter in color, about a minute.
- Reduce the speed to low; add the sugars in a steady stream. Then stop the machine and scrape down the sides and bottom of the bowl. The mixture will appear sandy. Increase the speed to medium again, and cream until the mixture is lighter in color, about 5 to 7 minutes.
- With the mixer on low speed, pour the eggs in very slowly. Increase the speed to medium. Continue to beat, scraping the sides of the bowl at least once, until the mixture appears velvety.
- Stop the machine and pour in the cooled cocoa mixture. Slowly turn the mixer on and mix just until the chocolate is evenly incorporated.
- Mix in 1/4 of the flour mixture. And then 1/3 of the buttermilk mixture until blended together. Repeat, alternating dry and liquid, ending with the flour. With each addition, scrape the sides of the bowl, and continue mixing until smooth, being sure everything is fully incorporated, and never adding liquid if any flour is visible.
- Bake the Cake: Pour the batter into the prepared pan(s) and smooth the top level. For round cake layers, bake for 22 to 25 minutes, or until the center springs back slightly when touched lightly and the sides contract from the pan. A 9x13-inch (23x33 cm) rectangular pan will take about 28 to 32 minutes until a toothpick comes out clean and the cake pulls away from the edges of the pan. The 9x13-inch (23x33 cm) cake may take less time because it isn’t as thick as the round pans.
- Place the round cake pans on a rack to cool for 5 to 10 minutes. Remove from pans and let cool completely before covering with the frosting. Place your 9x13-inch (23x33 cm) baking pan on the wire rack and let cool completely in the pan – do not turn it out.
- Prepare the Frosting: Using a hand mixer or stand mixer with the paddle attachment, mix the butter until smooth.Mix in the sugar, 1 cup (113g) at a time, until smooth. Mix in the salt. Scrape down the bowl and mix in the cocoa powder. As the frosting becomes heavier, mix in 1 tbsp of milk, then mix in the sour cream. Scrape down the bowl again and mix. Mix in another 1 to 3 tbsp of milk, if the frosting is too thick, to get to the right consistency.
- Assembly: Before assembling and frosting the layers or rectangular cake, make sure the cake(s) is/are completely chilled.
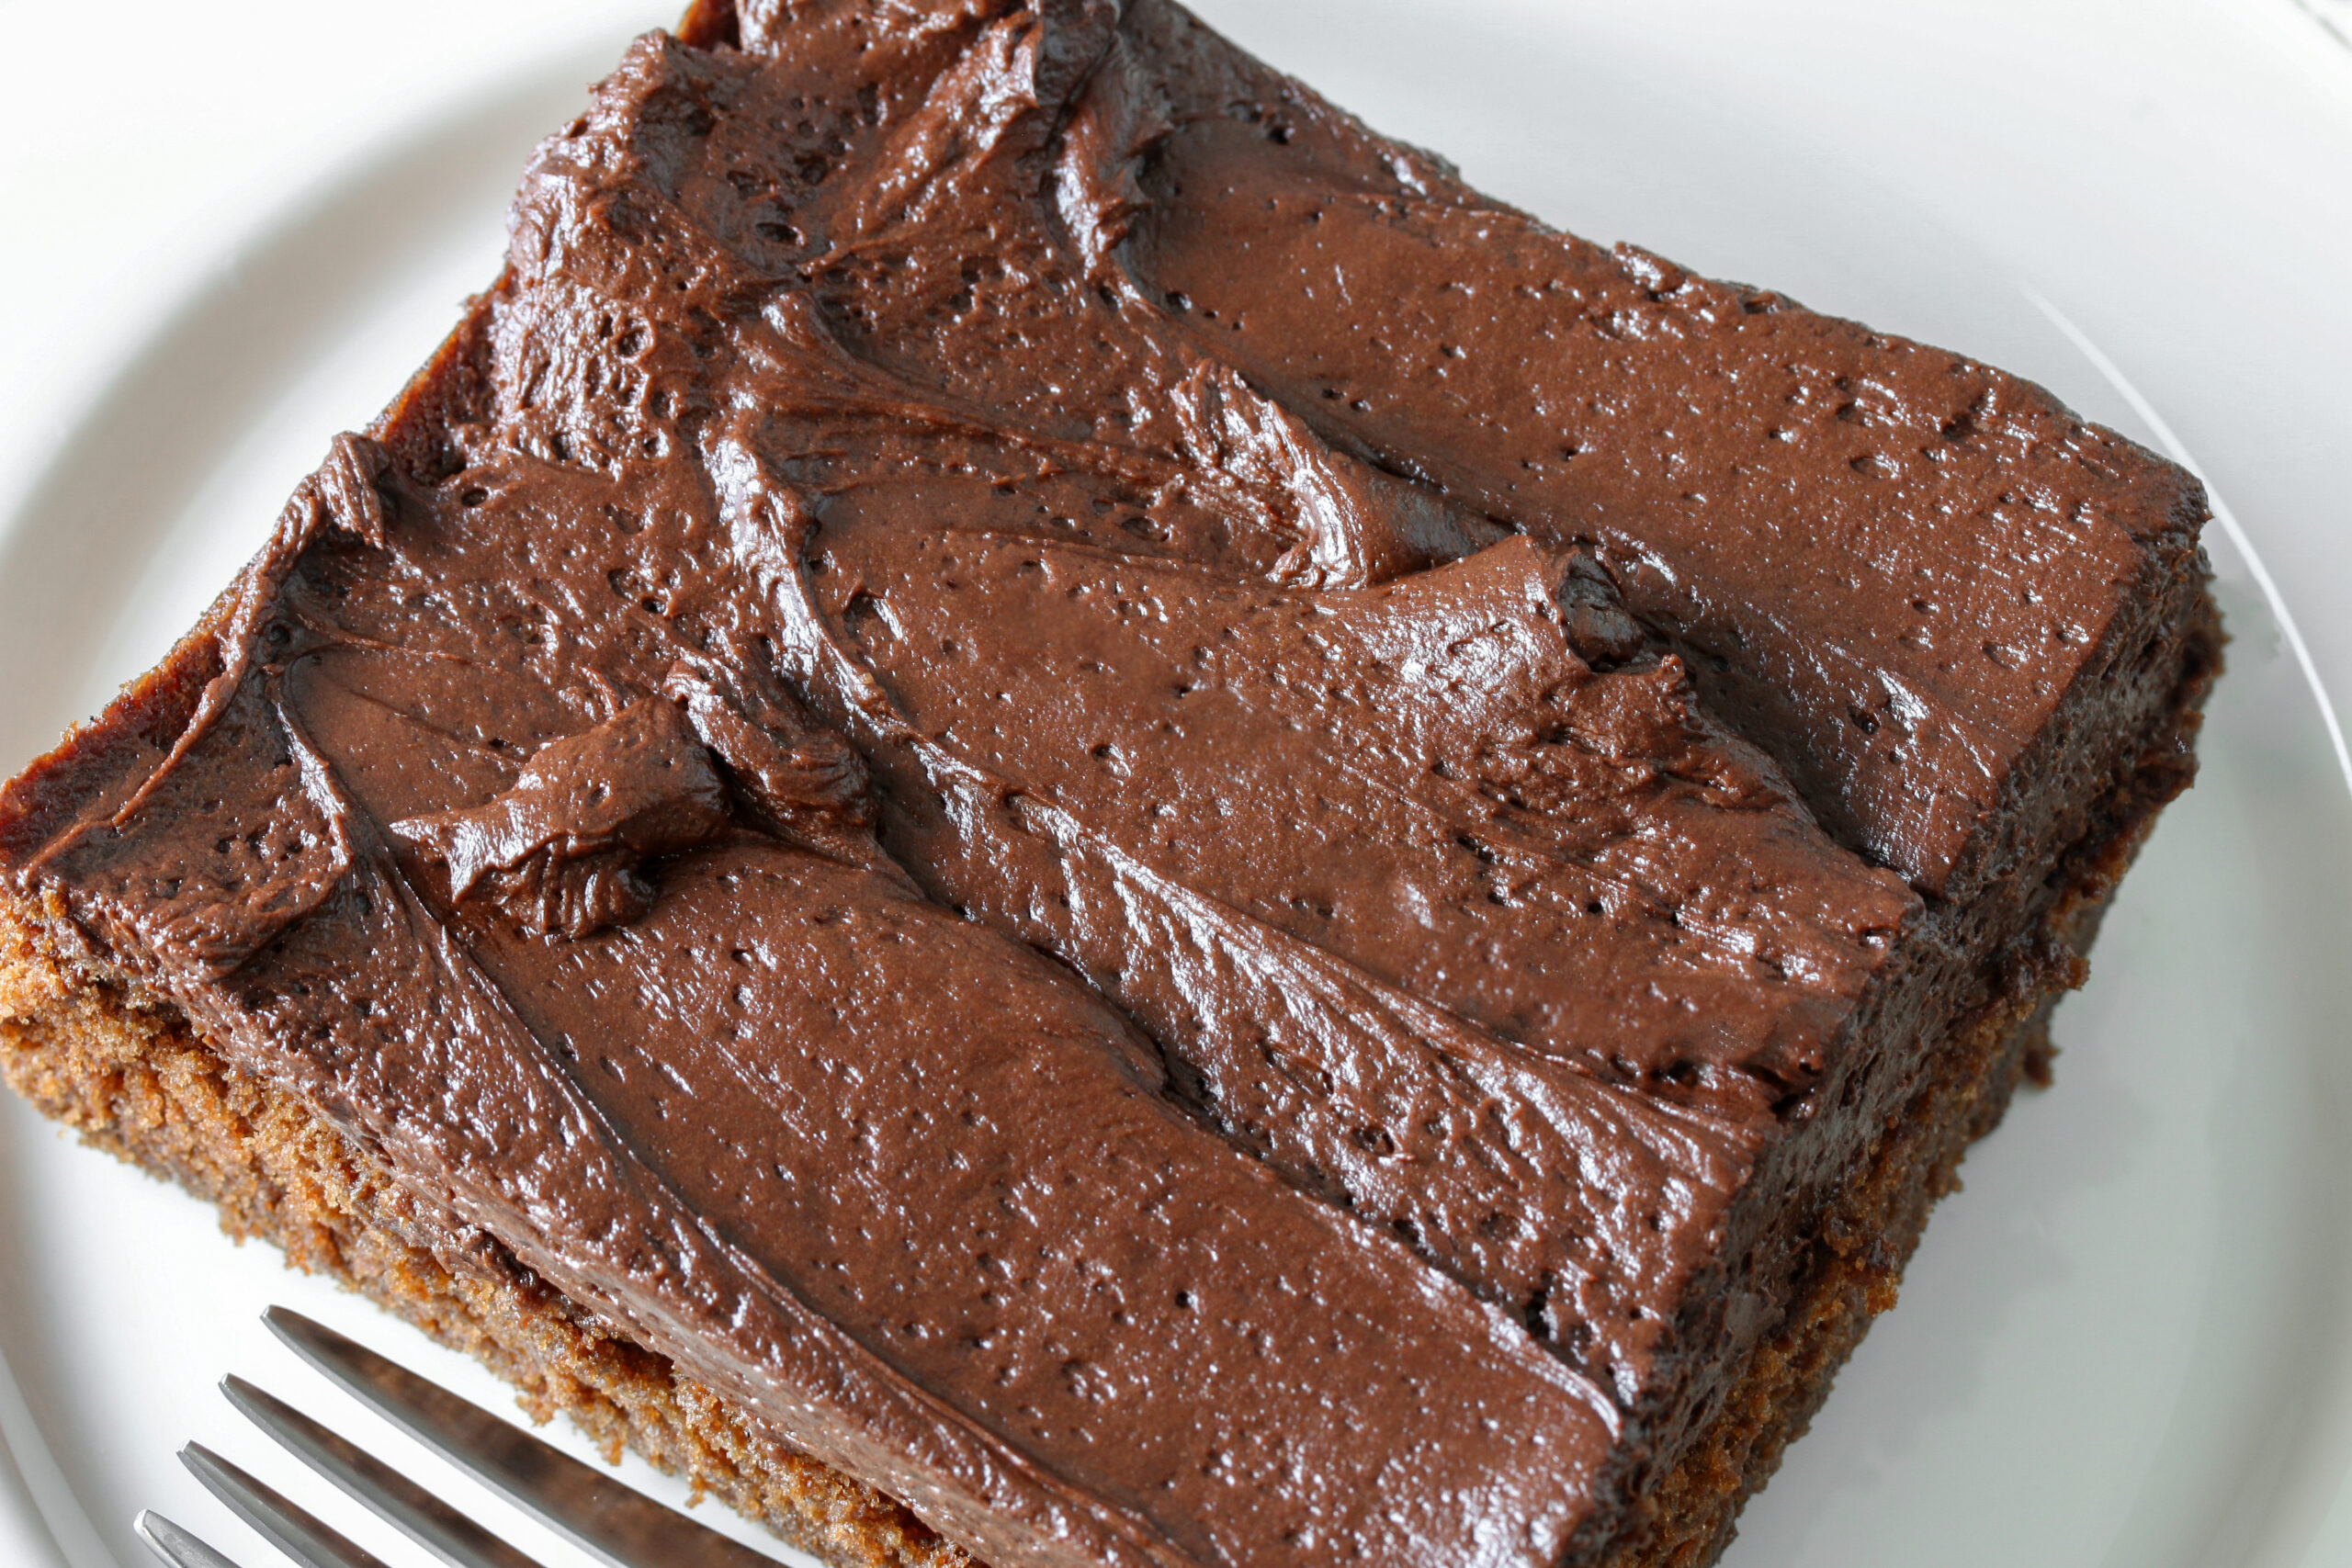
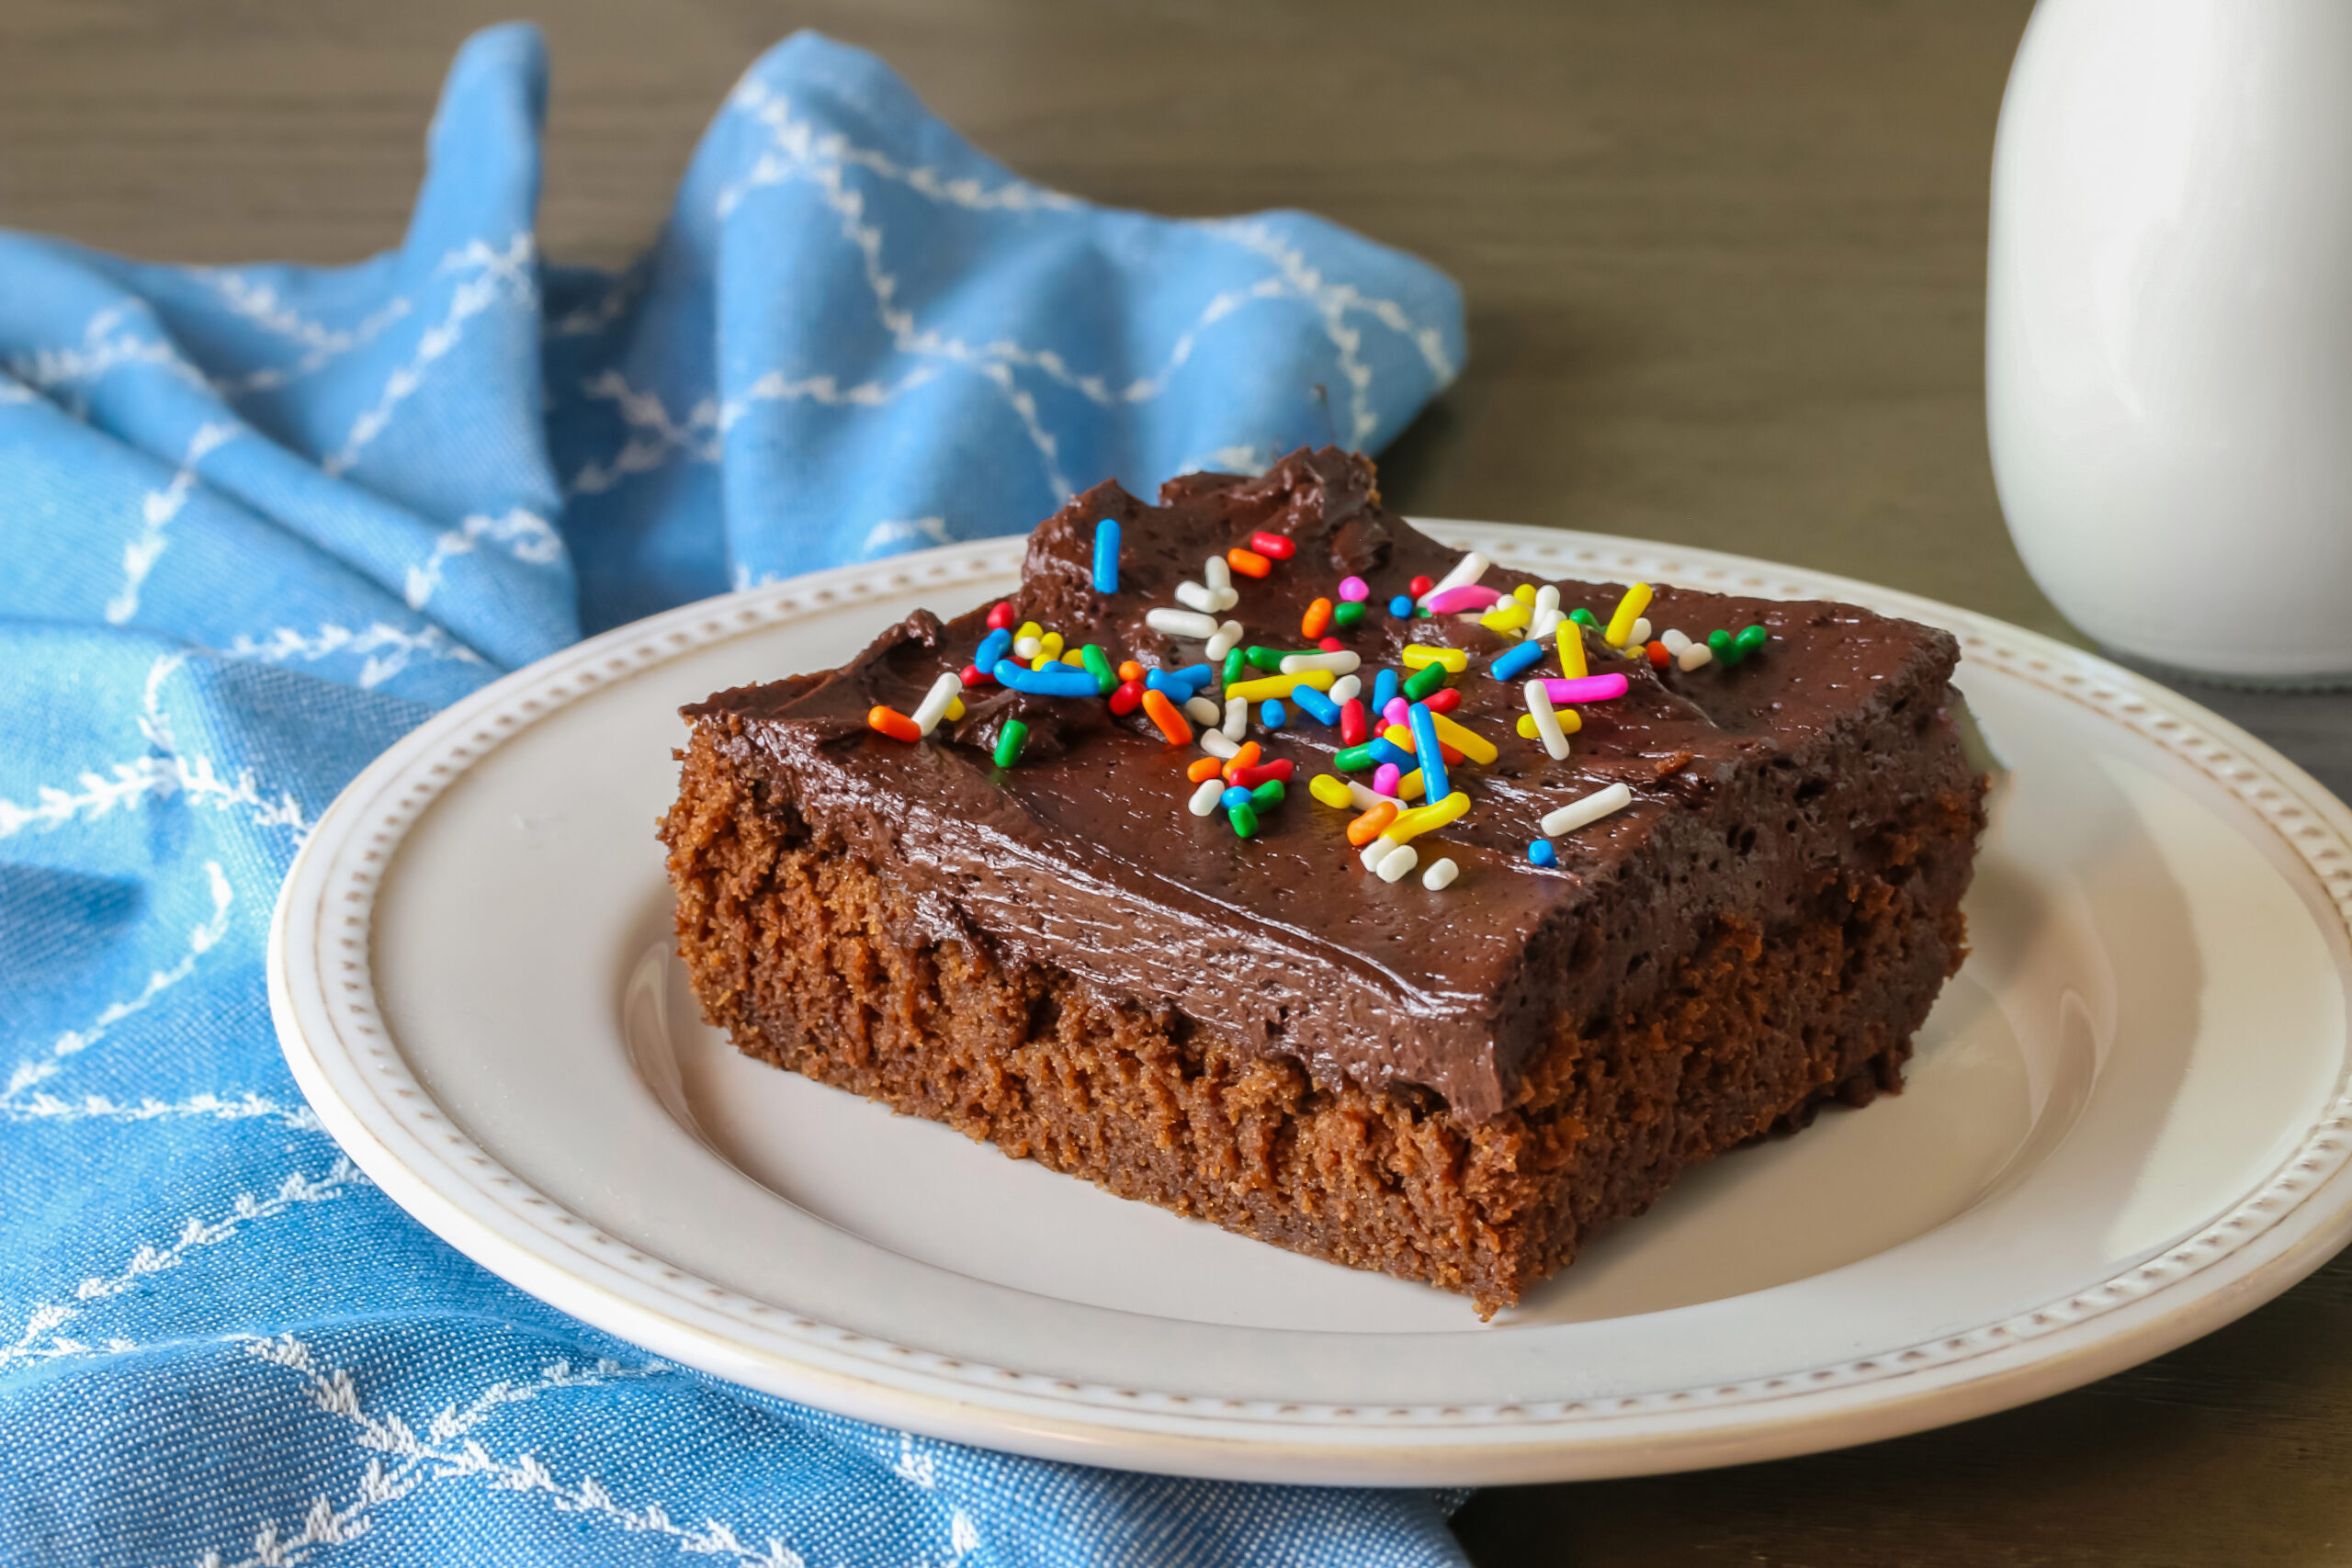
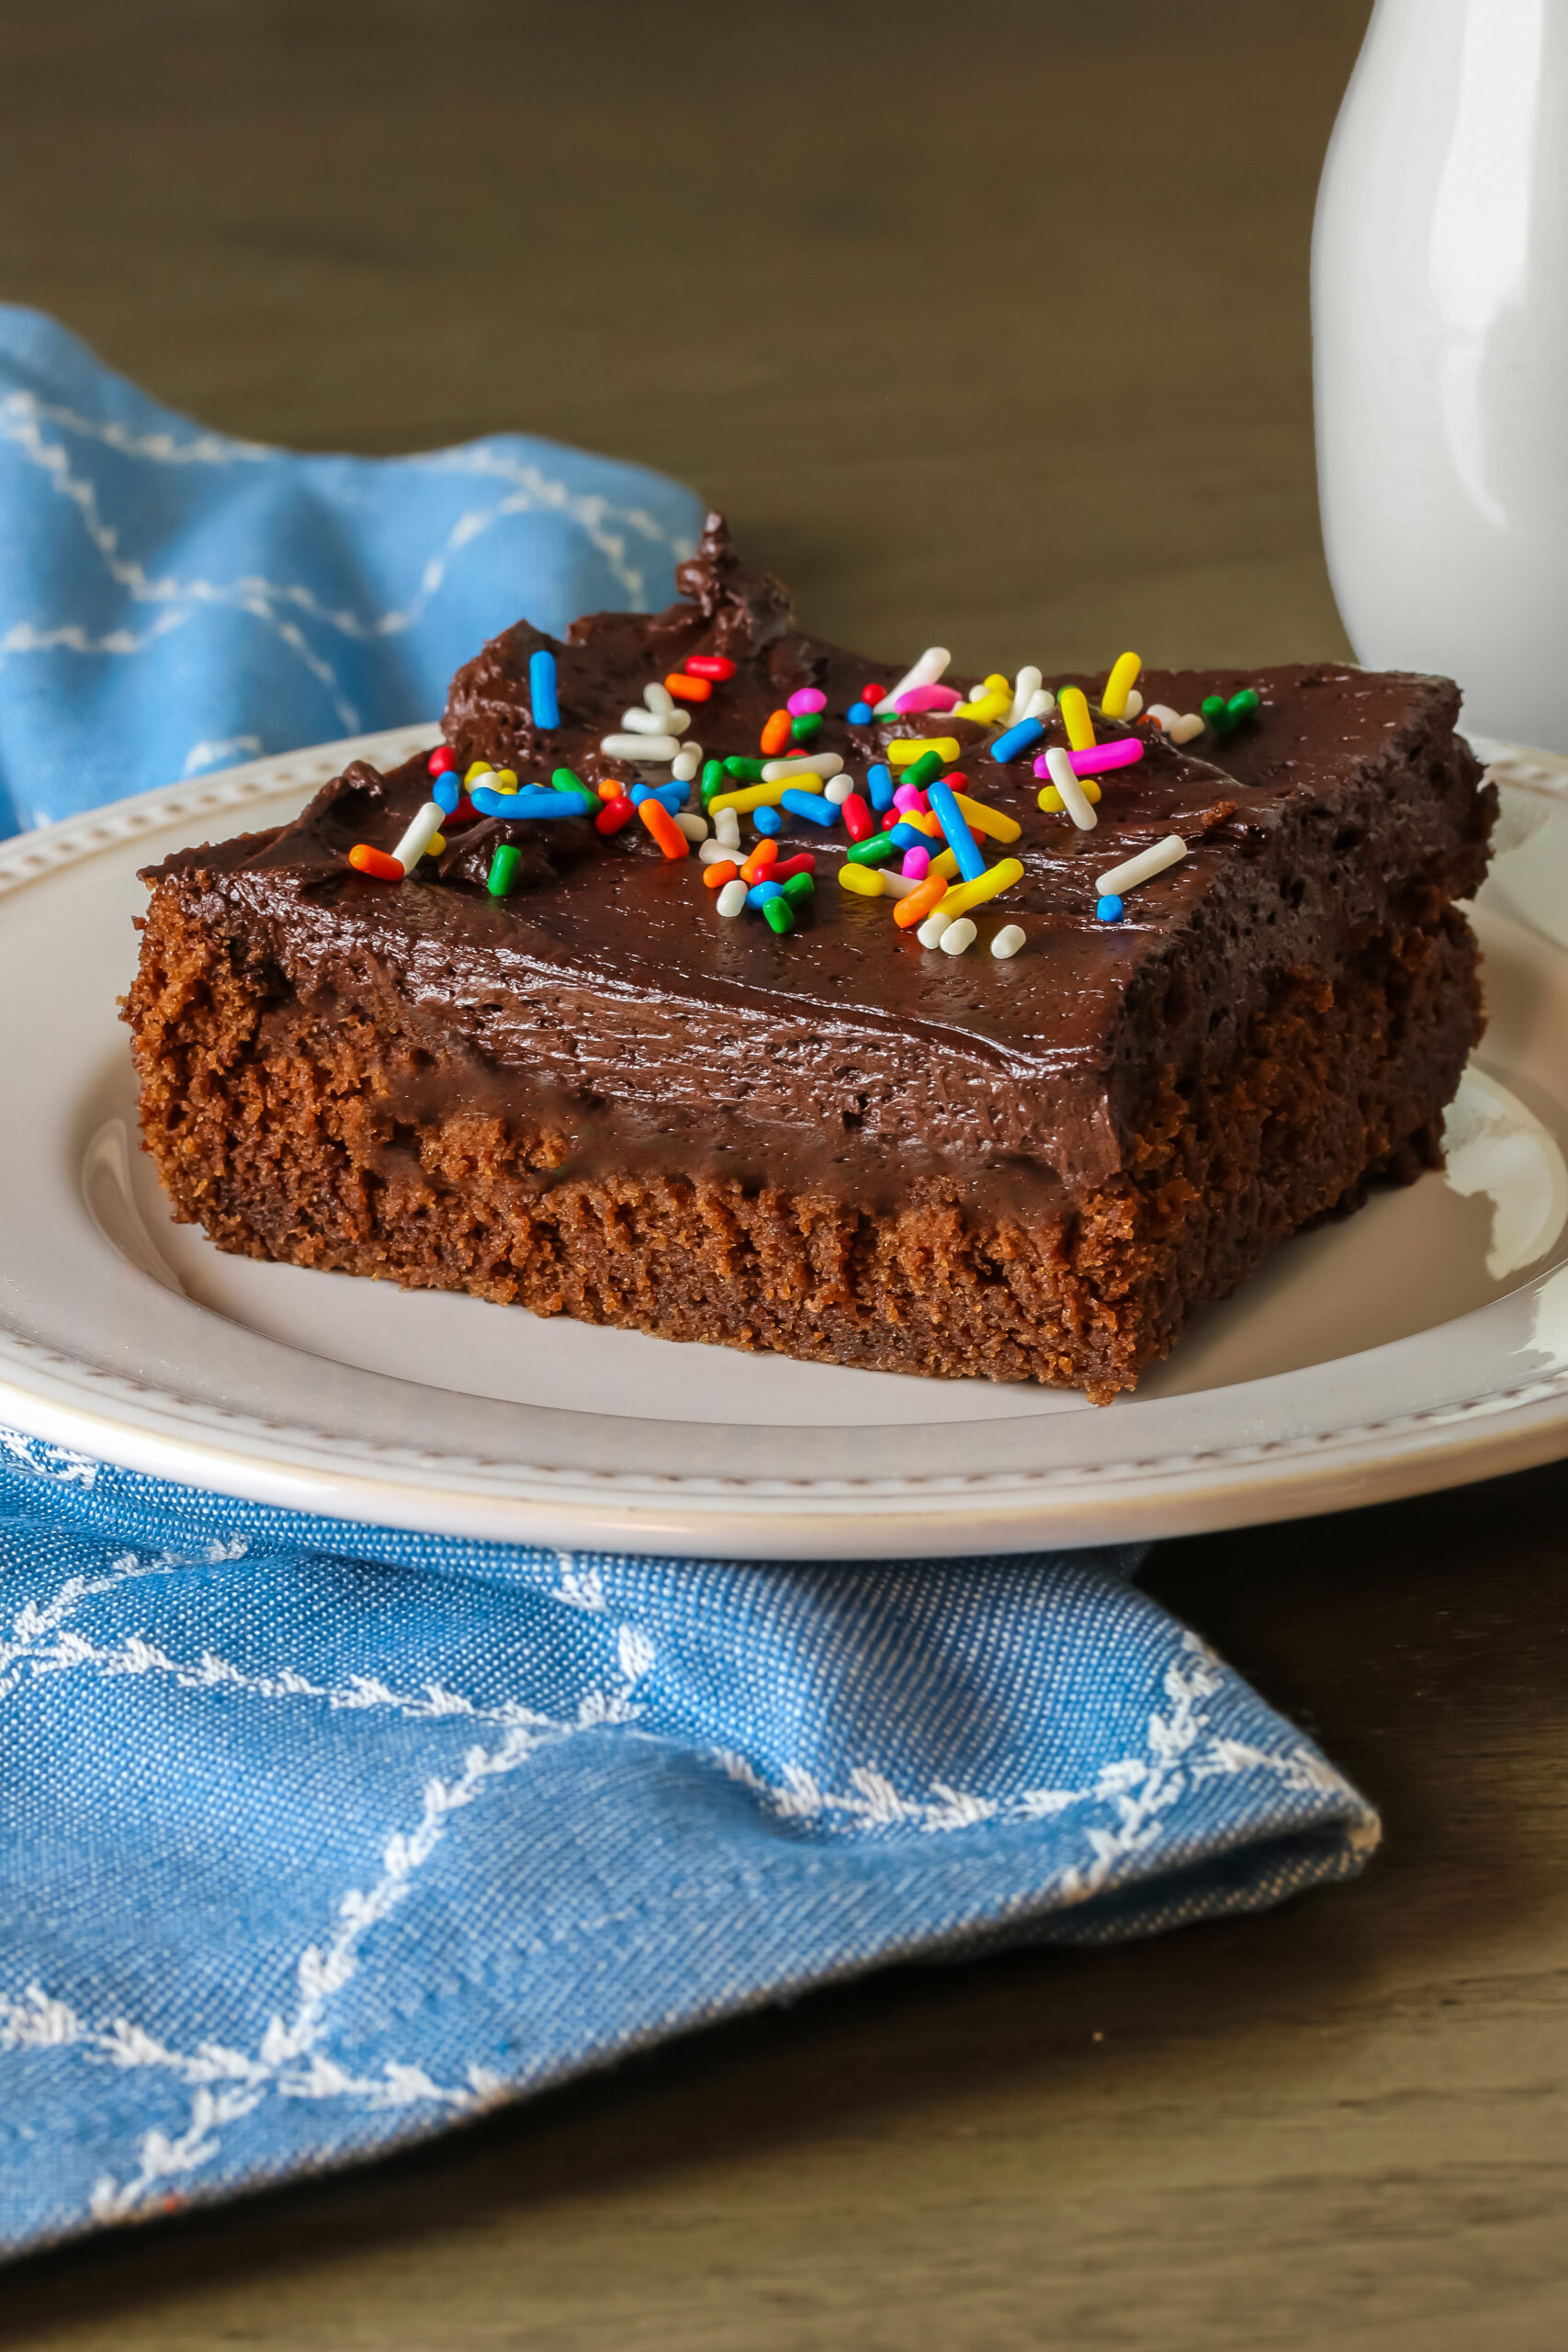
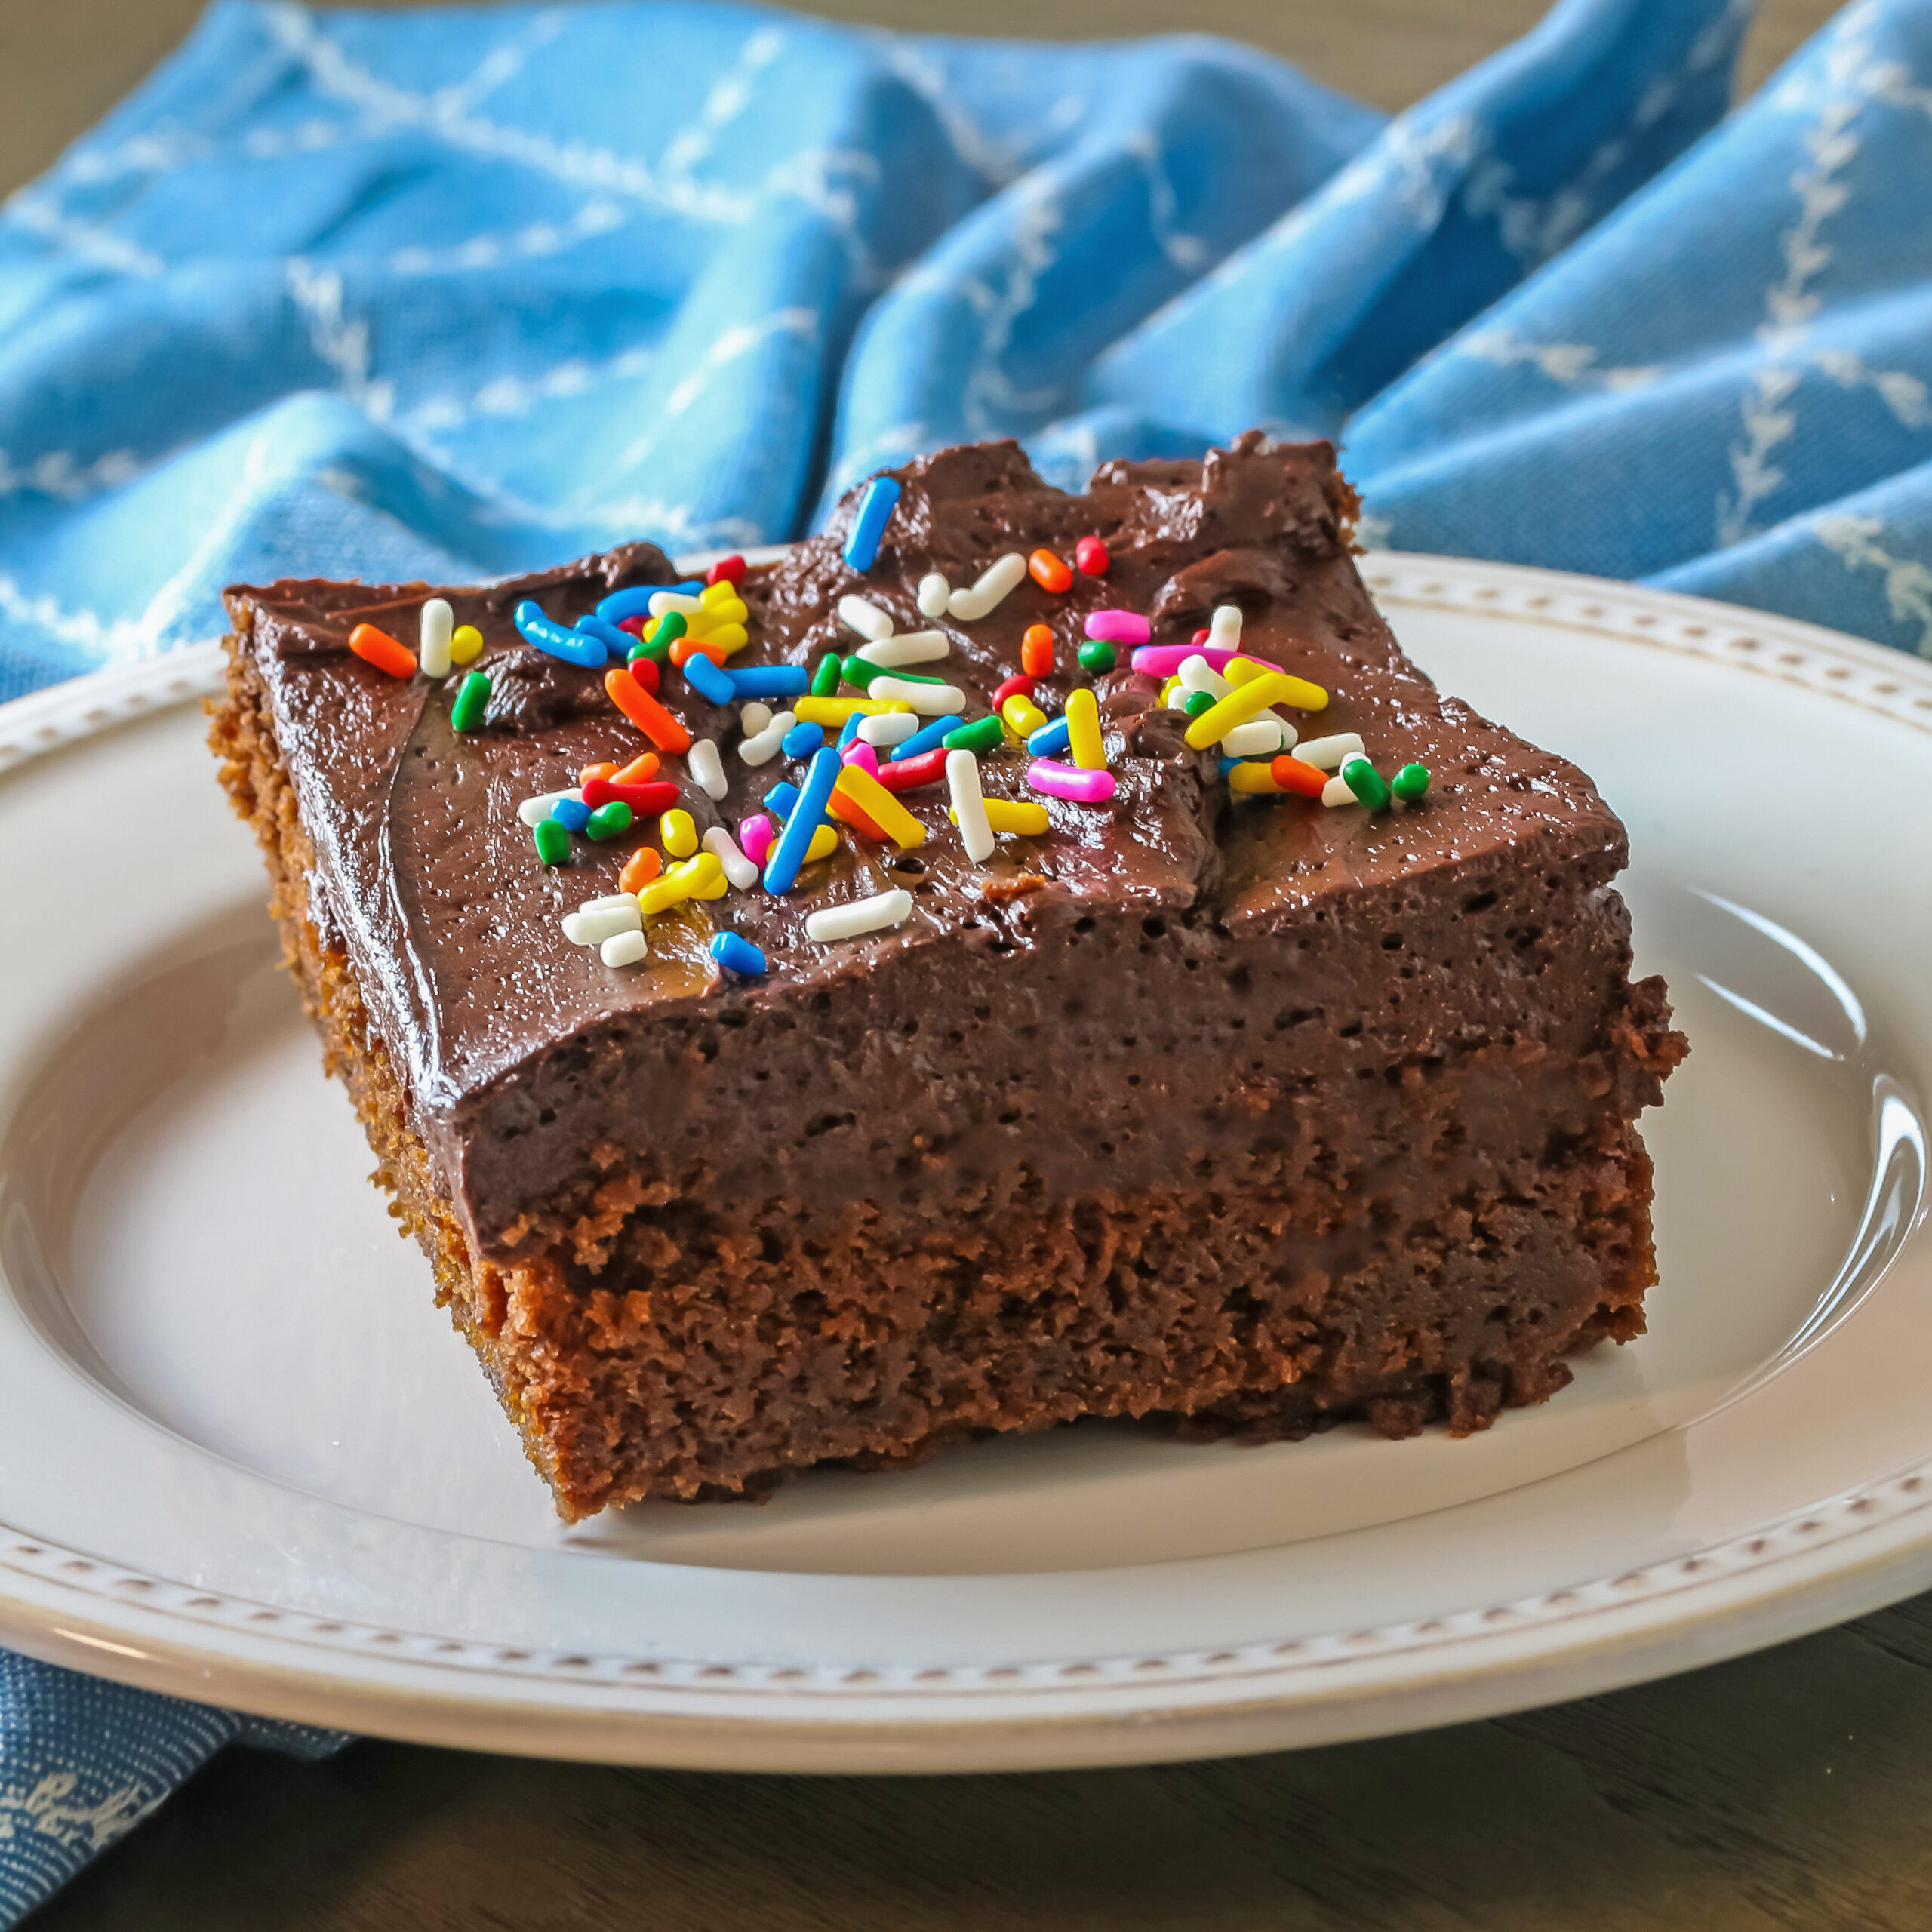
- If you baked a 9x13-inch (23x33 cm) cake, leave it in the pan and set on a wire rack to cool completely. Once cool, top with a thick layer of the frosting, using an offset spatula to make swirls or other designs. Then you can leave it plain or add sprinkles, flowers, nuts, or shaved chocolate to the top of the cake to make it very festive.
- For the Perfect Layer Cake: If you made two round cakes, level off the domed surface of the cake layers. Spread about 1/2-inch of frosting on one of the cake layers, not quite spreading the frosting to the edges, then top with the second layer, pressing down gently to spread the frosting to the edges.
- Then spread a very thin layer of frosting over the entire cake. This is called a crumb coat and you will still be able to see most of the cake through the frosting. This frosting layer helps keep errant crumbs from getting into the final coat of frosting. Chill the cake for about 30 minutes to set the layers and crumb coat. Once chilled, spread the remaining frosting over the entire cake. Decorate as desired and serve.
Recipe found at www.theheritagecook.com
Notes
* You can adjust any recipe to gluten-free by using 120 grams per cup of my favorite gluten-free flour blend. If you are using another brand of gluten-free flour, whisk the mix, spoon it lightly into a measuring cup without a spout until mounded, level off the top with the back of a knife, and weigh the flour left in the cup. Use that weight as your standard per cup of that specific flour. Do this for each flour blend you use. Commercial blends such as Pamela's, Bob's Red Mill
1-to-1, or King Arthur Measure for Measure are all good choices.
** If you don’t want to leave the eggs out to warm up or forgot to set them out, place the whole eggs (in their shells) in a bowl of very hot water and set aside for about 10 minutes. Pat the eggs dry before breaking them into a bowl and using them in the recipe.
You will get the best results by using a digital kitchen scale and weighing your ingredients, especially when you are baking.
All recommended ingredients are gluten-free as of the writing of this article. Always check to be sure the products haven’t changed and are still safe to consume.
Cake adapted from a recipe by Flo Braker
Frosting adapted from a recipe on the Butternut Baker Blog
Nutrition Information:
Yield:
12Serving Size:
1Amount Per Serving: Calories: 239Total Fat: 7gSaturated Fat: 4gTrans Fat: 0gUnsaturated Fat: 2gCholesterol: 48mgSodium: 250mgCarbohydrates: 38gFiber: 1gSugar: 11gProtein: 5g
The nutritional information for recipes on this site is calculated by online tools and is merely an estimate.
If you enjoyed this recipe, be sure to follow me on social media so you never miss a post:
Create a New Tradition Today!
Welcome! The suggestions here are not intended as dietary advice or as a substitute for consulting a dietician, physician, or other medical professional. Please see the Disclaimers/Privacy Policy page for additional details. Unauthorized use, distribution, and/or duplication of proprietary material from The Heritage Cook without prior approval is prohibited. If you have any questions or would like permission, please contact me. We participate in the Amazon Services LLC Associates Program, an affiliate advertising program designed to provide a means for sites to earn advertising fees by advertising and linking to amazon.com. As an Amazon Associate, I earn a small amount from qualifying purchases without any additional cost to you. This page may contain affiliate links. The author makes no claims regarding the presence of food allergens and disclaims all liability in connection with the use of this site. This post was first shared in Jan 2012. The article was updated in 2024.



Diana Cortés
Hello, I tried making this cake but I had a little problem, I don´t know if you can help me. It sunk in the middle, and when I tried to cut it I couldn´t get a whole slice. In the middle it always crumbled 🙁
Another question is do you think I can cover it with fondant?
Thank you so much.
Jane Bonacci, The Heritage Cook
Hi Diana,
I’m so sorry your cake didn’t turn out. Did you make any changes to the recipe? It is always a little challenging to try and trouble-shoot without seeing what you did, but one thing you may have done is underbaked the cake. Make sure you bake it until a toothpick comes out clean and it starts to pull away from the sides of the pans. Also, make sure you use the size cake pan the recipe calls for.
If you want to try fondant on it, make sure the layers are completely cold before you start. That way they will be very firm. I hope this helps you!!
Dana @ Cookng at Cafe D
I think I just gained pounds from looking at the pics!
Thanks for sharing.