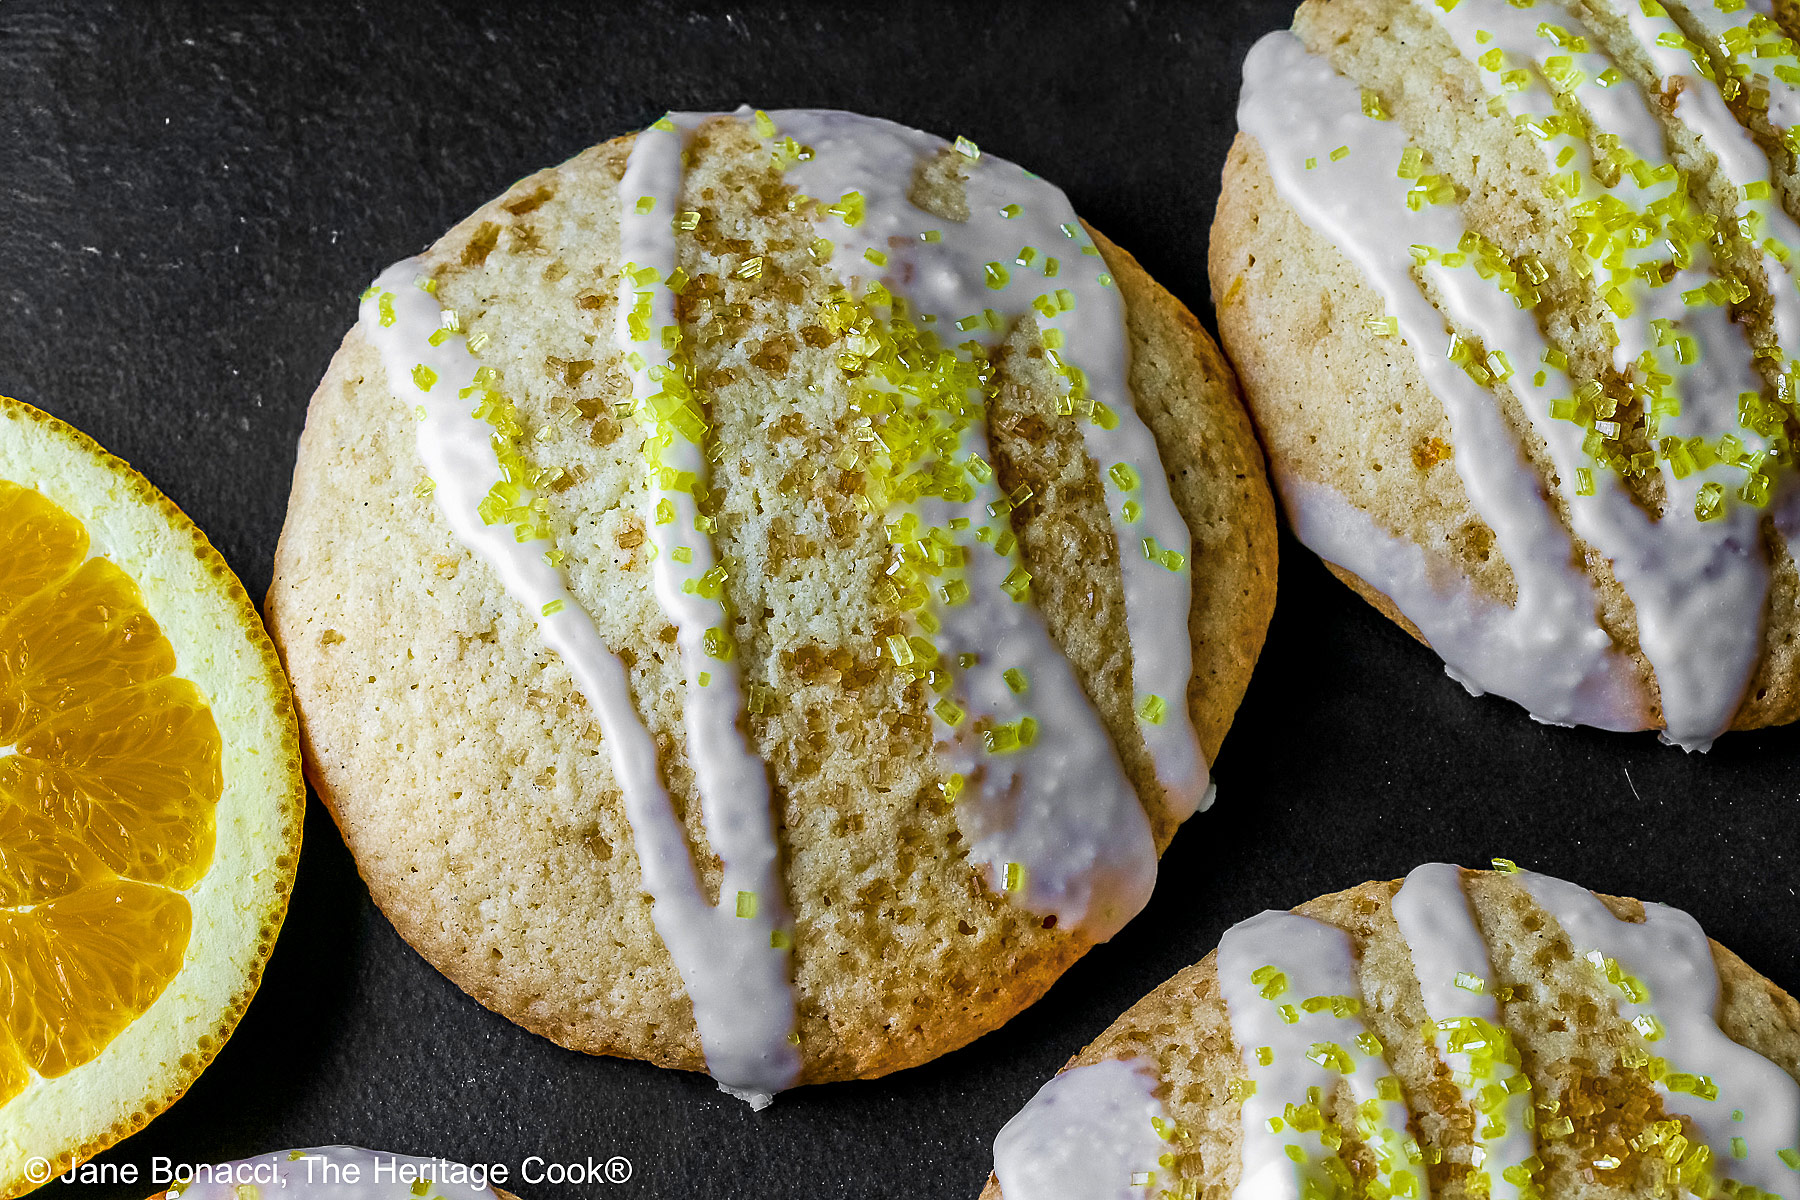
 White chocolate and orange zest make one heck of a great sugar cookie! These Orange and White Chocolate Sugar Cookies will thrill your kids, family, and guests, plus they make wonderful gifts. They are soft chewy cookies with nuggets of white chocolate for fun surprises in every bite!
Cookies are The Artist’s favorite treat so I bake them often. While Italian cookies are his favorites (no surprise there), he appreciates all of the sweets I make. It is fun to have an appreciative audience when you are baking and cooking!
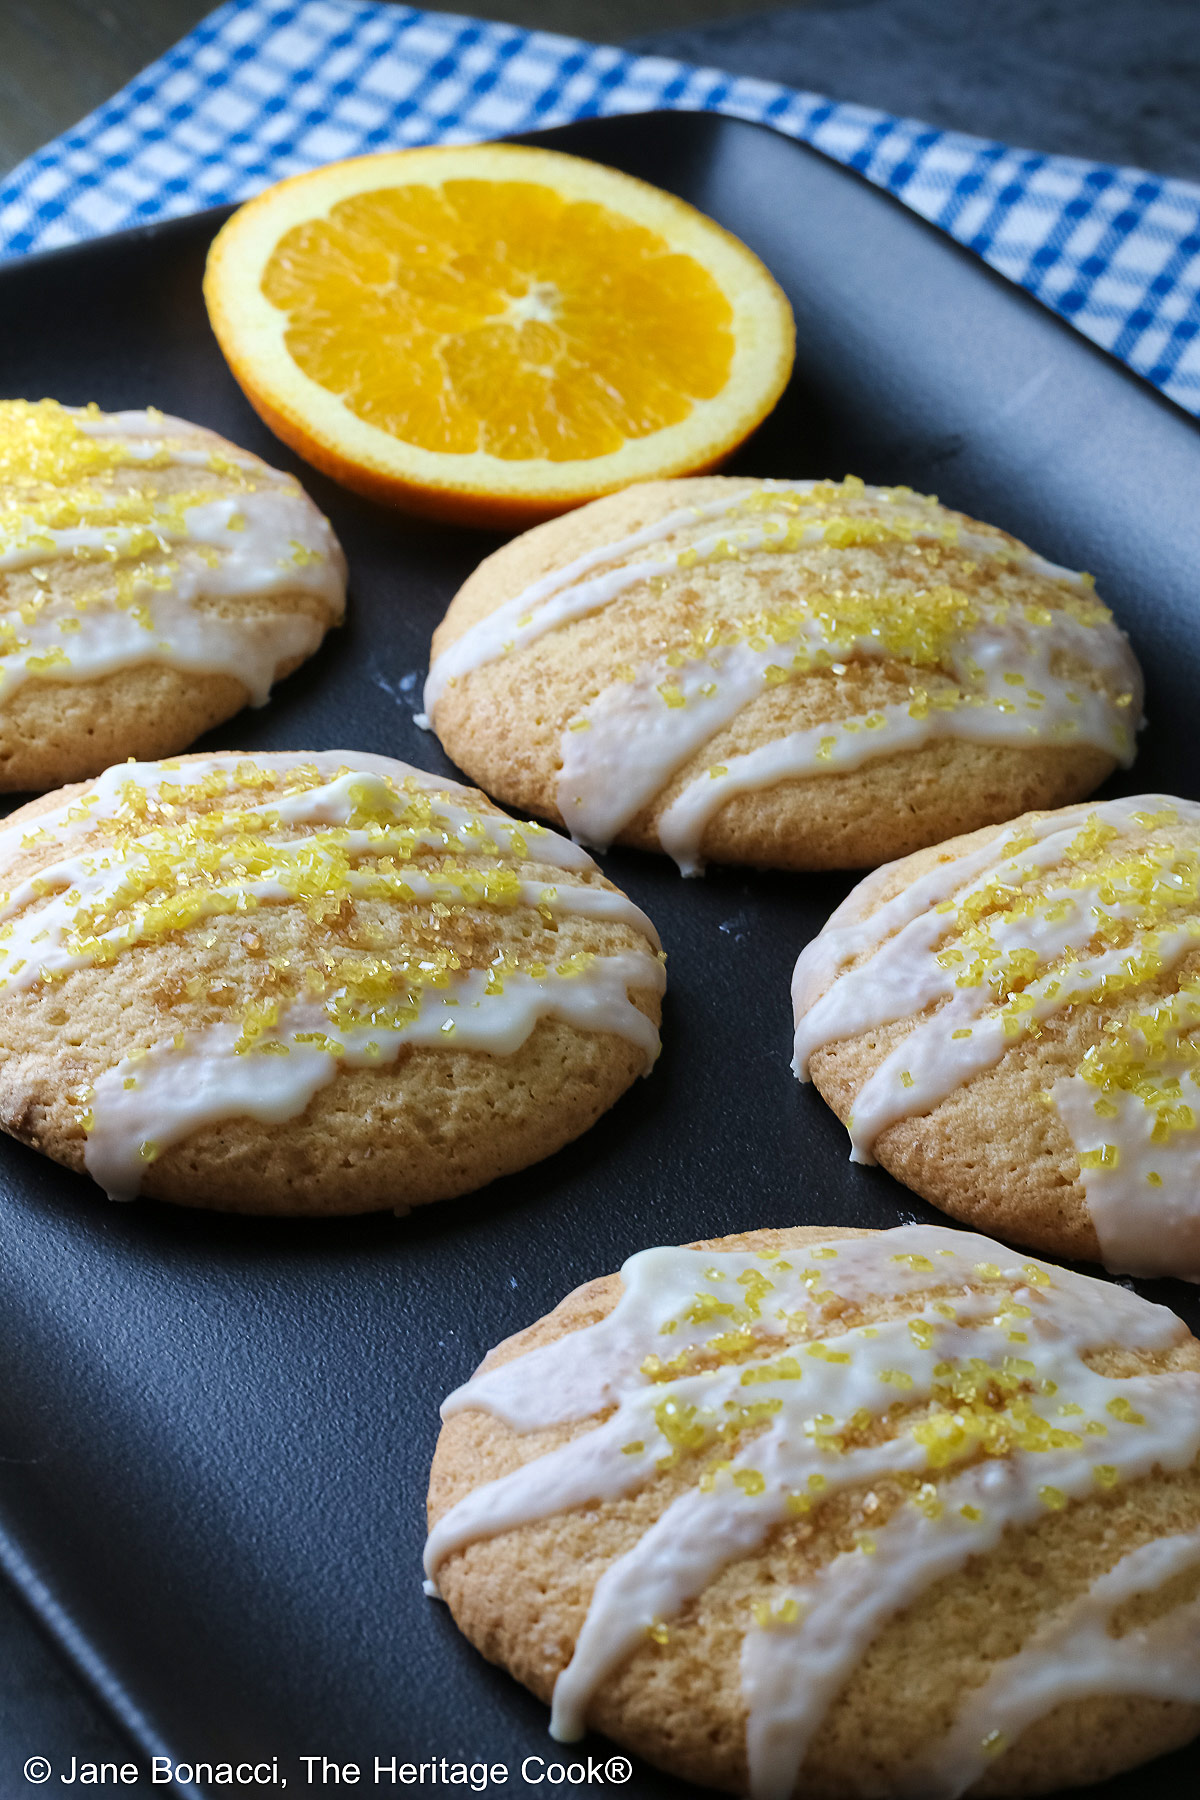
These cookies will satisfy anyone’s sweet tooth. They are lovely with a cup of coffee or tea and of course with a big glass of cold milk. And they are so easy, they make a wonderful treat for your Labor Day celebration or other special occasions!
If you are making cookies regularly for your family or bake sales, do yourself a huge favor and buy several cookie scoops in various sizes. They make it so easy to equally divide the doughs into equal pieces. Your cookies will bake evenly and come out the same size (I used a #24 scoop). They help make you look like a pro baker!
While we’re talking about kitchen tools, have you tried using a rasp-style zester/grater? Microplane graters come in a variety of sizes and shapes so you can get the exact result you’re looking for. The rasp-style gives you the finest possible citrus zest that combines with the sugar to disperse easily in the dough!
And if you want the best results in your cooking and baking, buy good quality baking half sheet pans. They are not very expensive and they will last your whole lifetime and can be passed down to the next generation. They are strong enough with the sides that they won’t buckle in the heat. If you want to slide something off the pan easily, like a pizza, you can turn it upside-down so you’re cooking on the bottom of the pan.
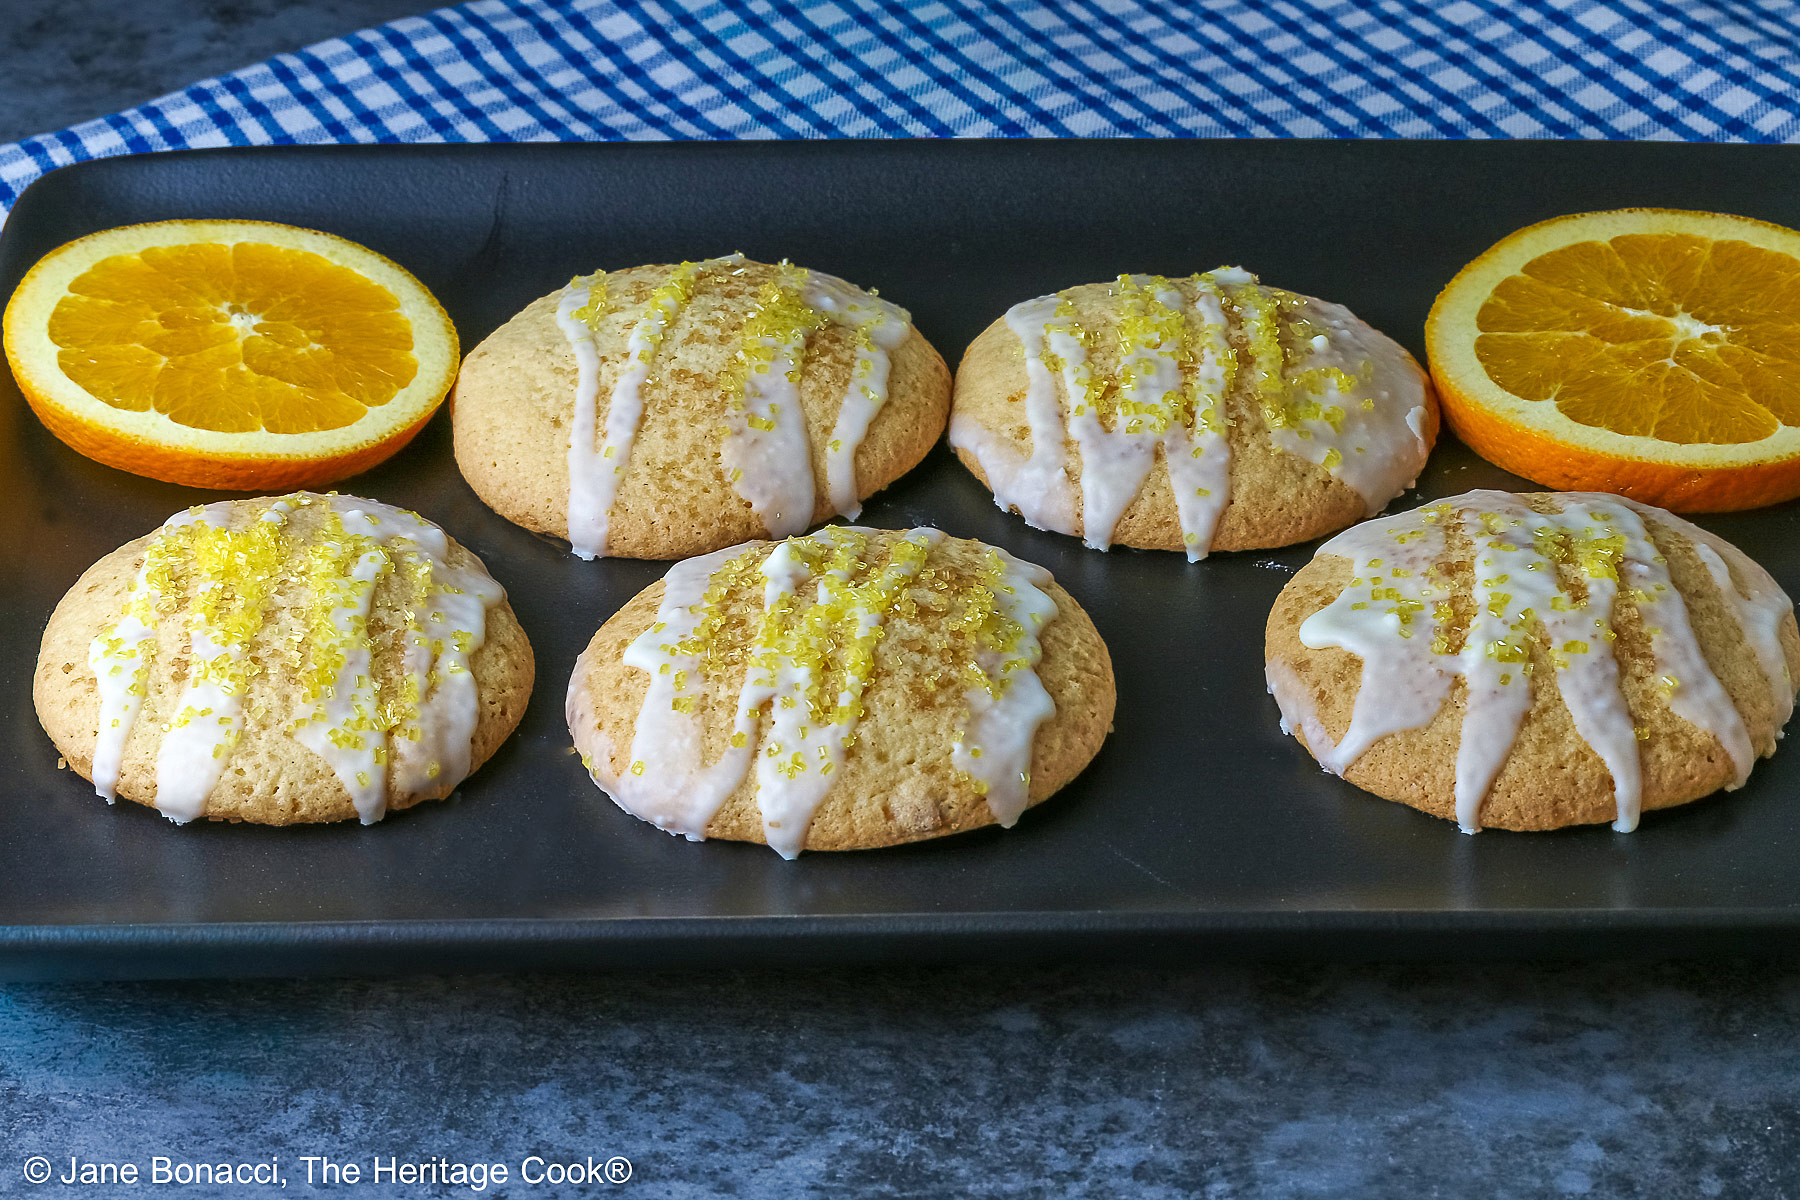
For this recipe I used white chocolate chips from Guittard and a little orange oil so the orange would shine. But if you prefer you can use semisweet chocolate chips instead. Both are equally delicious!
If you are just baking for a few people, roll the remaining dough into a log, wrap in parchment, writing the type of cookie and baking directions, then wrap the log in plastic and freeze. You will have the best freshly baked slice-and-bake cookies any time the mood strikes!
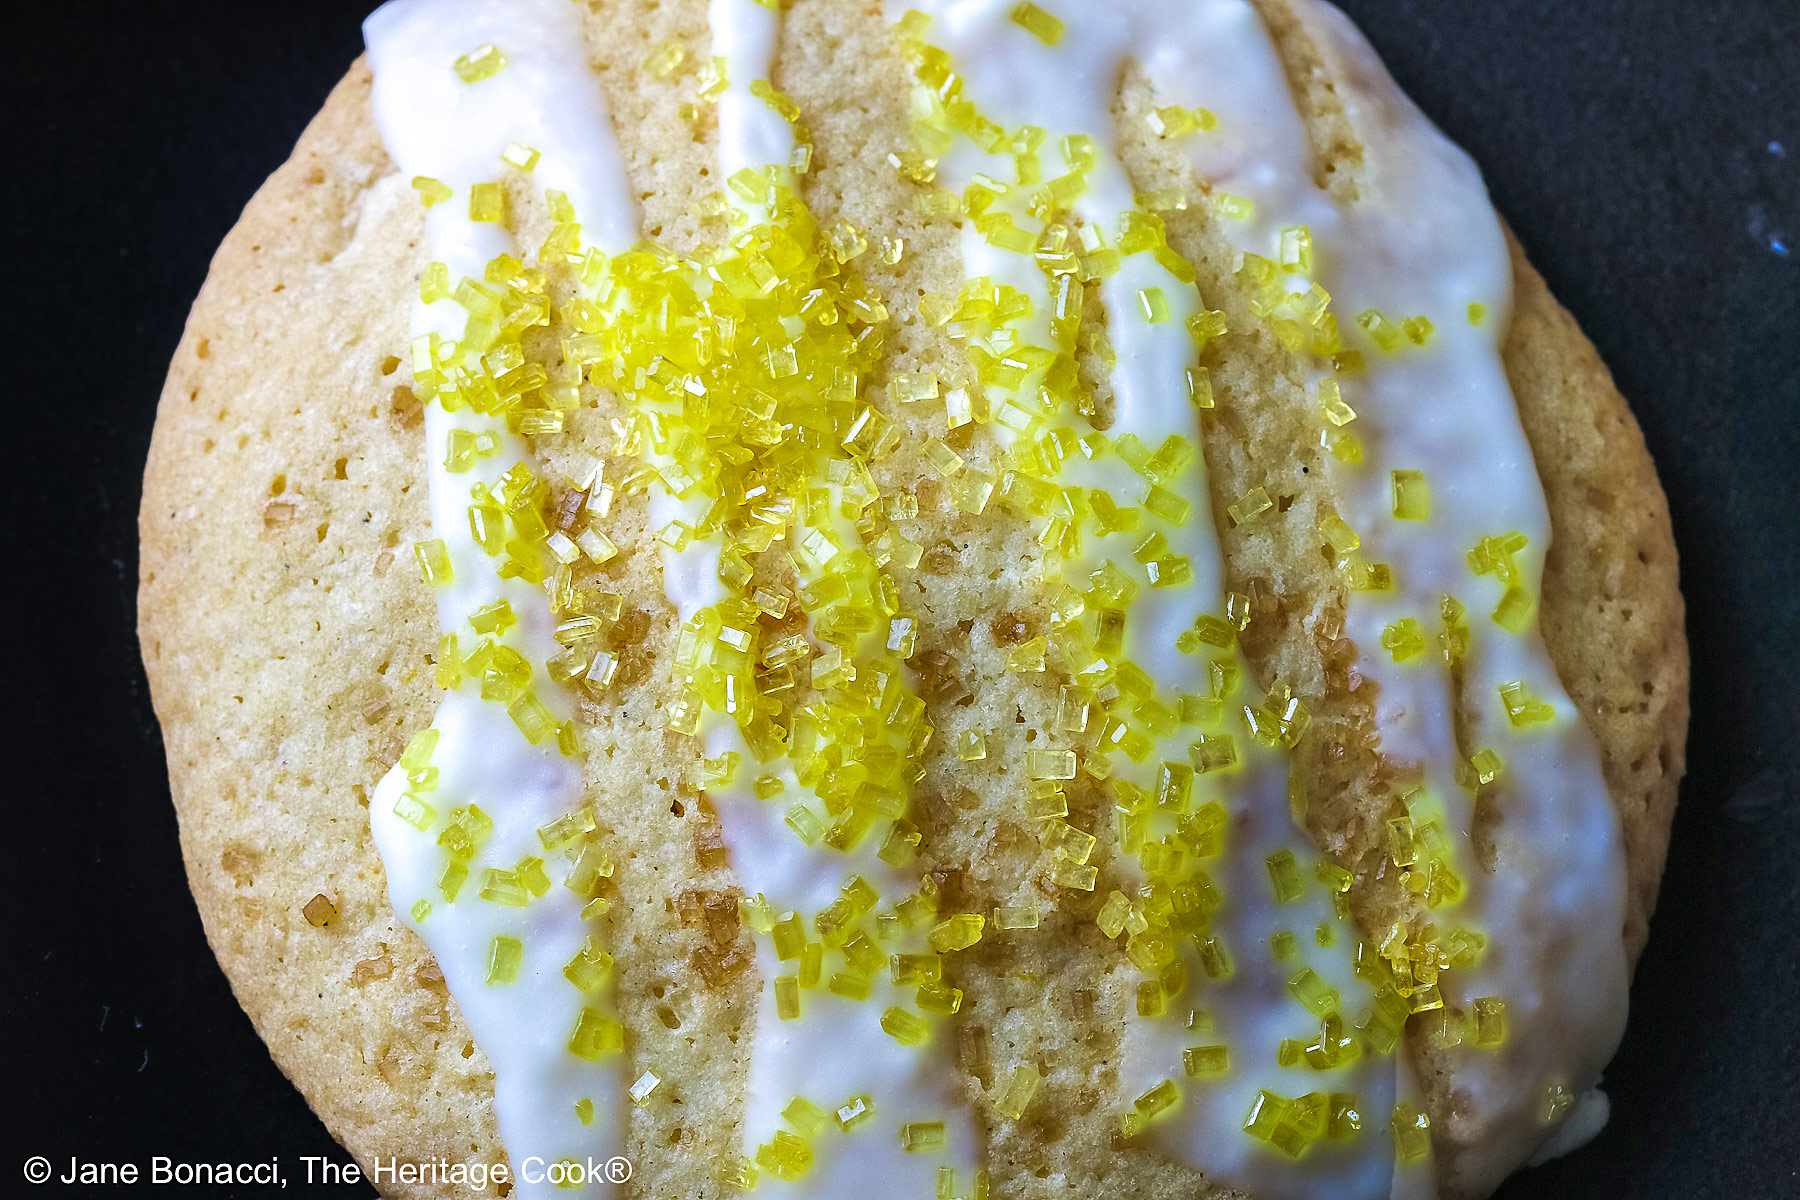
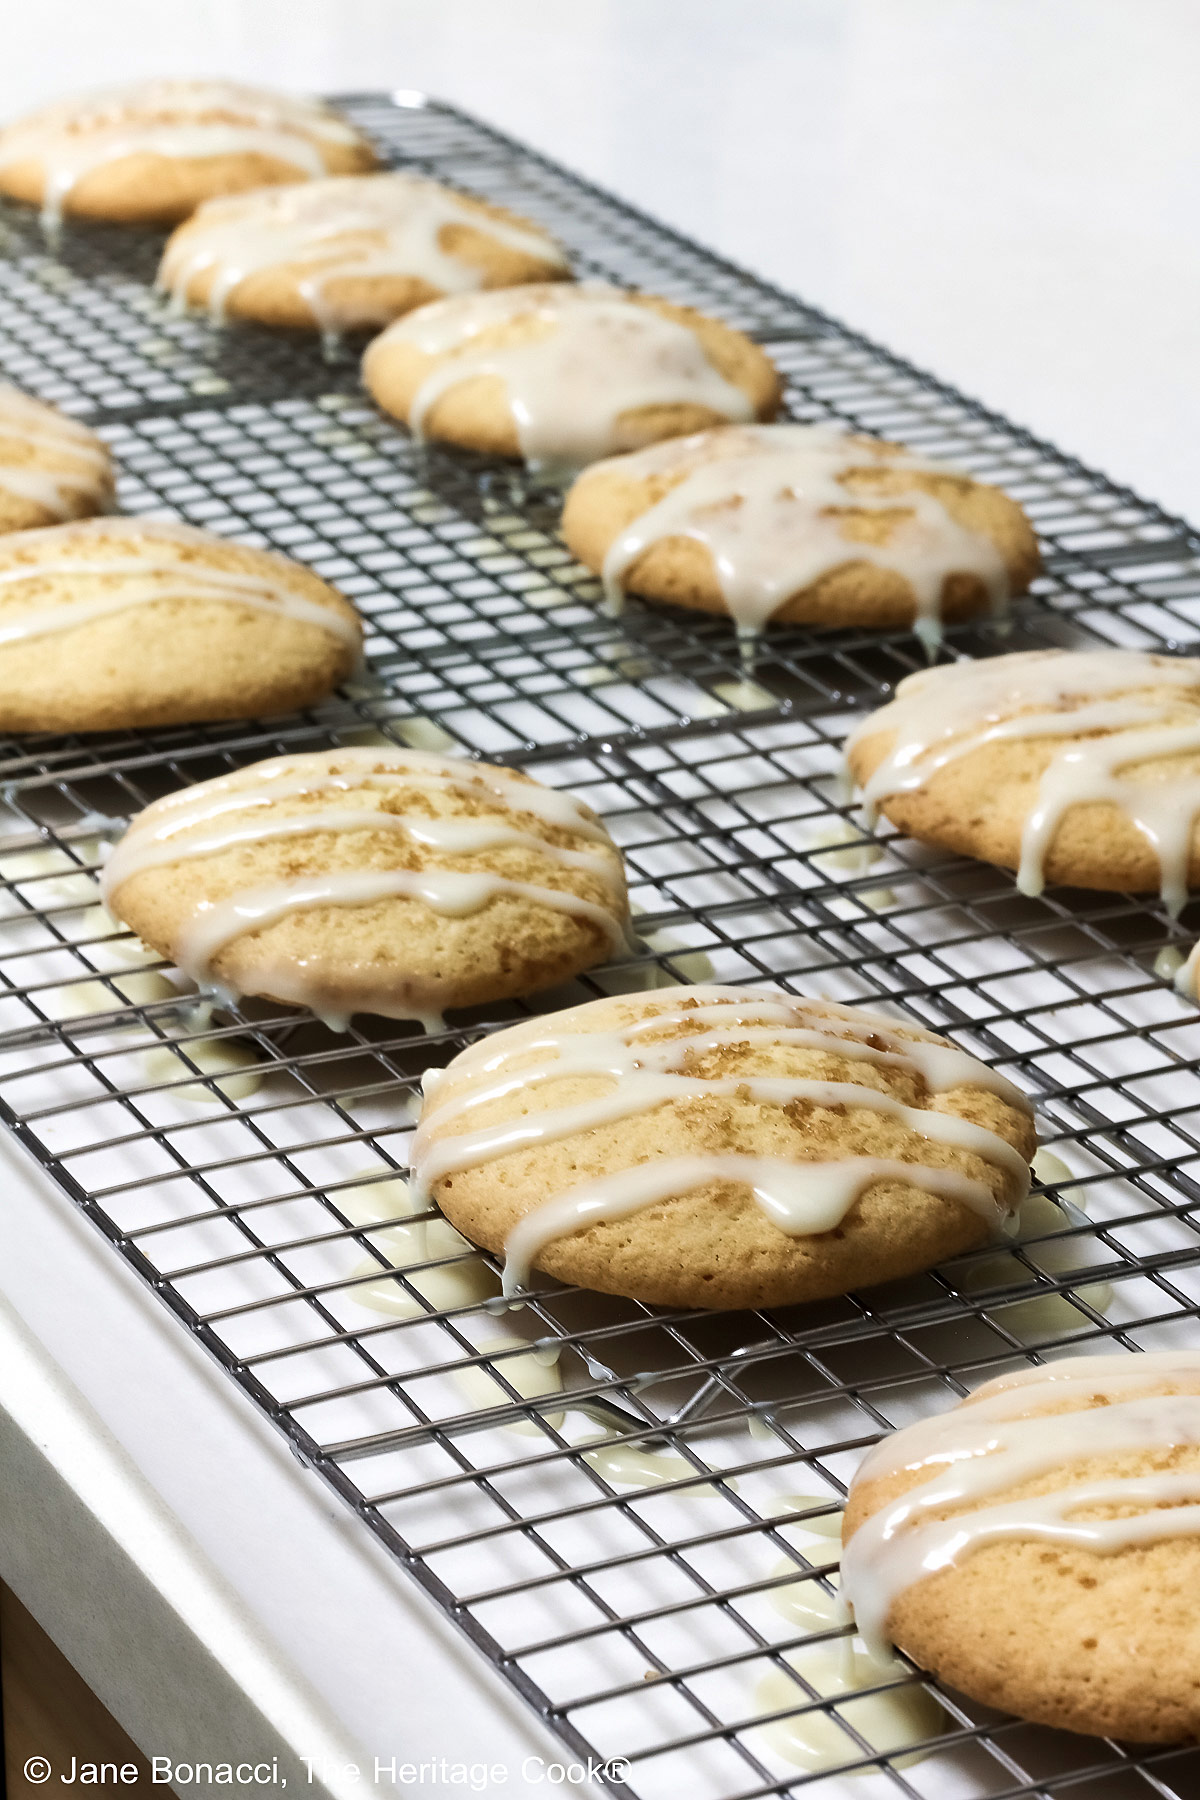
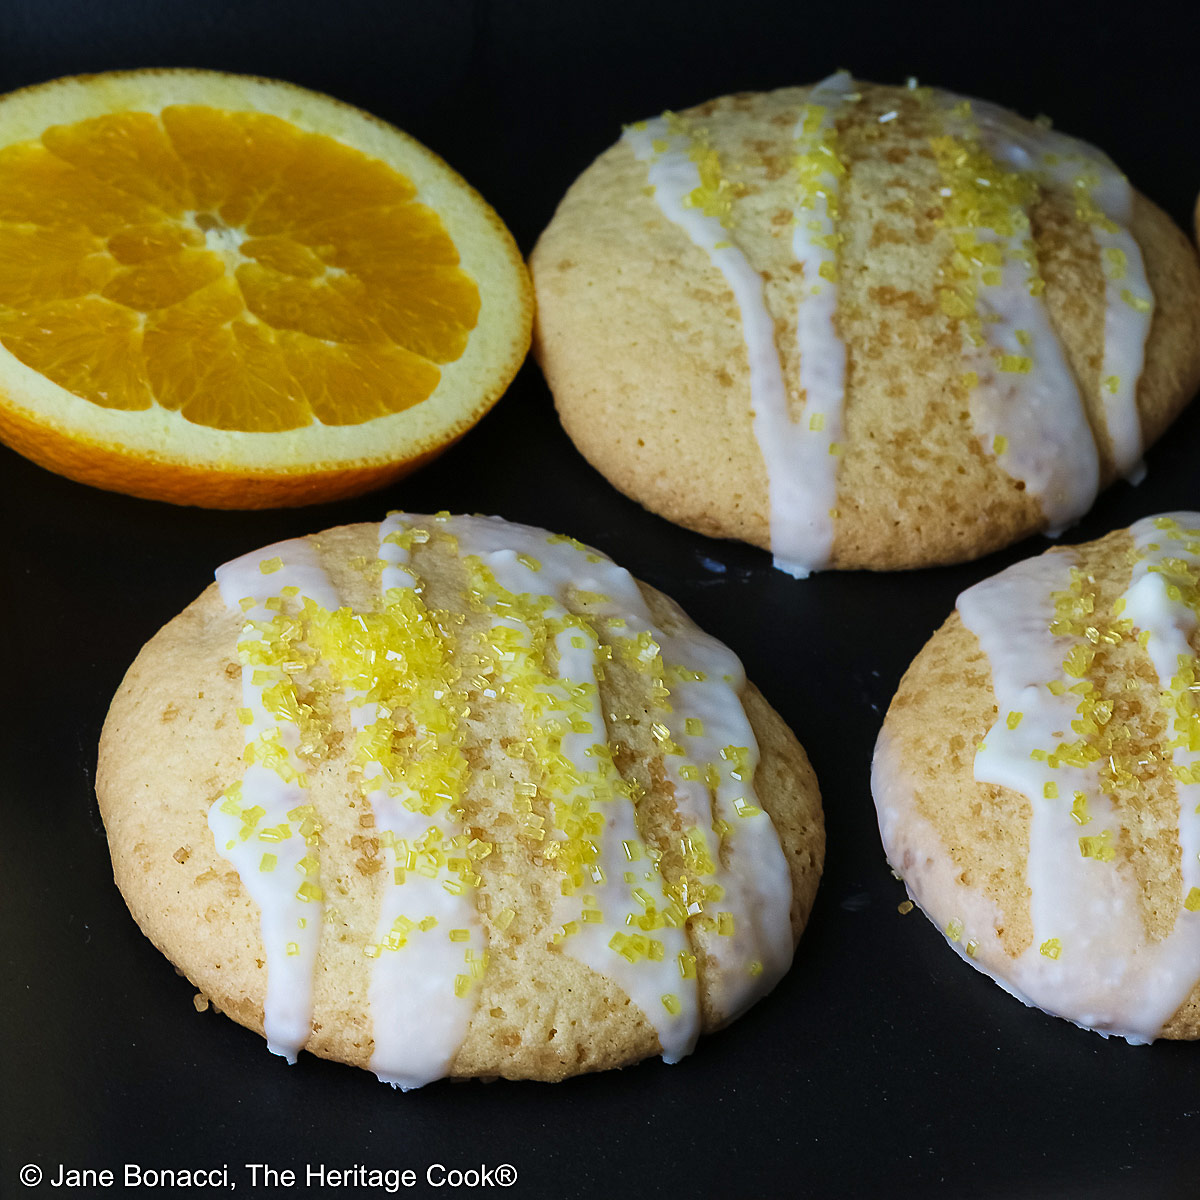
I love these cookies, especially with the white chocolate glaze. It adds a beautiful sweet bite and a sprinkle of sugar on the top of the wet glaze gives you a much appreciated crunch. You can use brightly colored sugars to make these perfect for any holiday!
Give these beautiful, delicious cookies a try – everyone will love them with their luscious chunks of white chocolate. They also make wonderful gifts. Enjoy every bite!
I hope you have a wonderful week ahead. See you on Friday for a special autumnal recipe that will delight you!
If you try this recipe, let me know! Please leave a star rating in the recipe card, comment below, and don’t forget to snap a pic and tag it @theheritagecook on Instagram! Seeing your creations makes my day and I love hearing from you!
Ingredients needed for Orange & White Chocolate Sugar Cookies:
- Cookies: all-purpose flour, cake flour, baking soda, salt, sugar, orange zest, orange juice, eggs, vanilla, orange oil (optional), butter, white chocolate chips
- Optional Toppings: turbinado sugar or any coarse sugar, chopped white or dark chocolate
PRO Tip:
If you use a cookie scoop (you want 3 to 4 tbsp of dough in each scoop) you can have these panned and in the oven in no time. I have several different sizes so I can make any diameter cookie I want to quickly and easily. They are worth the investment!
How to make Orange and White Chocolate Sugar Cookies:
- Make the Cookie Dough: Combine the flours, baking soda, and salt together in a bowl; set aside. In a second bowl combine the sugar and orange zest; set aside. In a liquid measuring cup, place the orange juice, egg, yolks, vanilla, and orange oil (if using); set aside.
- With a mixer, beat the butter until creamy. Pour in the orange sugar, beating until light and smooth. Gradually add the orange juice, eggs, and vanilla, one yolk at a time. Beat after each addition.
- Slowly add the dry ingredients, mixing between additions until just combined. Scrape the bowl frequently. Add the white chocolate and mix just until evenly distributed in the dough. Cover the bowl with plastic pressed onto the surface and refrigerate 15 minutes.
- Form the Cookies: Each cookie will have 3 to 4 tablespoons of dough formed into balls. Use a cookie scoop for equally-sized pieces of dough (I used a #24). Place on parchment-lined baking sheets, about 2-inches (5cm) apart. Use the bottom of a glass and press each scoop flat. Sprinkle with coarse sugar if desired.
- Bake the Cookies: Heat the oven to 350°F (180°C) and bake the cookies for about 15 minutes until lightly browned on the bottoms. Leave on the baking sheets for about 2 minutes to firm up a bit before transferring to a wire rack to cool. Repeat with the remaining dough.
PRO Tip:
A good kitchen investment is sturdy, heavy-duty half baking sheet pans. You can use them for cookies, sheet-pan dinners, roasting meats, baking pies, etc. Half-size pans are made to fit easily in home ovens. Full sheet pans are for commercial ovens. Be sure you get the right size!
Recommended Tools (affiliate links; no extra cost to you):
- Kitchen scale
- Baking sheet pans
- Parchment sheets or silicone baking mats
- Zester/Grater
- Citrus reamer
- Stand mixer or hand mixer
- Large cookie scoop
Gluten-Free Tips:
* You can adjust any baking recipe to gluten-free by using 120 grams per cup of my favorite gluten-free flour blend. If you are using another brand of flour or regular flour, whisk it, spoon it lightly into a measuring cup until mounded, level off the top with a knife, and weigh the flour left in the cup. Use that weight as your standard per cup of that specific flour. Do this for each flour blend you use. Commercial gluten-free blends such as Pamela’s All-Purpose Artisan Blend, Bob’s Red Mill 1-to-1, or King Arthur Measure for Measure are all good gluten-free choices.
** To make your own cake flour for this recipe, whisk together 172g (1-1/3 cups + 1 tbsp + 2 tsp) all-purpose flour or gluten-free flour blend, plus 28g (4 tbsp) cornstarch. Whisk well to combine. Using a scale makes this much easier. This cake flour is now ready to use in the recipe!
*** My preferred brand of kosher salt is from Diamond Crystal. If you use Morton’s, another kosher brand, or table salt, you will not need as much because they are saltier.
You will get the best and most consistent results by using a digital kitchen scale and weighing your ingredients, especially when you are baking. Use grams, they are much more accurate than pounds and ounces.
All recommended ingredients are gluten-free as of the writing of this article. Always check to be sure the products haven’t changed and are still safe to consume.
Orange and White Chocolate Sugar Cookies (GF)

These luscious Orange and White Chocolate Sugar Cookies (GF) are the best way to show someone you love them. Perfect for after-school snacking, special occasions, or food gifts, the combination of orange and chocolate is always a winner!
Ingredients
COOKIES
- 1-3/4 cups (210g*) gluten-free flour blend* or regular all-purpose flour like Gold Medal
- 1-2/3 cups (200g) cake flour ** (see Note below to make your own)
- 1/2 tsp baking soda
- 1 teaspoon kosher salt***
- 1-1/4 cups (250g) granulated sugar
- Freshly grated zest from 1 orange
- 2 tbsp freshly squeezed orange juice (from the zested orange)
- 1 large egg + 2 large egg yolks, at room temperature
- 1 tbsp pure vanilla extract or vanilla paste
- About 20 drops LorAnn orange oil, optional ****
- 1 cup (2 sticks; 227g) unsalted butter, cut into chunks and slightly softened
- About 1/2 cup (85g) white chocolate chips or your favorite type of chocolate chips
OPTIONAL TOPPINGS (you can use both sugar and glaze if you want!)
- Turbinado or other coarse sparkling sugar, optional
- 1 cup (170g) chopped white or dark chocolate, optional
- 2 to 3 tbsp cream or more as needed
Instructions
1. Position one rack in the top third of the oven, one rack in the bottom third of the oven, and preheat it to 350°F (180°C). Line two baking sheets with parchment paper or silicone baking mats.
2. Prepare the Cookie Dough: In a bowl, whisk flours, baking soda and salt together. Set aside. In another bowl, stir together the sugar and orange zest, helping to keep the zest from clumping.
3. In a measuring cup with a spout, combine the orange juice, whole egg, extra yolks, and vanilla. Add orange oil if using. Set aside.
4. In a mixer, beat the butter until smooth and creamy, about 2 minutes. Pour the orange sugar into the softened butter and beat until light and smooth, about 3 minutes. Scrape down the sides and bottom of the bowl frequently. Gradually add the egg and vanilla mixture, beating after each egg yolk and accompanying whites have been added.
5. Add the dry ingredients, a little at a time, mixing between additions just until combined. Scrape the sides and bottom of the bowl frequently. Stir in the white chocolate chips, mixing just until they are distributed throughout the dough.
6. Cover the bowl, pressing a sheet of plastic wrap directly onto the surface, and refrigerate about 15 minutes. If you want to make the dough ahead, firm up and then place in a sealed plastic bag or airtight container and refrigerate up to a couple of days. Return to cool room temperature before continuing.
7. Scoop 3 to 4 tbsp of dough for each cookie using a cookie scoop (I used a #24) and place on the lined baking sheets, leaving about 2-inches (5cm) between cookies. Instead of drizzling with melted chocolate or in addition to, the cookies can be sprinkled with coarse sugar before baking. Use colored sugars for the holidays or special occasions.
8. Bake the Cookies: Bake the trays of cookies about 15 minutes, rotating sheets halfway through top to bottom and spinning front to the back. Cookies will be fairly pale on top and lightly browned on the bottom. Leave on the baking sheets to firm slightly, about 2 minutes, then transfer to a wire rack and cool thoroughly. Then store in airtight containers up to 1 week.
9. Make the White Chocolate Drizzle (if using): Place cookies on a rack set over a sheet of parchment. Heat the chocolate and cream in a microwave-safe container until mostly melted. Remove from the oven and stir until all the pieces are fully melted and smooth. Add more cream if needed to get a pourable glaze.
10. Cool slightly and pour glaze into a resealable plastic bag. Press into one corner, twisting the top of the bag to keep the chocolate firmly in the corner, flip it upright and snip a little piece off the corner. Keep the bag upright until you are ready to drizzle it over the cookies. Use a zig-zag motion or create a fun design. If you want more sugar on top of the drizzle, you can sprinkle it on now. Set aside to give the chocolate time to firm up before serving.
Recipe found at www.theheritagecook.com
Notes
* You can adjust any recipe to gluten-free by using 120 grams per cup of my favorite gluten-free flour blend. If you are using another brand of gluten-free flour, whisk the mix, spoon it lightly into a measuring cup without a spout until mounded, level off the top with the back of a knife, and weigh the flour left in the cup. Use that weight as your standard per cup of that specific flour. Do this for each flour blend you use. Commercial blends such as Pamela's, Bob's Red Mill 1-to-1, or King Arthur Measure for Measure are all good gluten-free choices.
** To make your own cake flour for this recipe, whisk together 172g (1-1/3 cups + 1 tbsp + 2 tsp) all-purpose flour or gluten-free flour blend, plus 28g (4 tbsp) cornstarch. Whisk well to combine. Using a scale makes this much easier. This cake flour is now ready to use in the recipe!
*** My preferred brand of kosher salt is from Diamond Crystal. If you use Morton’s, another kosher brand, or table salt, you will not need as much because they are saltier.
**** LorAnn oils are extremely high quality and pro bakers use them to enhance cakes, cookies, candies, frostings, etc. You measure them by the drop because they are potent. LorAnn also sells eyedropper lids you can use with their oils. Be sure you get the right size for your bottles.
You will get the best and most consistent results by using a digital kitchen scale and weighing your ingredients, especially when you are baking. Use grams, they are much more accurate than pounds and ounces.
All recommended ingredients are gluten-free as of the writing of this article. Always check to be sure the products haven’t changed and are still safe to consume.
Nutrition Information:
Yield:
24Serving Size:
1Amount Per Serving: Calories: 146Total Fat: 13gSaturated Fat: 8gUnsaturated Fat: 5gCholesterol: 34mgSodium: 133mgCarbohydrates: 7gFiber: 1gSugar: 5gProtein: 1g
The nutritional information for recipes on this site is calculated by online tools and is merely an estimate. If you need nutritional calculations for medical reasons, please use a source that you trust.
If you enjoyed this recipe, be sure to follow me on social media so you never miss a post:
Create a New Tradition Today!
Welcome! The suggestions here are not intended as dietary advice or as a substitute for consulting a dietician, physician, or other medical professional. Please see the Disclaimers/Privacy Policy page for additional details. Unauthorized use, distribution, and/or duplication of proprietary material from The Heritage Cook without prior approval is prohibited. If you have any questions or would like permission, please contact me. We participate in the Amazon Services LLC Associates Program, an affiliate advertising program designed to provide a means for sites to earn advertising fees by advertising and linking to amazon.com. As an Amazon Associate, I earn a small amount from qualifying purchases without any additional cost to you. This page may contain affiliate links. The author makes no claims regarding the presence of food allergens and disclaims all liability in connection with the use of this site.

Leave a Reply